Leaderboard


Popular Content
Showing content with the highest reputation on 03/27/2024 in all areas
-
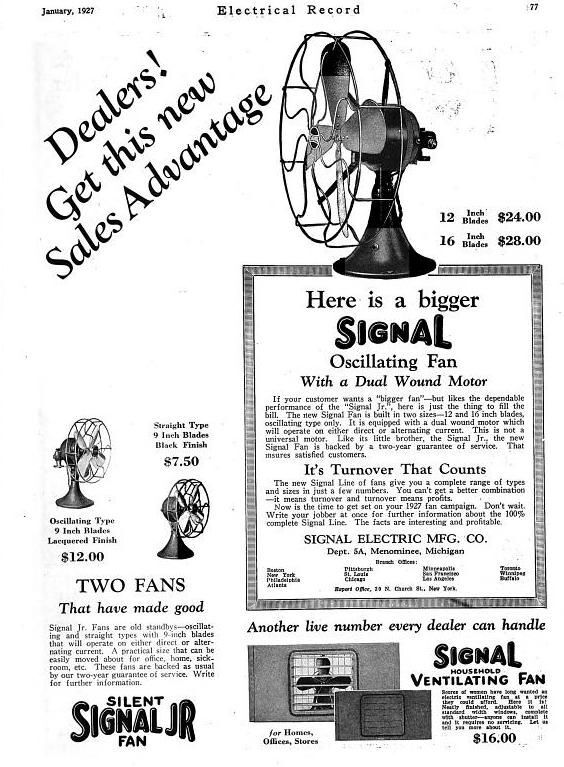
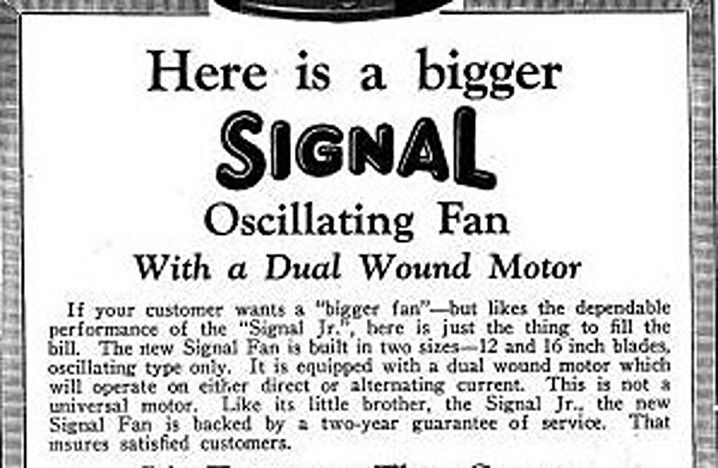
In 1927 Signal it appears put out their first 12"-16" desk fans. These fans had DUAL WINDING motors for either/or alternating or direct current. Thanks to ELECTRICAL RECORD we now have some above average insight into Signal fans from their first fan produced in 1923 through 1928.
 1 point
 -
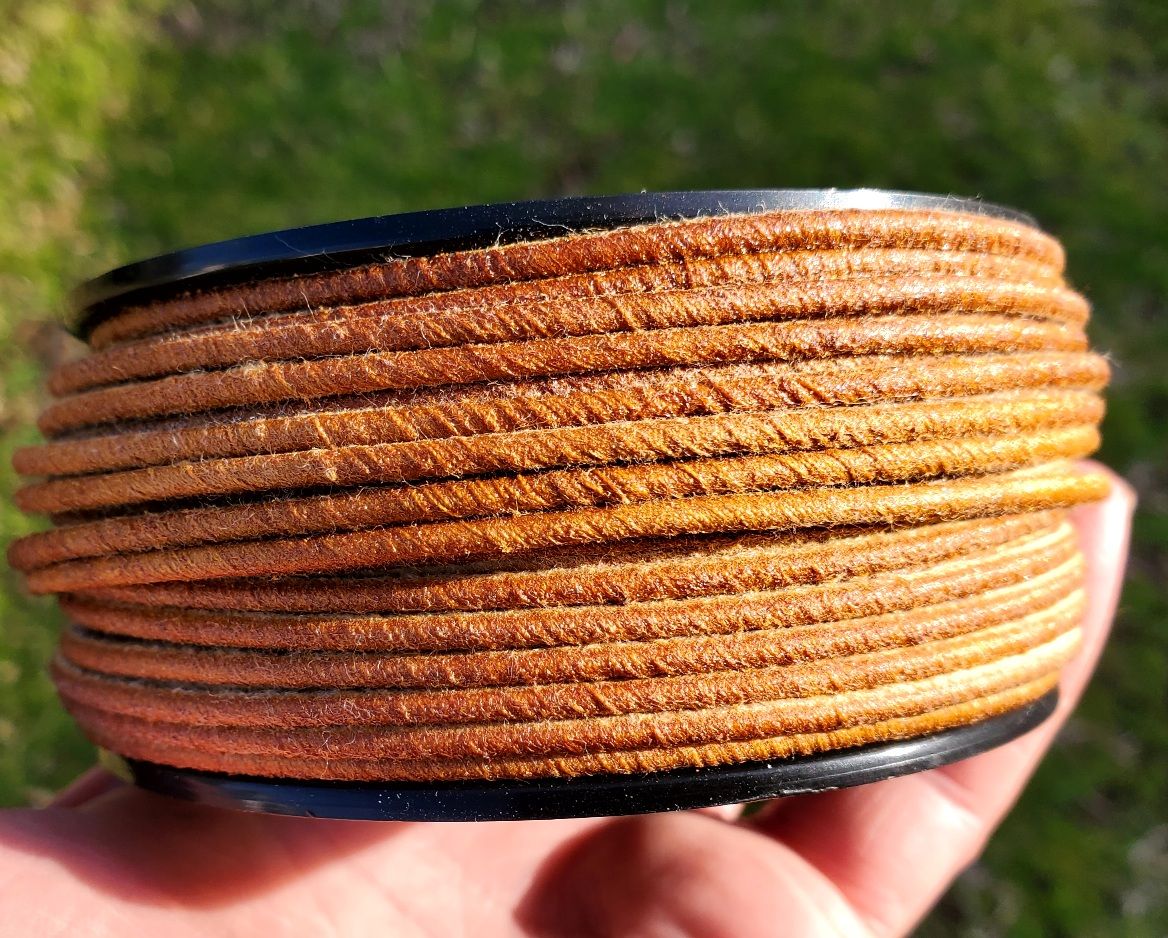
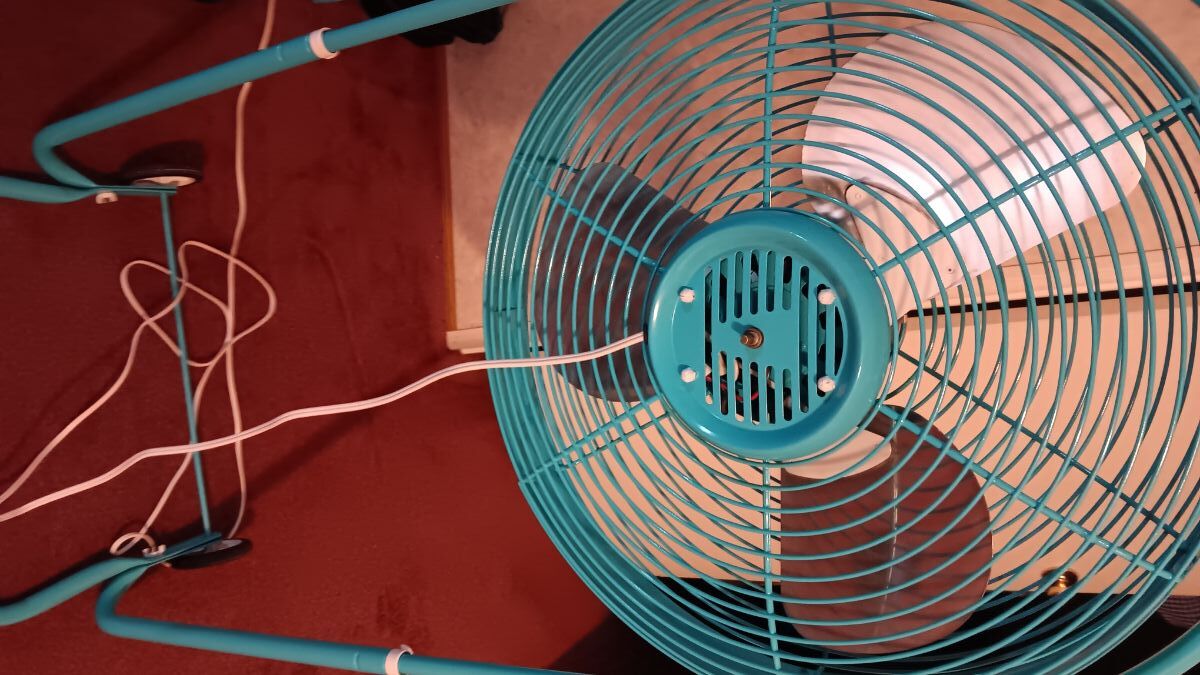
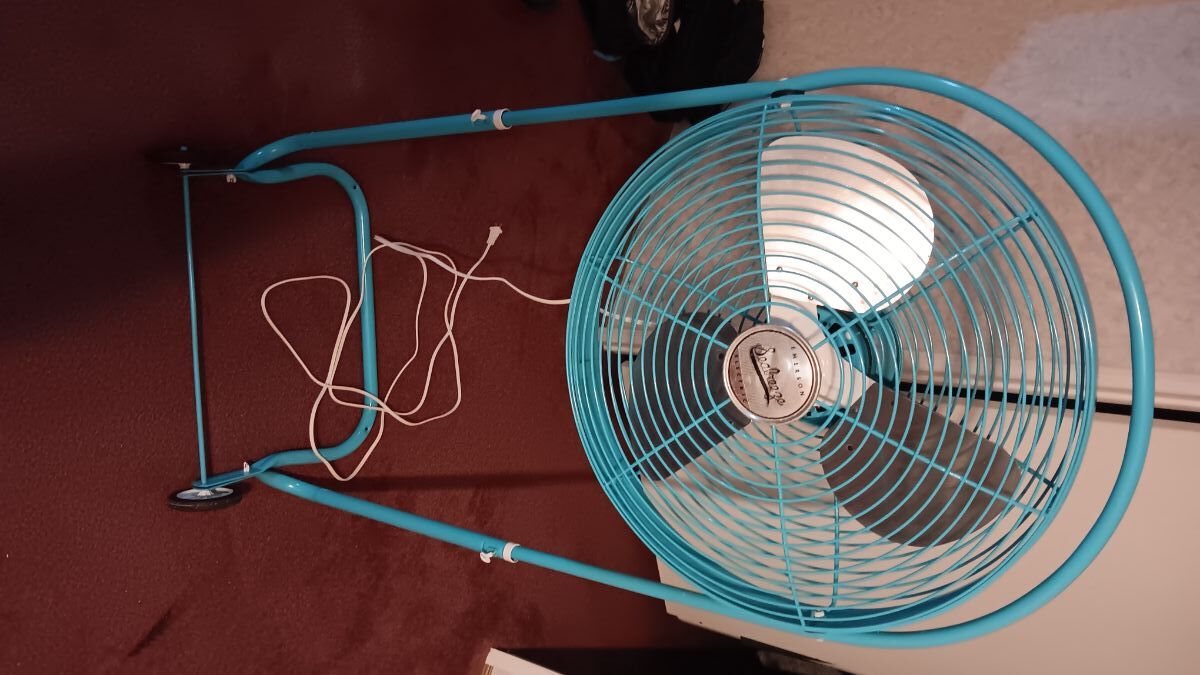
Post to the wire I made for Edison C Frame
1 point
-
Other than a small vibration, which I'll double check in a month. I love the way it turned out. Not sure if rear of motor guard had a badge or not. Run down was around 18 seconds. Thanks again to members of this forum.
1 point
-
Let me correct what I've just stated above. I have used wood as a mold for molten BABBIT, not lead. Molten lead is much hotter. My apologies. Also, how do you edit a posting here????1 point
-
I'll stick my neck out here and reply to the question of a mold to cast lead in. Molten lead is not really all that hot. I've used molds made of wood in the past. There will be a bit of smoke but nothing so bad that it ruins the casting.1 point
-
Stole it. Congrats.1 point
-
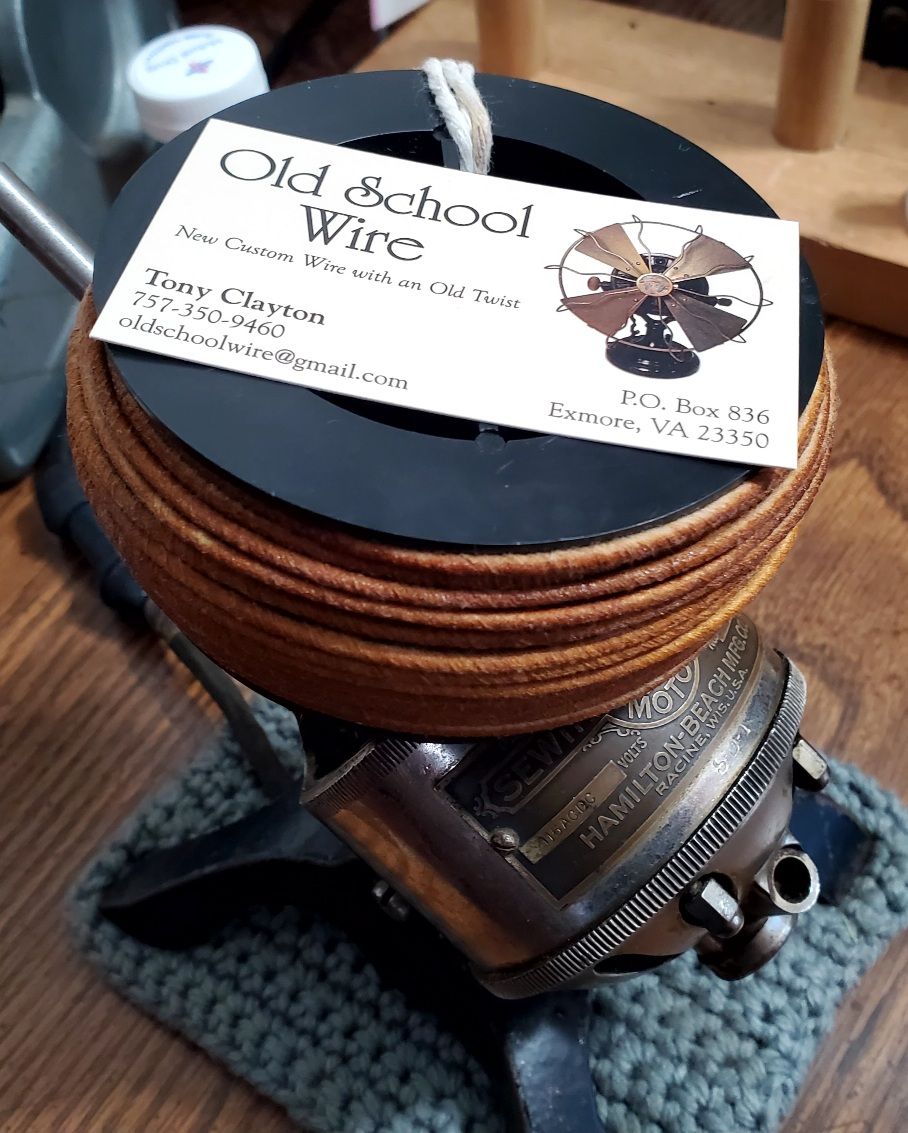
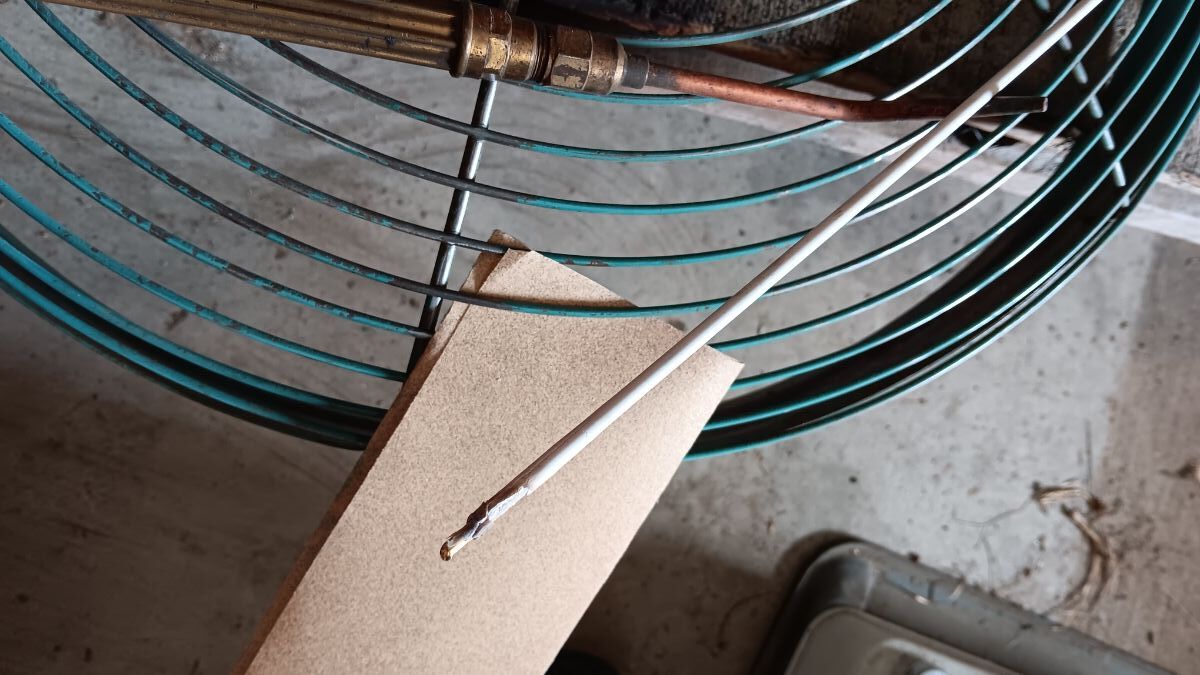
There is quite a bit of wire tucked inside, but it is usually petrified from age. I cut the headwire open with a new #11 Exacto (I buy them in boxes of 100) to remove the outer cloth sheath and the strain relief cord knot. Once the 3 wires are separated from each other, it is much easier to pull them out one at a time. Use a heat gun to soften them. I cut off the old headwire, strip the motor leads, make sure the wires are shiny by scraping them, sanding them, or hitting them with a Dremel abrasive puff. I use OTR headwire, but I think Tony Clayton’s is more authentic. The OTR is smaller than the Emerson wire. I prevent the outer cloth sheath from fraying by tying a large strain relief knot, just like the way Emerson did it. Solder the wires, then wrap each connection with cloth electrical tape (friction tape). Tuck them back in. Most of the time, I fully disassemble Emersons, including pulling the stator coil, so I can clean the oil passages on the shaft and inside the rotor. There are schematic diagrams on the old AFCA site:(https://www.fancollectors.org/info/Fan Wiring Diagrams, etc.htm) but when I connect the headwire to the switch, I often do the brute-force method of seeing which of the 6 possible wiring works best: Unplug the fan. Label the motor wires A, B, and C. It doesn’t matter which is which. Label the switch terminals 1, 2, and 3. It doesn’t matter which is which. Set the switch to ON. If the blade is on, make sure it can spin freely. Make sure the oscillation is turned off so the fan doesn’t wiggle and pull the temporary connections off. Wire up the 6 possible combinations (one at a time). For example, the 1st line below has A connected to 1, B to 2, and C to 3. 123 132 213 231 313 321 For each combination, briefly plug the fan in and note if it starts and if it runs in the correct direction. Unplug it. If one combination works, then that’s it. If more than one combination works, try each one in all the speeds and pick the best one. Touch the motor and make sure it’s not running hot.1 point
-
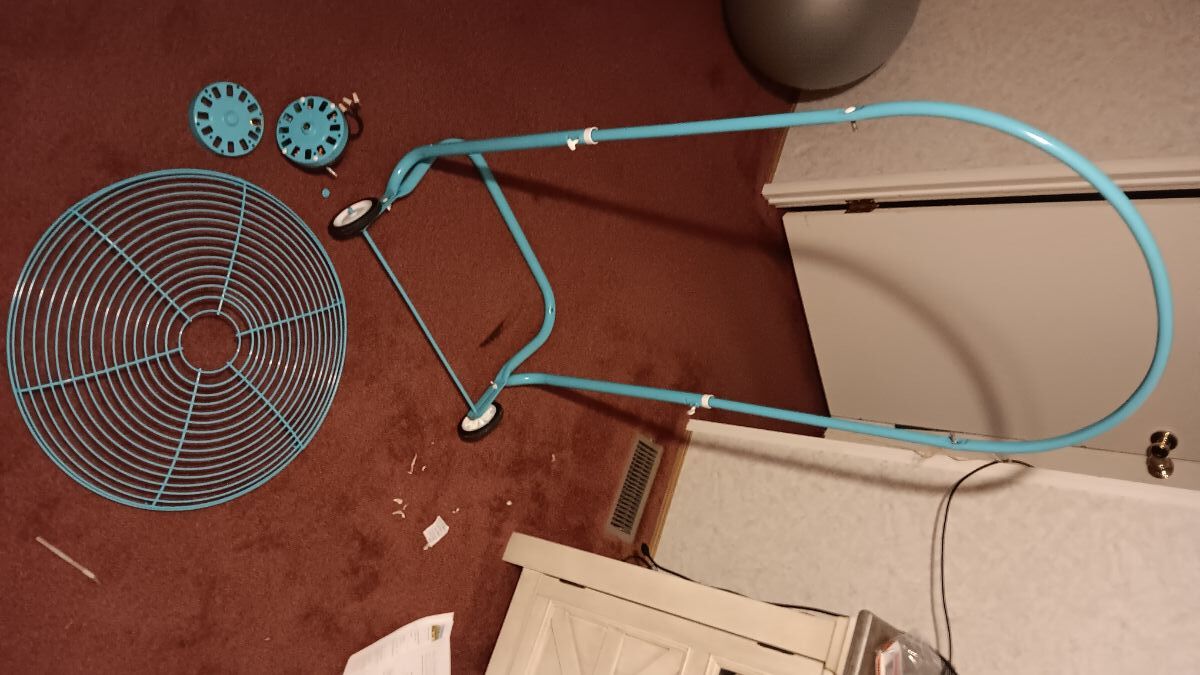
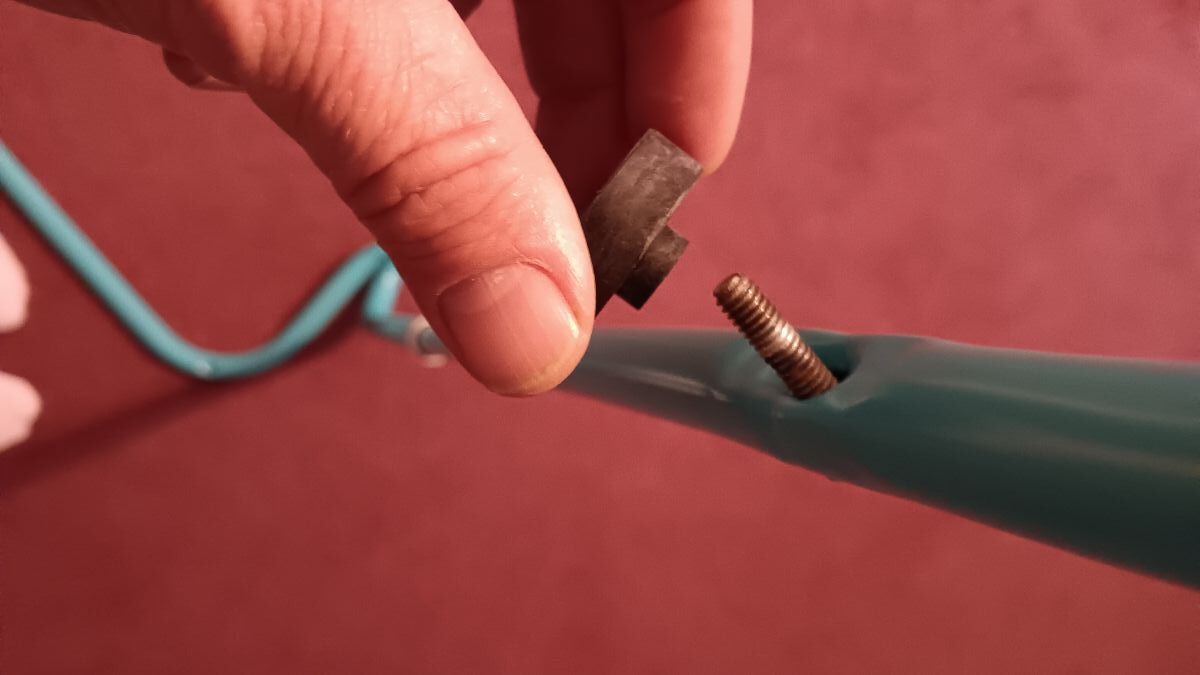
Thanks for the props. True story, In 2006, I was living on Kauai. Chick Corea and Gary Burton kicked off their "Crystal Silence" world tour there and I was lucky enough to be able to attend. It was at a small high school auditorium, very intimate. I took my then wife and step daughter. They loved it. Anyway, during one particularly technical piece, Gary missed his cue and just stopped. Chick counted to three, and they re-entered the piece and pulled it off perfectly. The crowd went nuts. Not because they screwed up, but because of their smooth recovery. I've always remembered that as a life lesson. We screw up. It's gonna happen. It's all about the recovery. I screwed this piece up royally and I had to cut it all apart and re-assemble it. But it came out just like I wanted in the end. Cheers, Bill1 point