Leaderboard


Popular Content
Showing content with the highest reputation on 04/22/2024 in all areas
-
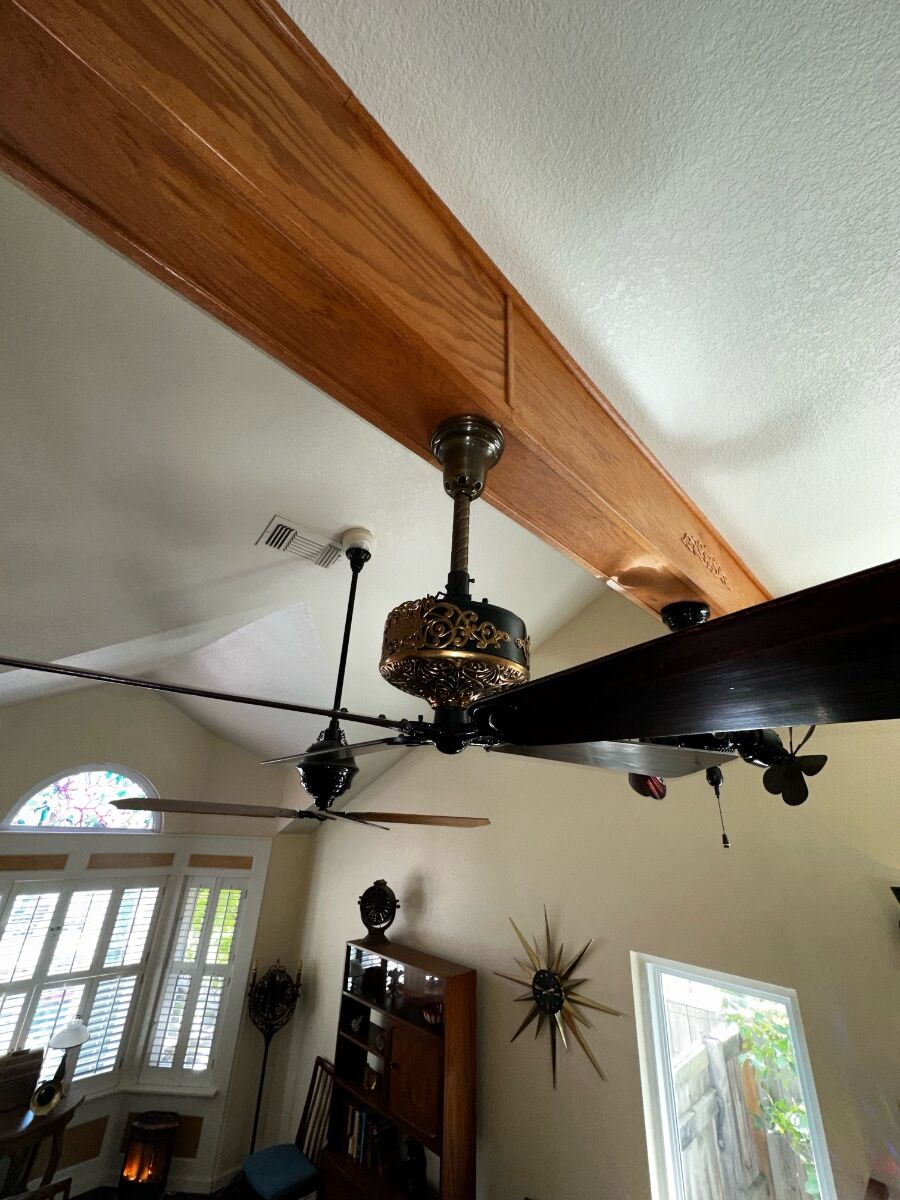
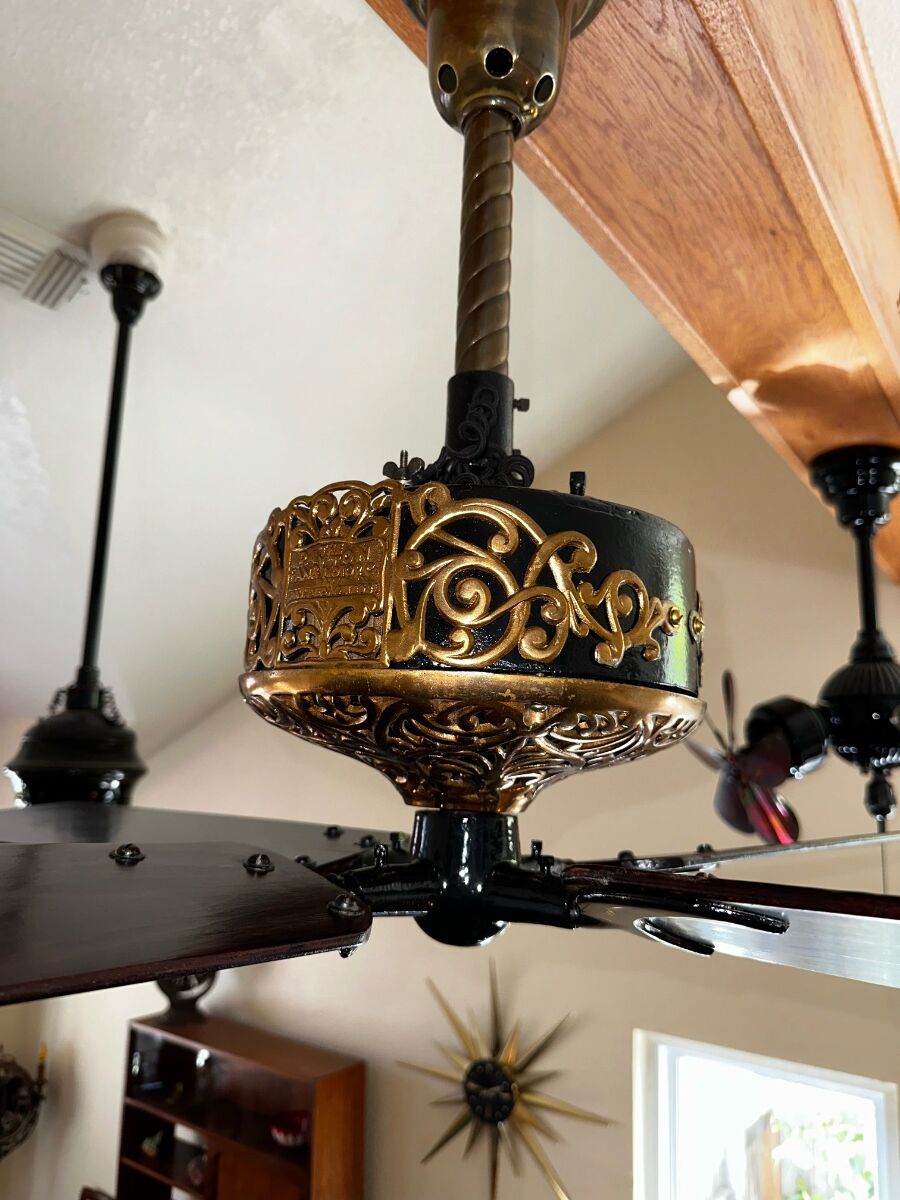
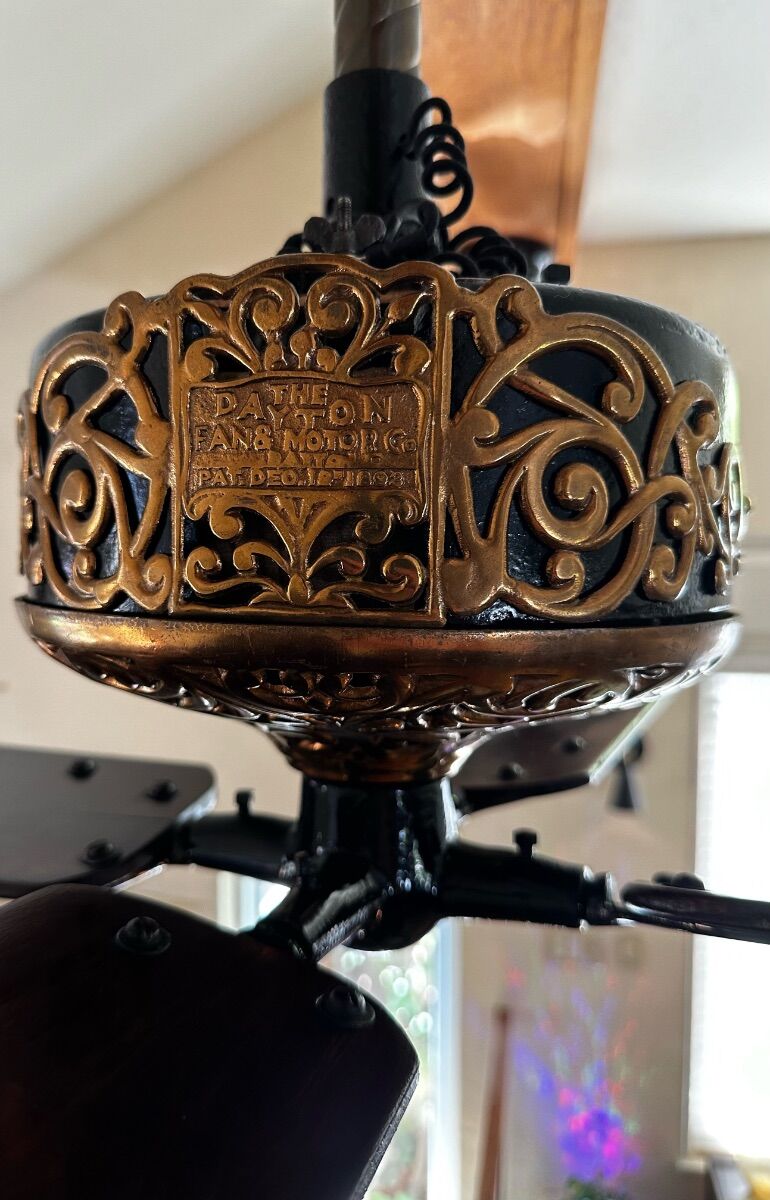
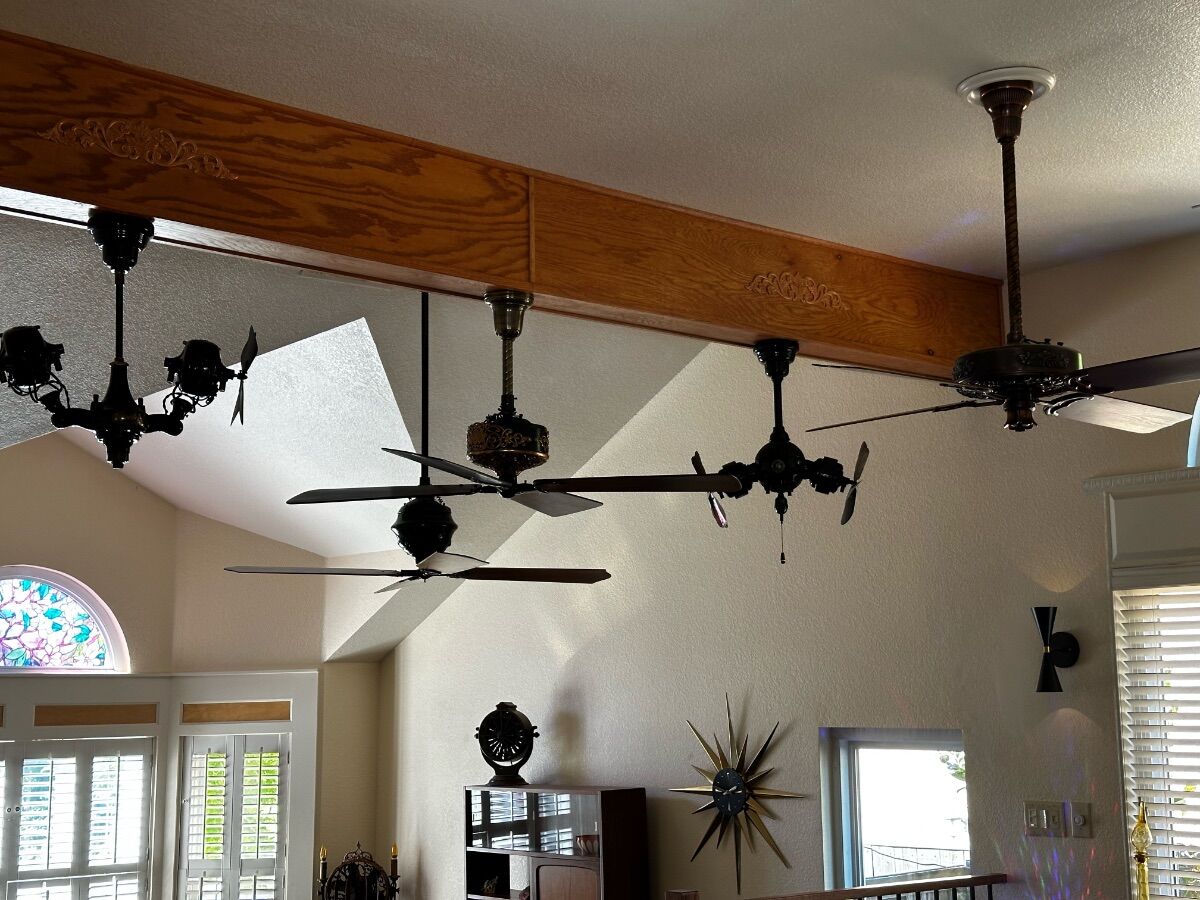
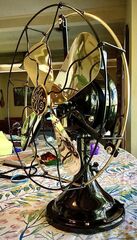
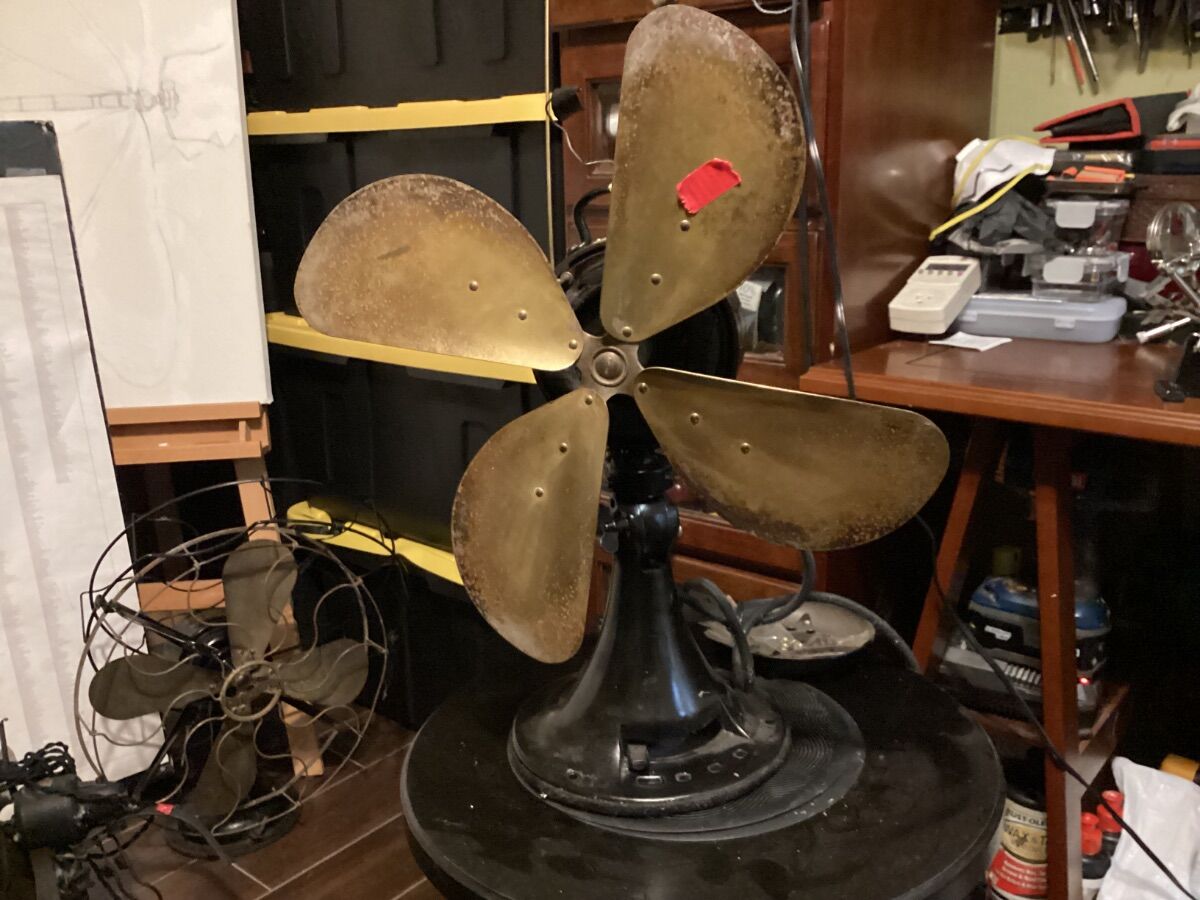
I purchased this ceiling fan quite a number of years ago, and then left it boxed. Finally I was motivated to do some work on it and hang it with some of the rest of the fans throughout the house.
 2 points
 -
Thanks to Jamie and all of those who worked with him to bring us a great website. I do not use Facebook or other social media. I get most all of my fan information on the site. People that use this site have been a great help to me as well with their vast knowledge of the hobby. What each and all of you have done to improve this site has been more than above average. You have made this site to be more helpful and quite addictive. Thanks again for a job well done.2 points
-
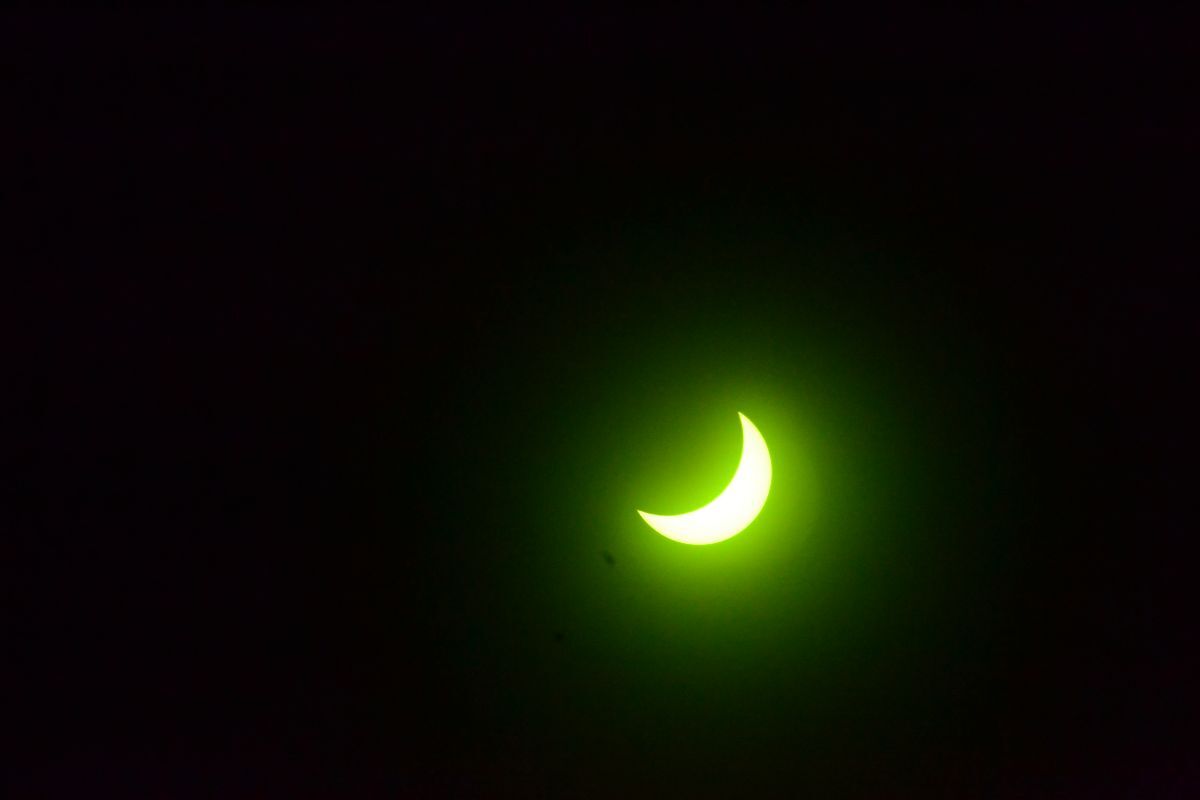
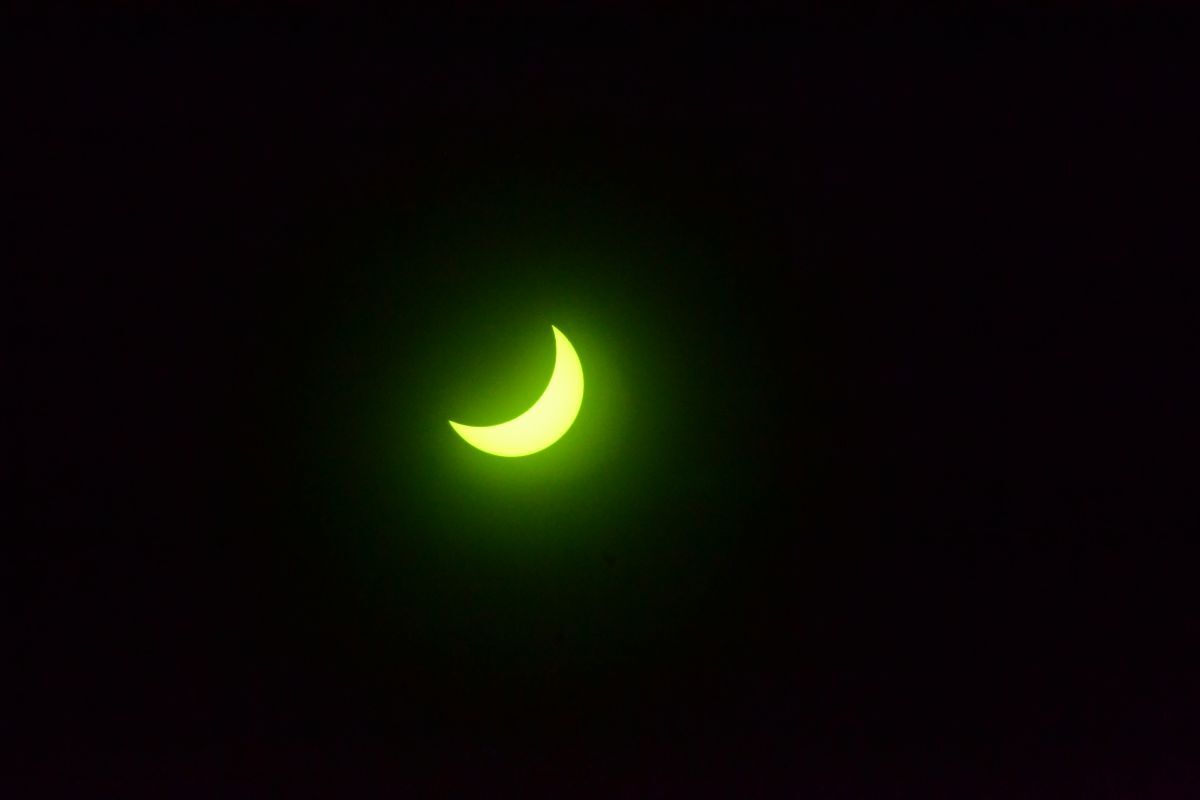
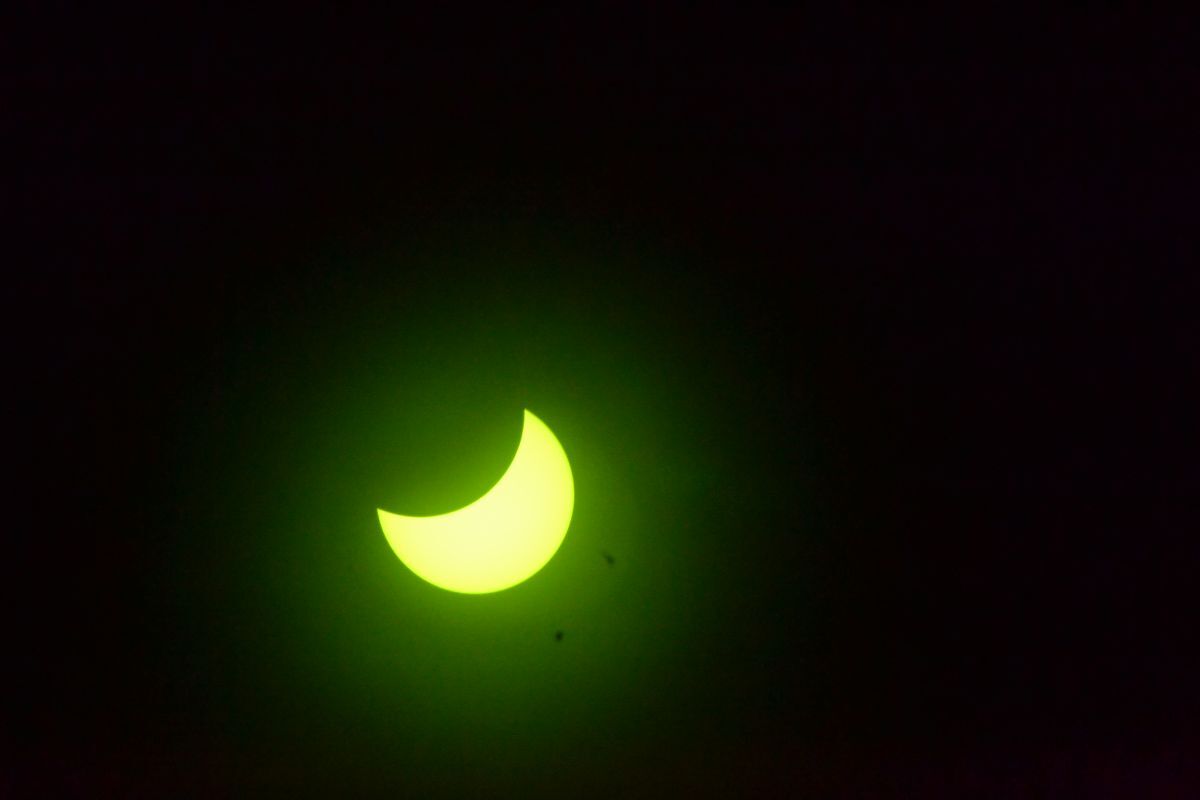
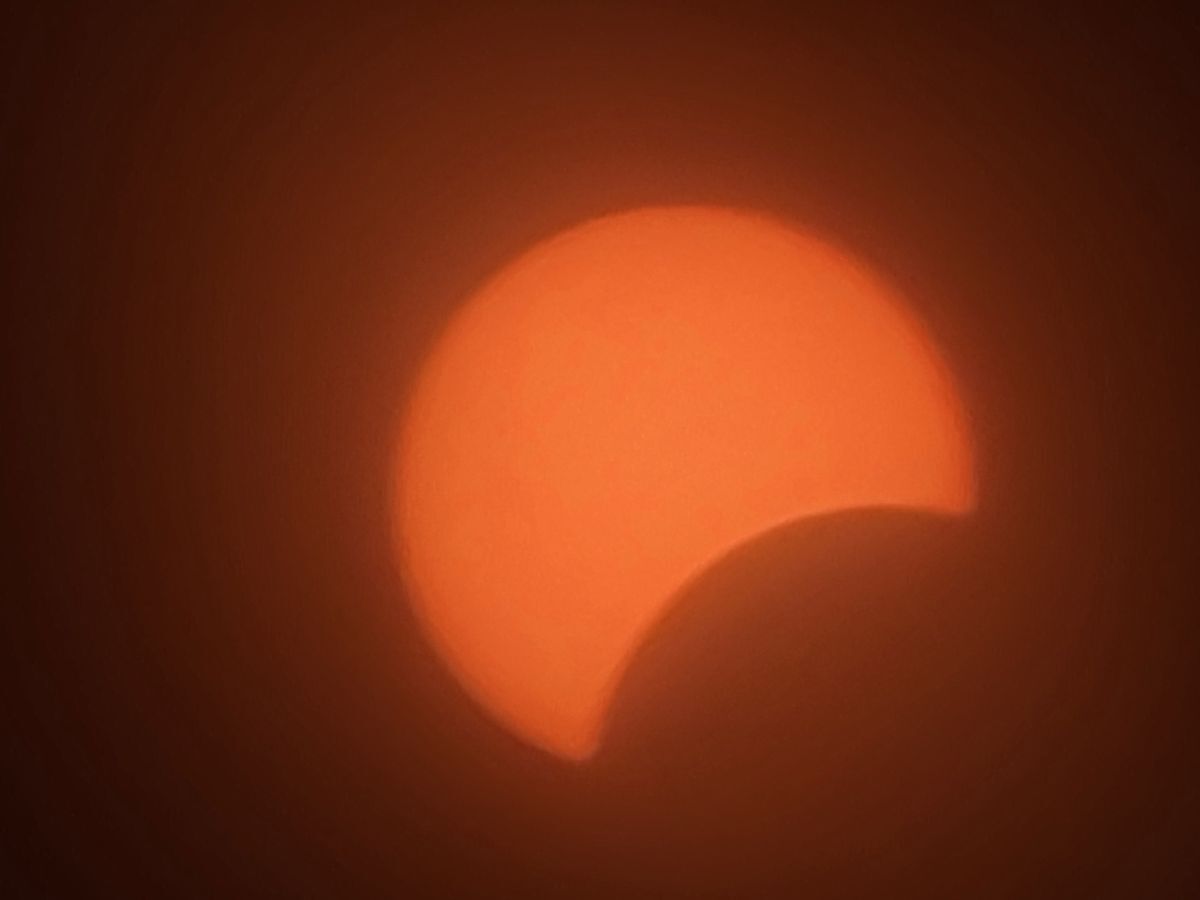
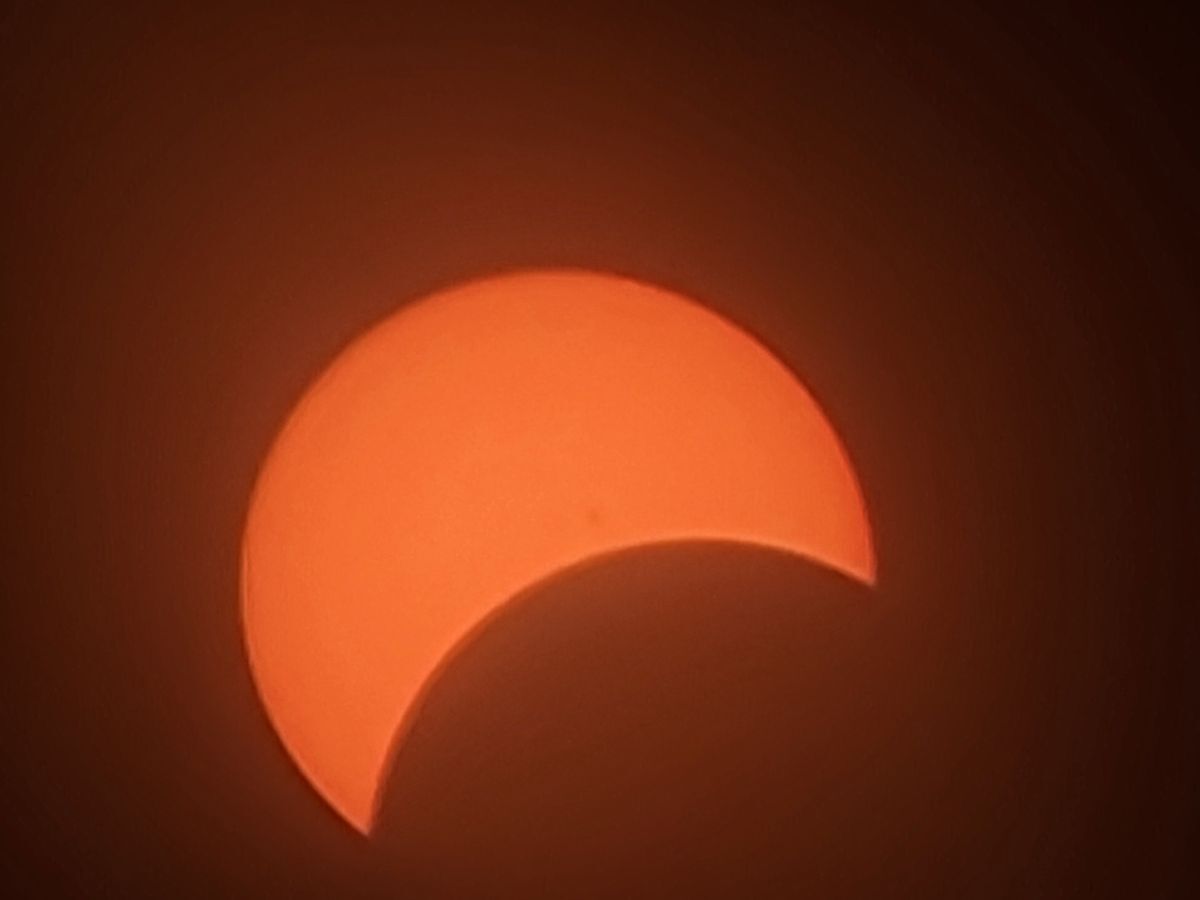
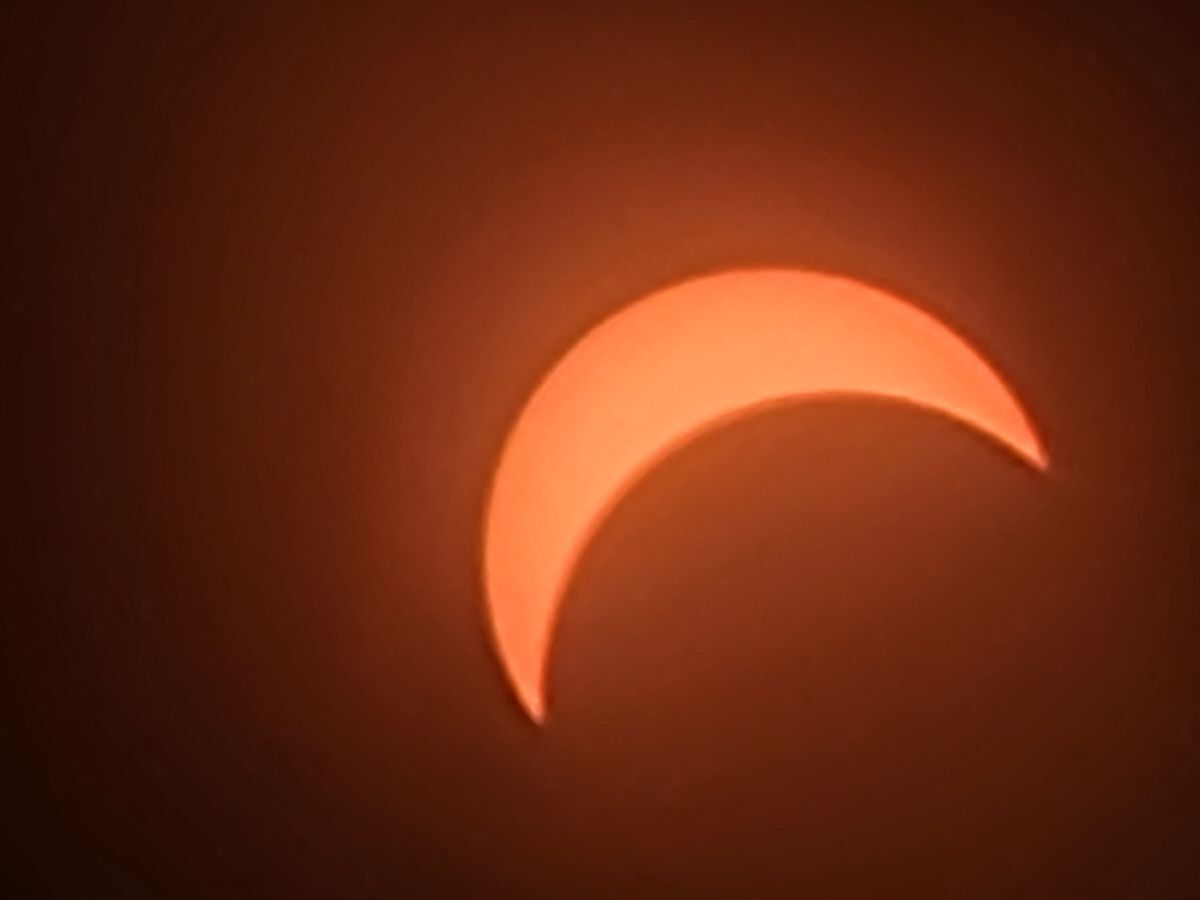
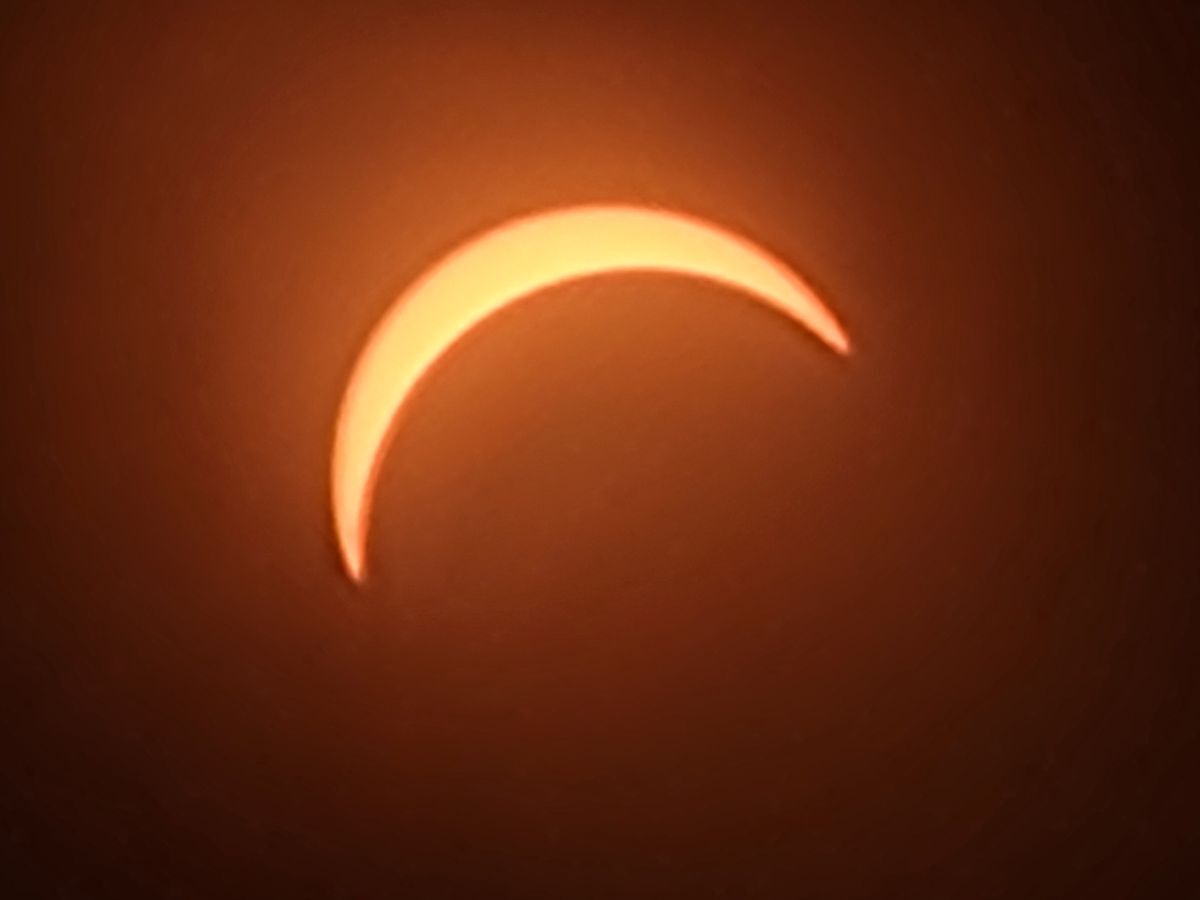
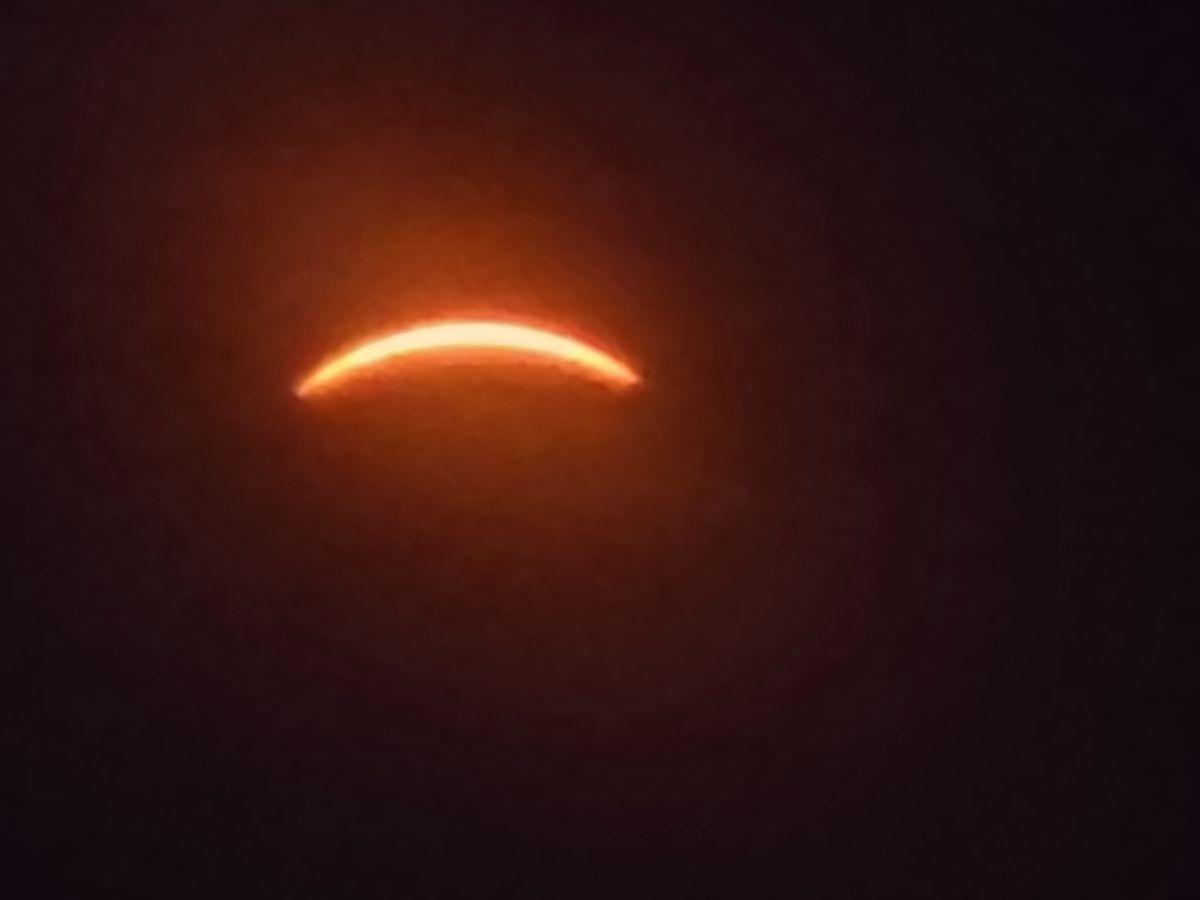
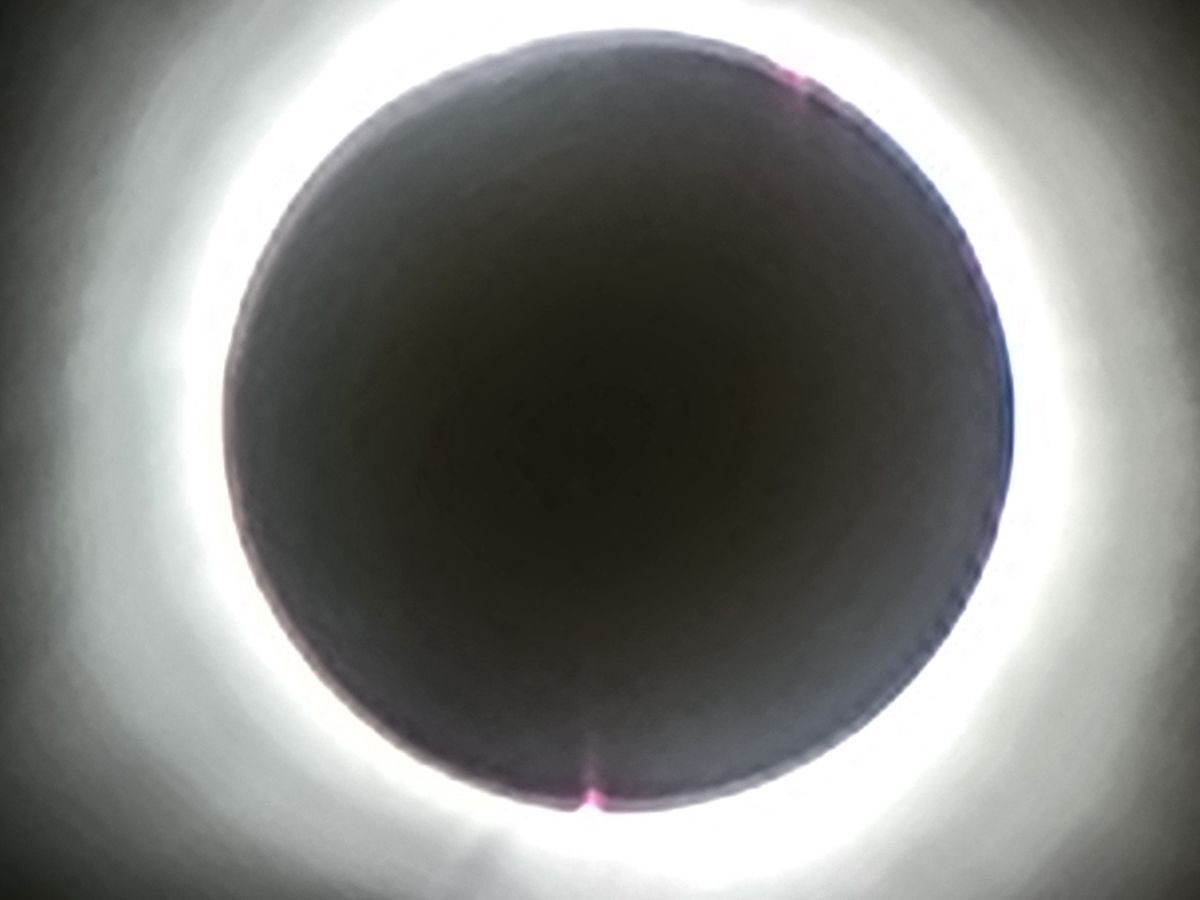
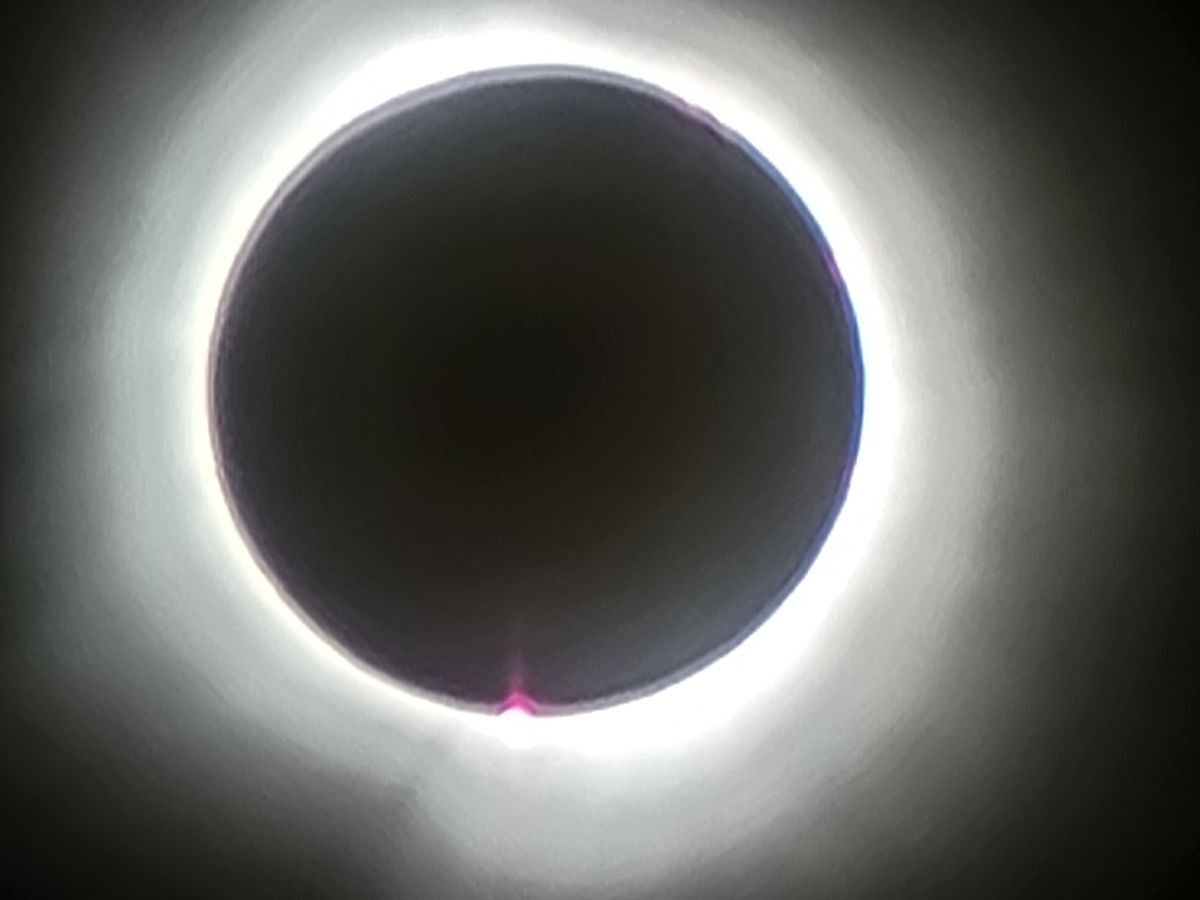
I took these in NWA today. Solar Eclipse Arkansas. Nikon D3100 with Sigma 150-600mm 5-6.3
1 point
-
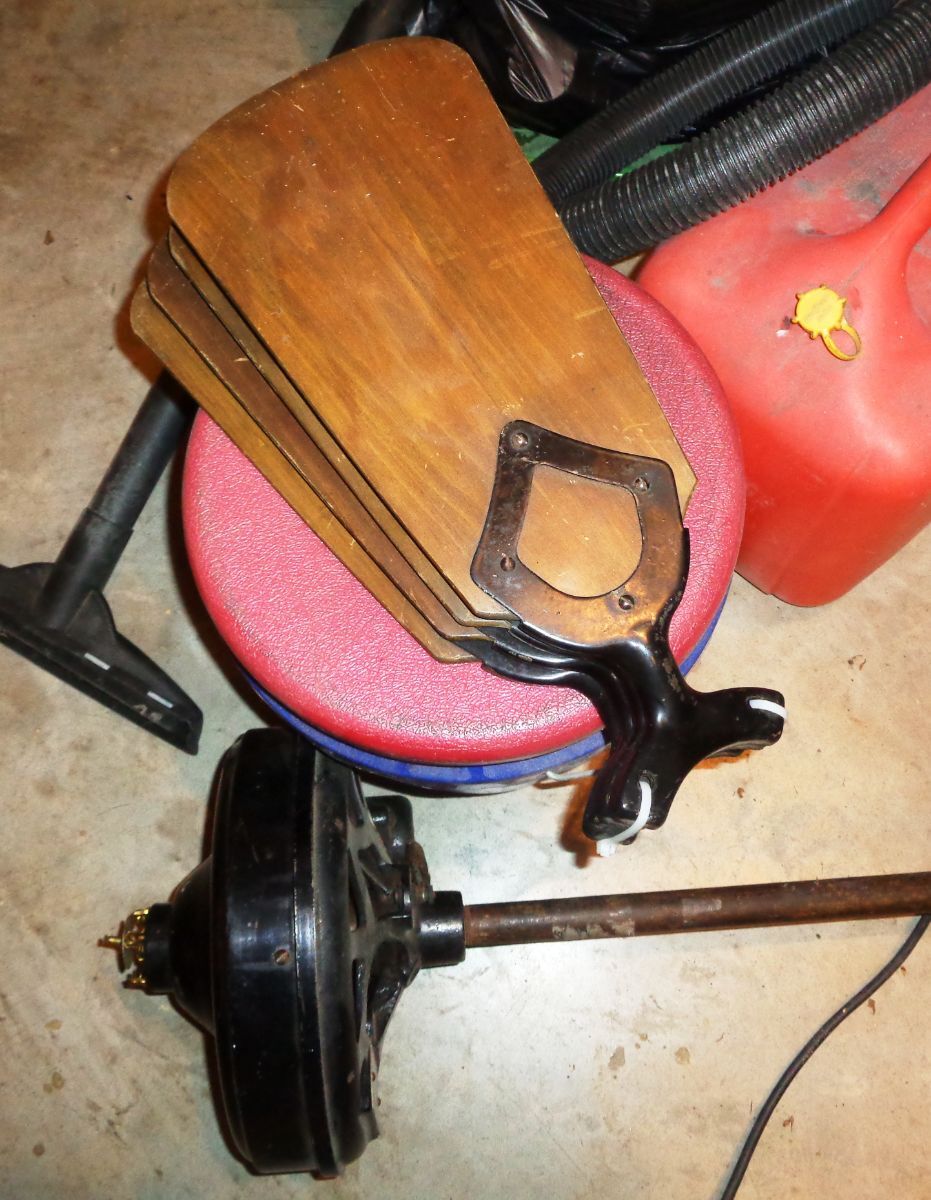
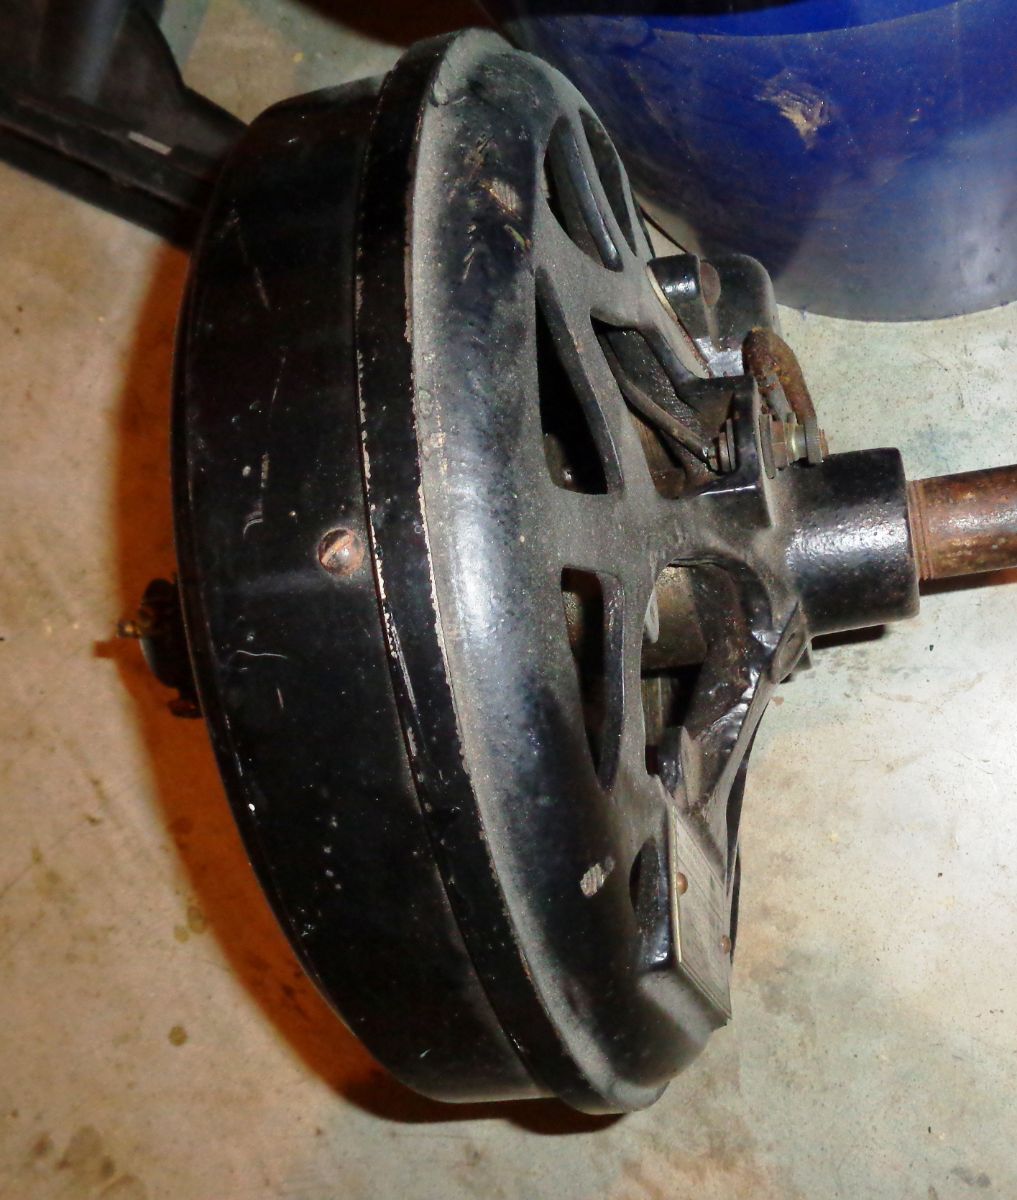
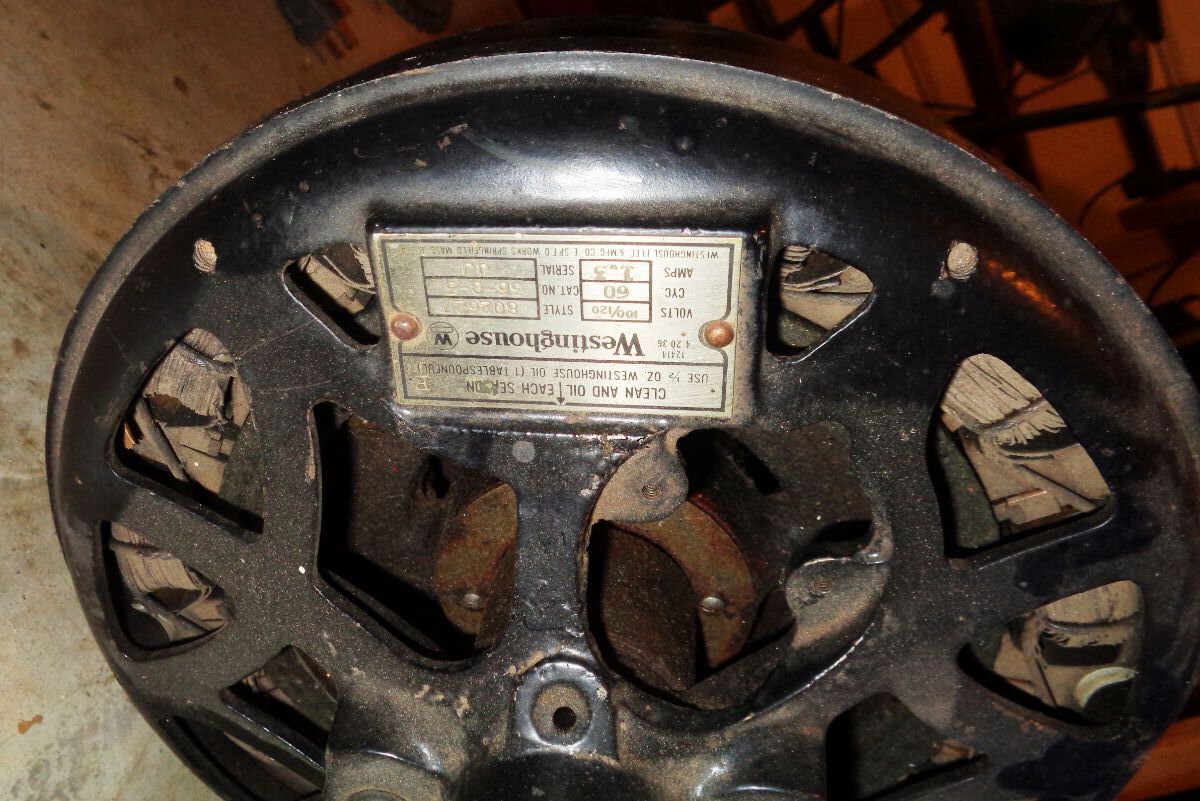
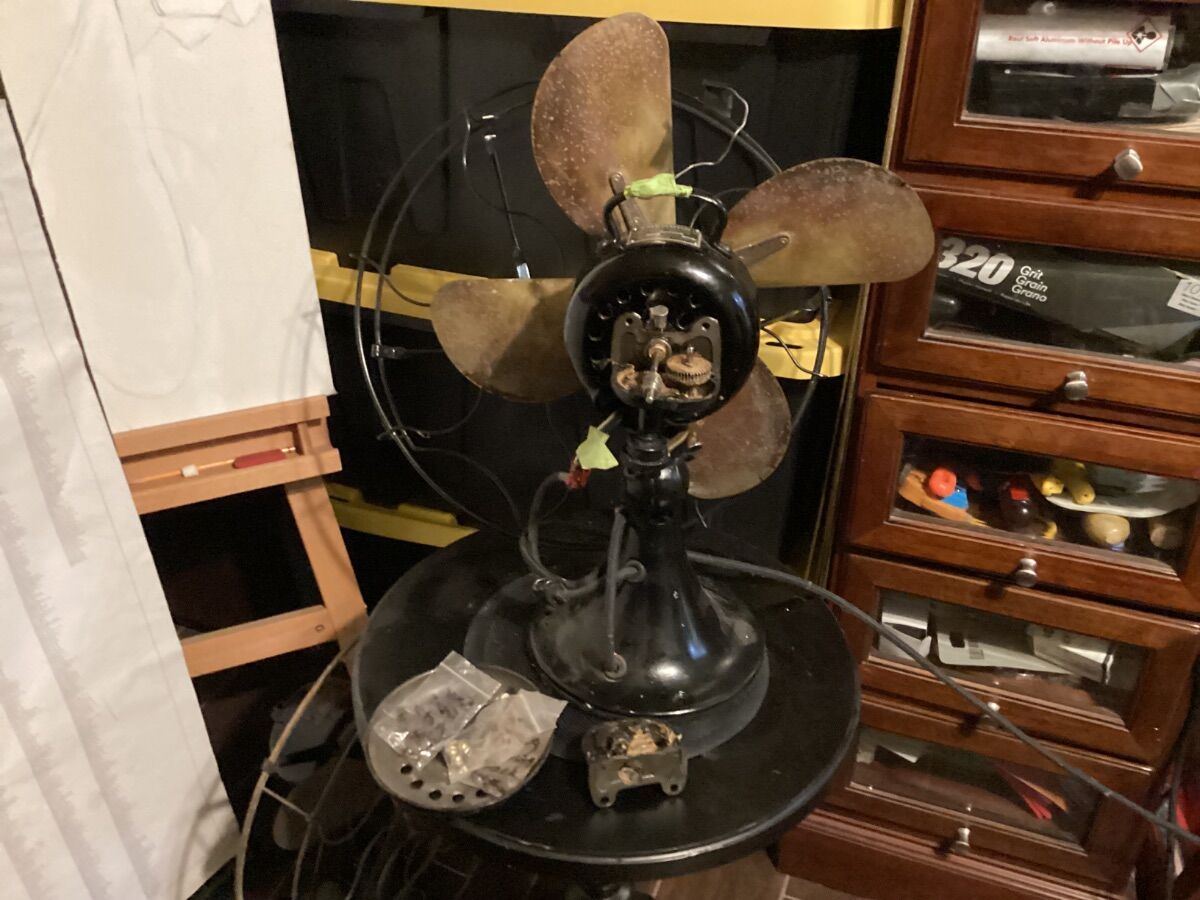
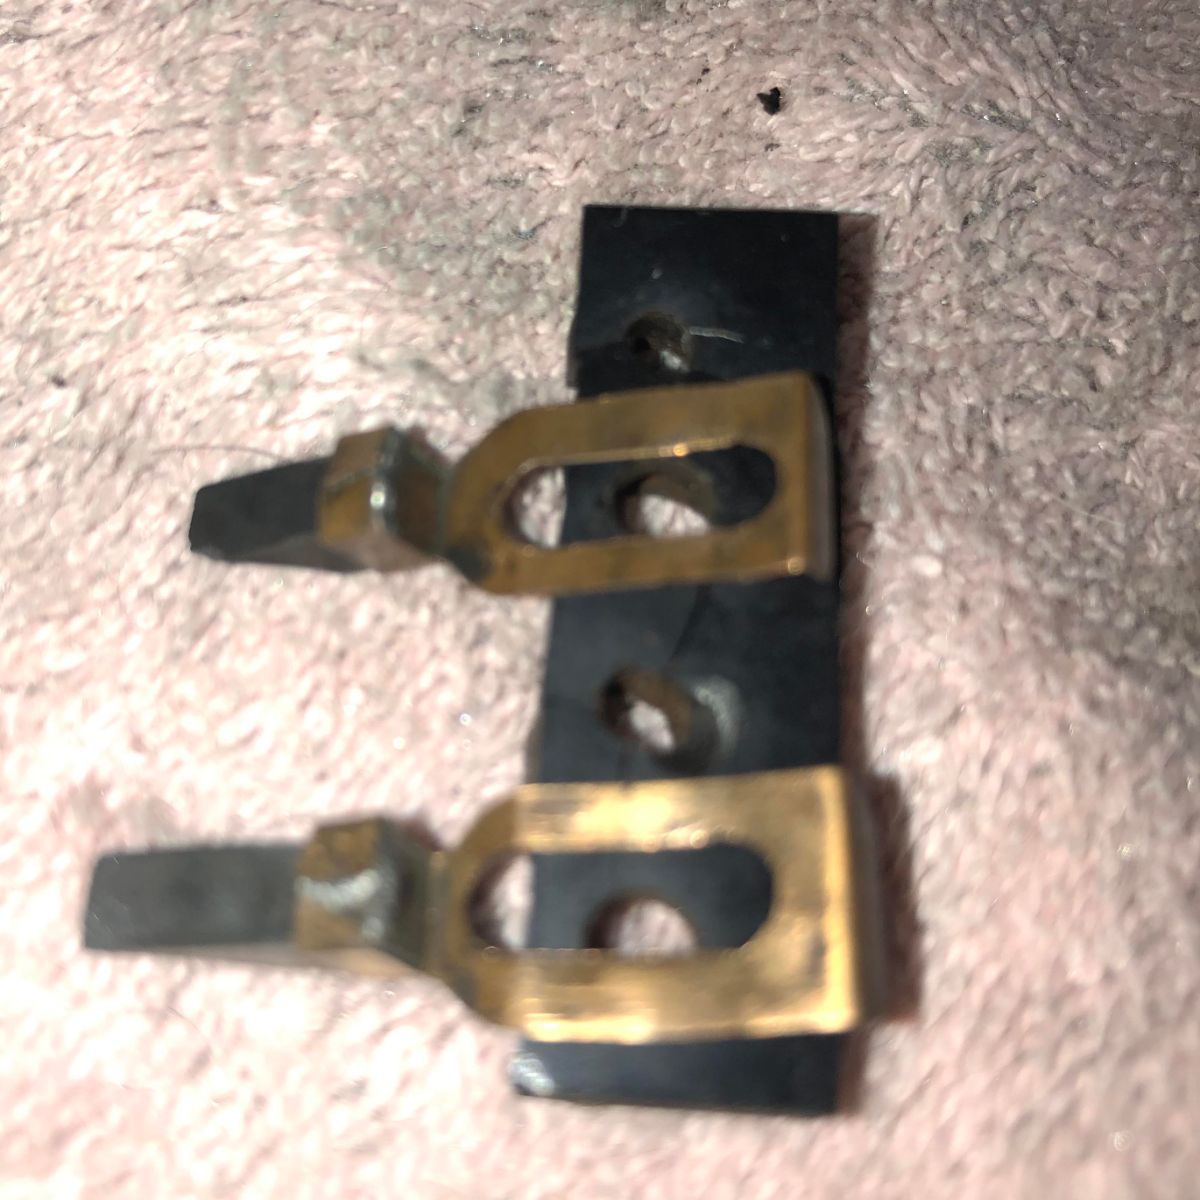
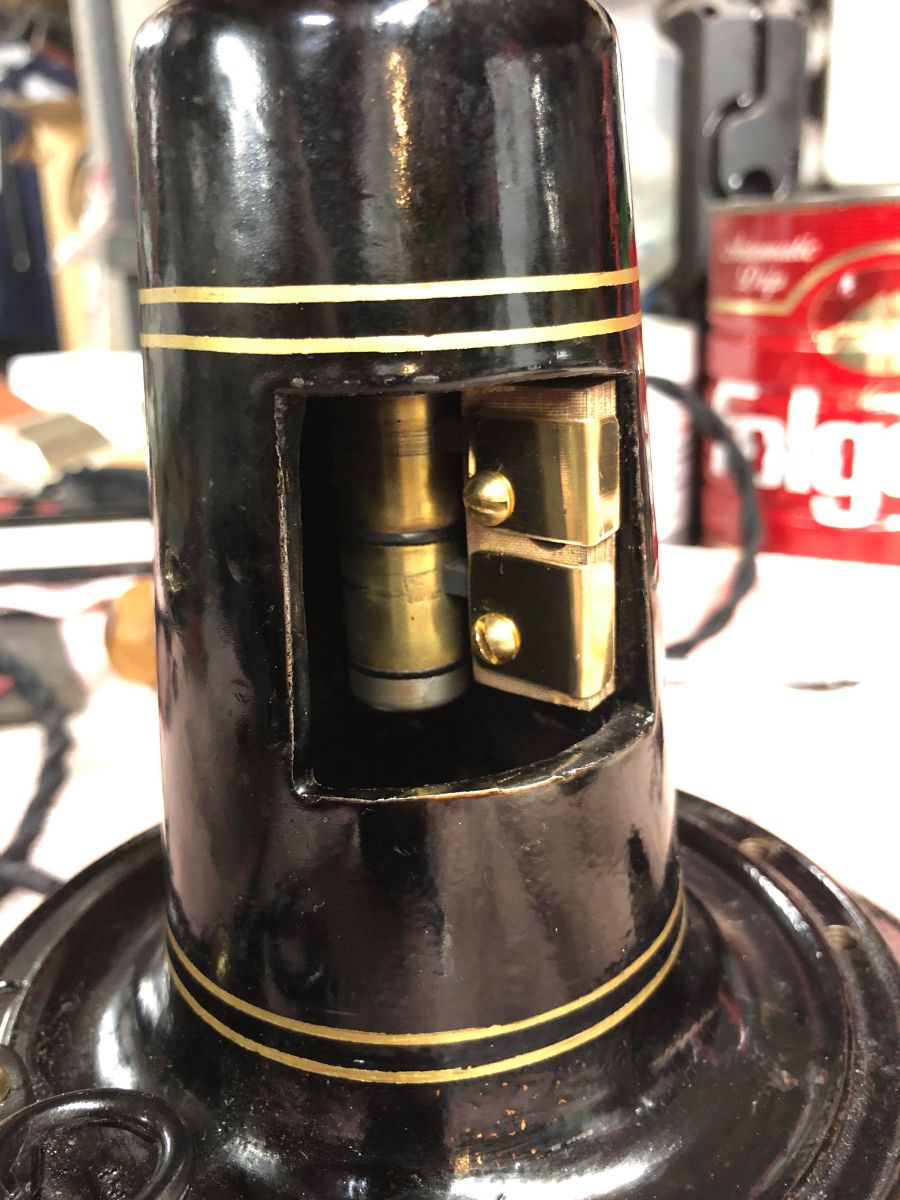
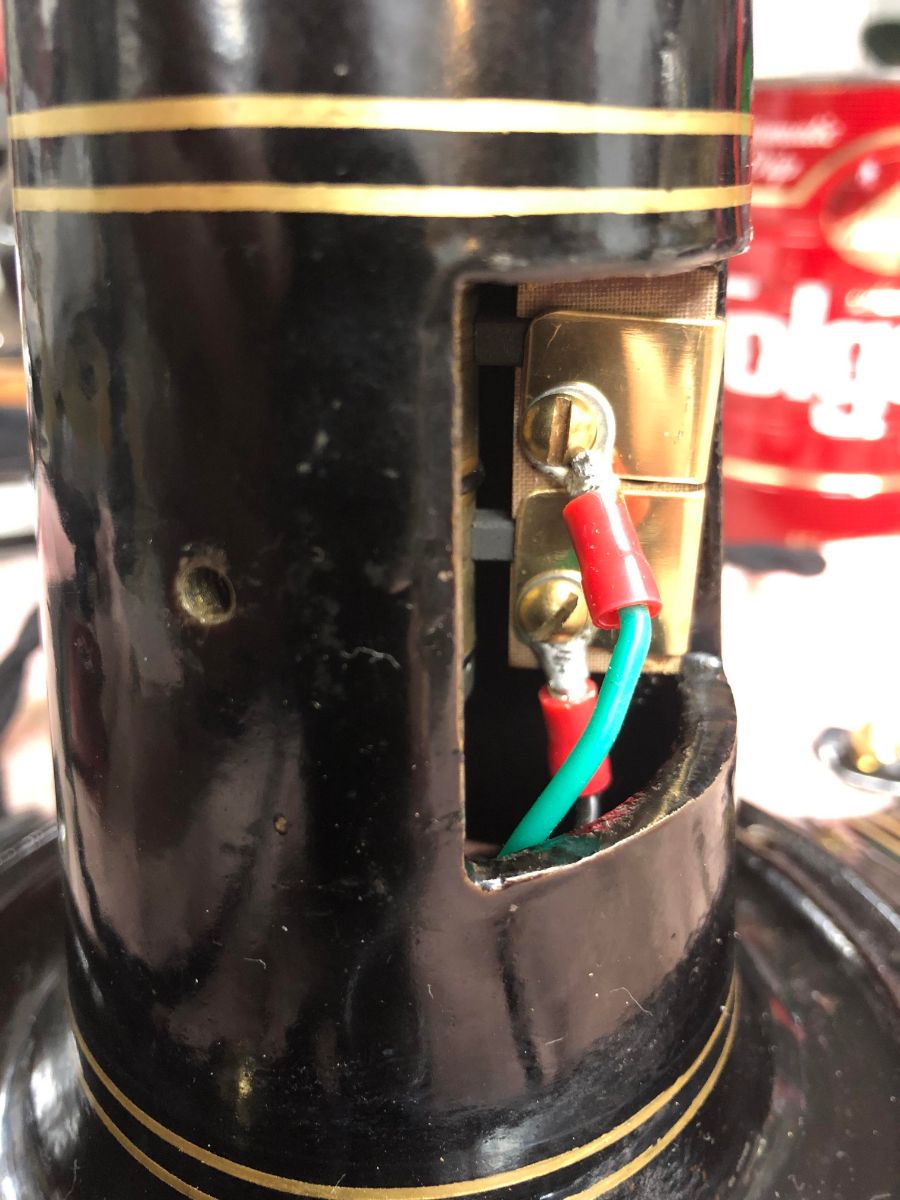
I bought this ceiling fan for a very cheap price. I works but I need to rewire it, shorter pole extension, fix the switch. The brass cap is with the fan but I took it off because it does not fit right with the bent switch. I hope I can bend the switch back in place.
1 point
-
That is a good score, those blades & brackets are very scarce. Great thing is it appears that switch is repairable.1 point
-
So my daughter said she didn’t want that little Jubilee fan with a pleasant breeze.She wants a big fan that puts out hurricane force winds.Be careful what you wish for!She seen it running and said,,,IS IT SAFE! My reply,,DON’T STICK YOUR FINGERS IN IT,or your hair!! Im going to ruffle some feathers on this one from the leave it original group .Im going to paint it as pink as Miss Piggy’s posterior.Thats what the daughter wants ,she will get.Im going to bling it so shades will be required to look upon it.That and I have four or five of them.I’m not about to paint one of my Westinghouse’s pink.🤬 So here’s the candidate.It was someone’s project that they Jimmy rigged the wiring I suppose to see if it would run.The blade was so out of clock you could see it at a glance.I guess they gave up at that point so I’m picking up the pieces so to speak.I hope they are all there.I do have extras like the blade on it.I have the wings back in alignment ,now I can balance it.I get to try out my Jerry Bravi balance rod. This thing is scary without the cage!! IMG_2652.mov
1 point
-
Didn’t Piper use those in their early attempts at electric powered cubs ? I believe their downfall was putting all the batteries in the rear of the plane.
1 point
-
Cell phone filtered with solar shield
1 point
-
1 point
-
I will be happy to help anyone that needs their lollipop choke coil rewound using this technique at no charge. It's not as hard as it looks but it did take a bit of work to get the hang of it. The steps are: 1. Remove the coil and put your ohm meter on the nichrome wire where it attaches to the first switch position. Put the second lead of the ohm meter at the end of the winding where it attaches to the copper wire. In other words, find the resistance of the existing wire. Mine ohm'd out at 26 ohms. 2. Remove the nichrome wire but leave the copper loop in place. 3. Buy the Kanthal wire seen above and measure out 3.5 feet and wrap that around a piece of PVC pipe without allowing the wire loops around the PVC to touch. Tape each end to the PVC and put your ohm meter on each end. Test for resistance. Cut the wire until you get 50 ohms or so by touching each end with your ohm meter. 4. Remove the wire from the PVC pipe and put a small loop in the wire at one end and wrap that around the first position of the choke coil. 5. Slowly start pulling the wire around the tower holding the wire against each leg of the tower to keep it in place before moving around the next leg of the tower where you will hold it in place with your finger (or thumb). 6. Continue until you get to the end of the wire which you will need to attach to the copper wire that is looped around the top of the tower. You won't be able to solder the Kanthal (it won't adhere to Kanthal like it does to copper), so you may have to make a small loop of copper wire to twist around the copper loop where you can attach the Kanthal. In my case, the Kanthal ended right where the copper loop was vertical. 7. Retest the ends of the Kanthal wire to assure that you have about 50 ohms of resistance. 8. Connect the tower to the fan without reinstalling it first and test that the resistance of the new wire still yields 50 ohms. The Kanthal will briefly smoke when it heats up for the first time, but only briefly so don't be alarmed. 9. Reinstall the choke coil when you are satisfied that the second speed is what you want. You can always remove a turn of the Kanthal, if the RPM's of the motor are too slow. 10. While you are doing this, you might want to consider changing out the parts behind the removeable door with Darryl Hudson's kit. Below is the original arrangement: Below is Darryl's replacement:
1 point