Search the Community
Showing results for tags 'emerson'.
Found 13 results
-
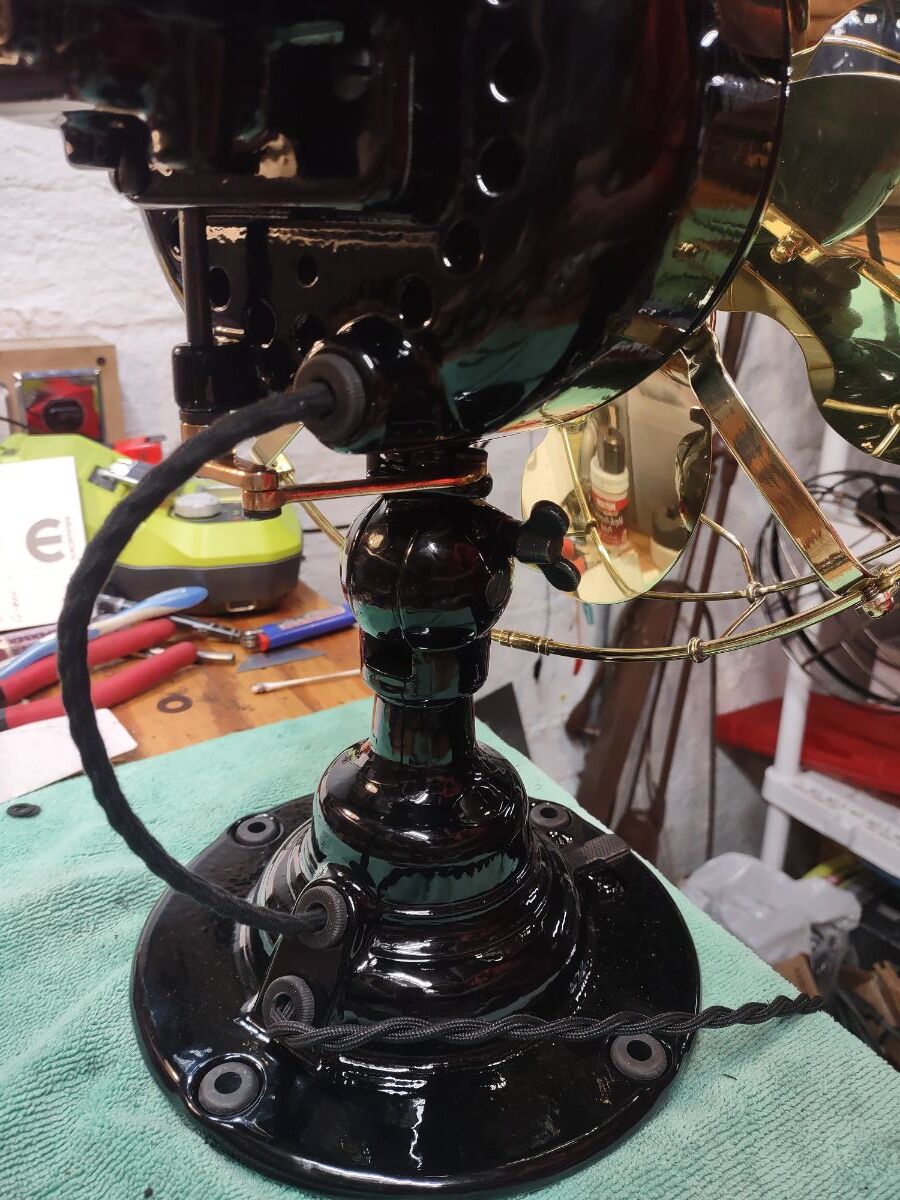
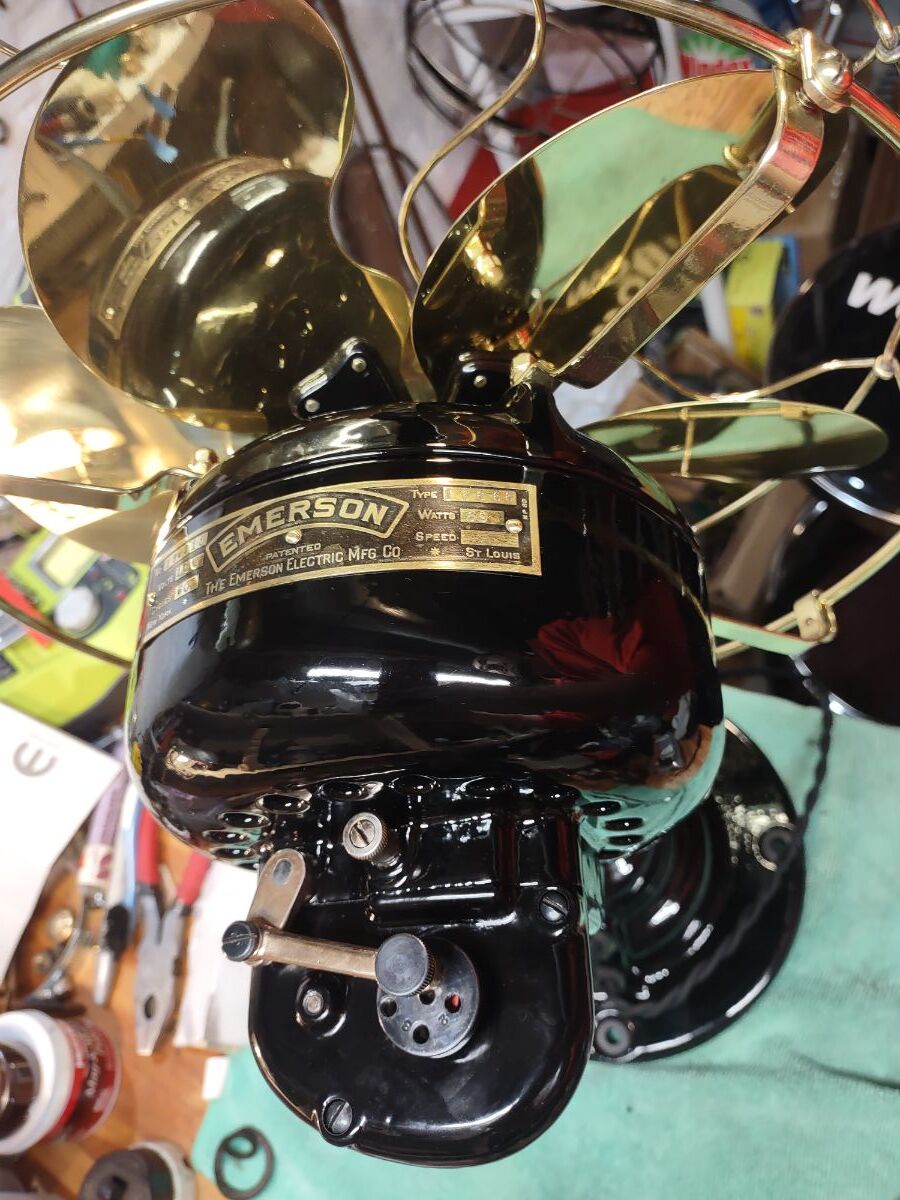
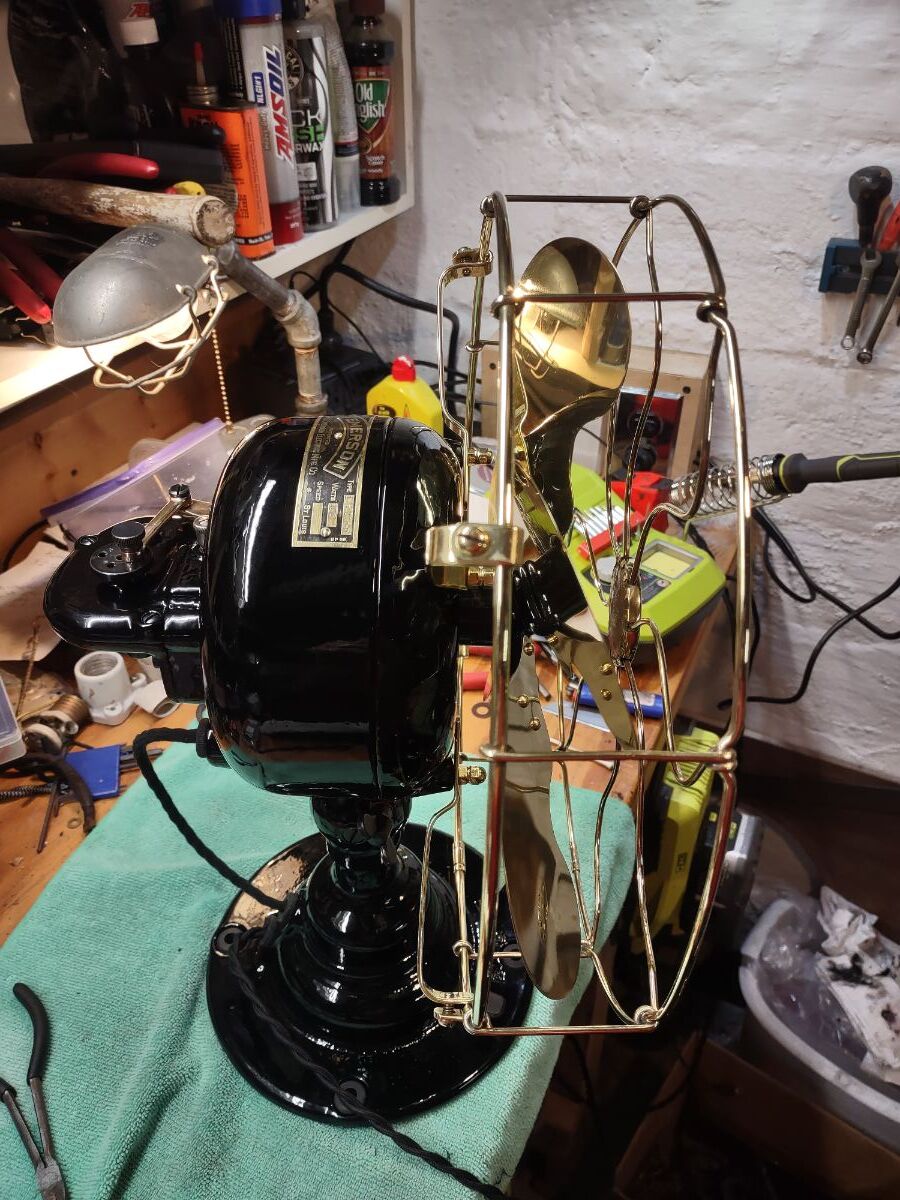
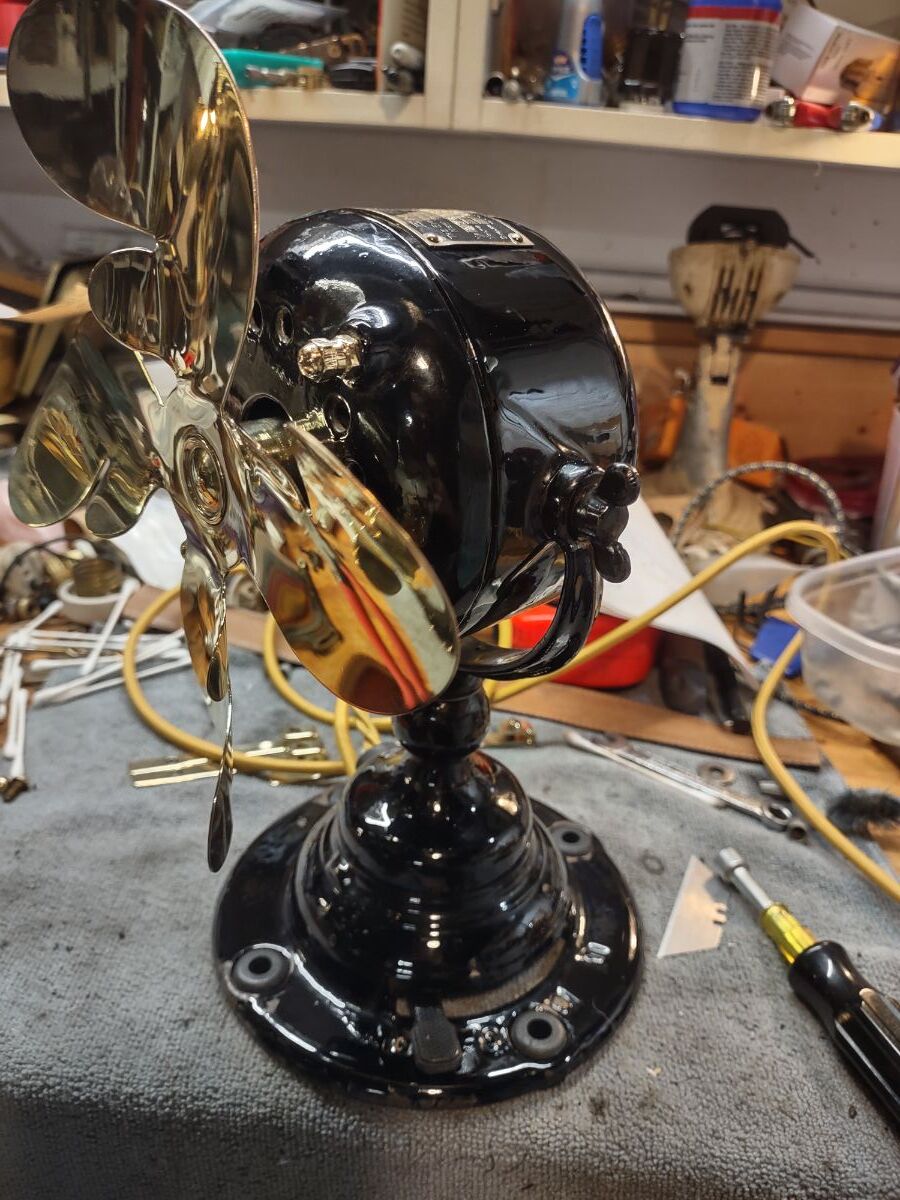
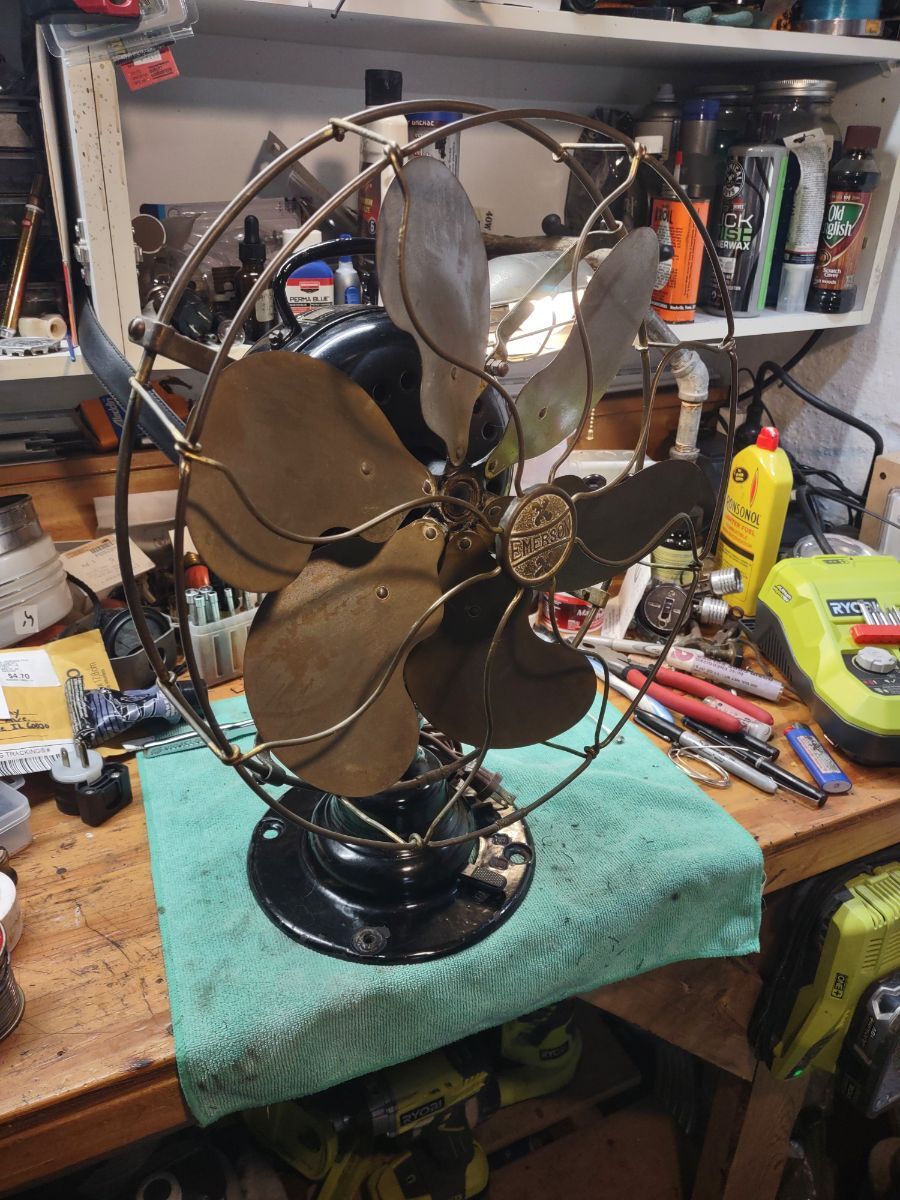
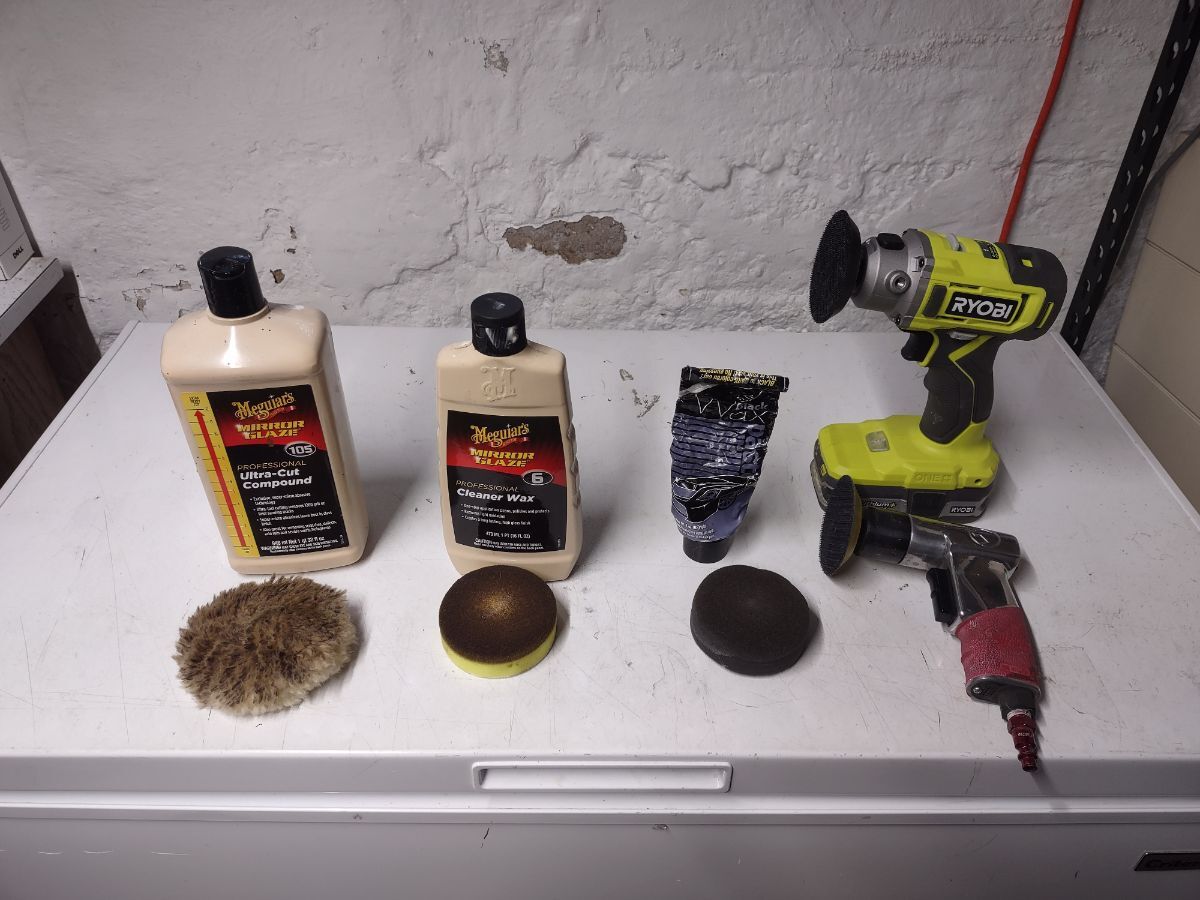
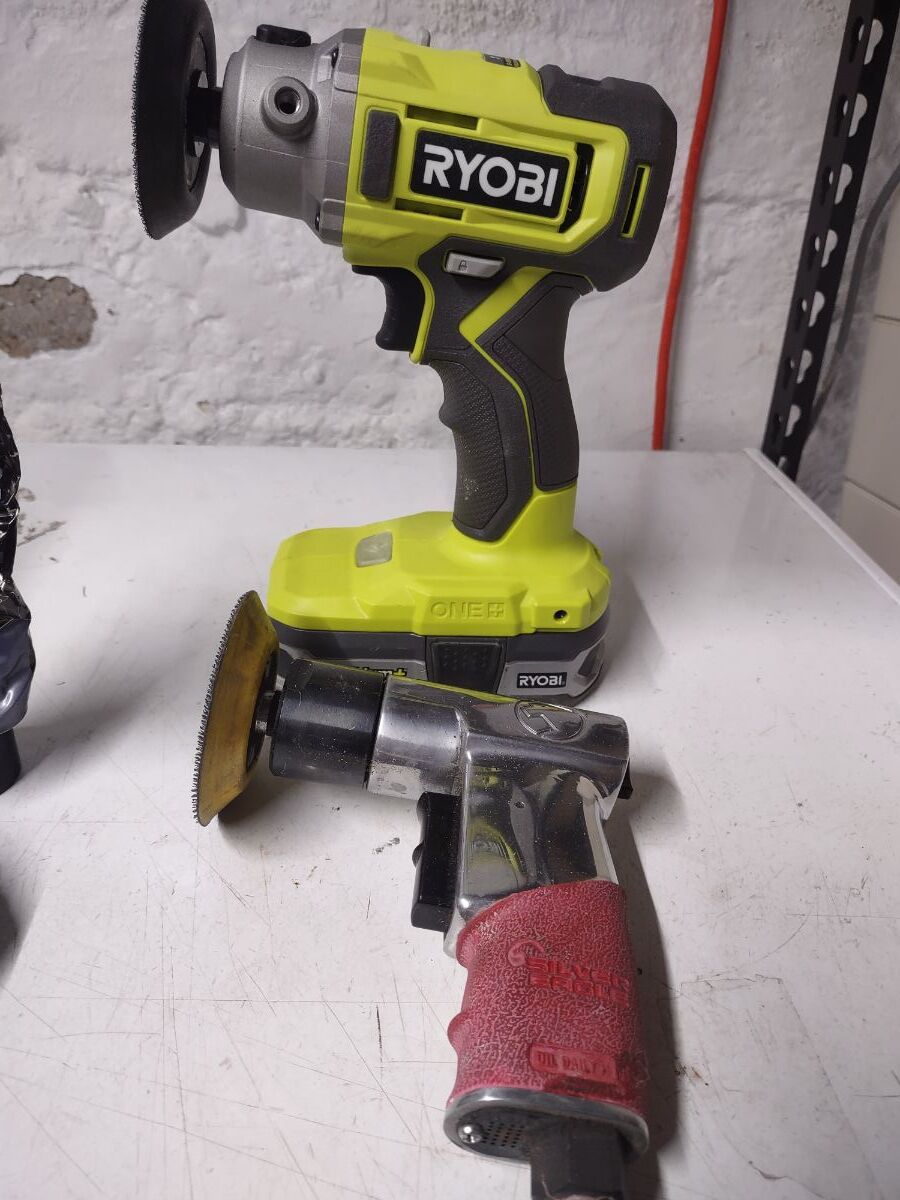
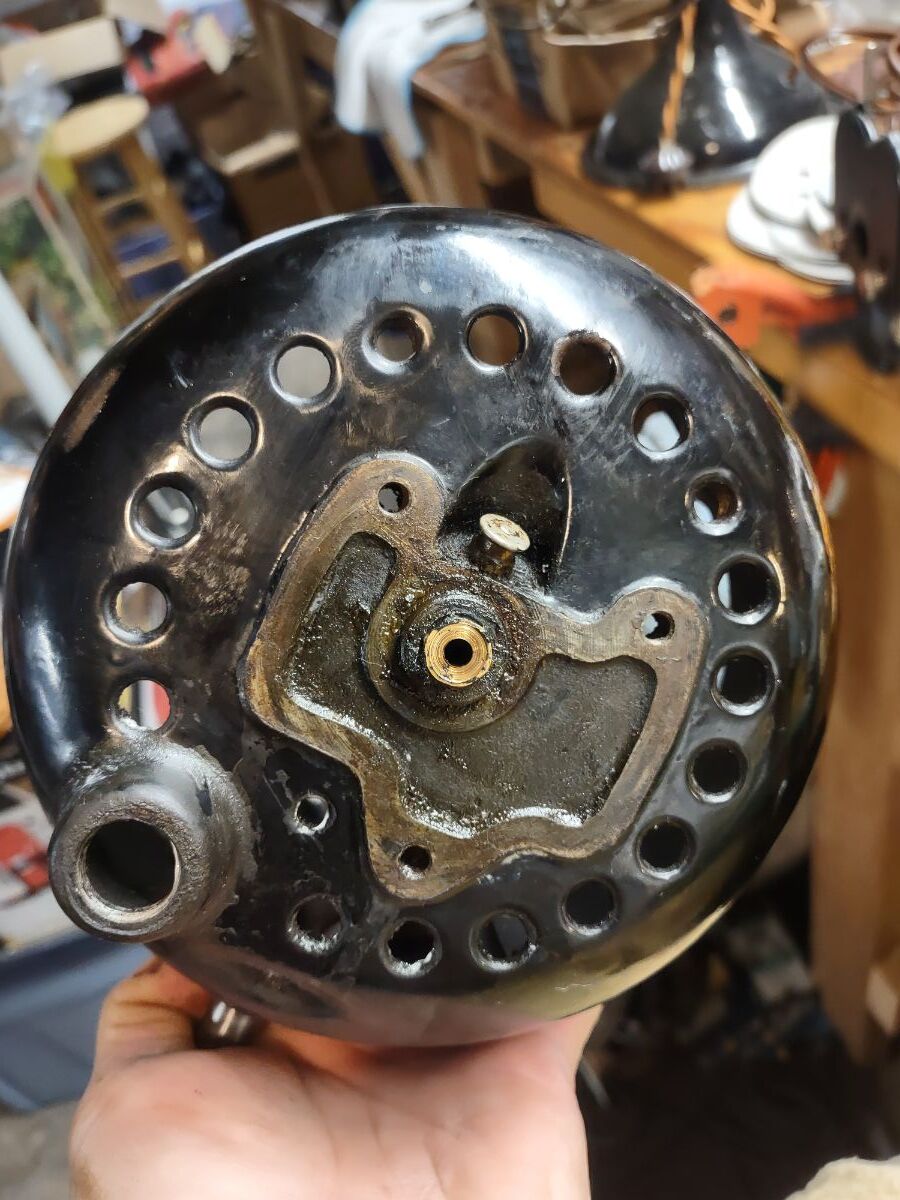
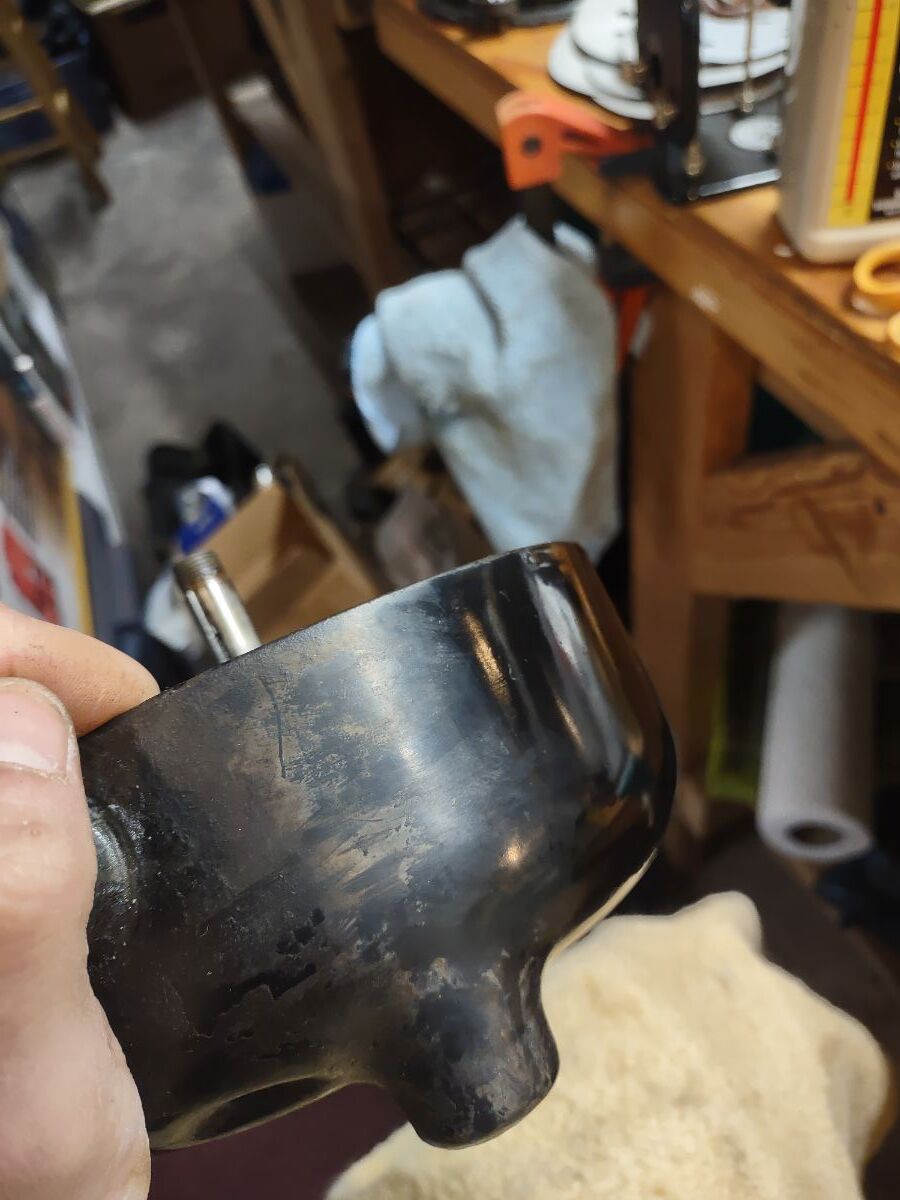
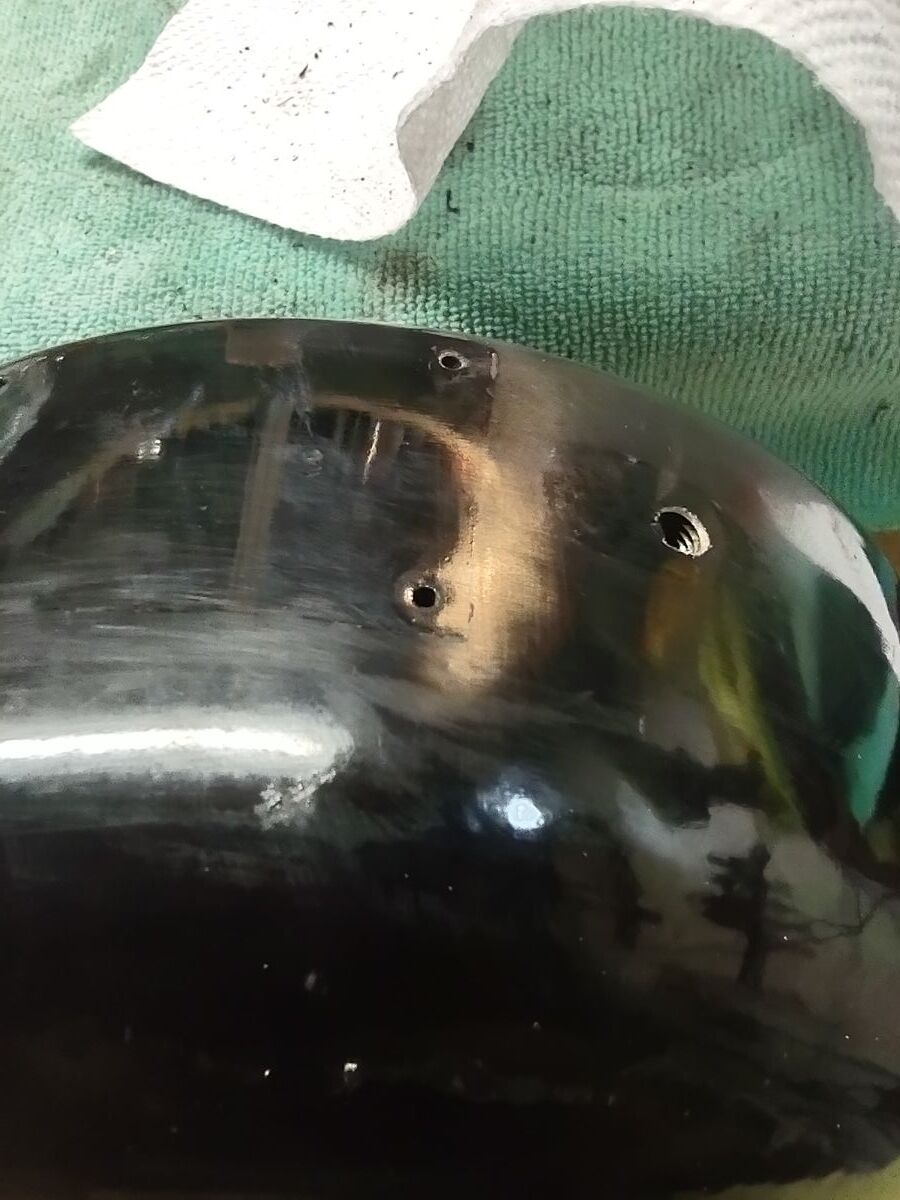
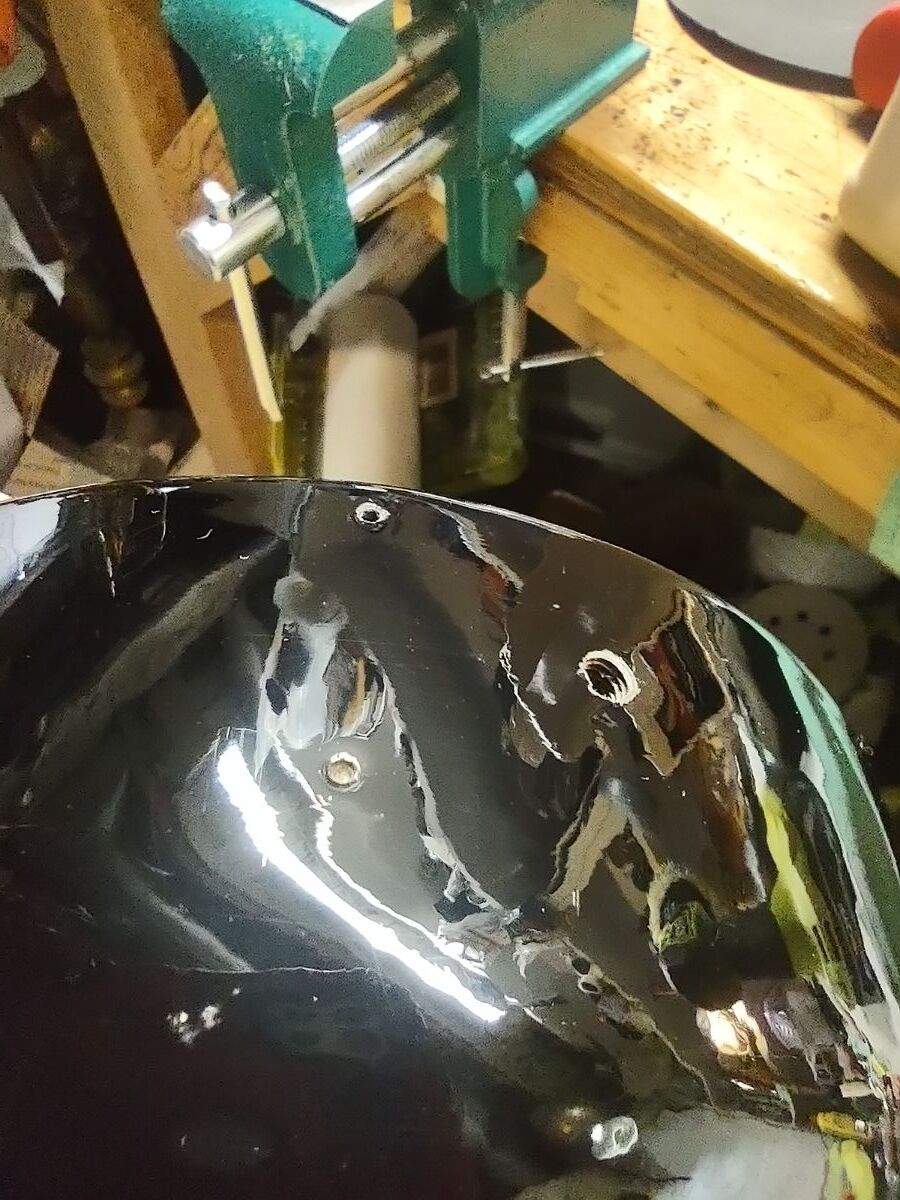
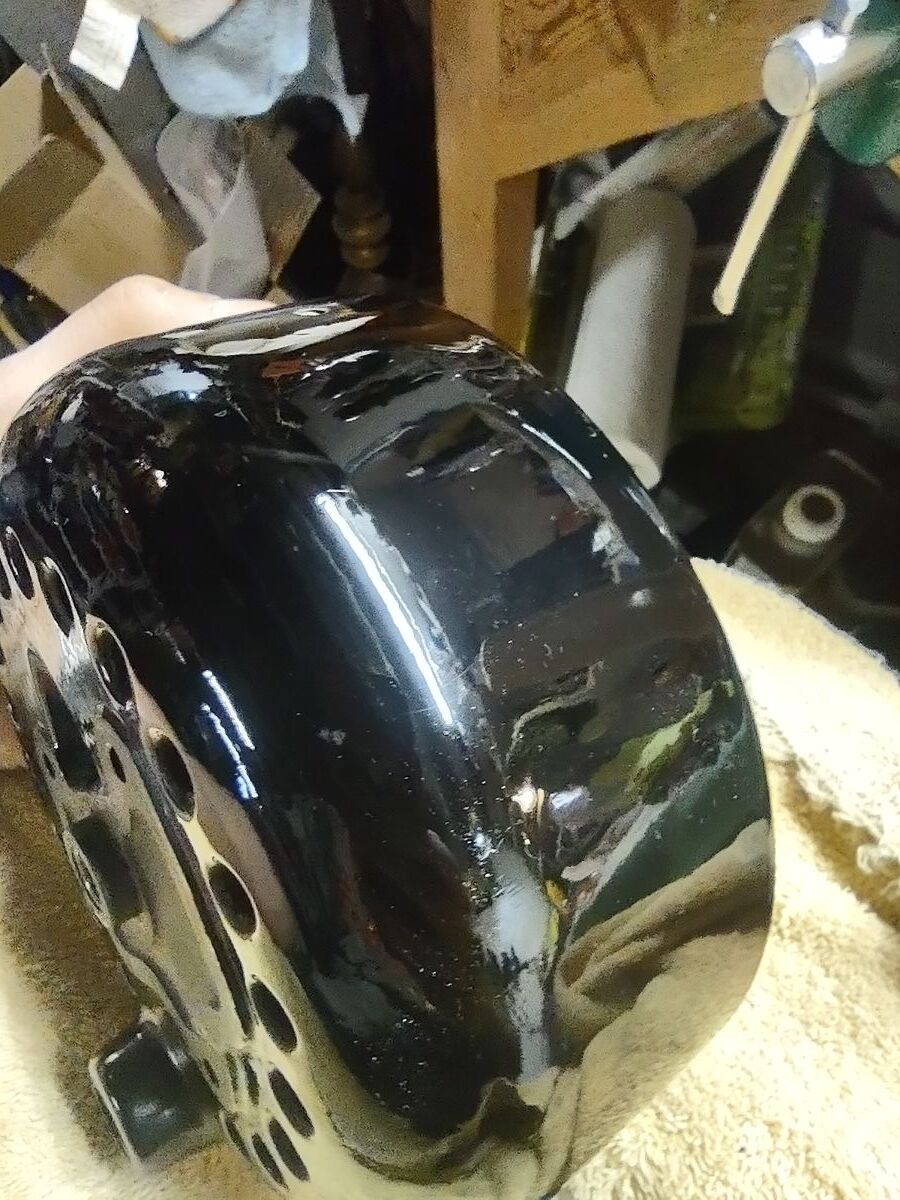
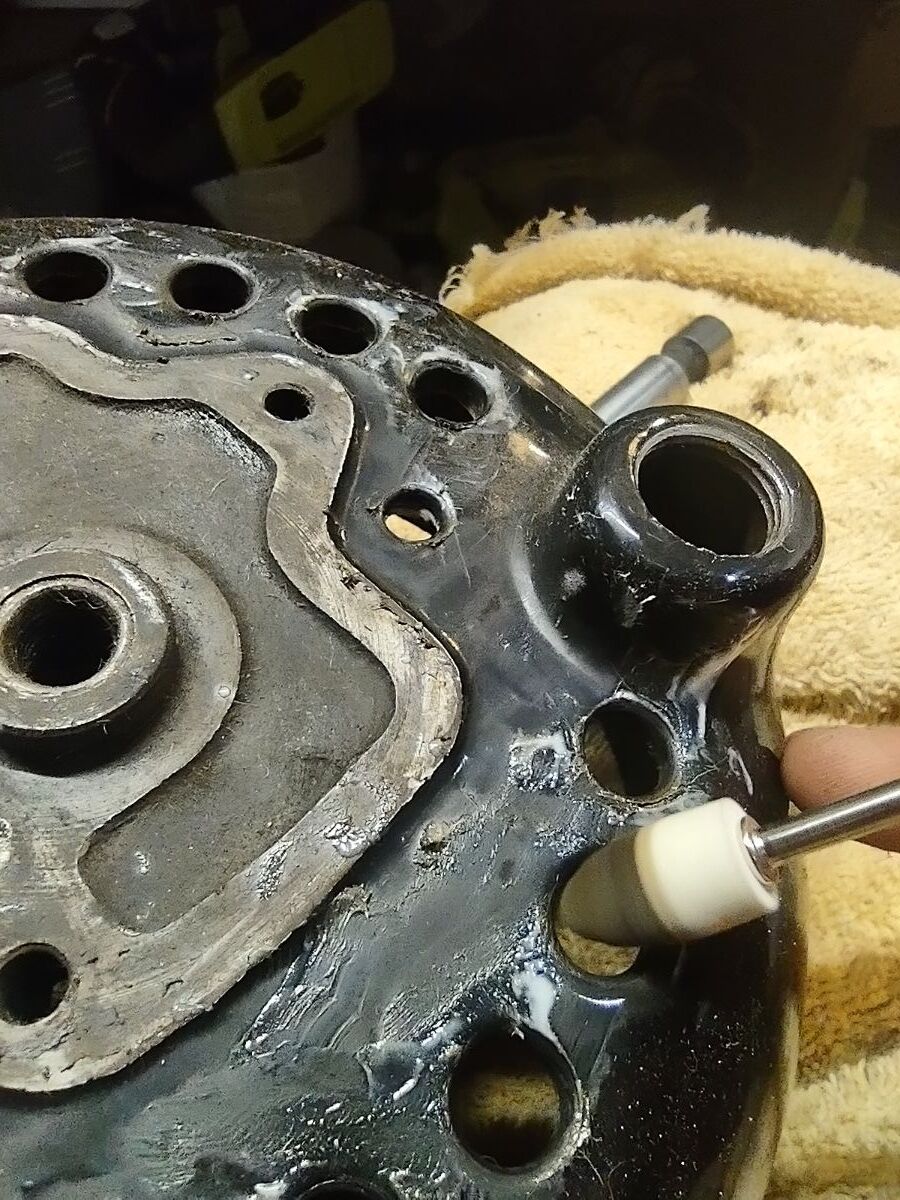
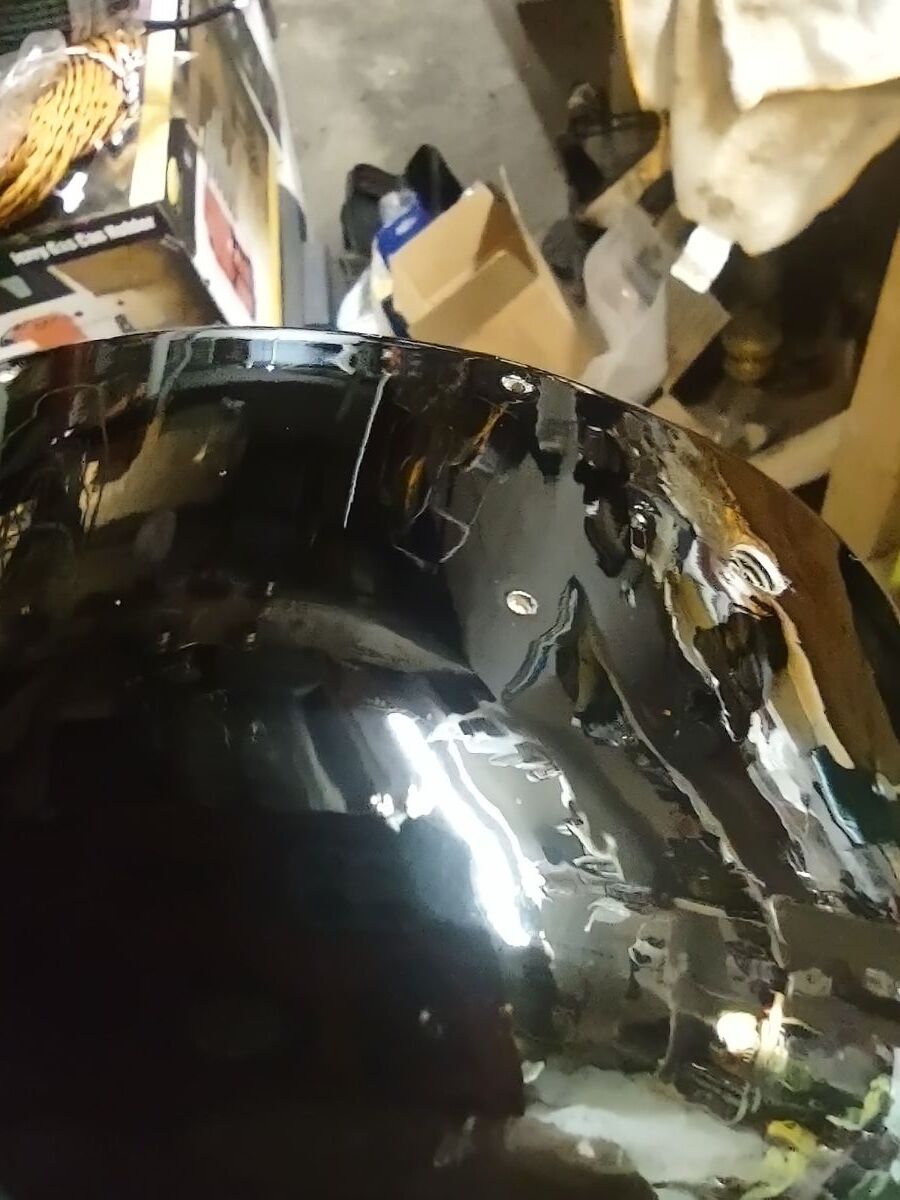
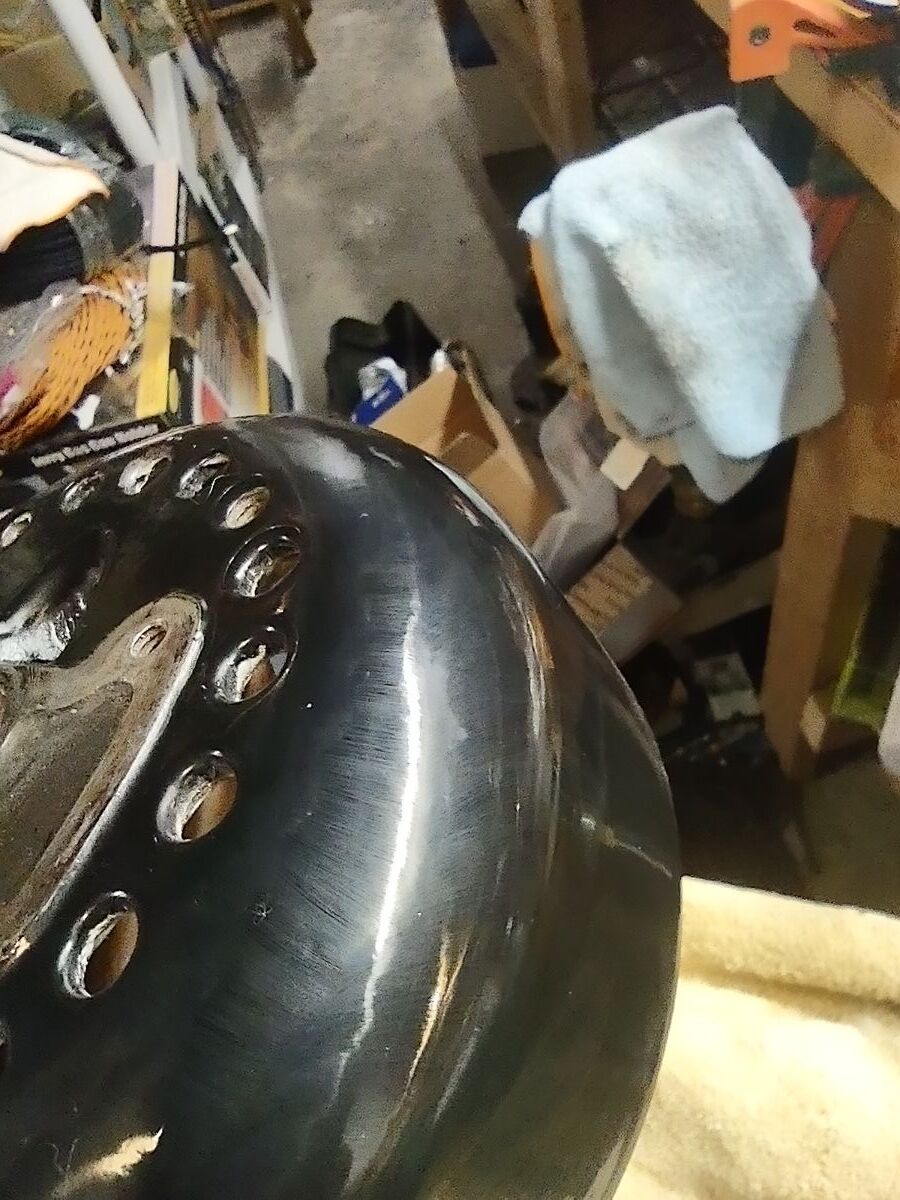
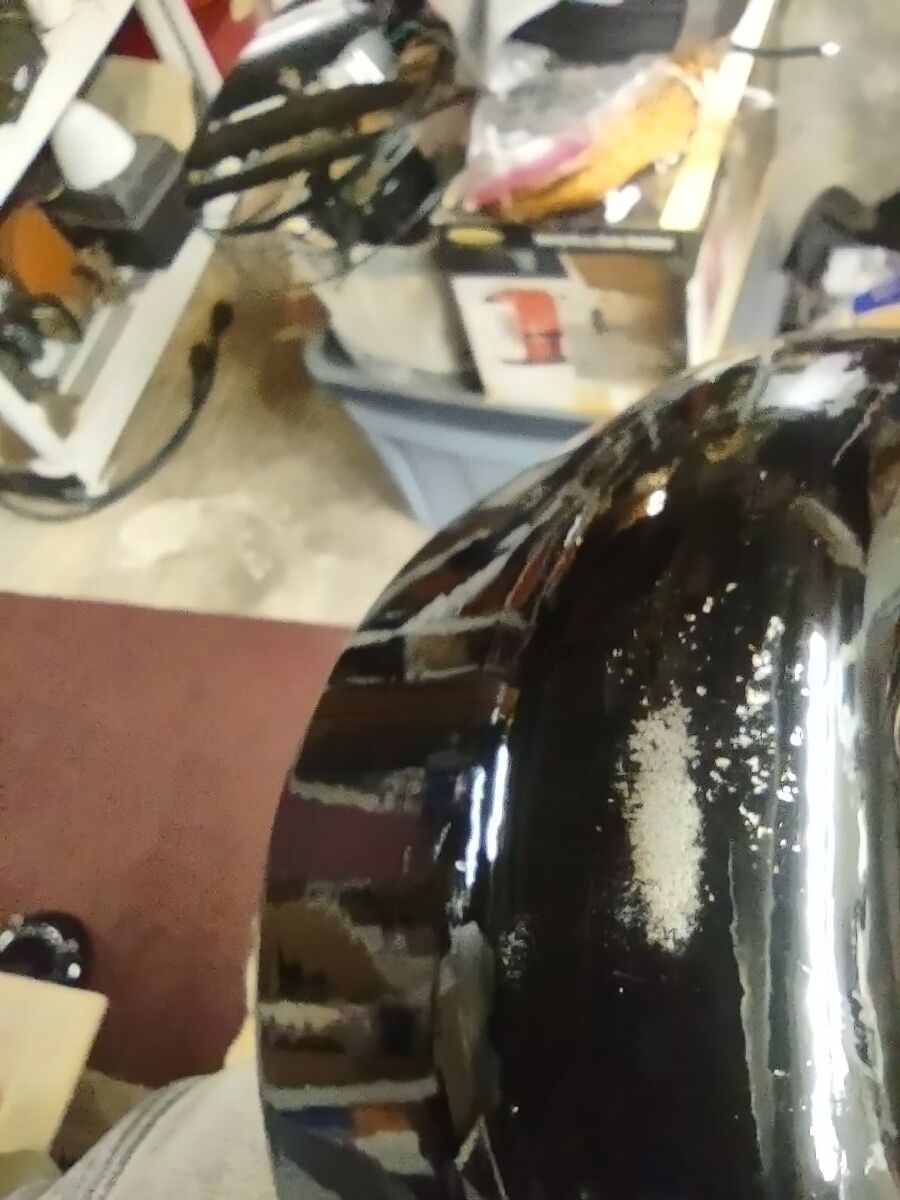
I've had this 21666 for a while now and decided it was time to bring it back to life. No paint job here! Most of the original Japan was intact and in good shape. Several friends have seen my other preservations of original finishes, so I decided it's time for a thread on my methods of preservation. I'm not going to get into how to take apart the fan, how to wire it, blah blah blah. There's a thousand great posts already made on those topics. This is just how to bring that original finish back to life along with a couple other topics thrown in along the way. This will be an on going post until the fan rejoins it's 6 wing brethren in the living room. But today I'll get into cleaning up the finish. Normally I do this with an air buffer, but as it's been cold out, I decided to try out a battery buffer by Ryobi. I like it. It's a bit heavier than an air buffer, with the need for a battery, but works pretty well. And it came with the 3 pads I always use for doing this. I used Meguiar's products on this example, but I've also used Chemical Guy's products with great results. After blowing the fan apart, I clean off any hardened grime with acetone. This works on the older, more durable Japan finishes. I avoid it on later fans. Starting with a wool pad, I start with the cutting compound. This does a great job at stripping light amounts of leftover grime, oxidation, and light scratches. On older Japan, you can get pretty aggressive with a low chance of damaging the finish. Newer paints you need to be cautious with. You can burn through the paint easily. Use a lighter compound, or just jump to the next step (which I usually do). One nice thing I like about the compound is that it strips rust and will leave you with bare metal. Here's the results of the compound: Next I'll load a foam correction pad onto the buffer and go to town with a cleaner wax. This is usually the step I'll start with on later painted fans. It gets rid of oxidation and fine scratches (and get rid of marks from the previous compound). It also works good as a cleaner for light grime. I'll also use the cleaner wax on a Dremel to get down in the vent holes. Getting there! The cleaner wax does leave a wax protective layer behind and it's totally cool to stop here. But I go one step further for added depth to the gloss. Using a soft foam pad, I apply wax. Here I use Meguiar's Black Wax for dark paints, but any good quality wax is acceptable. Buff that wax in and LET IT HAZE. This means let it dry! Go do something else. Go pick out your wire or look for that shrink tube you know you bought last weekend and now can't find... You'll come back to this: Now buff that out with a microfiber and you'll end up with a beautiful original finish that is well protected and easy to keep clean! You can see a spot of paint loss on the side of the housing. Some guys touch this up, I leave it alone. The camera makes it look whiter than it actually is. It's raw cast iron, it's a dark grey. But the main objective here was to bring back a beautiful gloss to totally original paint. You could do all of this by hand, but it'll just take a lot longer. Small parts I typically do by hand. Stay tuned to this thread... You'll see me buff the brass and rivet the wings back on the hub. I'll also show using liquid gun bluing on steel fasteners. I'm in no way calling all of these methods my own or even the best. They are just what I do to achieve the look I like. I've learned some of these methods from other people, reading former postings, and just trying new stuff out to see what the results yield. I just want to show others that my methods aren't difficult and anyone can do it! Edit: Apparently Meguiar's Black Wax has been discontinued. I've got some Chemical Guys Black Light Hybrid Radiant Finish on order as a replacement.

-
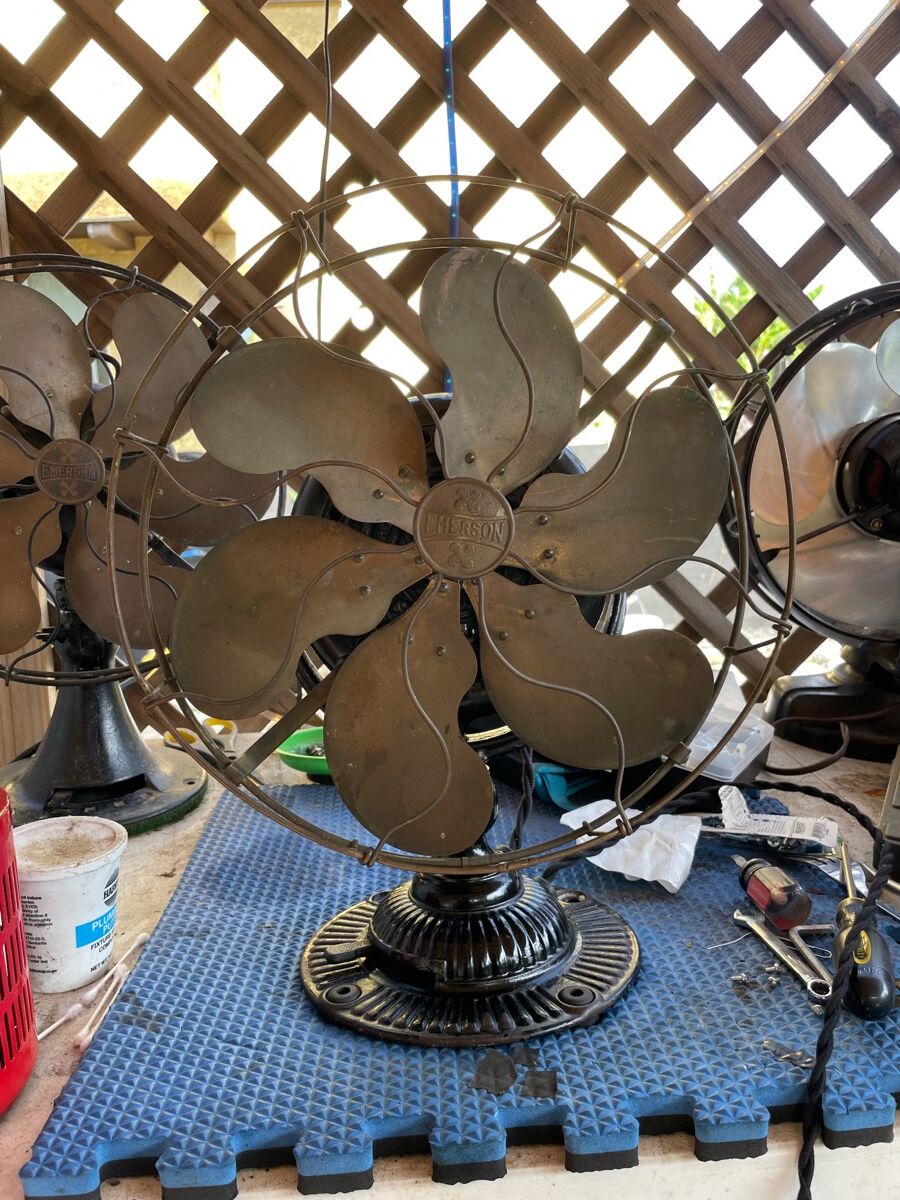
Good day all, I have this Emerson 77646-SL (1956) that I got in 2020. Cleaned, lubed, re-wired the power and she was good to go. Ran for the last 4 years fine, then suddenly slowed way down and now needs a manual assist to spin up. On the low setting it almost comes to a crawl. I keep her oiled all the time and only really ran it in the summer. This is a shaded pole (2 wire to head) so no capacitor. I've cleaned again and confirmed oil is flowing to the rotor shaft. Seems to spin ok and no significant resistance when spinning the rotor without the blade attached and needs an assist to spin with the rotor only too. I have also tried moving the washers behind and in front of the rotor, but no luck. One strange thing (to me), is the rotor is happy spinning clockwise (normal) and counter-clockwise with the same manual assist to spin. Any thoughts are appreciated. Jeff
-

Emerson Trojan 53646 models with EARLIER cage in abundance . . . !
Paul Michael posted a topic in Pre-1950 (Antique)
This is the third (or possible 4th) Trojan 53646 I've seen with the same 'earlier' open-center-ring age... Is it possible some were shipped that way from new. Otherwise, why would so many be found with an EARLIER cage.... I am truly perplexed.... As bad as my memory is, I do try to pay attention to these details... Thoughts? -
Original Early EMERSON Moulded Fishpaper Coil Covers???
Paul Michael posted a topic in Pre-1950 (Antique)
Does anyone reproduce these? What model Emersons were they on originally? 🤔
-
I got this in an estate auction. And, Daniel O’Toole, a good fan dude, did me a solid and picked it up and mailed it to me. Big thanks to Dan! I replaced the head wire and power cord. I only had to fabricate one piece, the insulating washer on the inside of the motor case that the centrifugal start sits on. I just took a heavy piece plastic sheet cut it to size and painted it with insulating varnish. Other than that just some elbow grease, lube, and a good cleaning inside and out. It’s all original. I’m considering polishing the brass but the patina looks good to me and I’ll just leave it as is for now. There is only a slight difference in the 2 speeds. I’ve been running it on a Variac at 104 volts. The base has some paint loss but I don’t mind a little bit of rust. I think it gives it character. IMG_3264.MOV
-
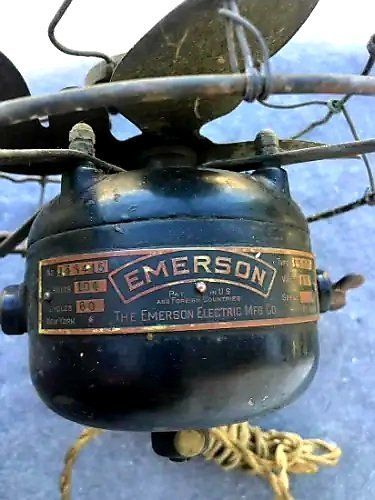
So, as useful as I find the old forum, a lot of the information is scattered and fragmented among many different posts. In the interest of consolidating info, I'm hoping to post all my questions about this fan in the same thread. Hopefully it will be a useful resource to someone other than myself down the road. That said, initial questions: -what was the original cord from motor to switch, and switch to plug? Was it black overbraid? -my readings for the motor are 23.4 ohms. Proper readings? -between high and low on the choke is 1.3 ohms. Correct? If you have this fan in original condition, please share photos. Thanks everyone...
-
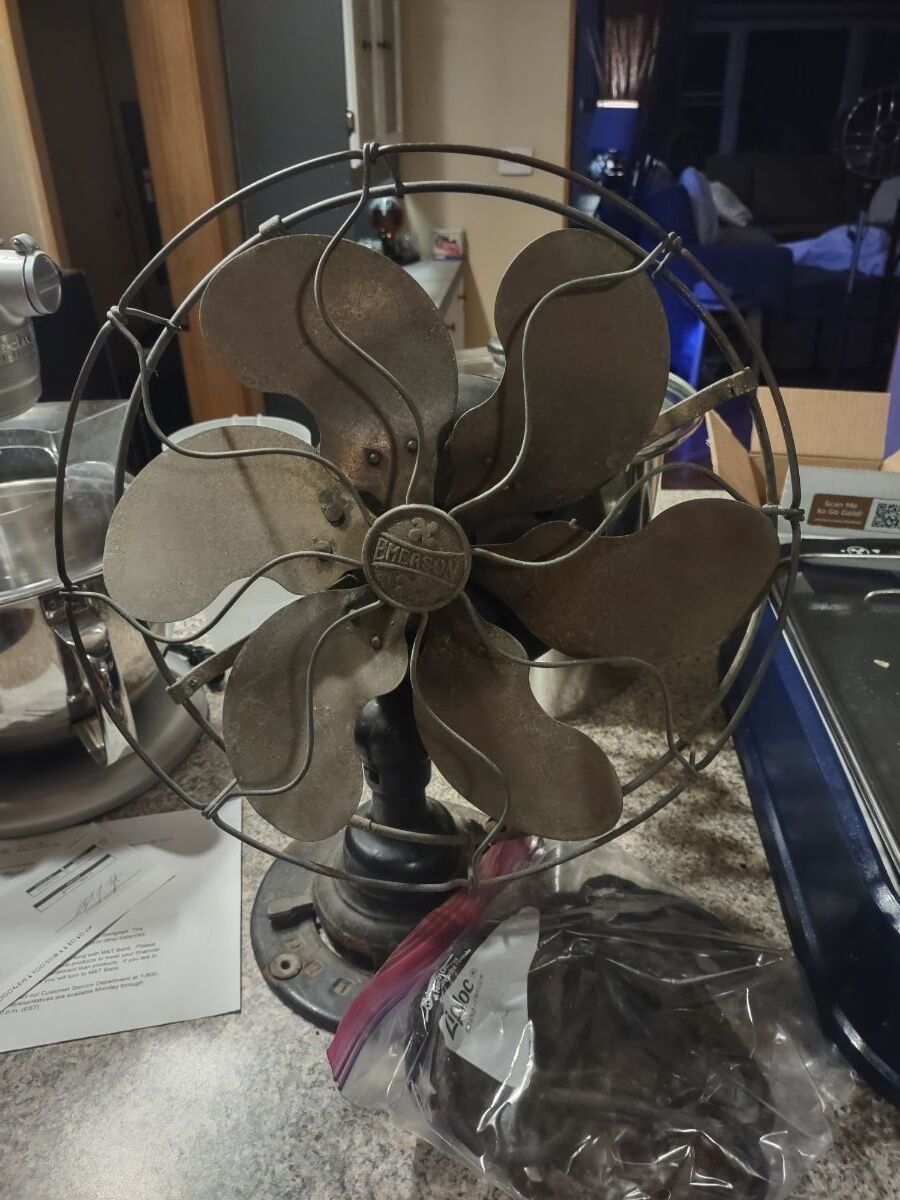
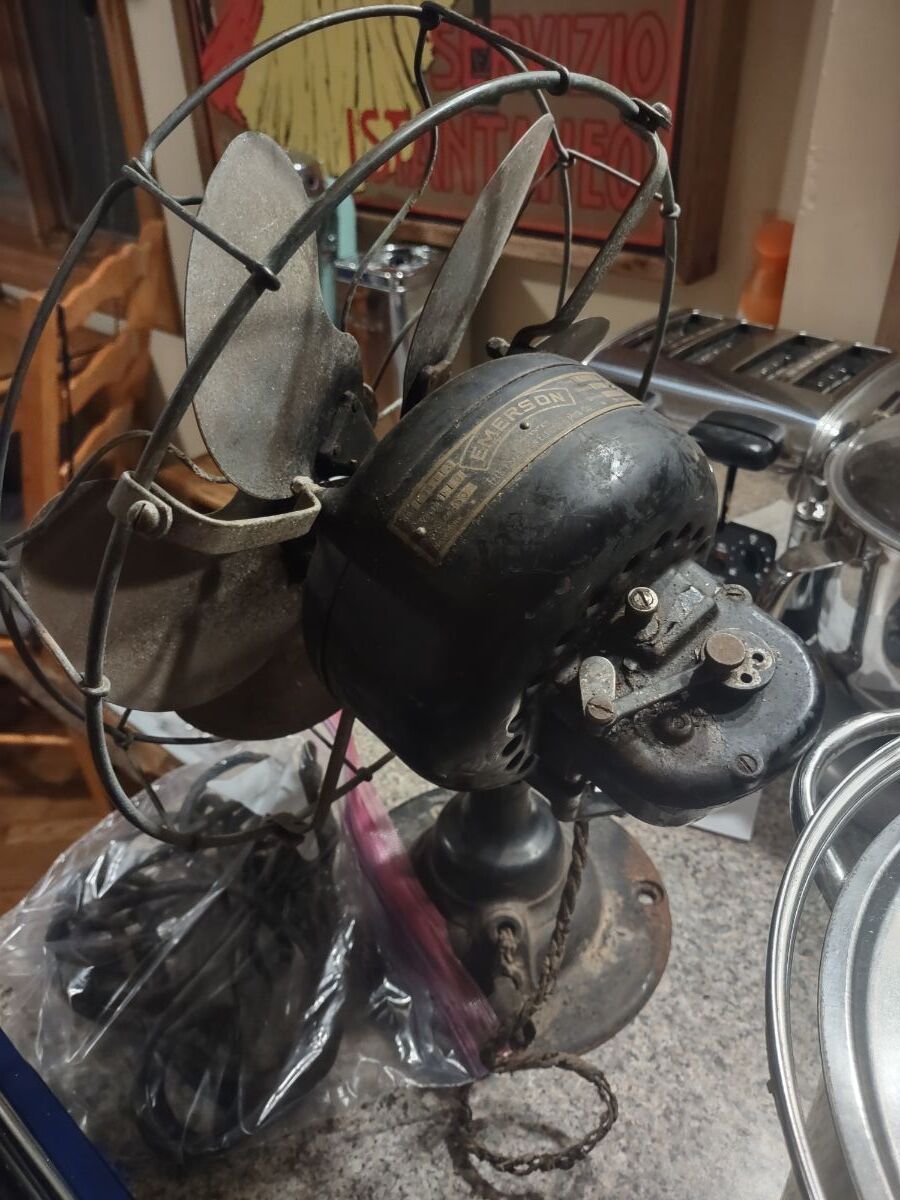
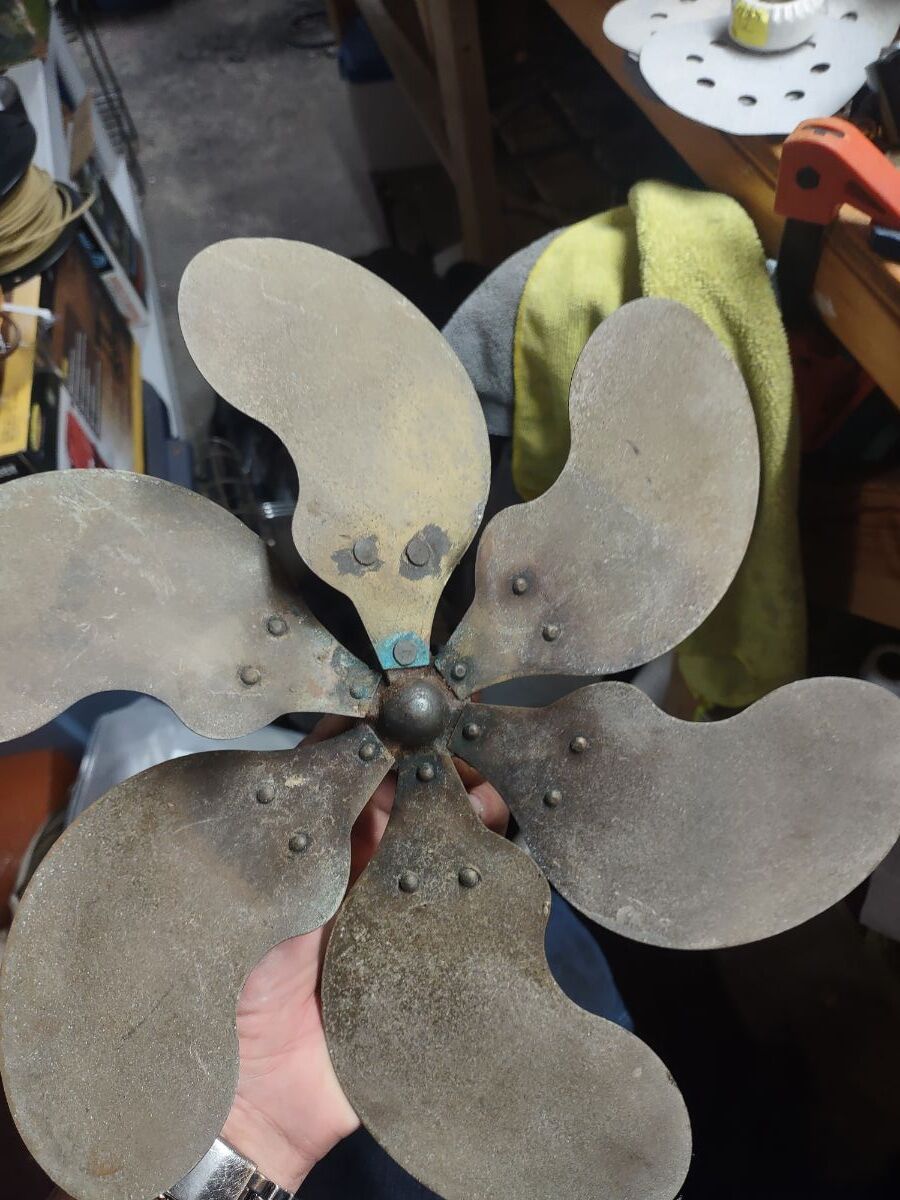
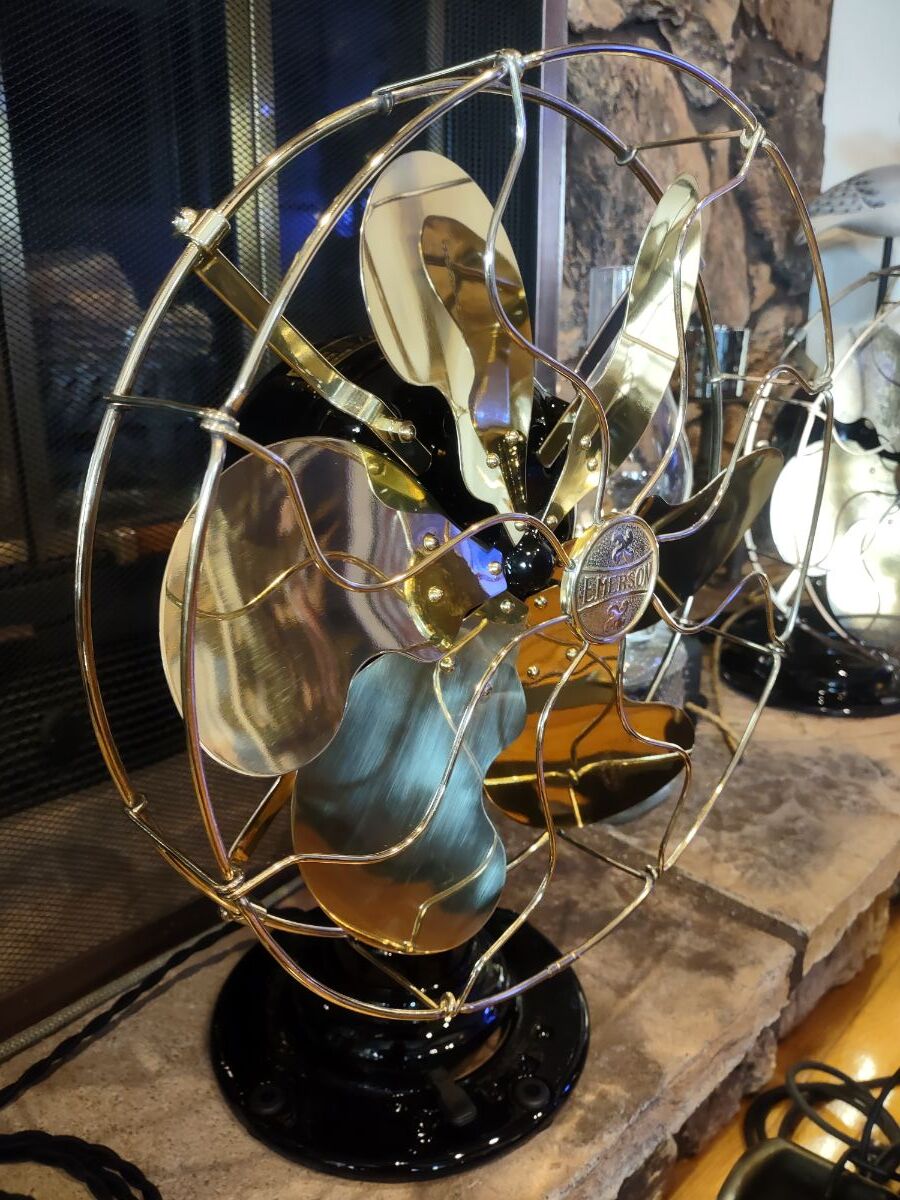
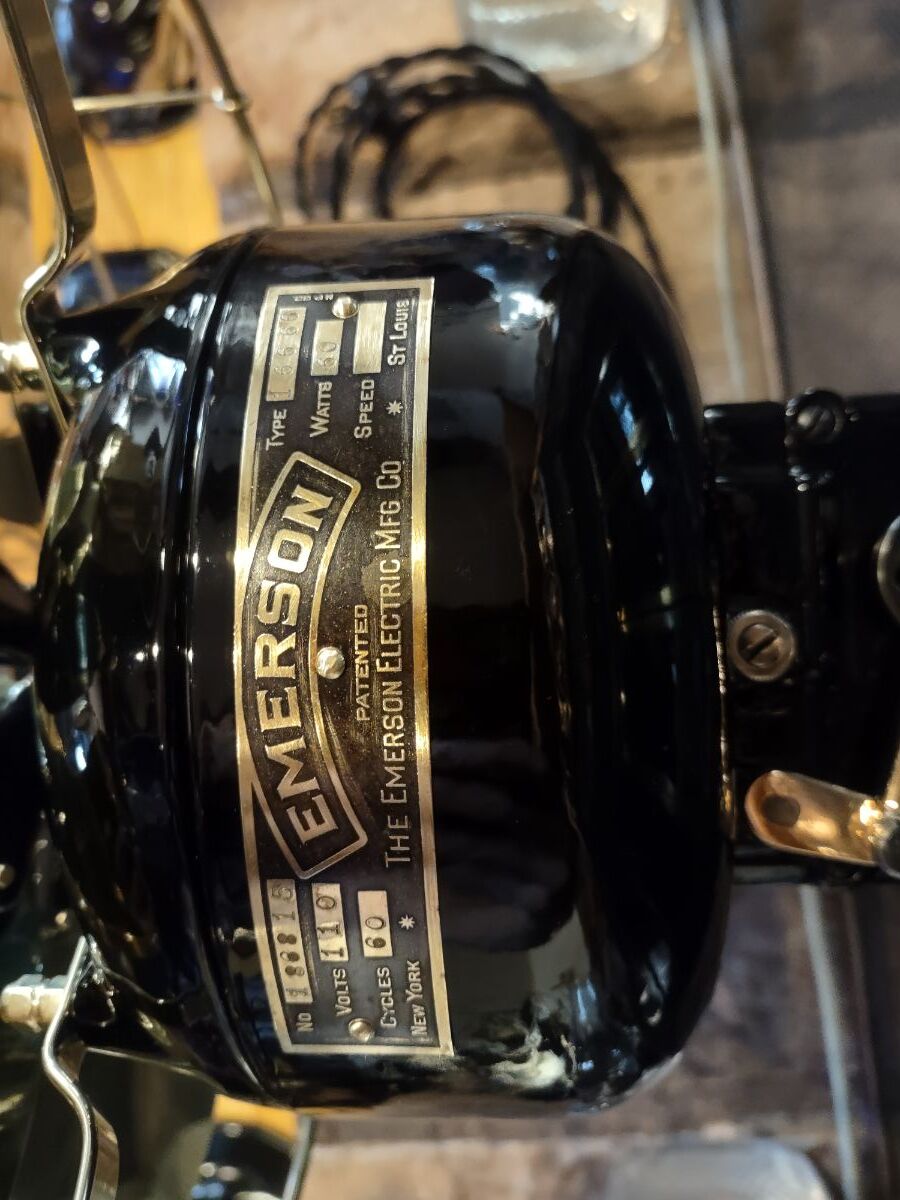
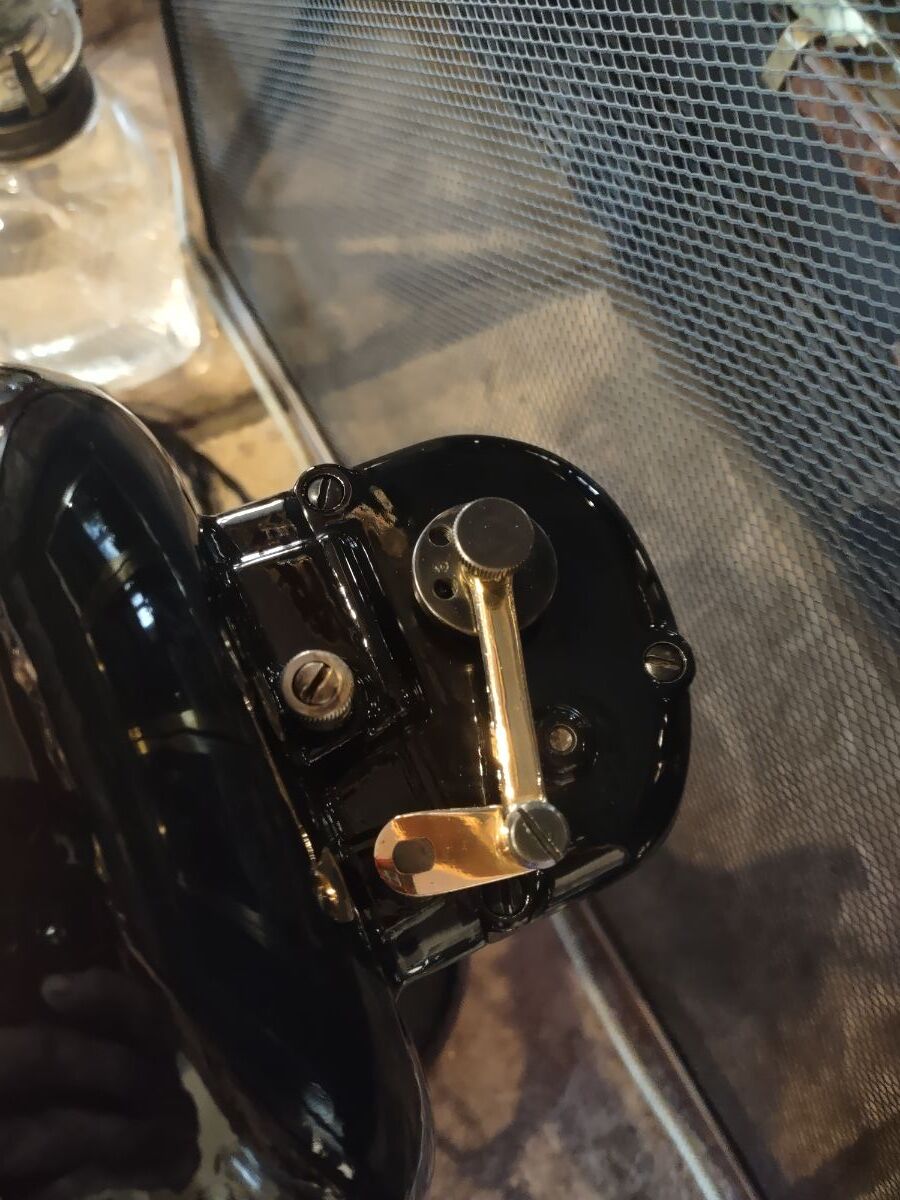
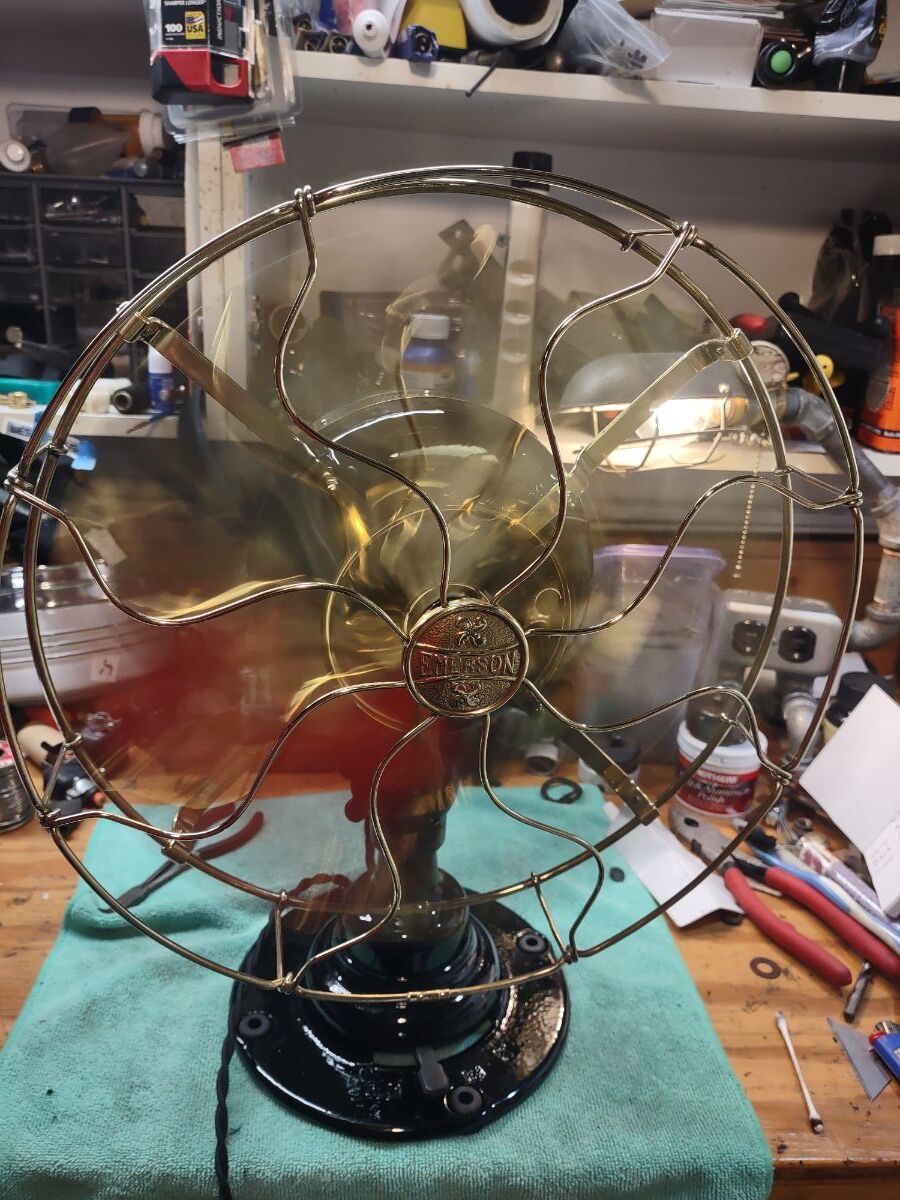
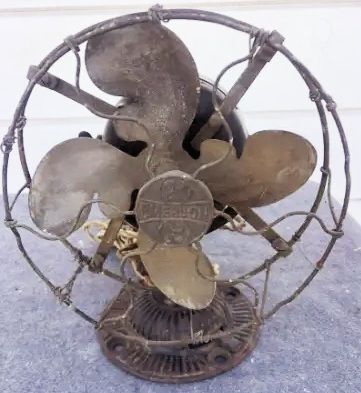
Here's my Emerson 16666 fresh off the work bench and writing this up while enjoying watching it run (I know it's 17 degrees out but who cares!?!?). When I got this fan, it was complete and not in trashed condition. Cage was surprisingly perfectly round. Seller said it ran. I'll take his word on it as I wasn't going to test it with that much bare copper showing. I wasn't in the mood for sparks everywhere. Enough sparking had already been done on this fan as one of the hub fingers had been welded back on. I sent the blades to Jerry Bravi for his expertise. He reported back that the weld was good and strong. A couple days later, I had a beautiful set of blades back in my hands. Jerry does spectacular work! All the iron was sent to my buddy Dustin Soto at Mirror Image Coatings in Racine, WI. His powder coat work is absolute perfection! I handled the rest of the brass polishing. All of the steel fasteners and steel parts of the oscillator linkages were gun blued. These lever oscillators are a thing of beauty in my opinion! Such a smooth and quiet runner! It's too bad all of that beautiful linkage is hidden at the back of the fan!
- 26 replies
-
- 11
-

-

-
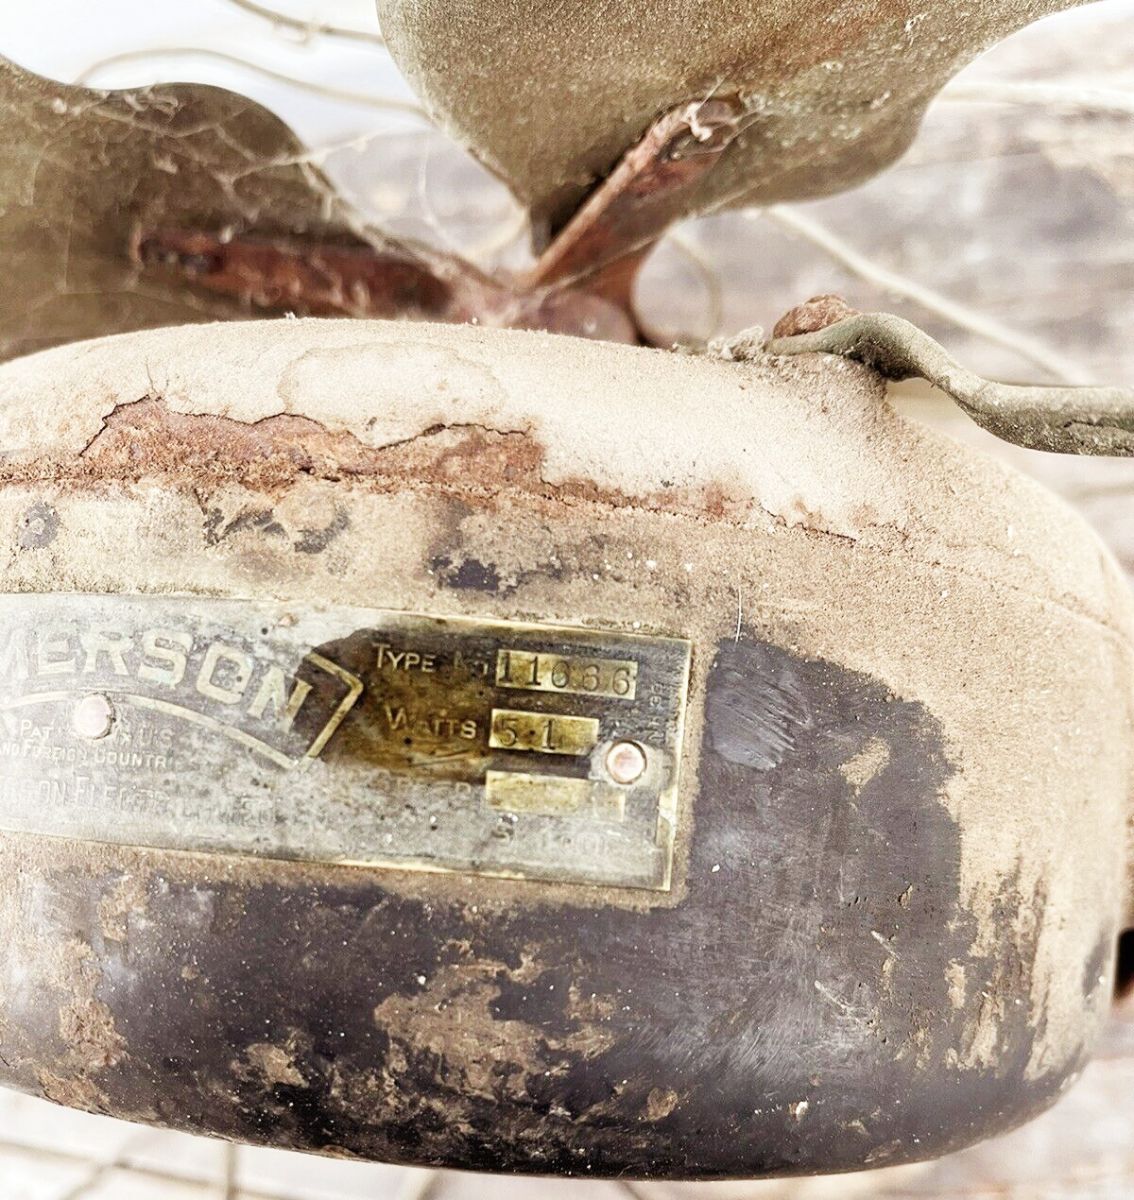
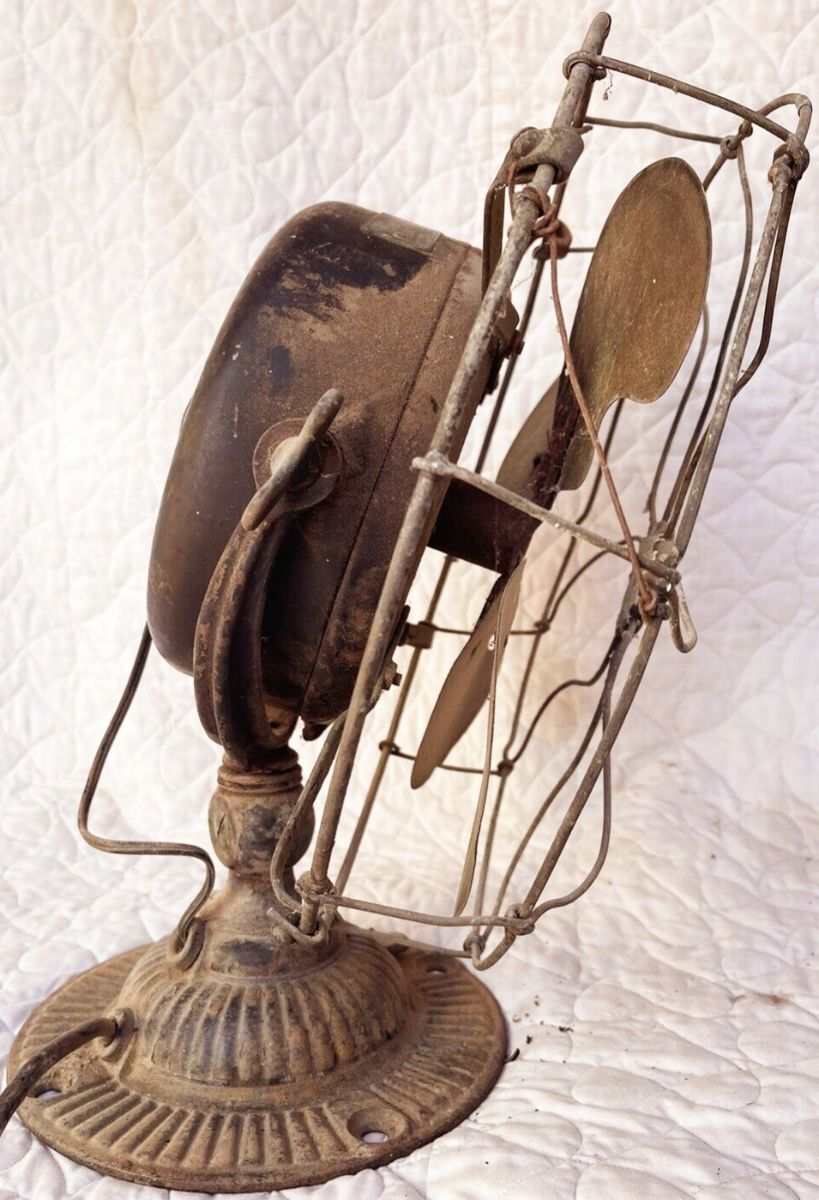
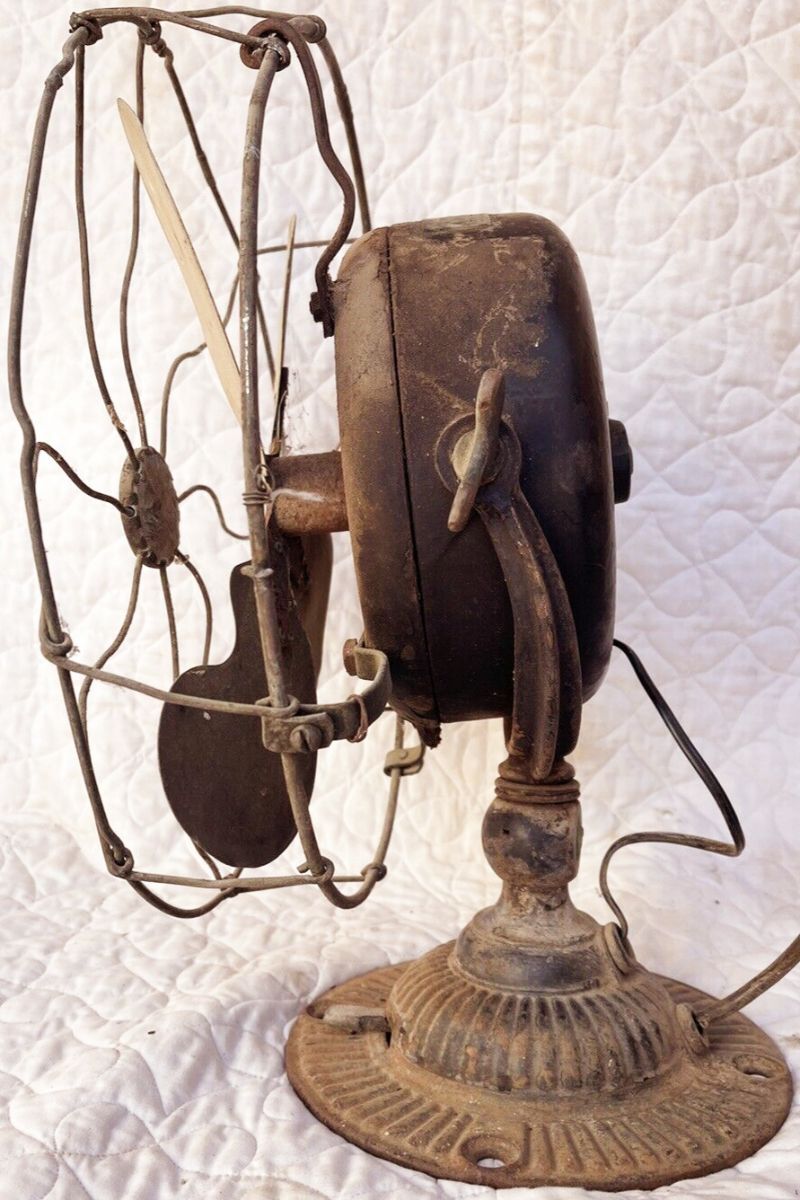
This 11666 sold earlier this month at an online auction. I hope a card-carrying AFCA'er is the new owner and will restore the decrepit old gal to her former graces.
-
This Emerson 1500 recently sold at an online auction. Sure, it needs a bit of cage work,... a thorough cleanin' and maybe a base repaint, but looks to be complete. Hope a AFCA'er got 'er!
-
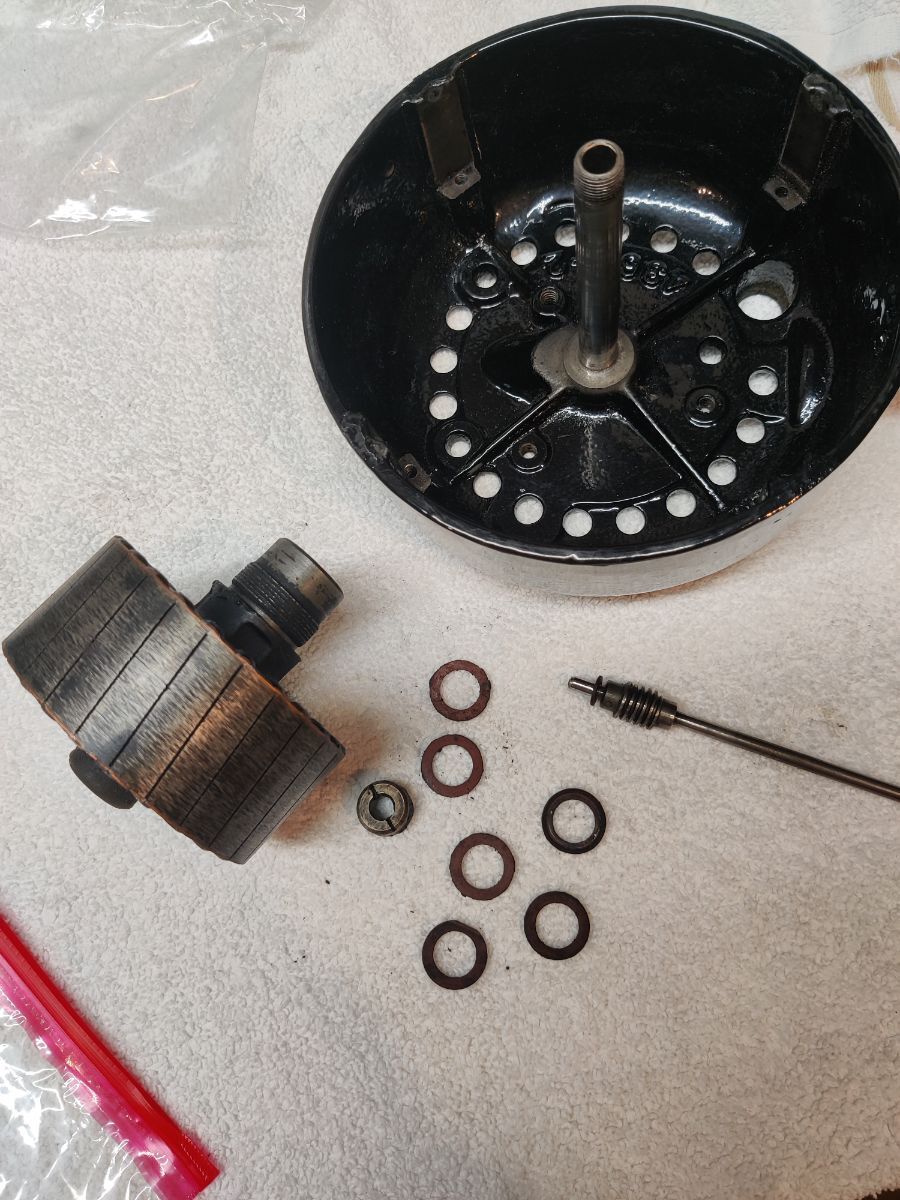
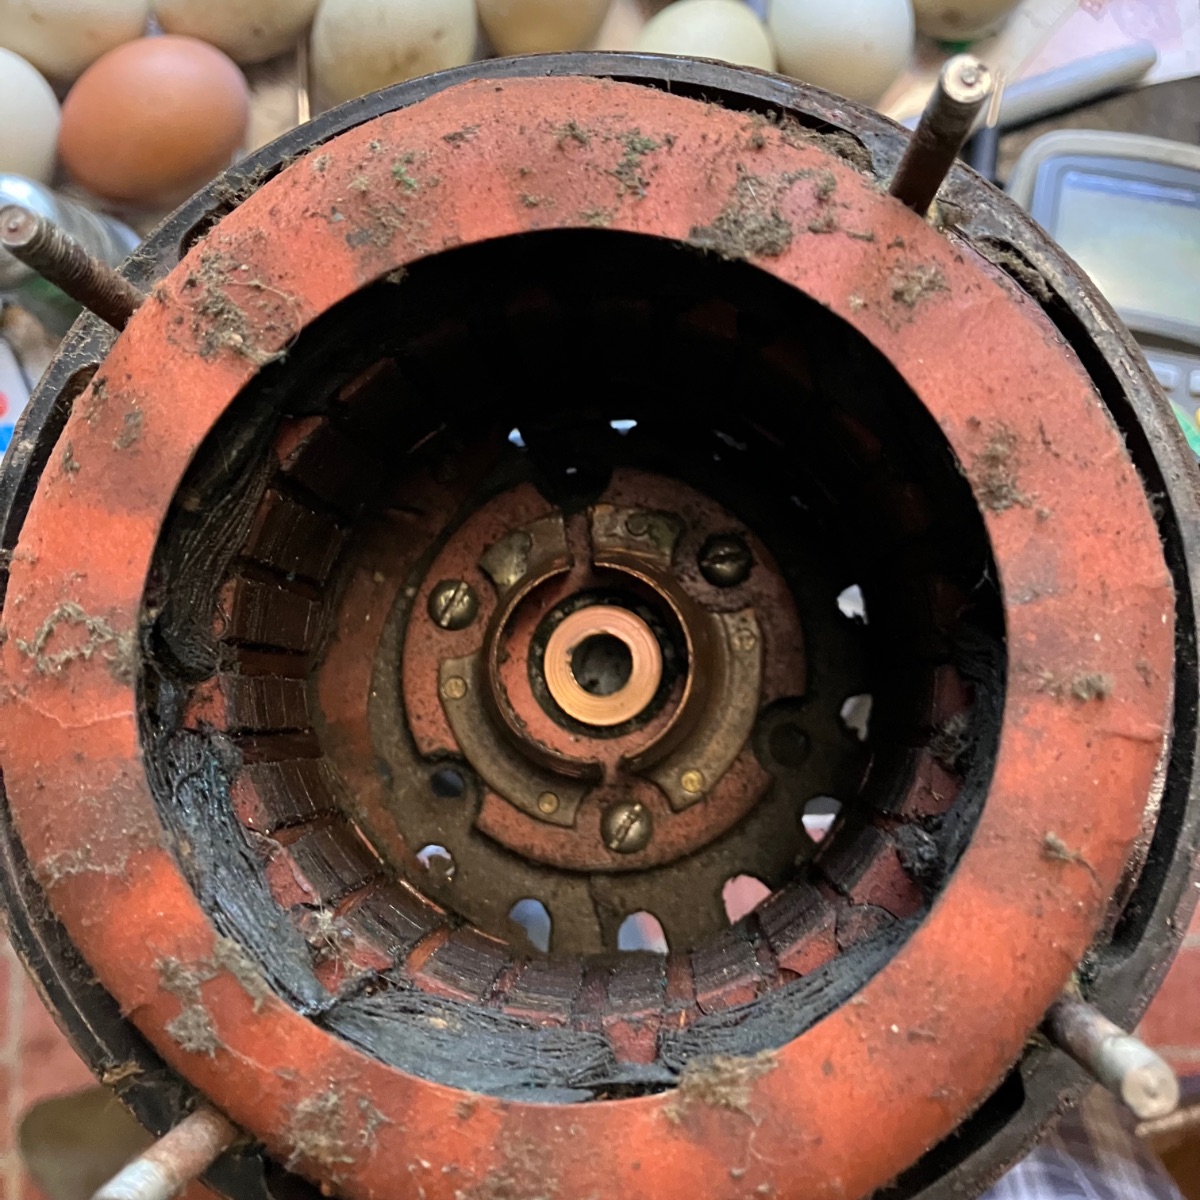
Hi all, I'm still working on reassembling the 27666 which I foolishly dismantled without taking pictures years ago. Obviously I'll get the stator in there and clean the hardware in this picture first. But I'm struggling with where all those washers go and I can't help but think I might be missing some critical piece. I understand the oil gets recirculated through the bearing and I can't see how it wouldn't all drip out the rear of the motor housing once I put it together. Is there something else I need for reassembly (besides foresight)?
-

From the "It worked when I took it apart" department: Emerson 27666 wiring question
Jay Buchholz posted a topic in Pre-1950 (Antique)
Hi all, I have been putting this project off specifically because I knew I got myself in a jam when it was taken apart a few years ago. We were disassembling it too quickly and I never took photos which was a big mistake that I'll never make again. It's going to take a lot of trial and error to get this assembled and working before Christmas (this project is intended to be a gift for a family member). That said, once I get the new headwire soldered on I don't know how to figure out the order in which the three wires attach to the speed switch. I think there's a way to tell using an ohmmeter but I'm struggling. Could anyone point me in the right direction please? Thank you!
-
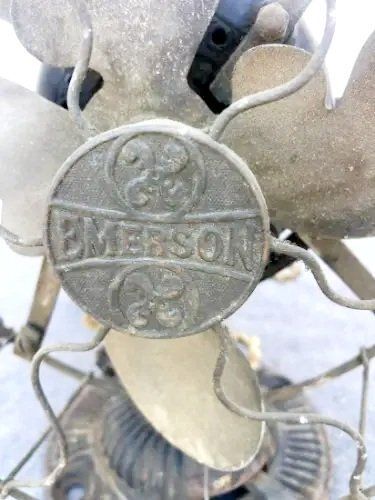
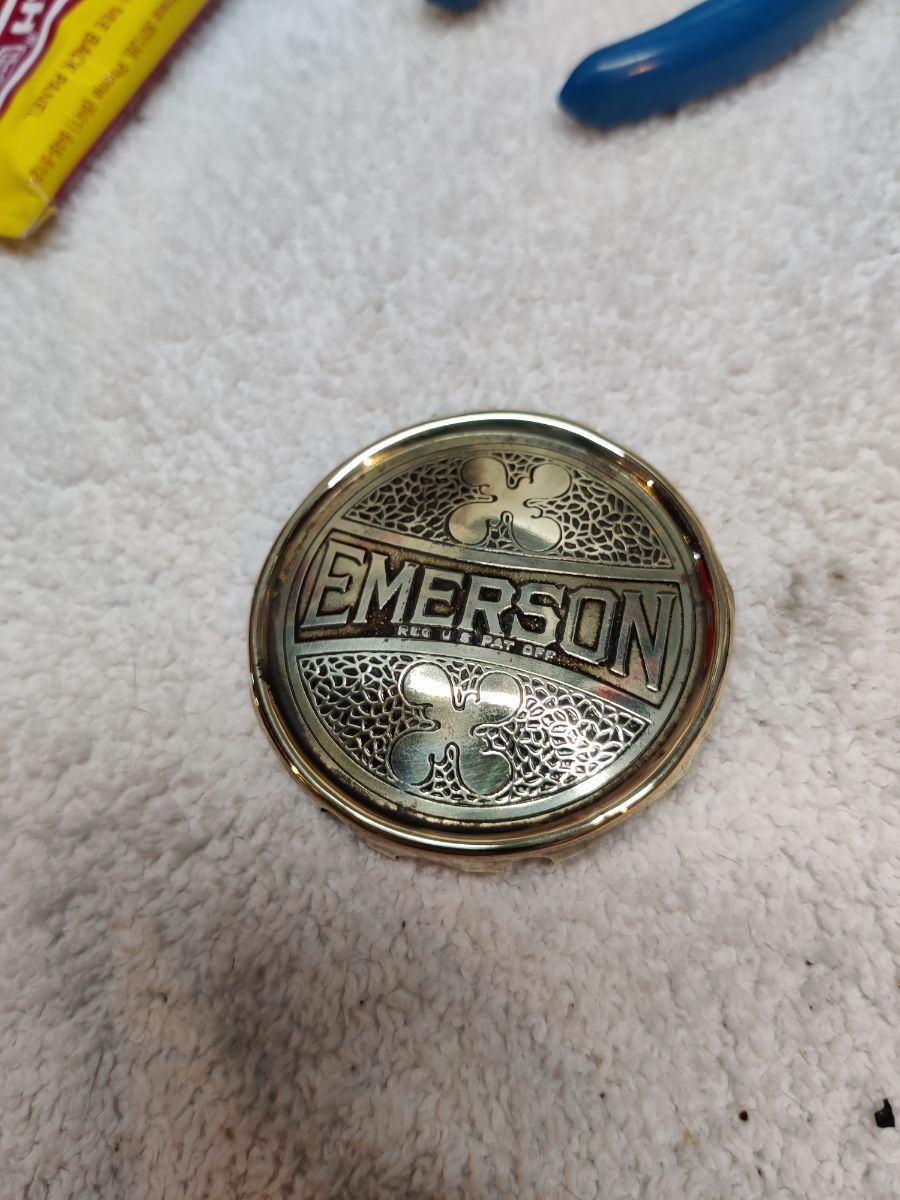
Hey all, First post on the new site. 🙂 I'm restoring an Emerson 27666. Been polishing this badge and I inadvertently took a lot of the black paint(?) off. What's the best way to restore that? Thank you!
-
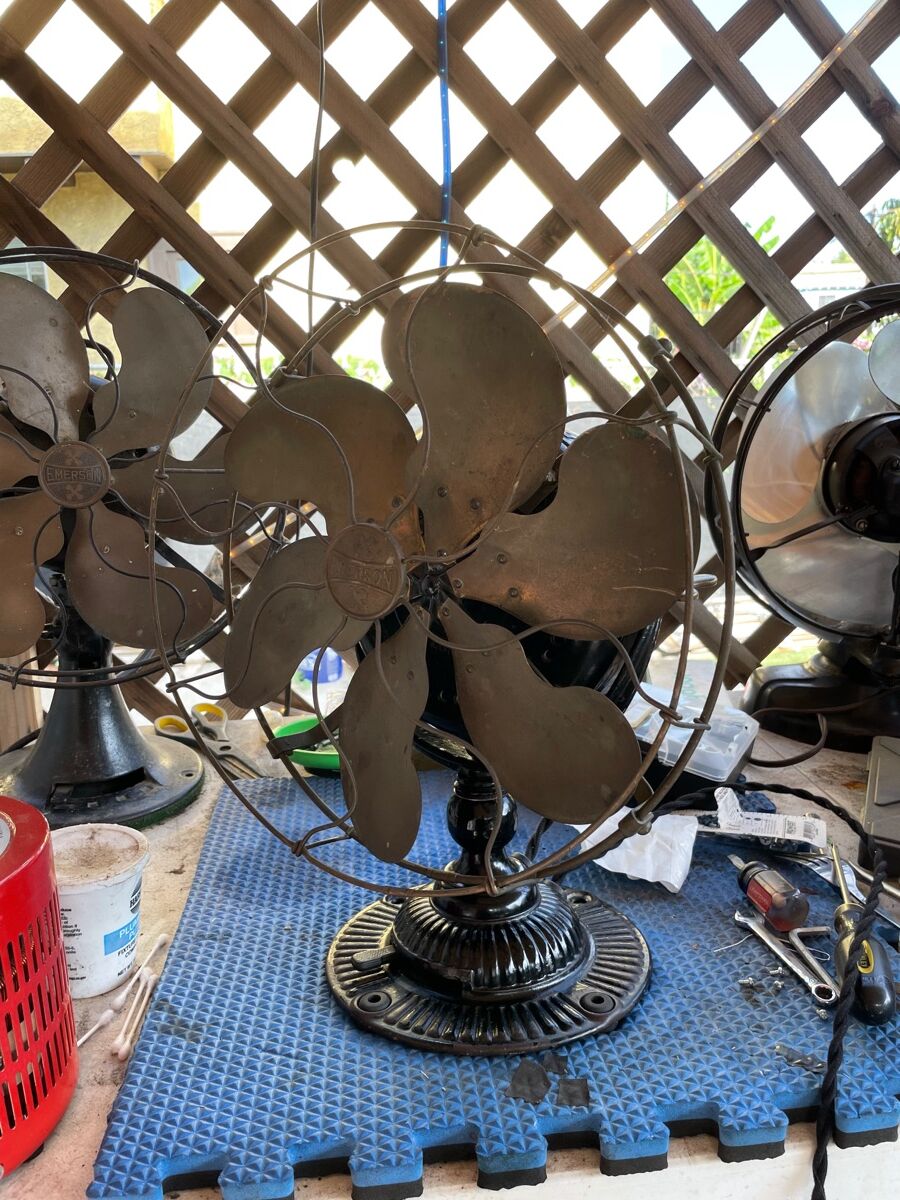
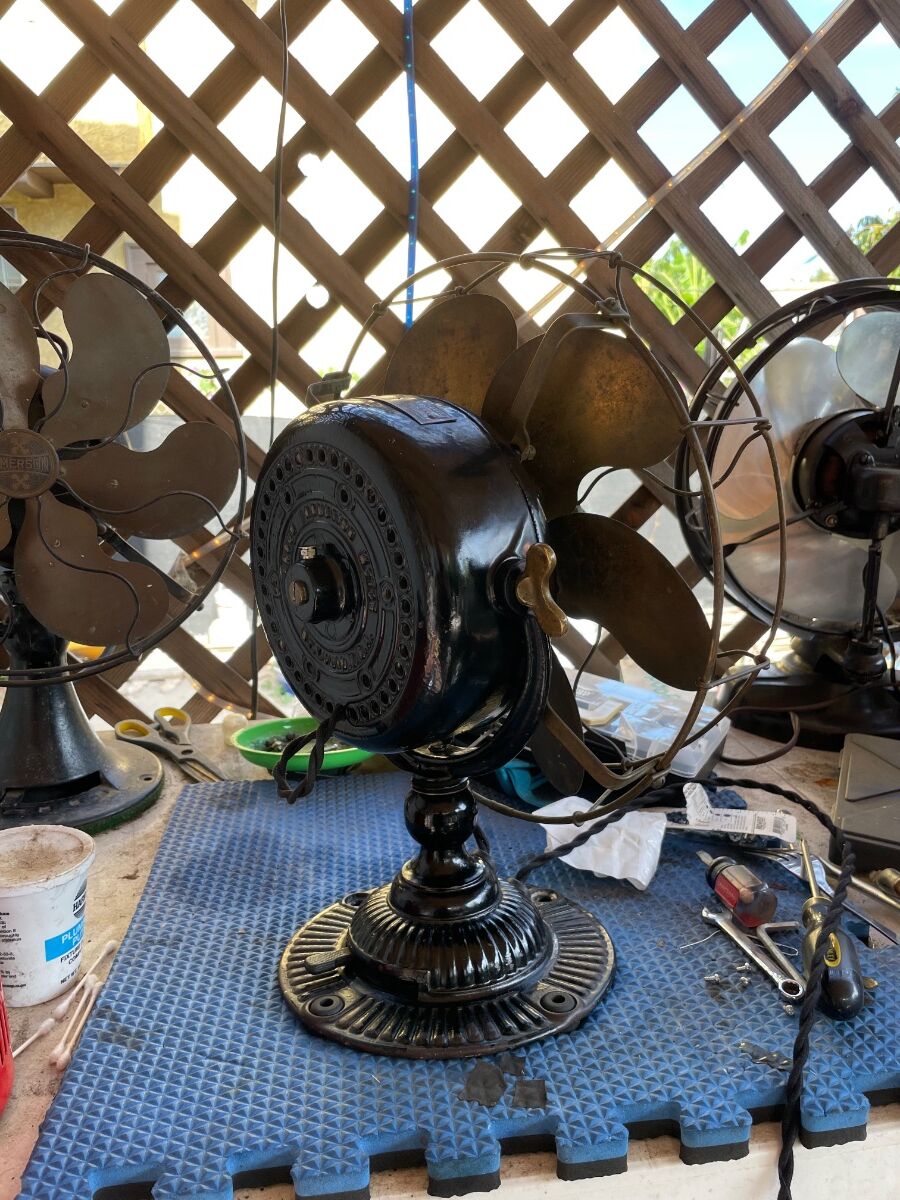
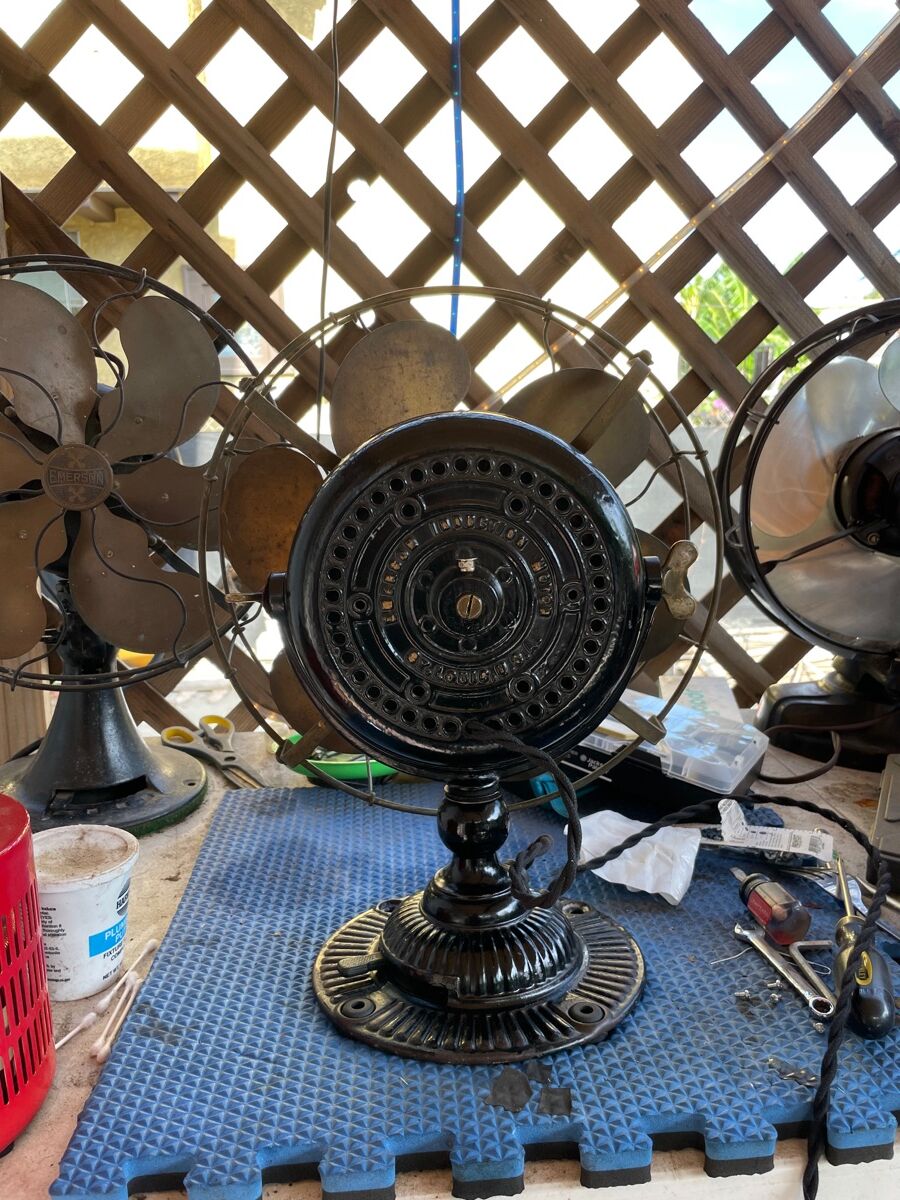
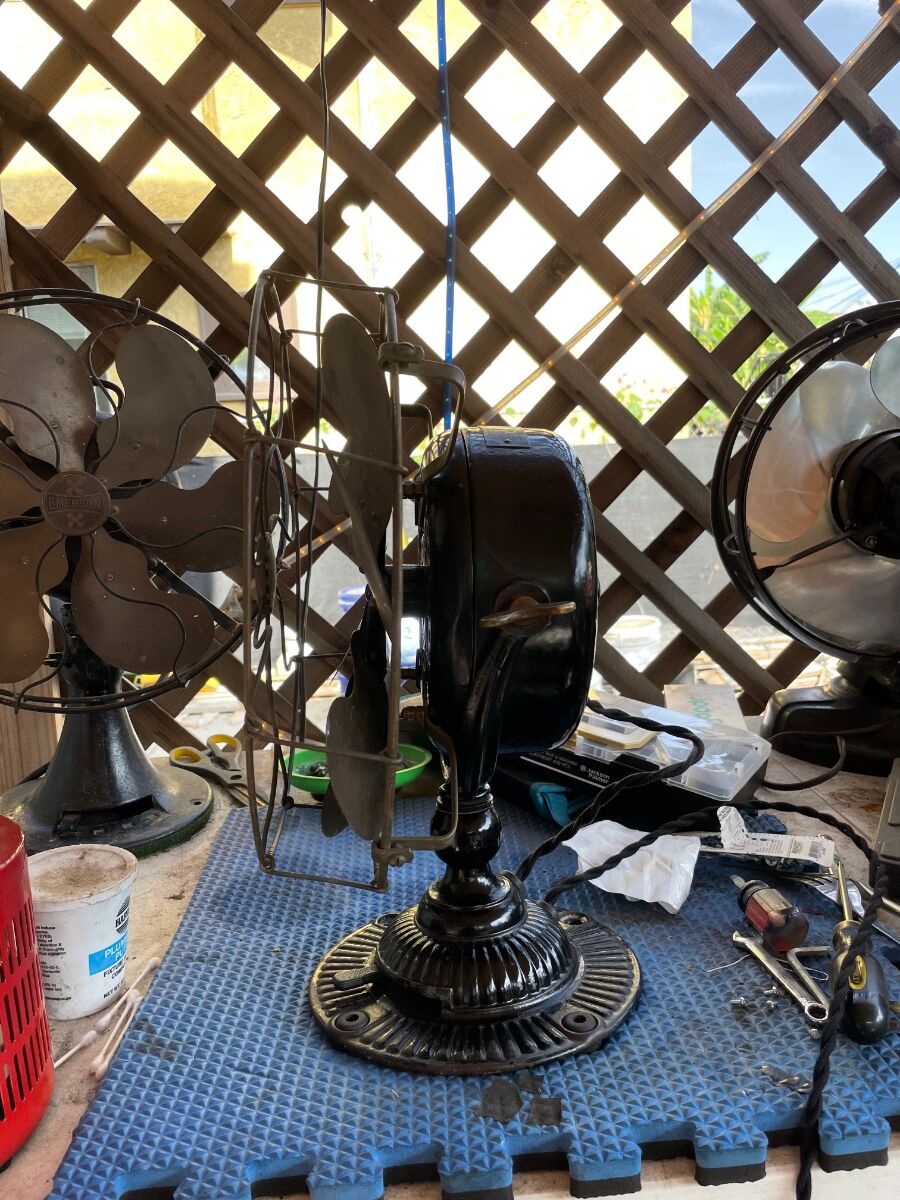
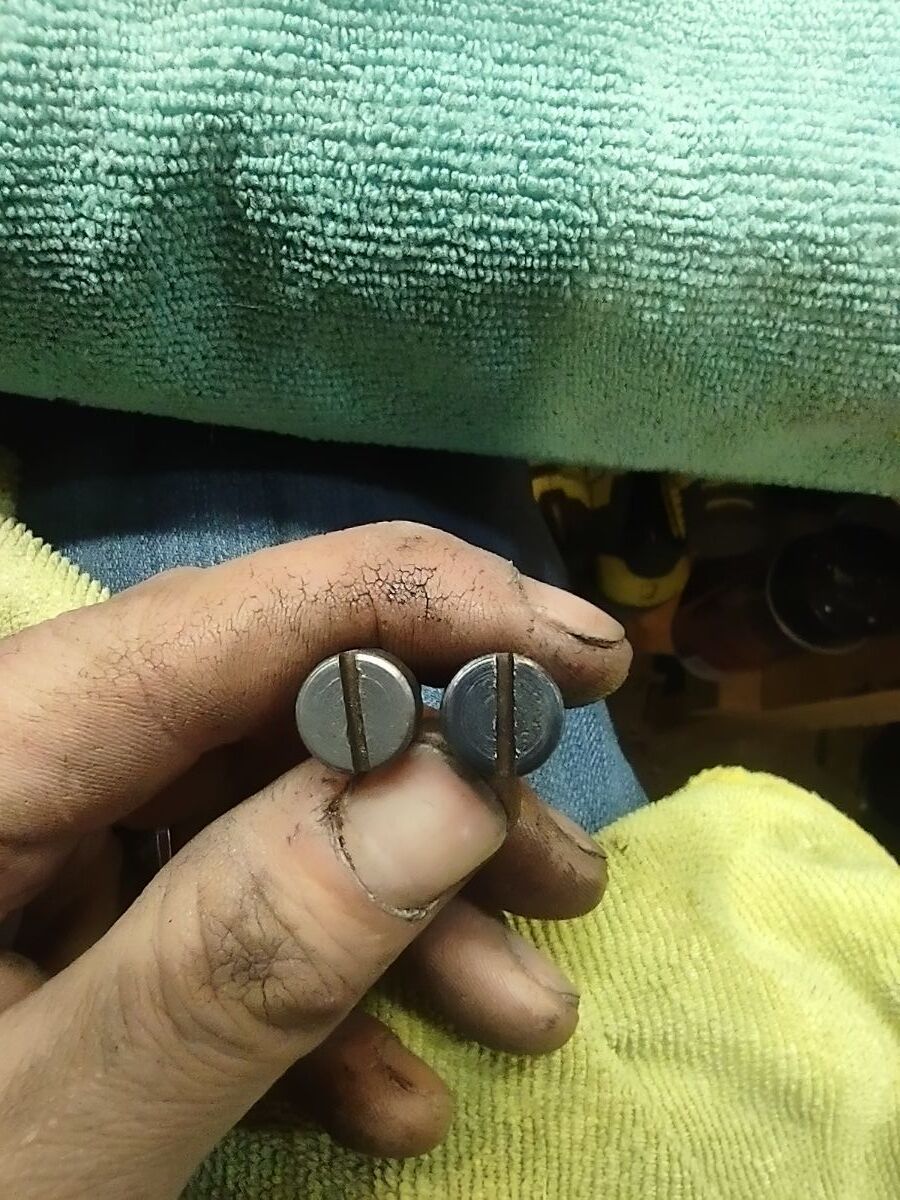
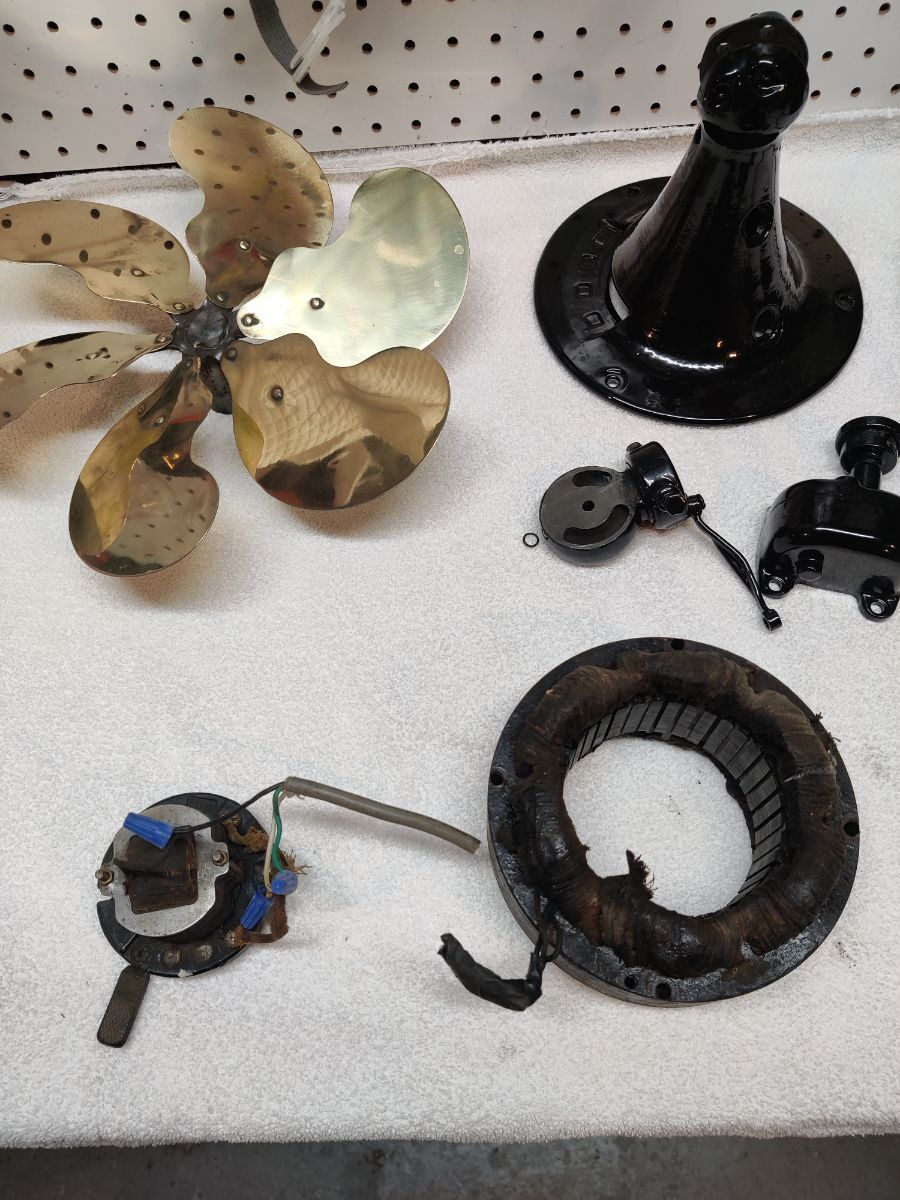
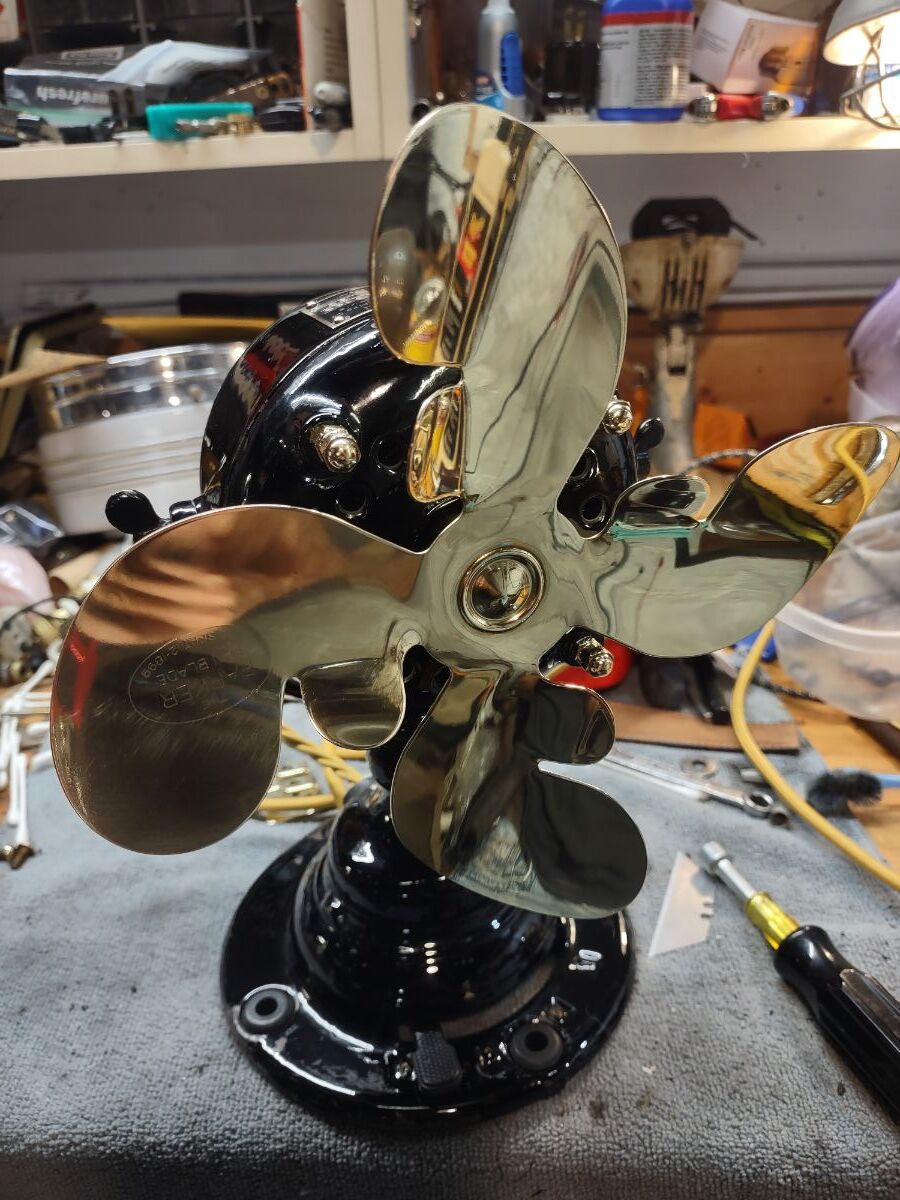
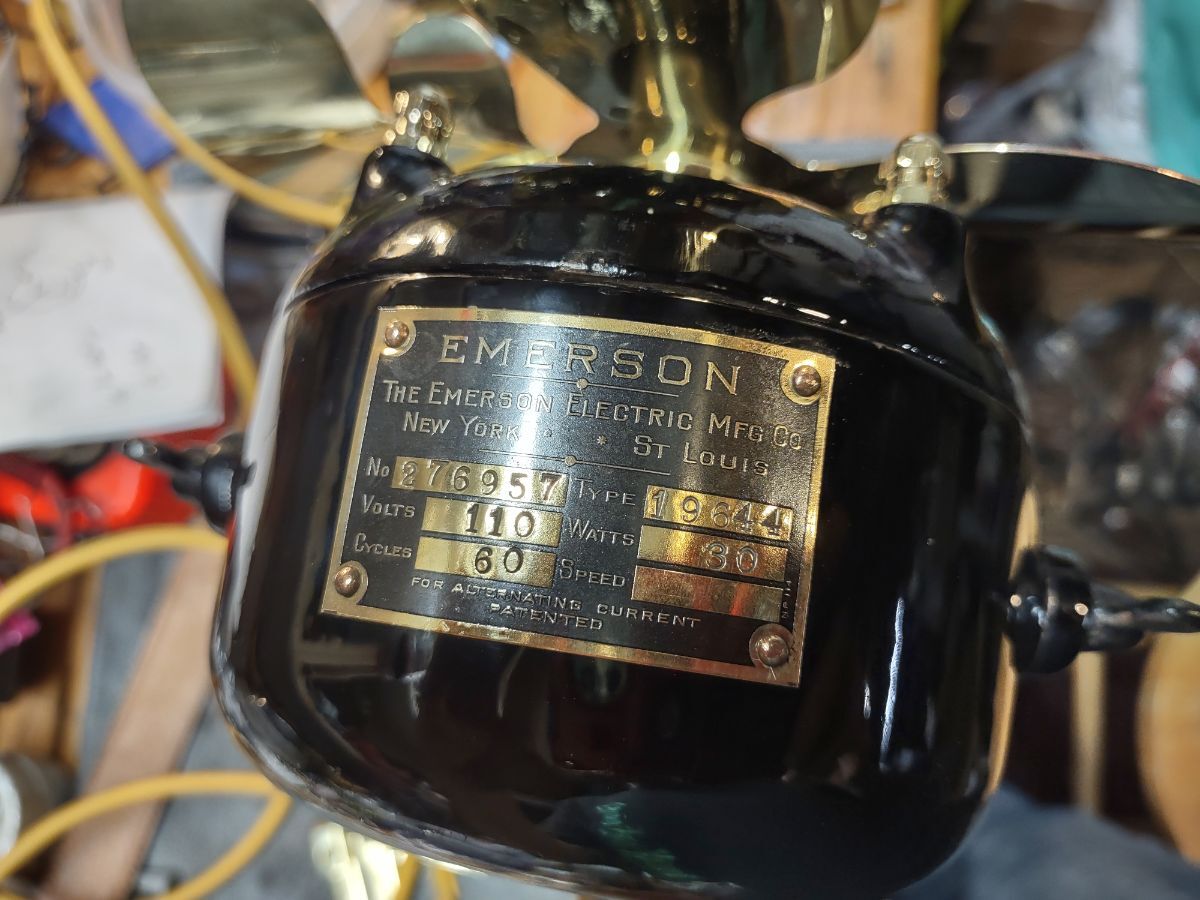
Blew apart my 19644 to get it all cleaned up. Used Meguiar's 105 compound on my little 3" air buffer to clean up the original Japan. Got all the brass polished up except the cage. Cage needs some straightening first.
- 13 replies
-
- 4
-
-
- emerson
- preservation
- (and 2 more)


.thumb.jpg.e7d88dd7a4e8cbc1529d8b6d08897ce6.jpg)