Leaderboard


Popular Content
Showing content with the highest reputation on 11/17/2022 in all areas
-
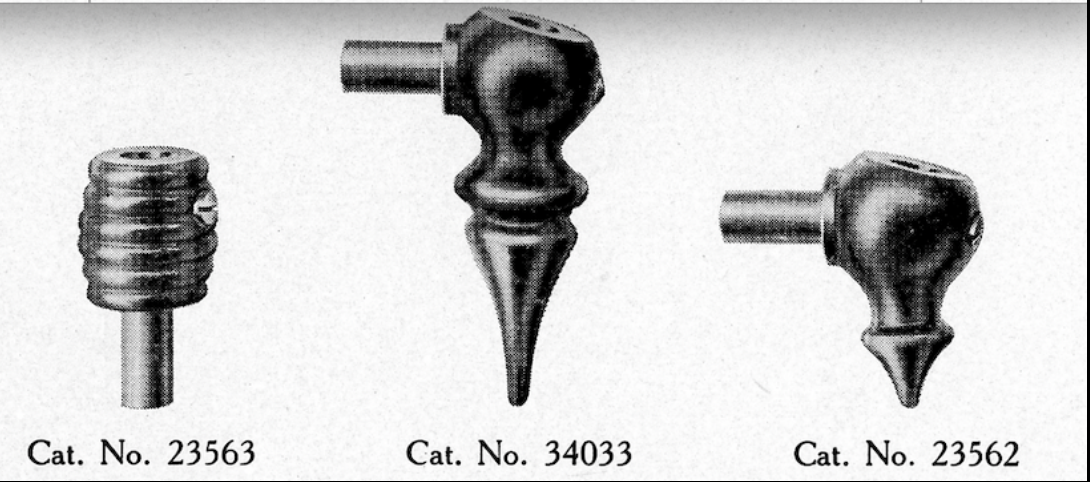
I heard no one was making these...got some downtime while I wait for my prints to arrive. Measurements provided by Trevor
 1 point
 -
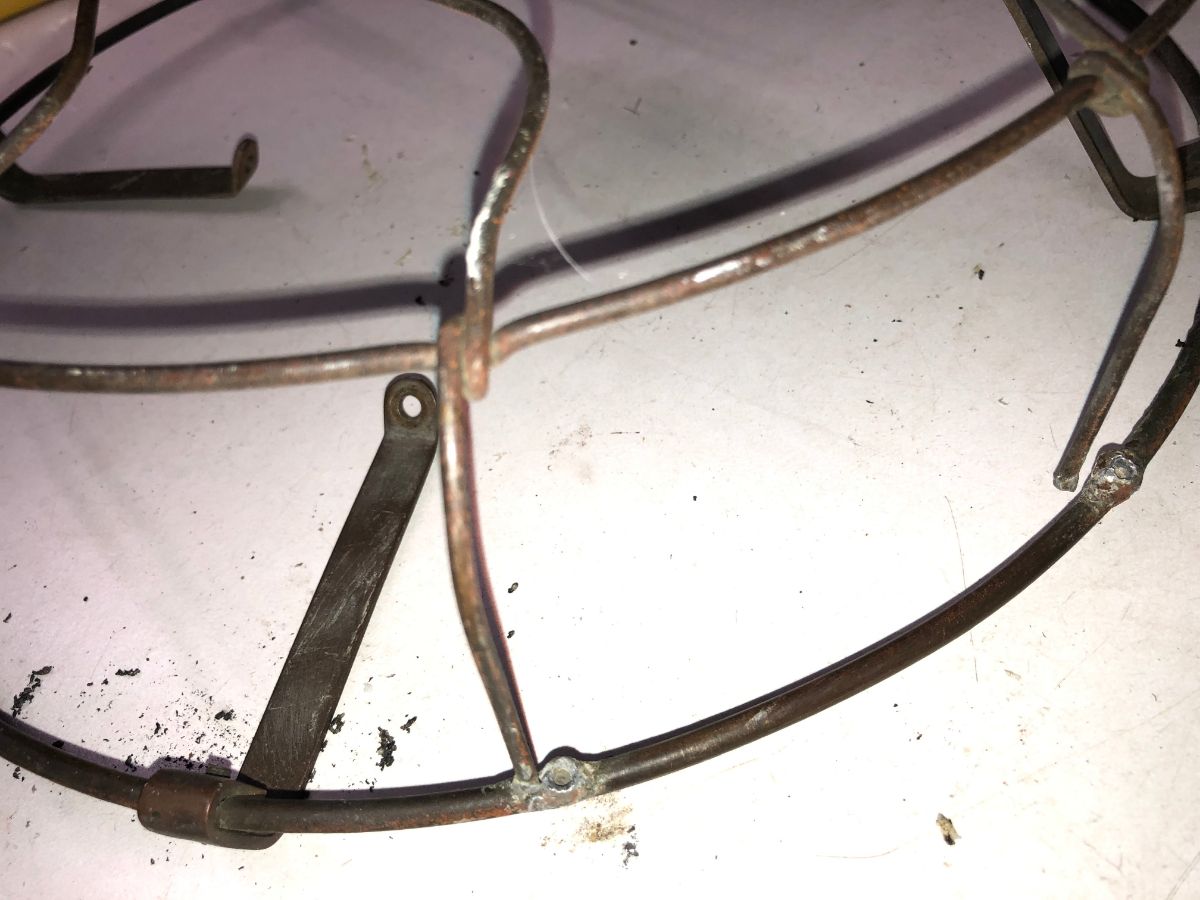
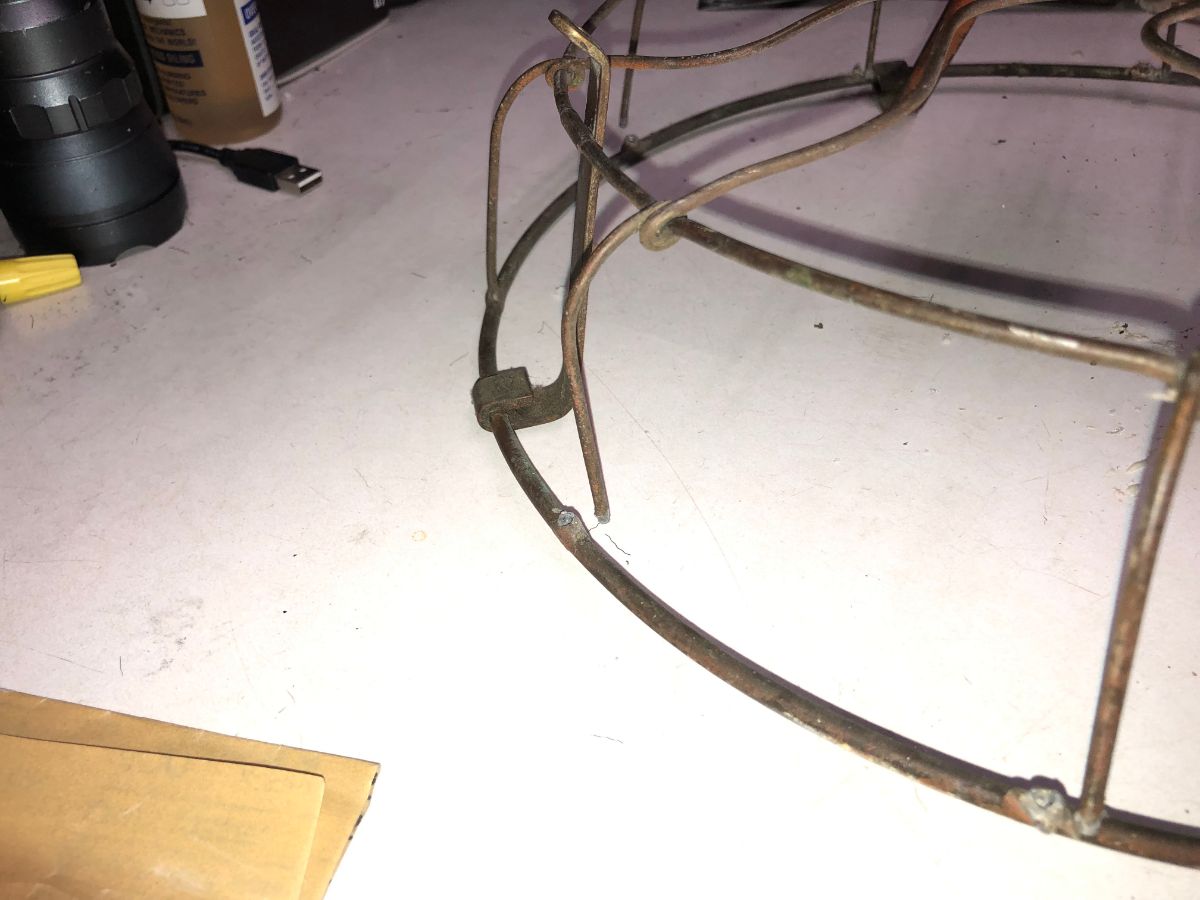
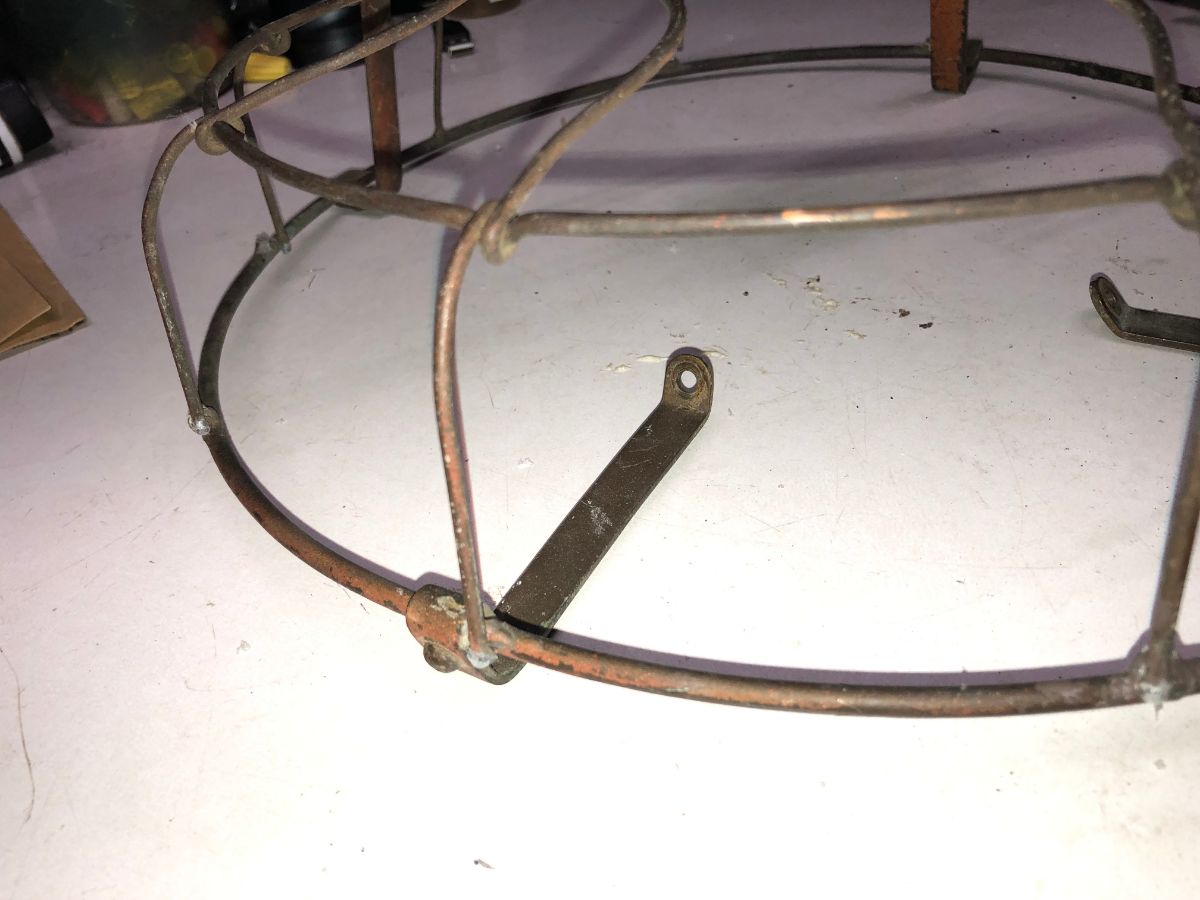
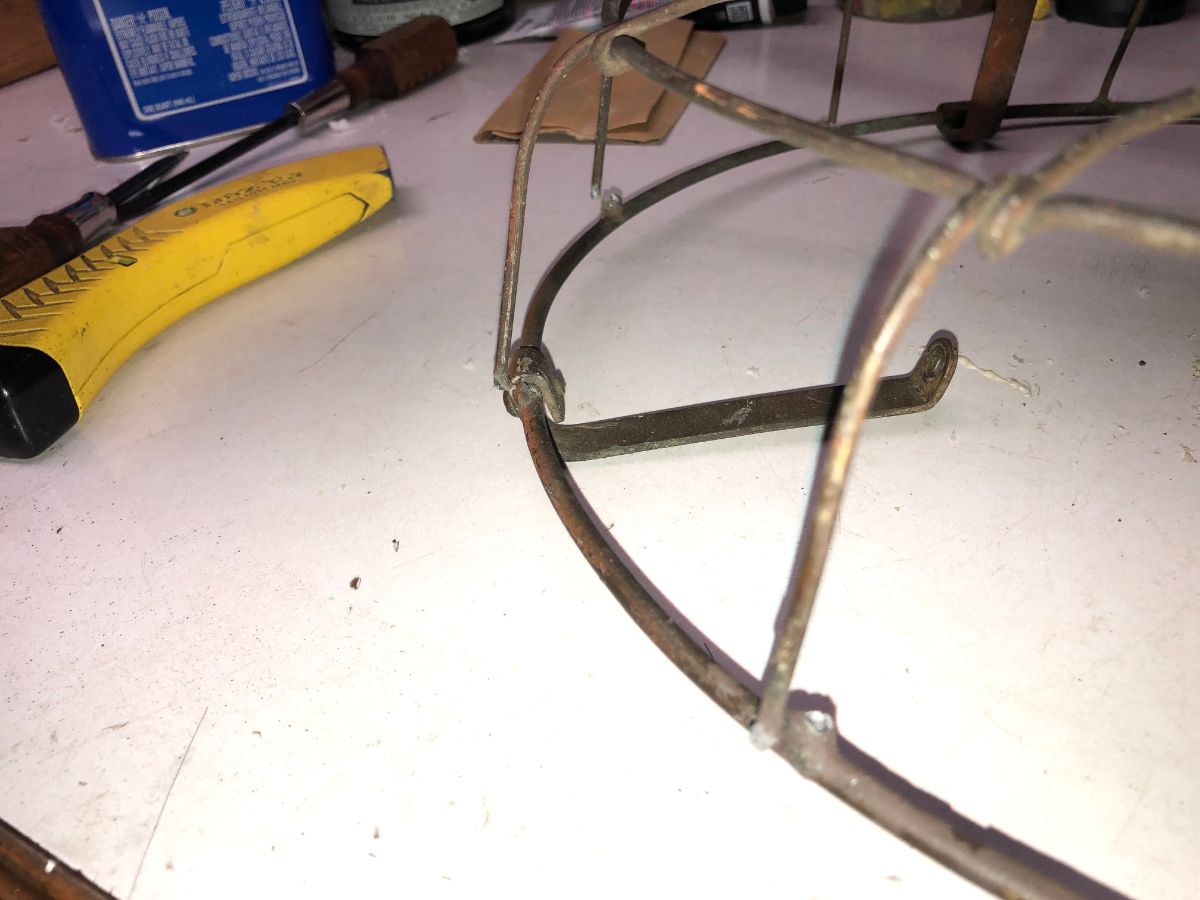
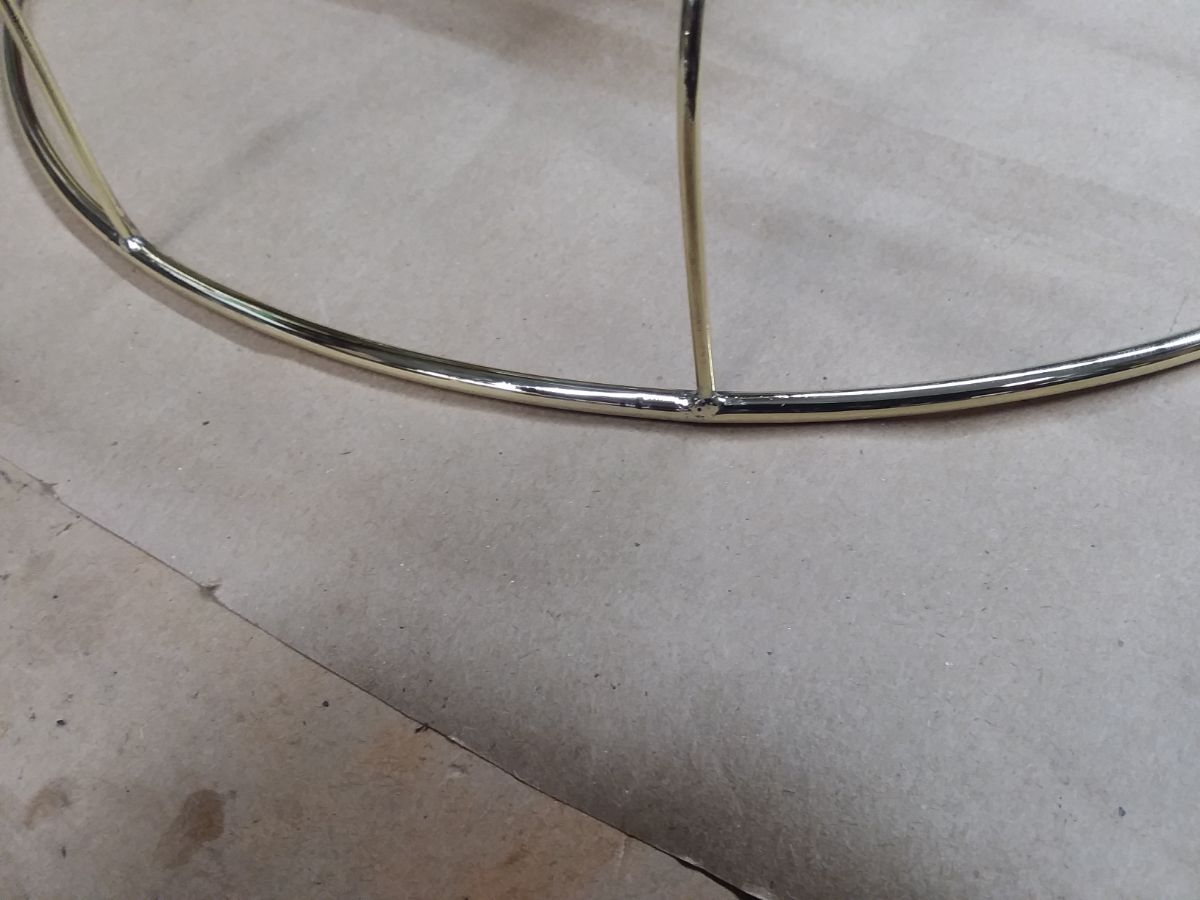
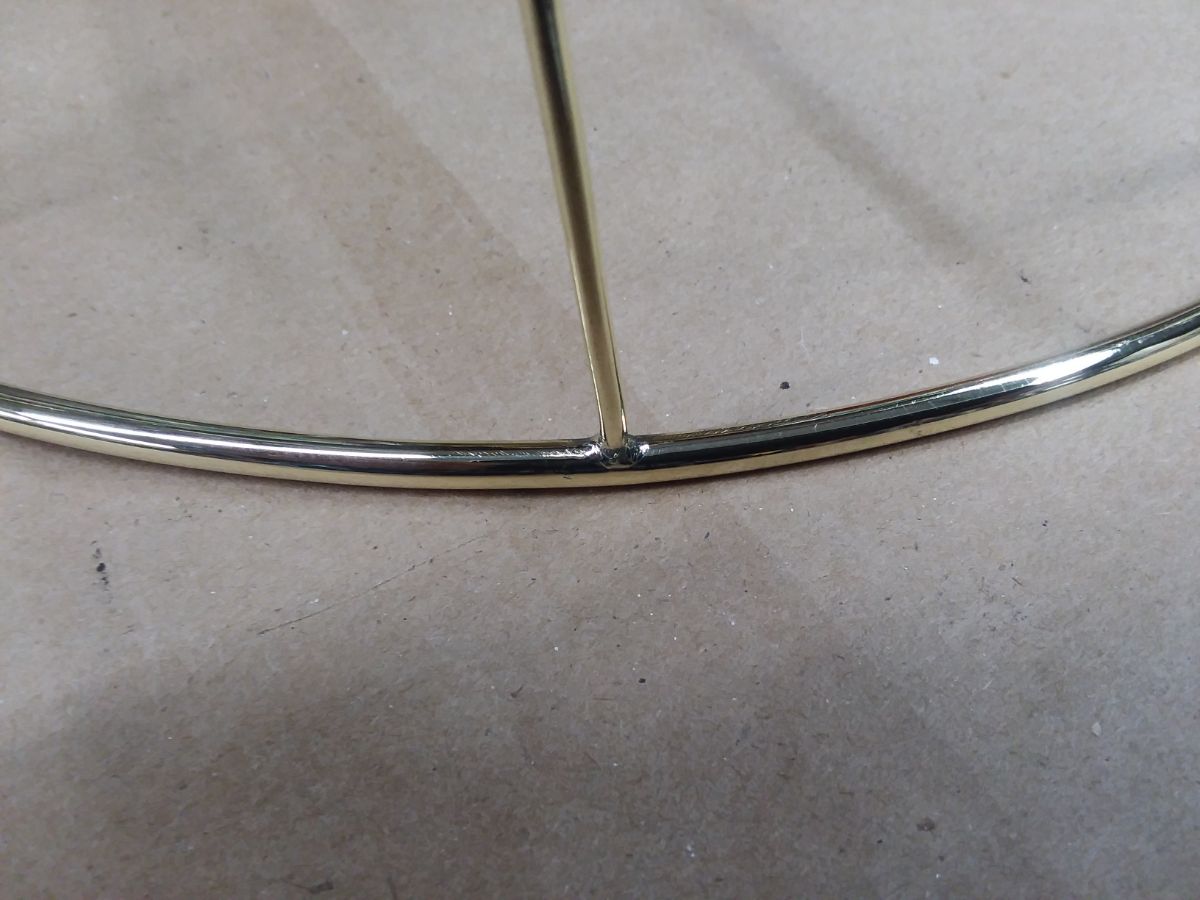
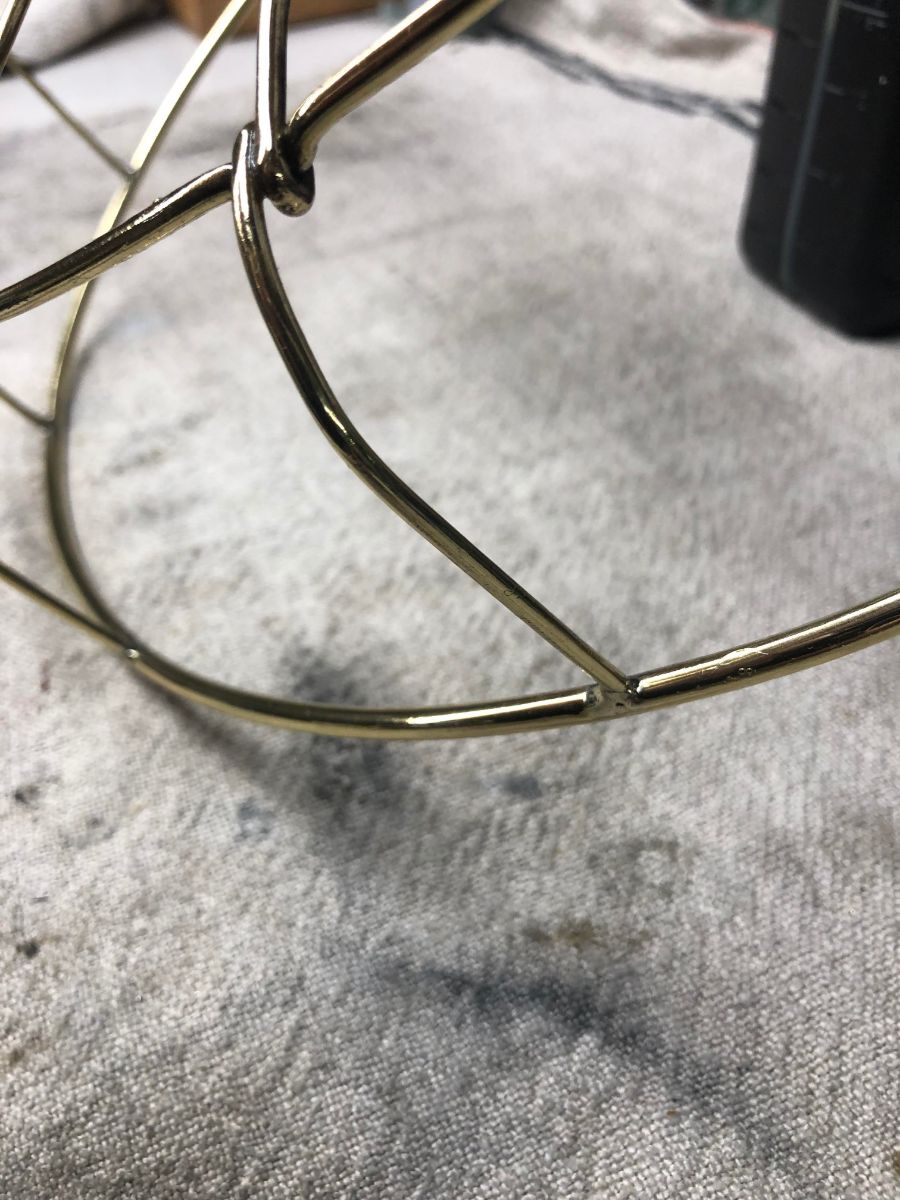
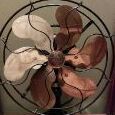
Friends: I dropped off a pretty banged up and messy 1902 Pancake cage to my good friend, Ron Bethoney at New England Brass refinishing a week ago. The cage was in tough shape (see below). Lots of lead solder - very messy. Today, I picked up the cage. Take a look and see a true craftsman at work! Wow, talk about bringing this cage back from the brink! Ron and his sons are artists in the same league as Ted Kaczor, Tony Clayton and Don Coleman. How fortunate we are to have such talent to call upon!
1 point
-
After researching it and reading Mark's great advice, I think this is something I am capable of (and very interested in) doing. It won't be right away as I have lots going on for the holidays and such, but I hope to at least start working on it within the next few weeks. Thanks for expressing your interest in it David, I will make sure to document my process and share it with you. Maybe we can save a couple R&Ms! Mark (or anyone who has an opinion): 1) Is polyimide (as opposed to polyamide or polyurethane) coating the way to go for magnet wire? For example: https://temcoindustrial.com/electrical/wire/magnet-wire/?ProductLine=GP/MR-200 2) How many feet of wire are in the average fractional hp motor? To my eye, maybe the run windings in mine are 20 AWG (small paperclip thickness) and start windings are a little smaller, so say 24 or 25 AWG. So, maybe a couple thousand feet of wire? 2) Should I bother trying to figure out a way to vacuum the varnish into the windings or is the spray and bake method sufficient? 3) Is it advisable to use low voltage direct current instead of low voltage alternating current when baking varnish using the resistive heat of the coils, or same difference? 4) How exact do I have to be with my wrap count? Over a few thousand wraps, if I am off by even 1/10th of an inch on my coil pack length, I could inadvertently be +/- a few hundred inches of wire. Perhaps having a dozen or so more or fewer wraps than what it originally had from the factory wouldn't have a large impact, however, it seems to me that having any variance between my newly made coil packs within a single winding would be bad and have any number of negative noise, heat, efficiency implications. Am I thinking correctly?1 point
-
Looks like a project, but for a buck something definitely worth it. A complete and working 1905 cake should sell in the neighborhood of $1000-1250 so looks like you have a lot of wiggle room to get the needed parts. While the adapter is a cool find, not sure what kind of value to assign it. I have a repop adapter that someone did twenty years ago on display in the museum. It is a copy of the 16 inch version....
1 point
-
Andrew, it does not require any special equipment to rewind the motor. You will need to 'diagram' the motor. this is done by drawing a linear representation of the stator slots. When you remove the old windings count the turns. Be aware of the fact that those windings are tapped, which means that leads are brought out at certain turns. Essentially, there are two sets of run windings per pole. The first set of windings you pull out are the start windings. They are not tapped and they are of a smaller diameter Measure the diameters of the wire used in the start windings and run windings. Draw the wire representation in the slots of your diagram for both the start and run windings. You will note the number of slots the start windings are offset from the run windings. In most modern motors this offset will be even, but on some older motors, wound for one rotation, it is not. You will get the same number of opportunities as your motor has poles to get the turns count, tap positions and how the wire lies in the slot to get this correct and exactness of counts is important, but not super critical. Just make the new coils as close to the old ones as possible. A winding form can be as simple as four nails on a board. You will need several to be able to replicate the various coil sizes that your motor uses. Slot liners need to be made. Examine the old ones to see how they are made. I have tried different methods of slot liner construction and materials, but my goto is 0.010" fishpaper. Cuff the ends, it will help them stay in place. Now begin laying in the new coils. Patience is key. I bring all my wires out on the same side of the stator. I will use the terminology start and finish to describe the coil leads. When all the run windings are in you will have a lot of ends sticking out. Using a meter is advised, as a sanity check, when connecting the coils. On the concentric coil ends, do not connect the start of the innermost coil. Connect the finish of the inner coil to the start of the next coil, the finish of that coil to the start of the next coil, and so on for each pole. Now you have the start and finish of each pole sticking out, along with your speed taps connected similarly. Do not connect the start of the first pole coils. connect the finish of the first pole to the finish of the next pole, the start of that pole to the start of the next, the finish of that pole to the finish of the next pole until you have only two ends per speed sticking out. Drink a beverage of your choice. Now lay in the start windings. You may choose to put a separator liner between th start and run windings. Connect the coils of the start windings similarly to the run windings. Now you have two ends of each winding sticking out. How they are connected will determine the direction your motor turns. I use a short piece of large copper pipe suspended with fishing line and a swivel to check rotation. Arbitrarily pick an end of the run and start, connect them as common, connect the other ends as well. Put power through a variac to your motor, suspend the copper pipe in the stator and turn the power up until the pipe begins to rotate. If rotation is backwards, switch up how you picked common. Make your headwire connections, lash the windings down nice and neat, spray it with insulating varnish and bake it by trickling current through. Don't over amp your windings! Use a meter. Save yourself a bit of trouble and mask the I.D. and O.D. of the stator before varnishing it. Congratulations! You just successfully rewound your first motor!1 point
-
Yes, it is cooked. that is actually the run winding that burnt. I can rewind it if you want.1 point