Leaderboard


.thumb.jpg.5936a8250964aa26a7e866d5f7e3e354.jpg)

Popular Content
Showing content with the highest reputation on 09/26/2023 in all areas
-
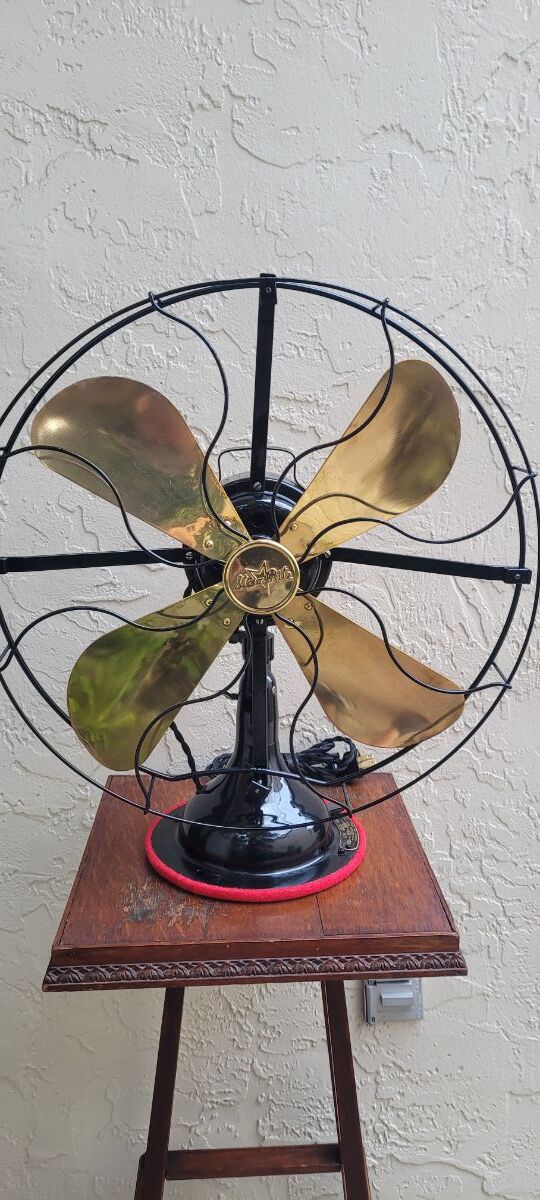
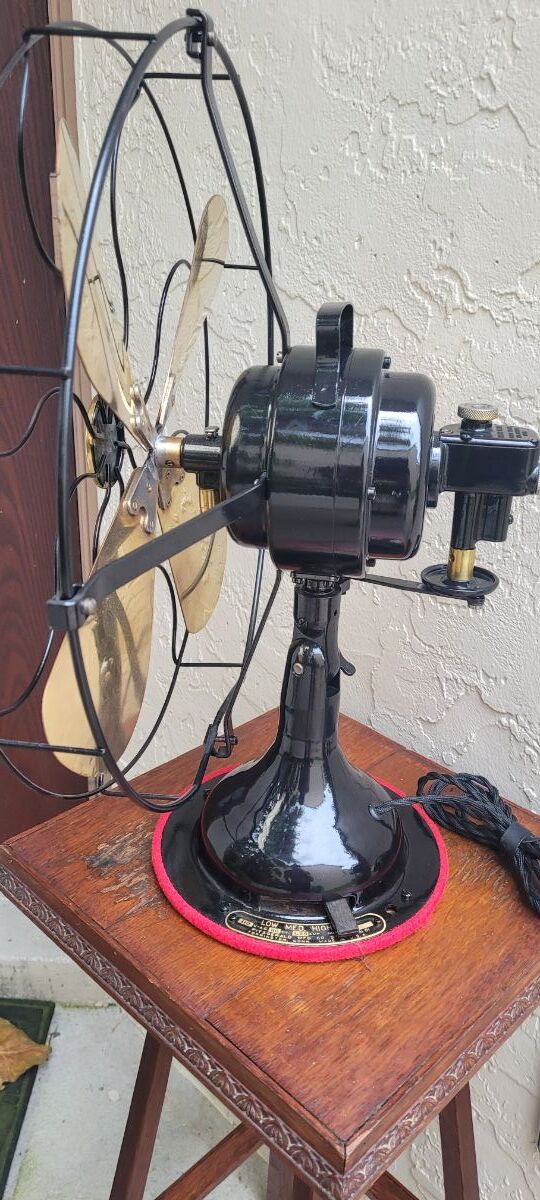
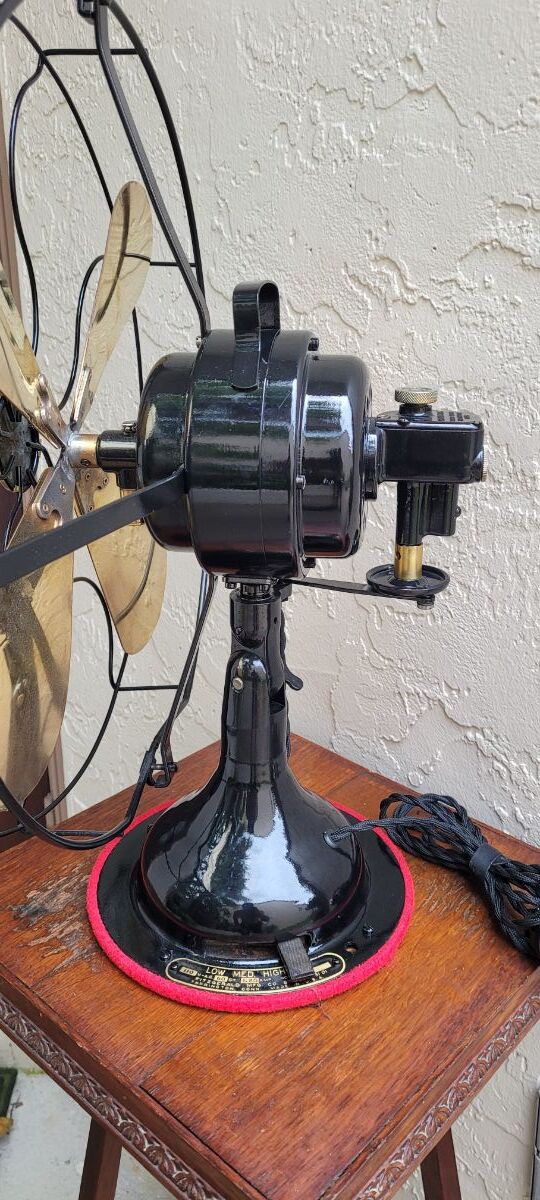
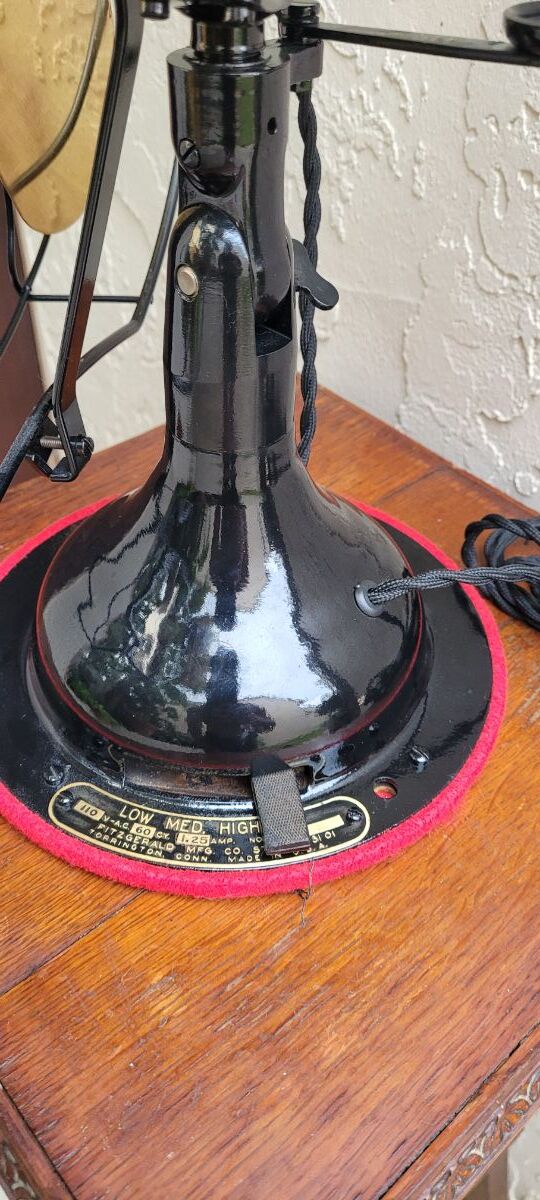
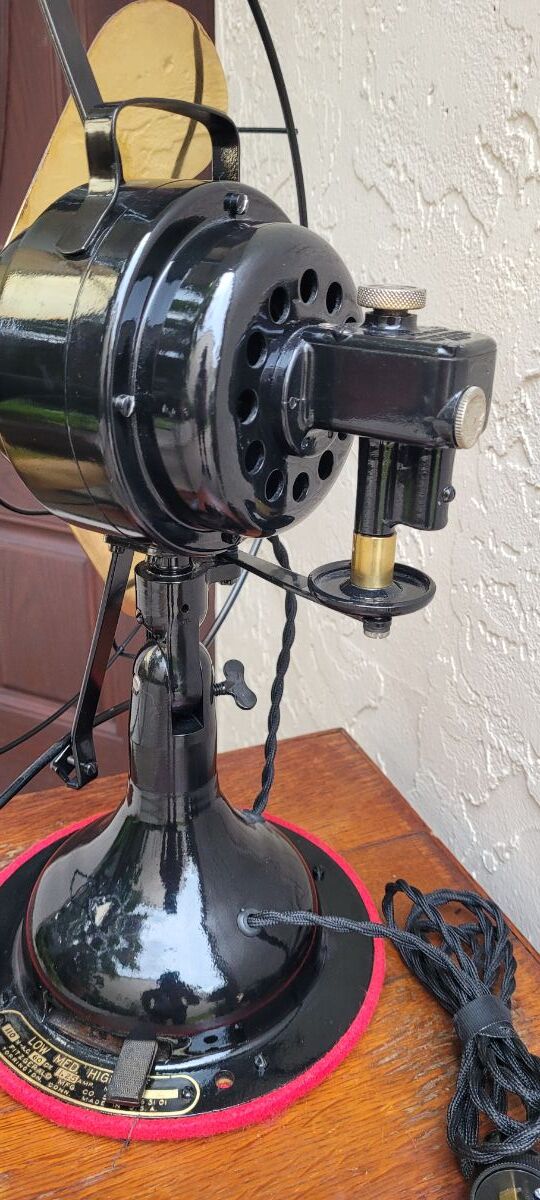
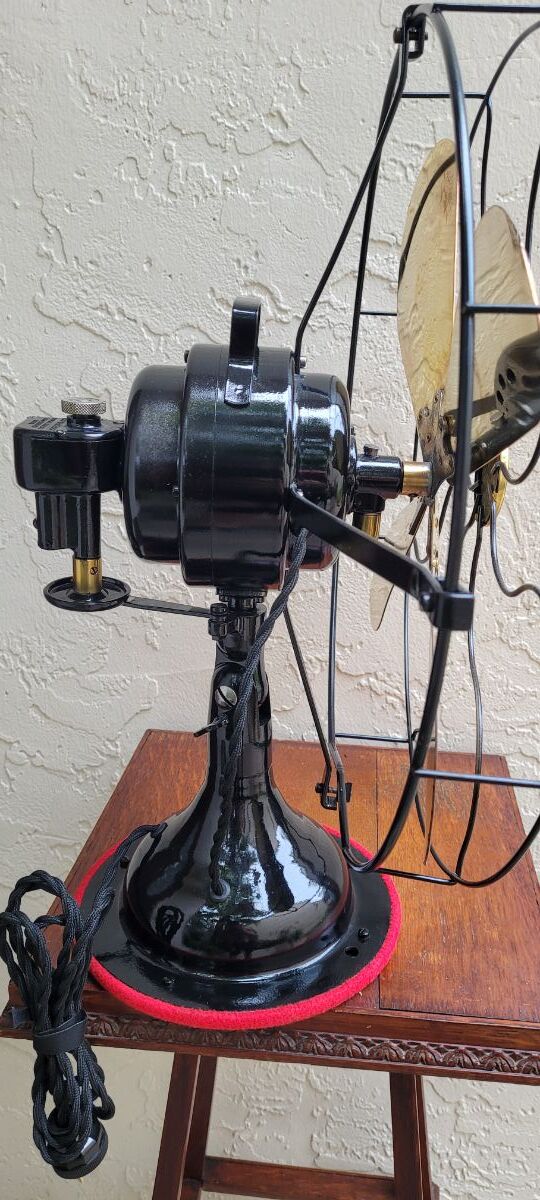
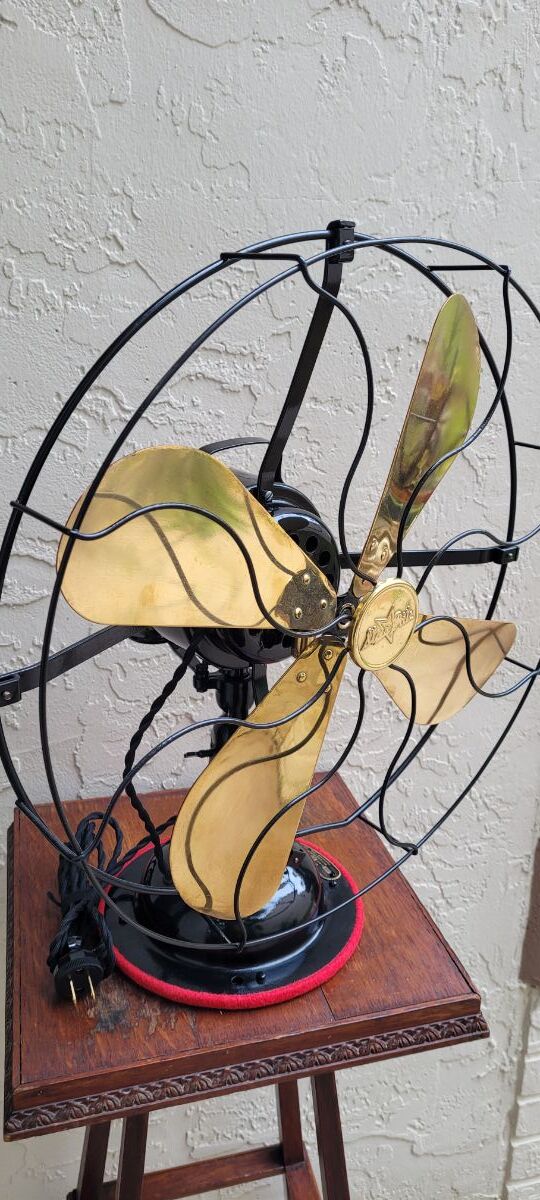
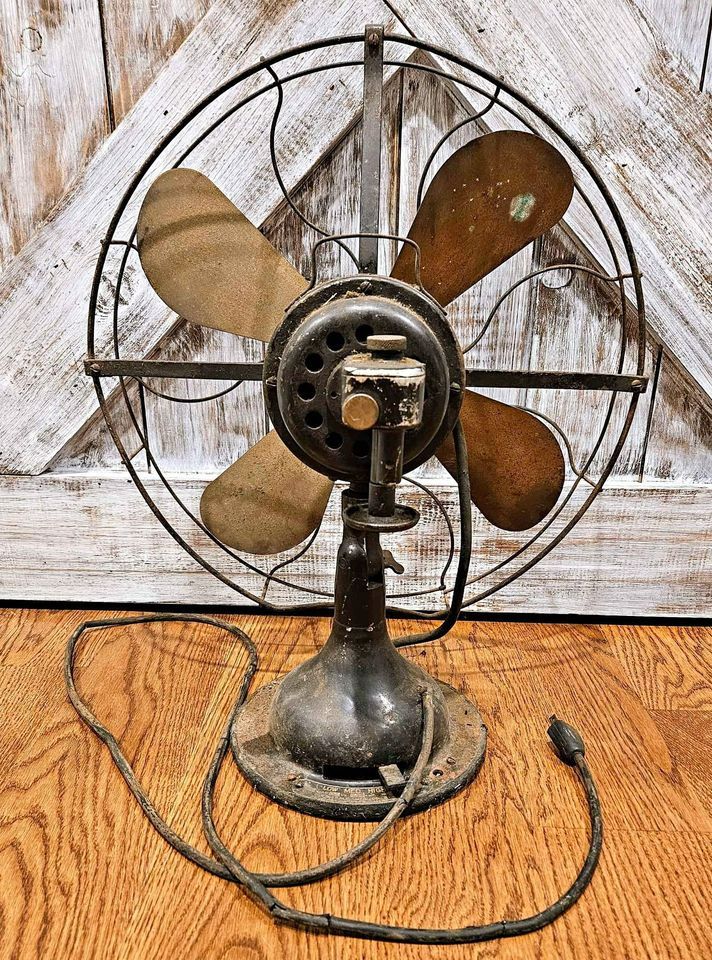
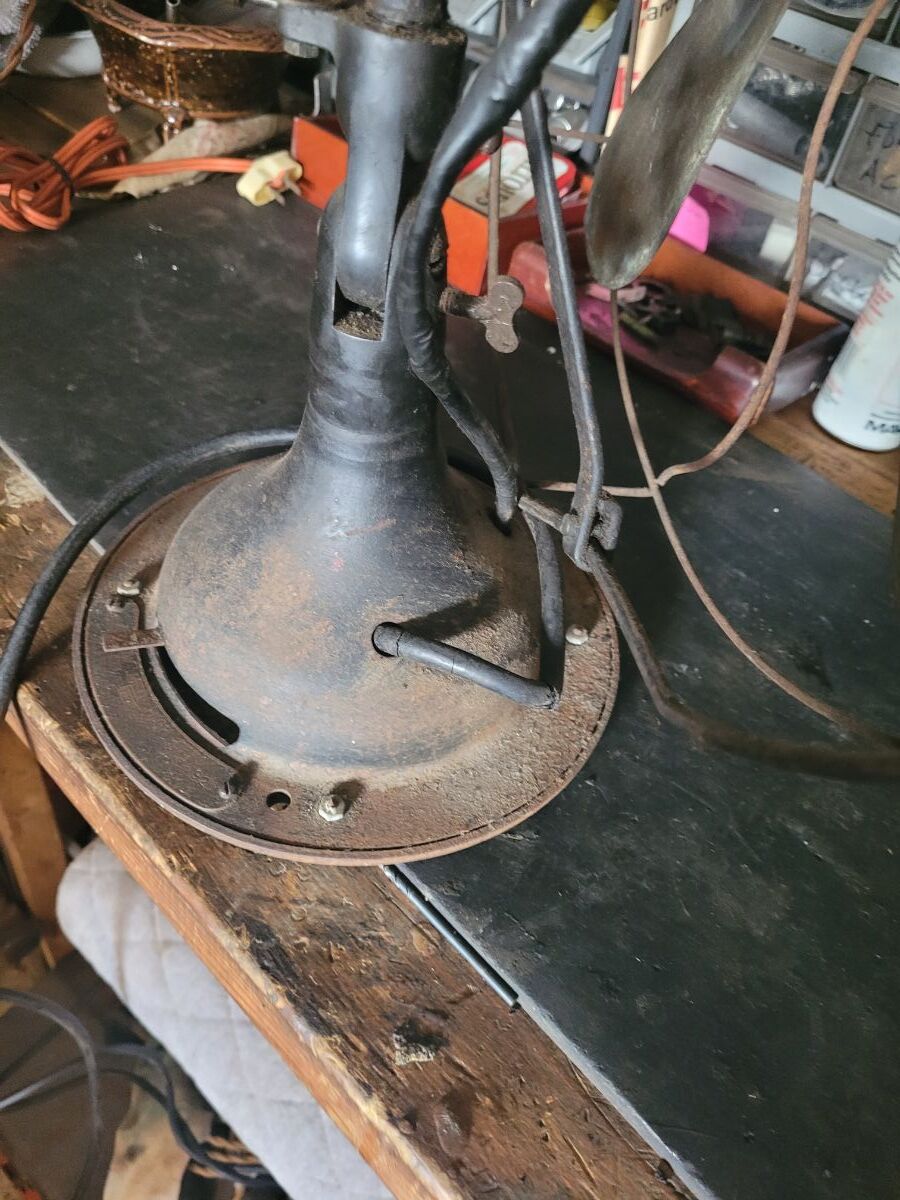
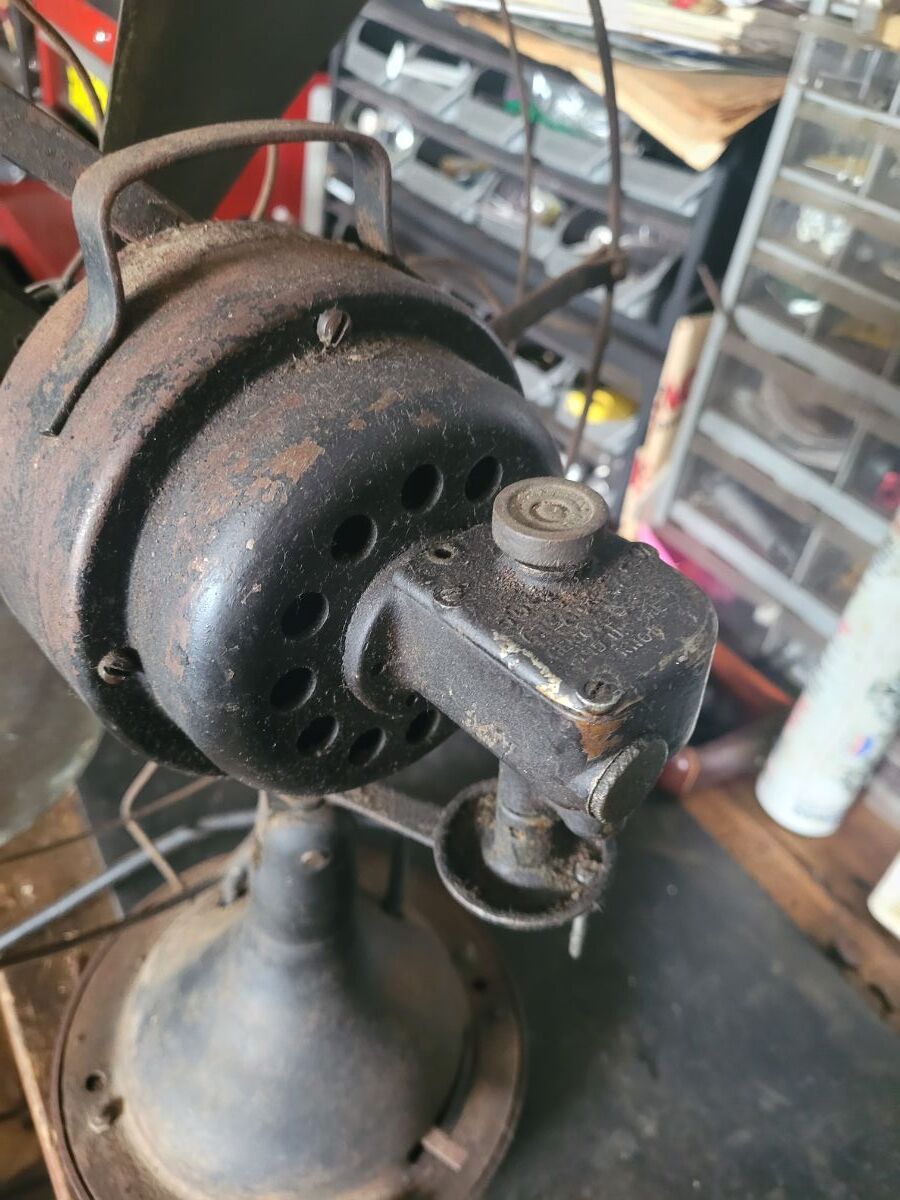
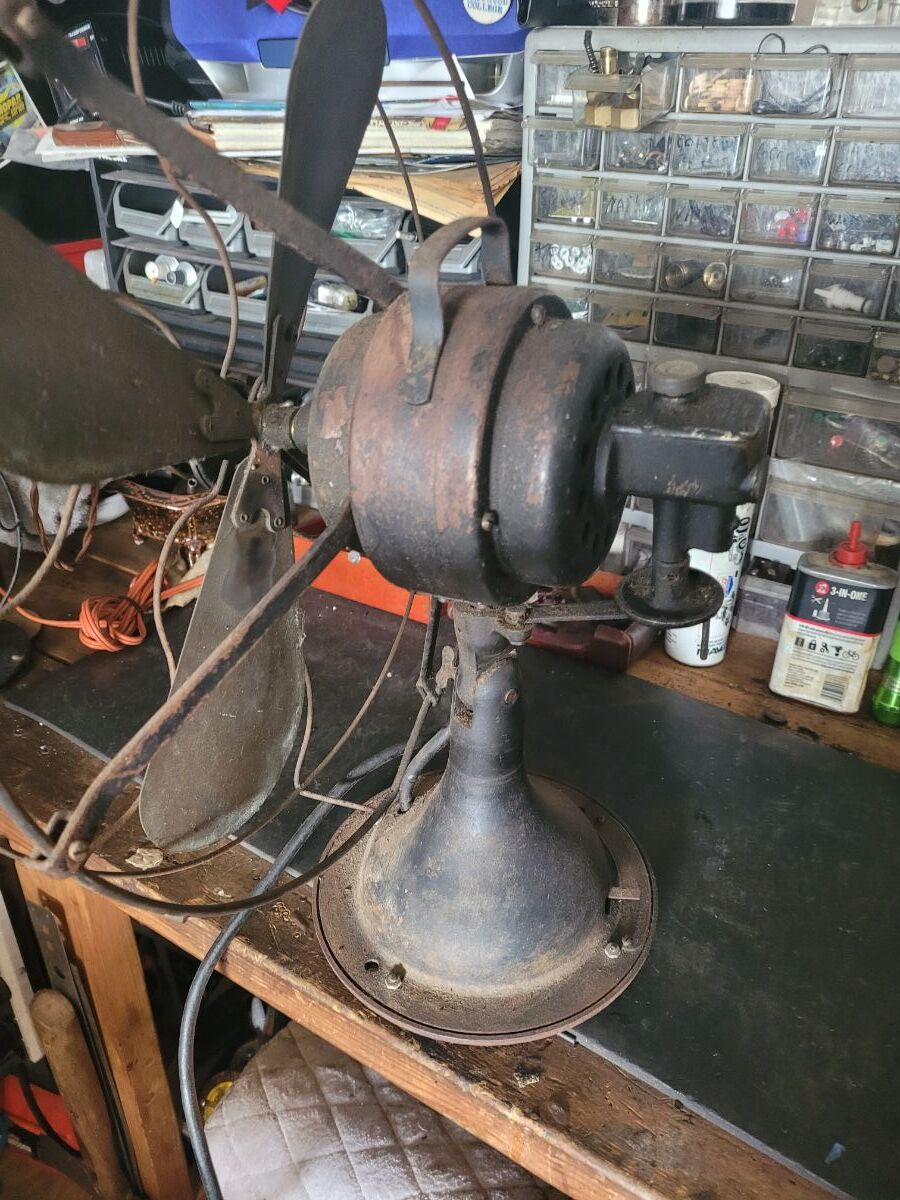
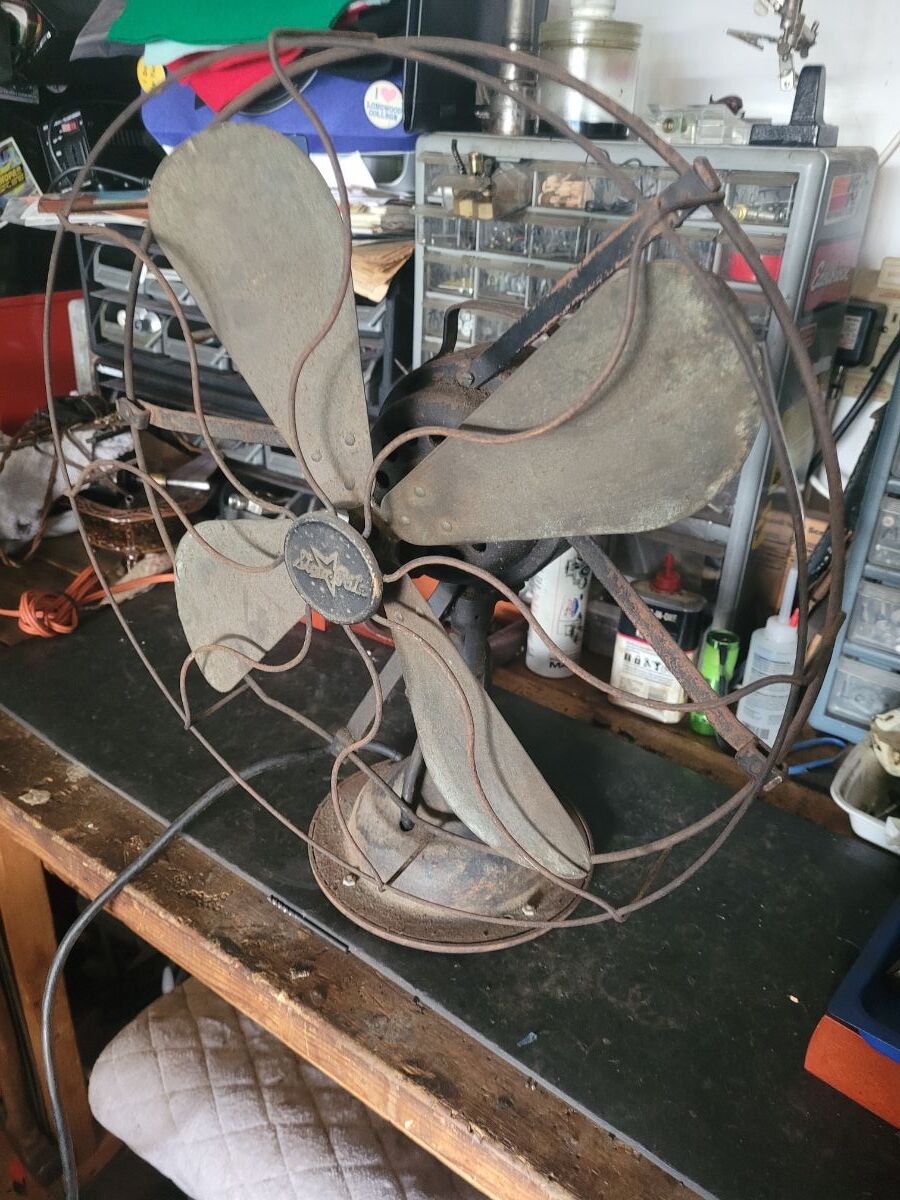
Here's one a saved from the junk pile.
 4 points
 -
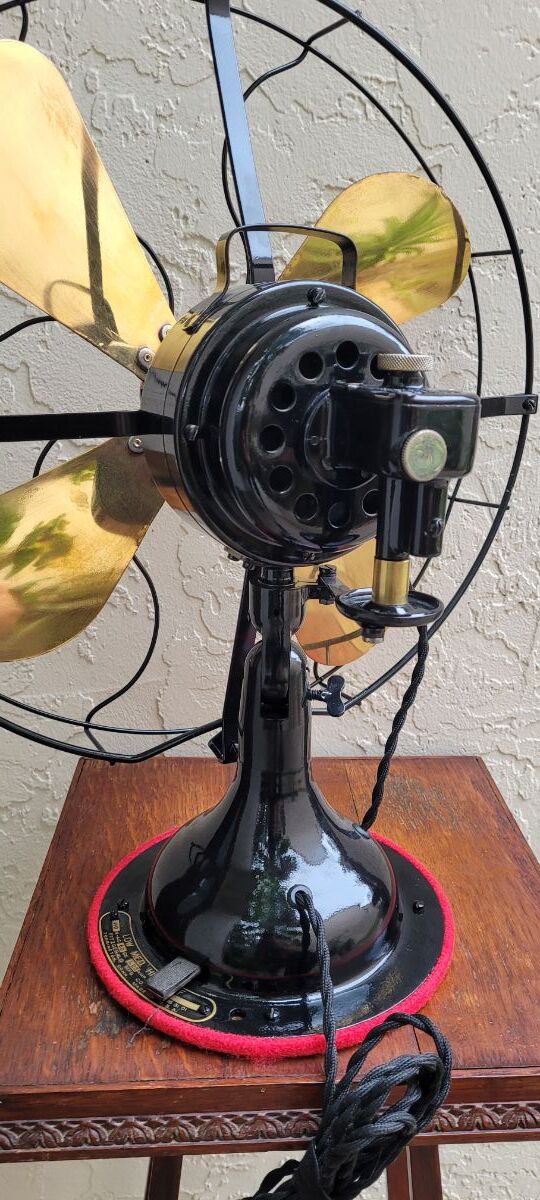
Don't look like junk anymore. 🙂 It's amazing what some insight and dedicated TLC can do for fans most would pass over.3 points
-
1 point
-
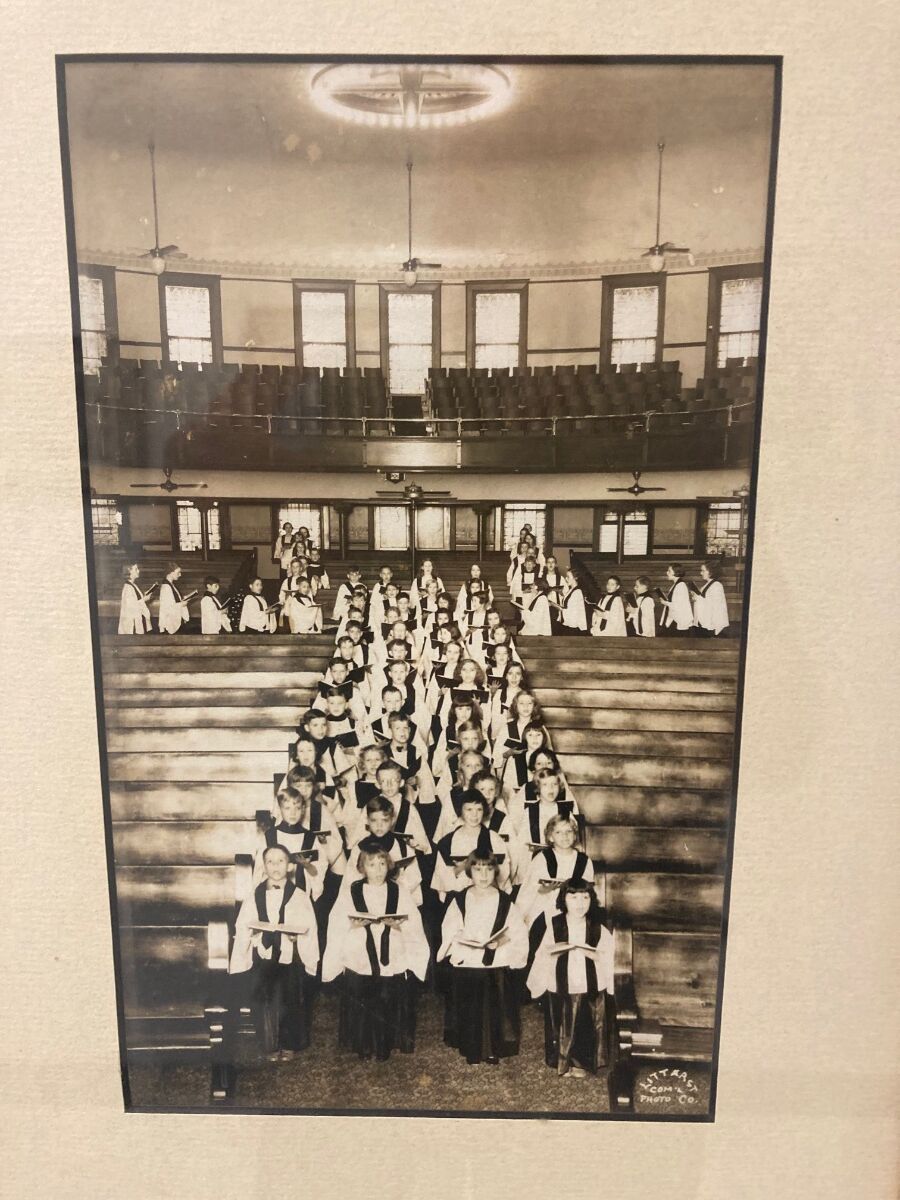
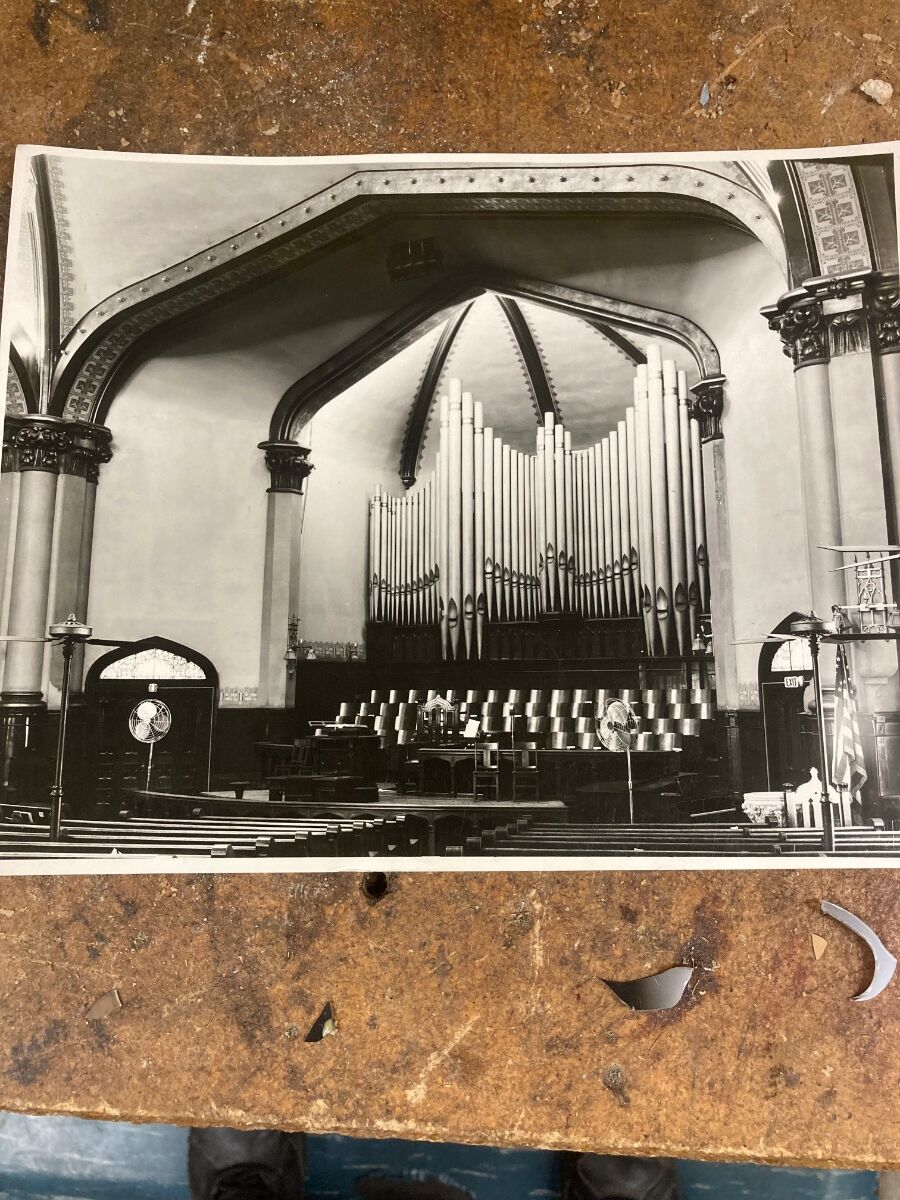
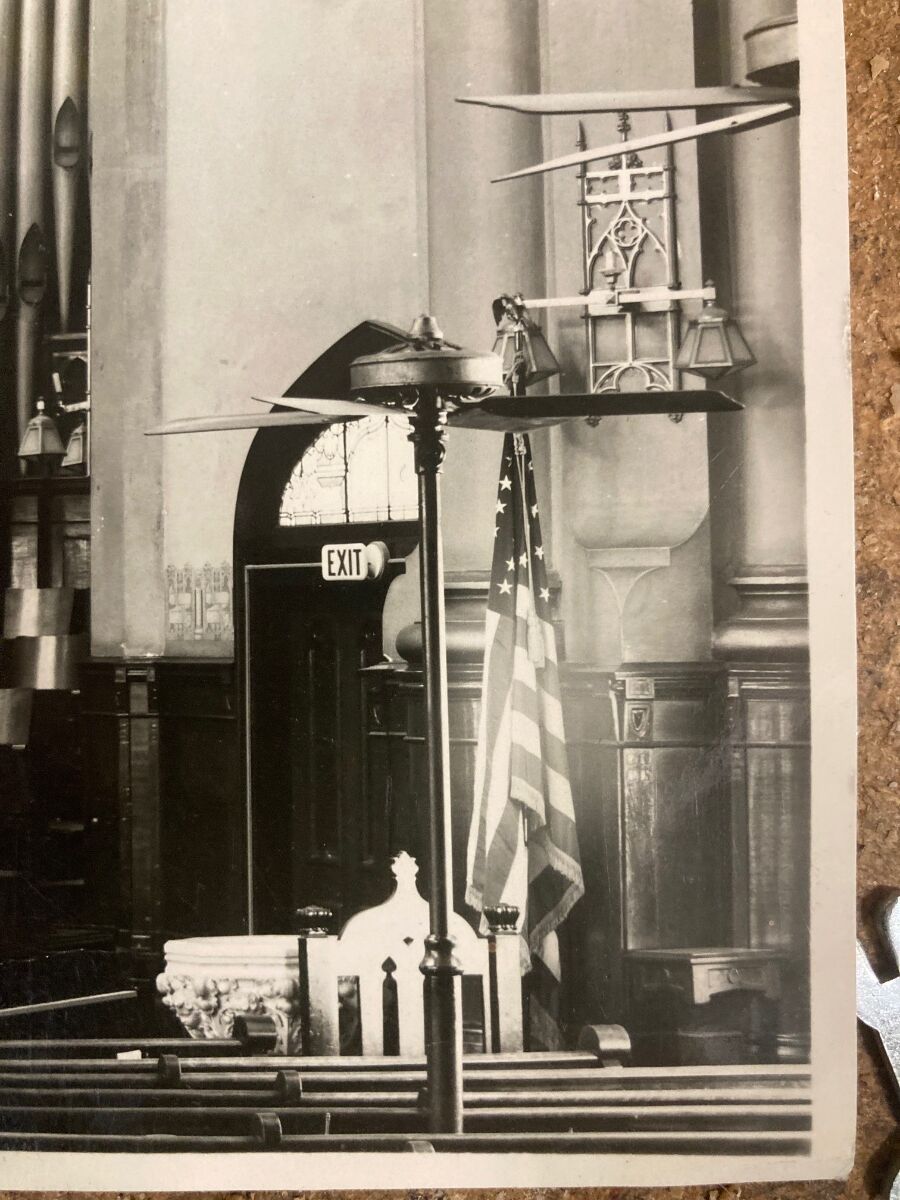
Ok Jack Minor, found the balcony fans, plus two of the downstairs column fans snuck into the picture. I still have a couple of those light globes. Looking toward the back, then looking forward.
1 point
-
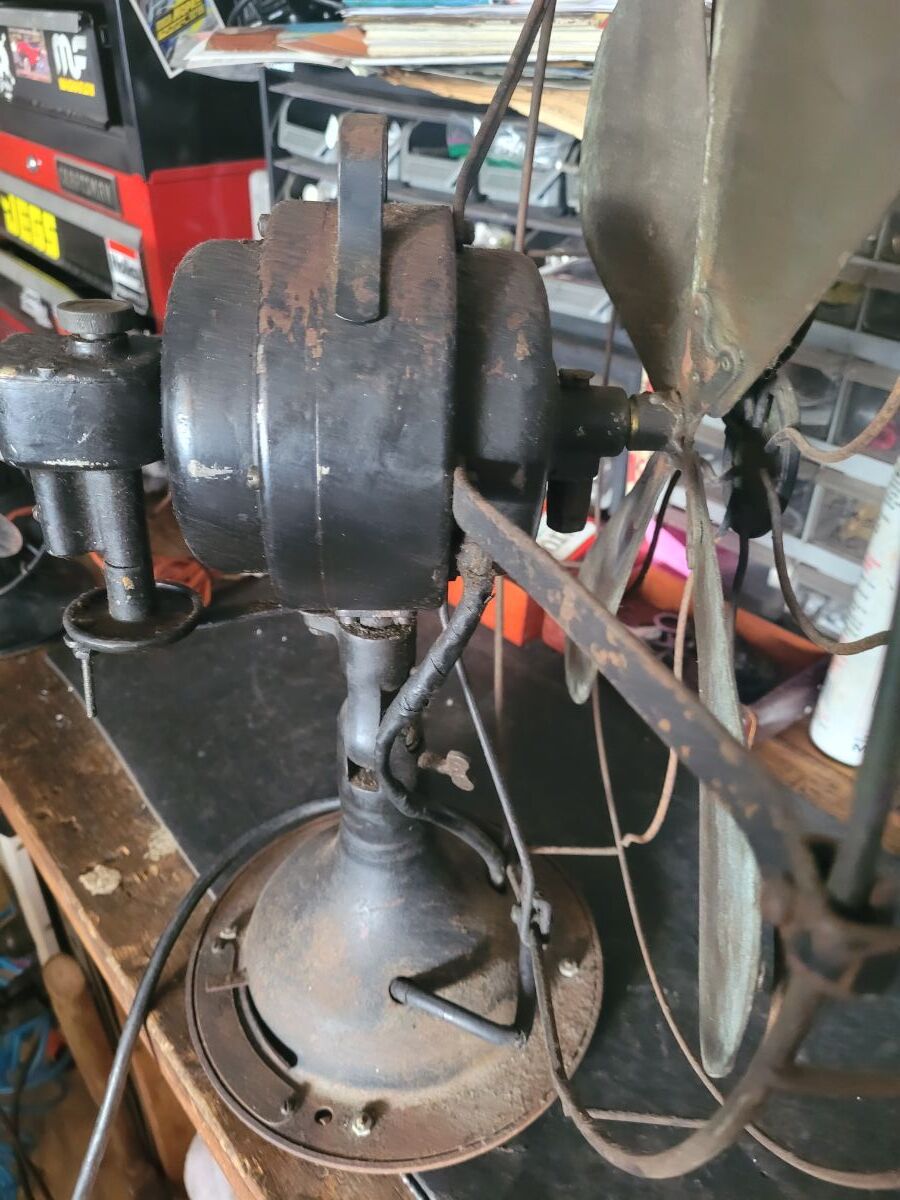
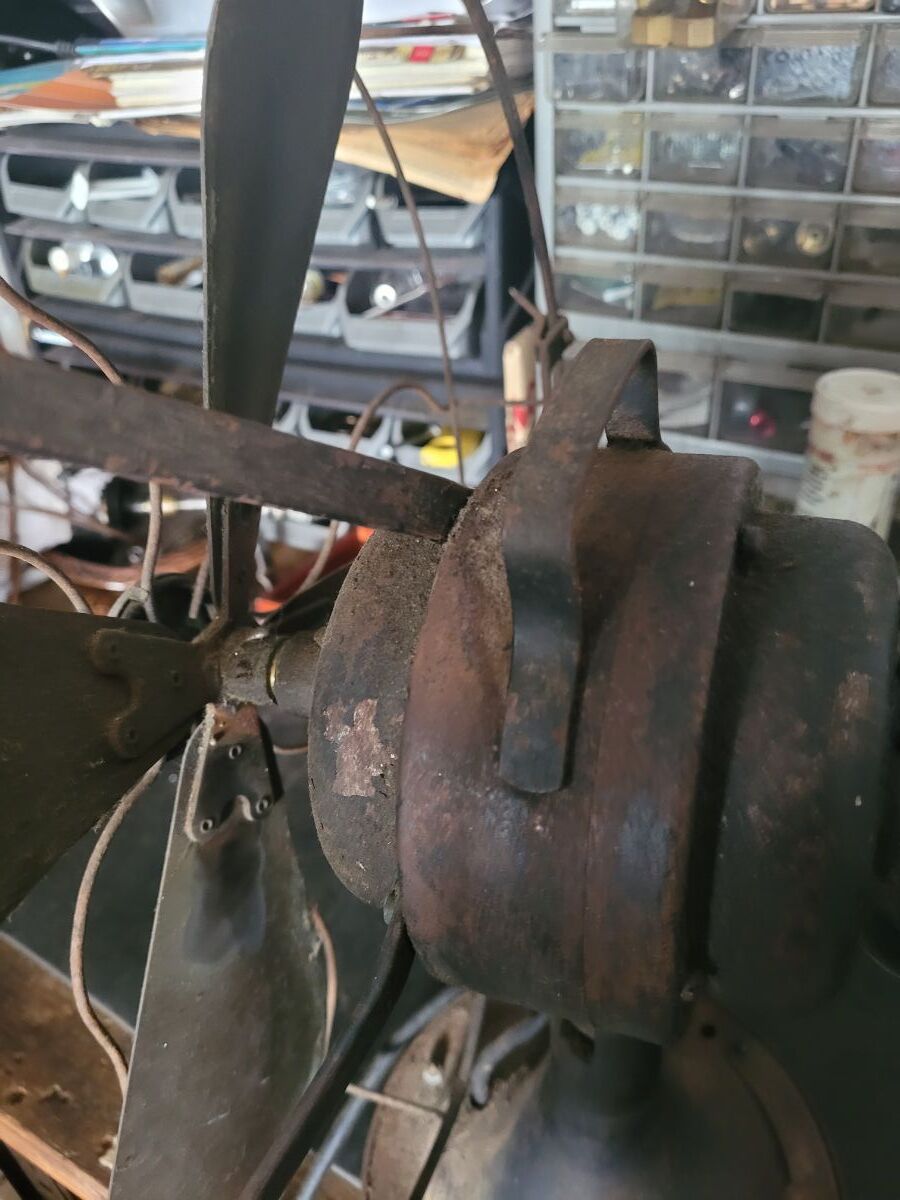
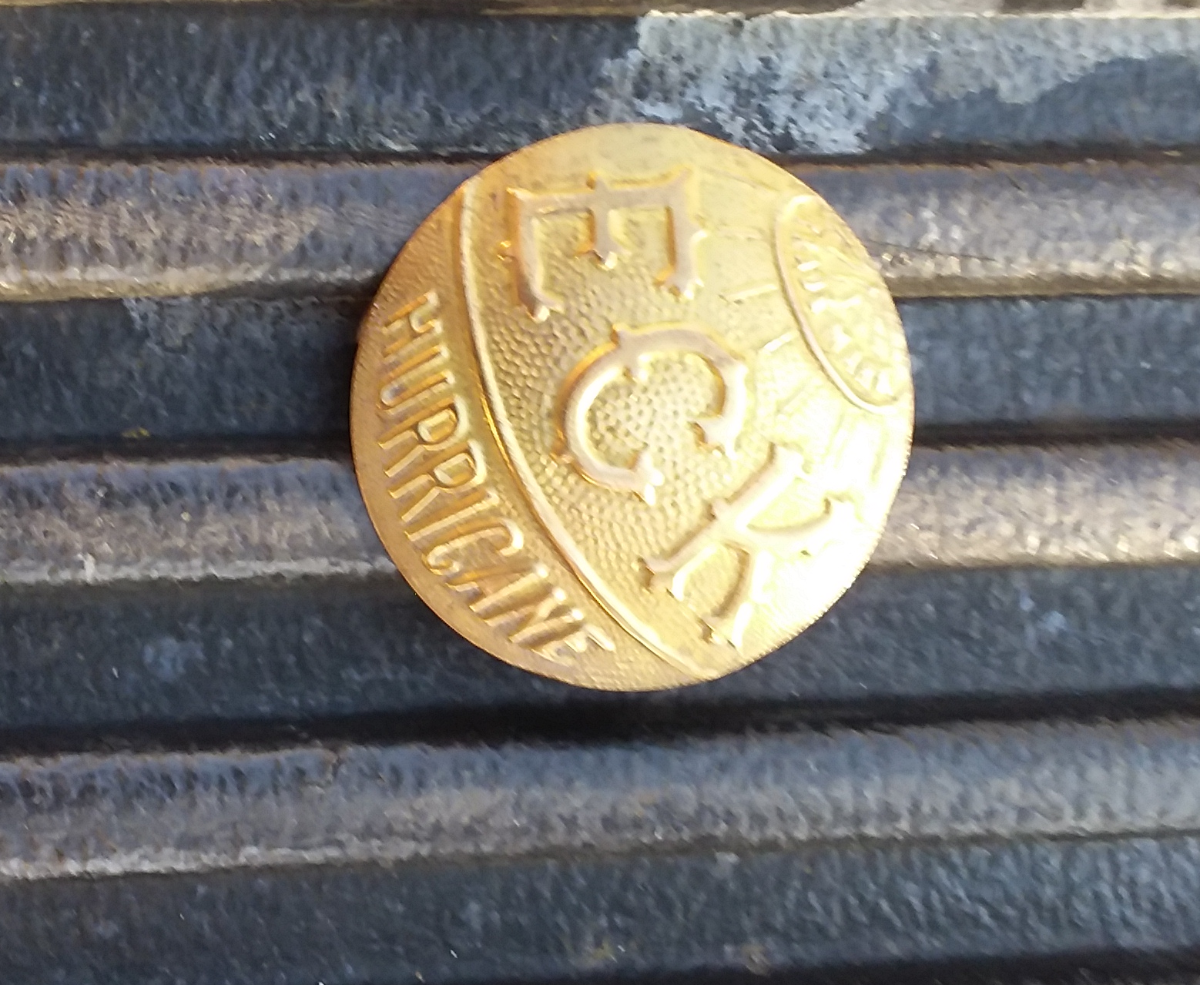
Looks like a brush holder casting and caps to me on the blade end of the motor housing.
1 point
-
Ya. Arjun is young and having trouble getting the blade to pass through all the threading. He claims the blade will spin on the threading to a certain point and then bind. He is letting it soak in solvent for now in hope of any possible internal thread corrosion to break down to release the blade.1 point
-
Thanks Russ I don't have pics for Arjun. Arjun, as you see: The smaller shaft goes through to the back oscillator 'activator' mechanic, so likely, that is entirely missing yours.1 point
-
1 point
-
Arjun-I'd stop until someone who has taken the blade off one can help. It is THREADED onto a shaft . . .1 point
-
Arjun, maybe it is best you get someone to help you hands on. You don't want to break anything. Be patient.1 point
-
Take your blade off the shaft. Unthread both of your oil cups. Hold your fan upside down firmly (don't drop it) resting the C-frame on a workbench. With your free hand spray WD-40 down into the bearings on both ends and then turn the shaft with your fingers of your free hand. This will let the WD-40 work its way into the bearing surfaces to break down the old, varnished oil on the surface of the shaft and bearing. Set the fan back up right on the bench, give it a while for the WD-40 to do its magic. Try firing it up without the blade on to see if it gains enough speed to lift of the centrifugal switch contacts.1 point
-
Heard back from Rick Hill....."I have made a couple of wall mount components. But I have not made that item." I will proceed with the prototype.1 point
-
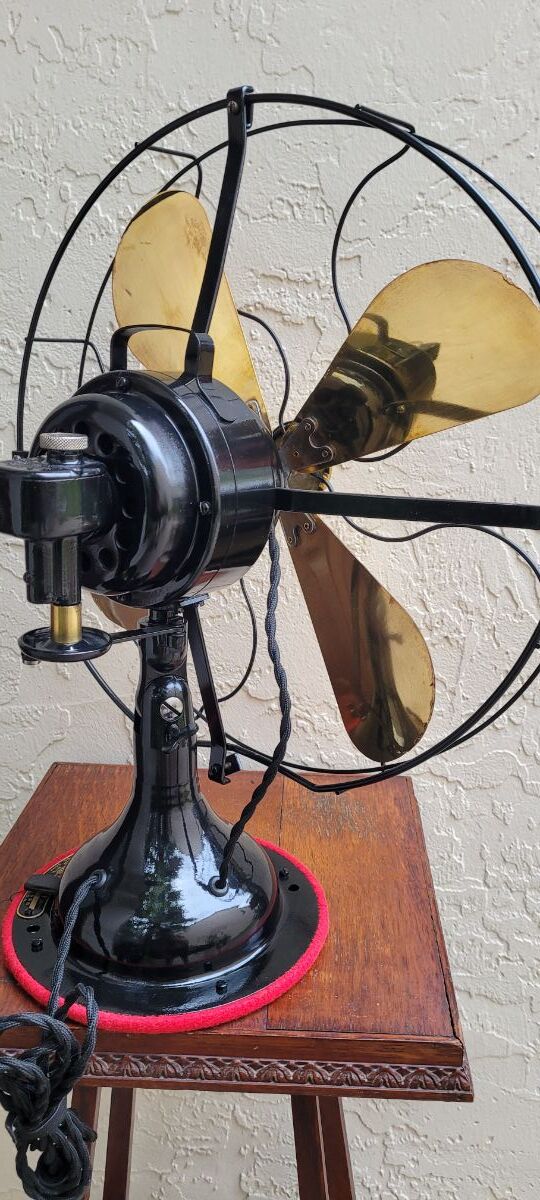
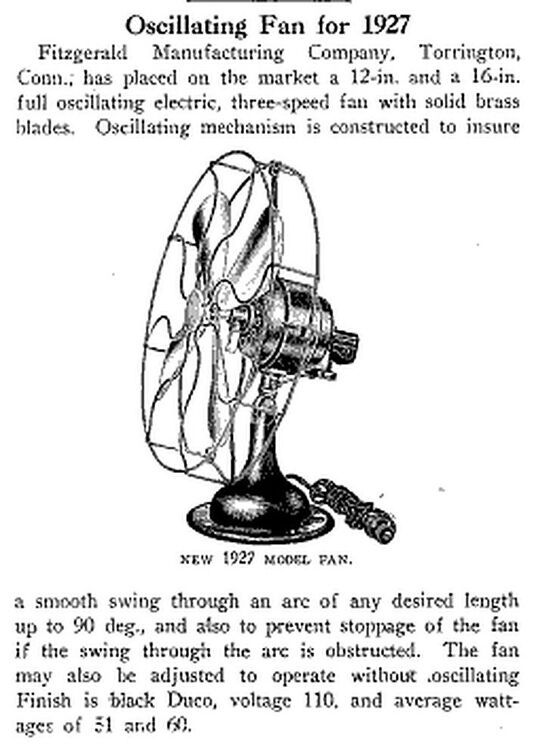
There is an earlier and perhaps the introductory model of these fans that sported a cast iron gear box rather than the pot metal ones posted. Definitely sleeper fans at present but really look great restored, witness Anthony's gleaming example.1 point
-
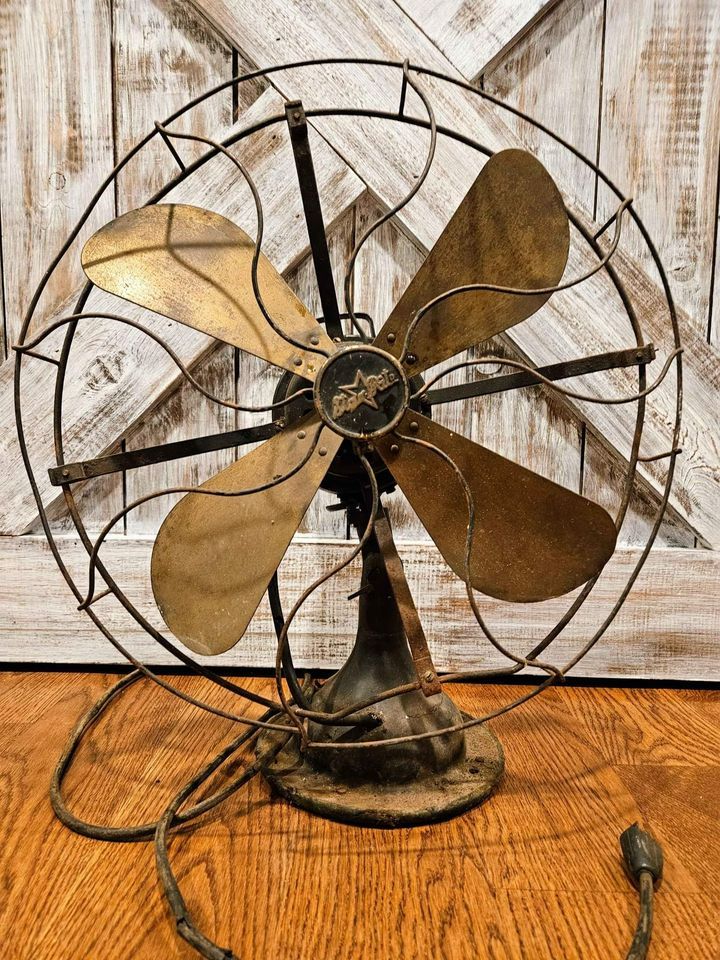
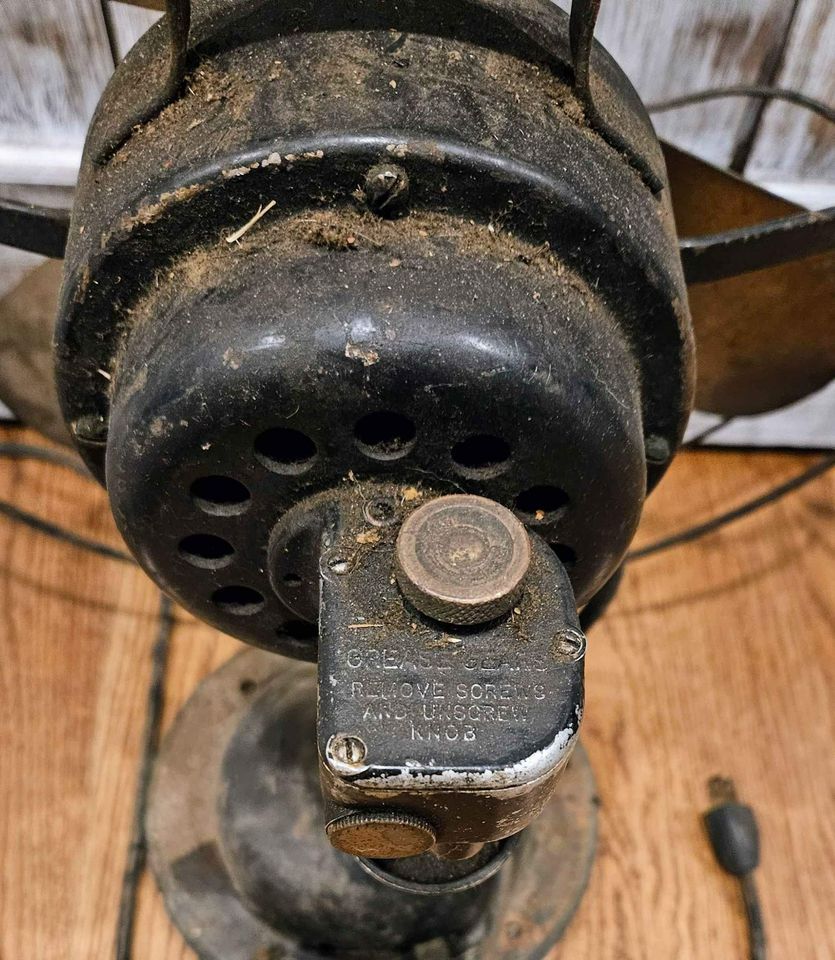
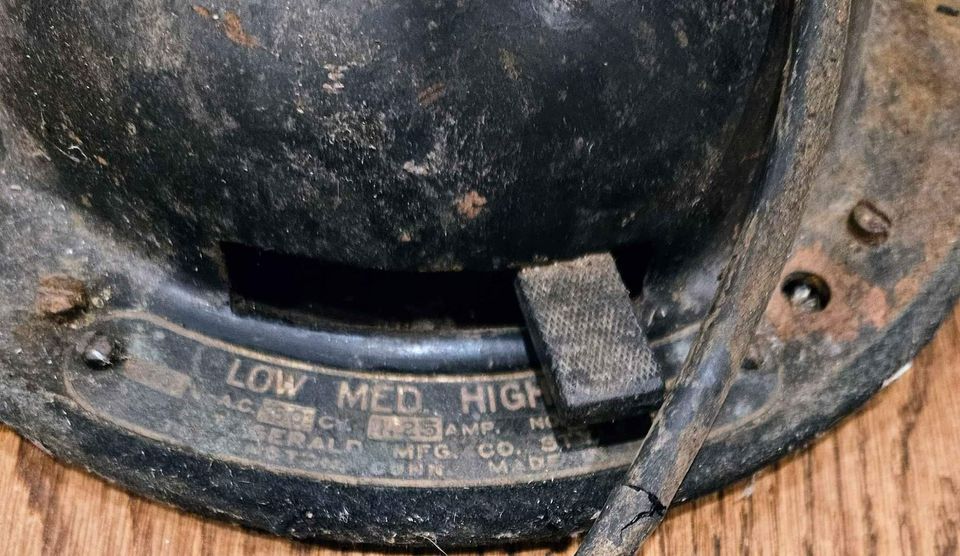
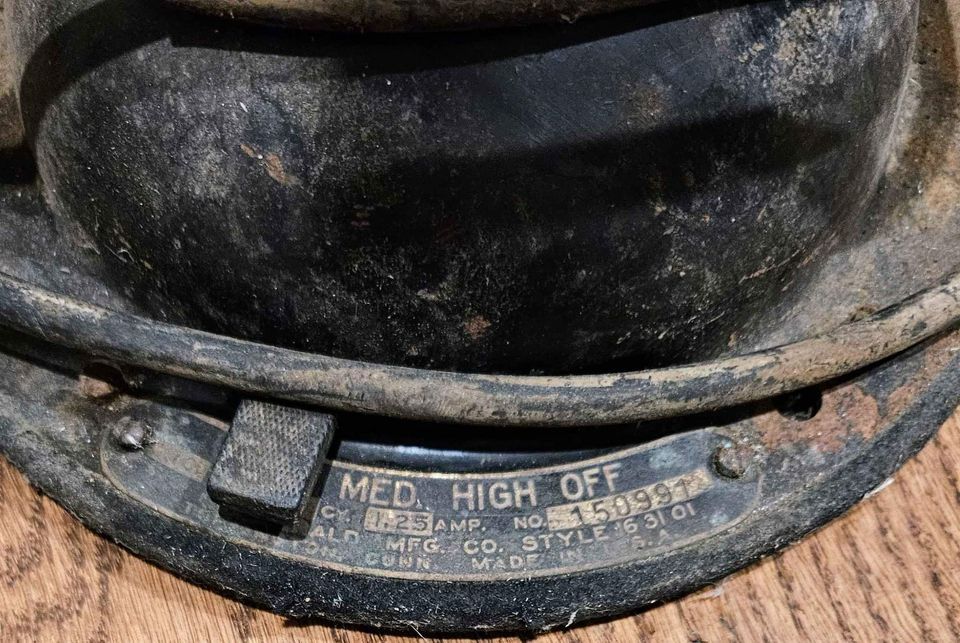
Some before pictures
1 point
-
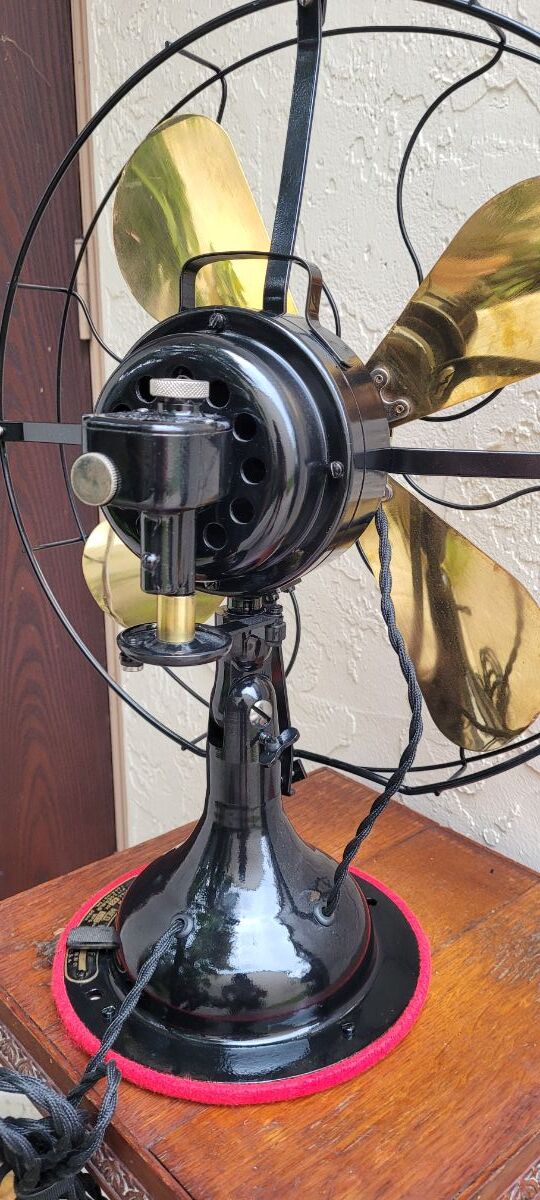
Anothony This fan is gorgeous. Solid work on this restoration. Thank you for posting for us.1 point
-
I don't know what he has, but touching base with him may be a good thing. I don't know if anyone paid attention, but the wall mount is a DC double lever. The brushes are up front. Anyone own one?
1 point
-
Will be making brass cover motor housing, side arm, gear cover....all brass obviously. I already have the bass struts thanks to William Dunlap.
1 point
-
This one is probably late 30s, much newer.
1 point
-
Thanks to all who shared pictures of Typhoons installed. Lots of great old buildings! Got a video of testing out Andrew's 'Phoon yesterday! Hope you find it interesting.1 point