Leaderboard


Popular Content
Showing content with the highest reputation on 02/25/2024 in all areas
-
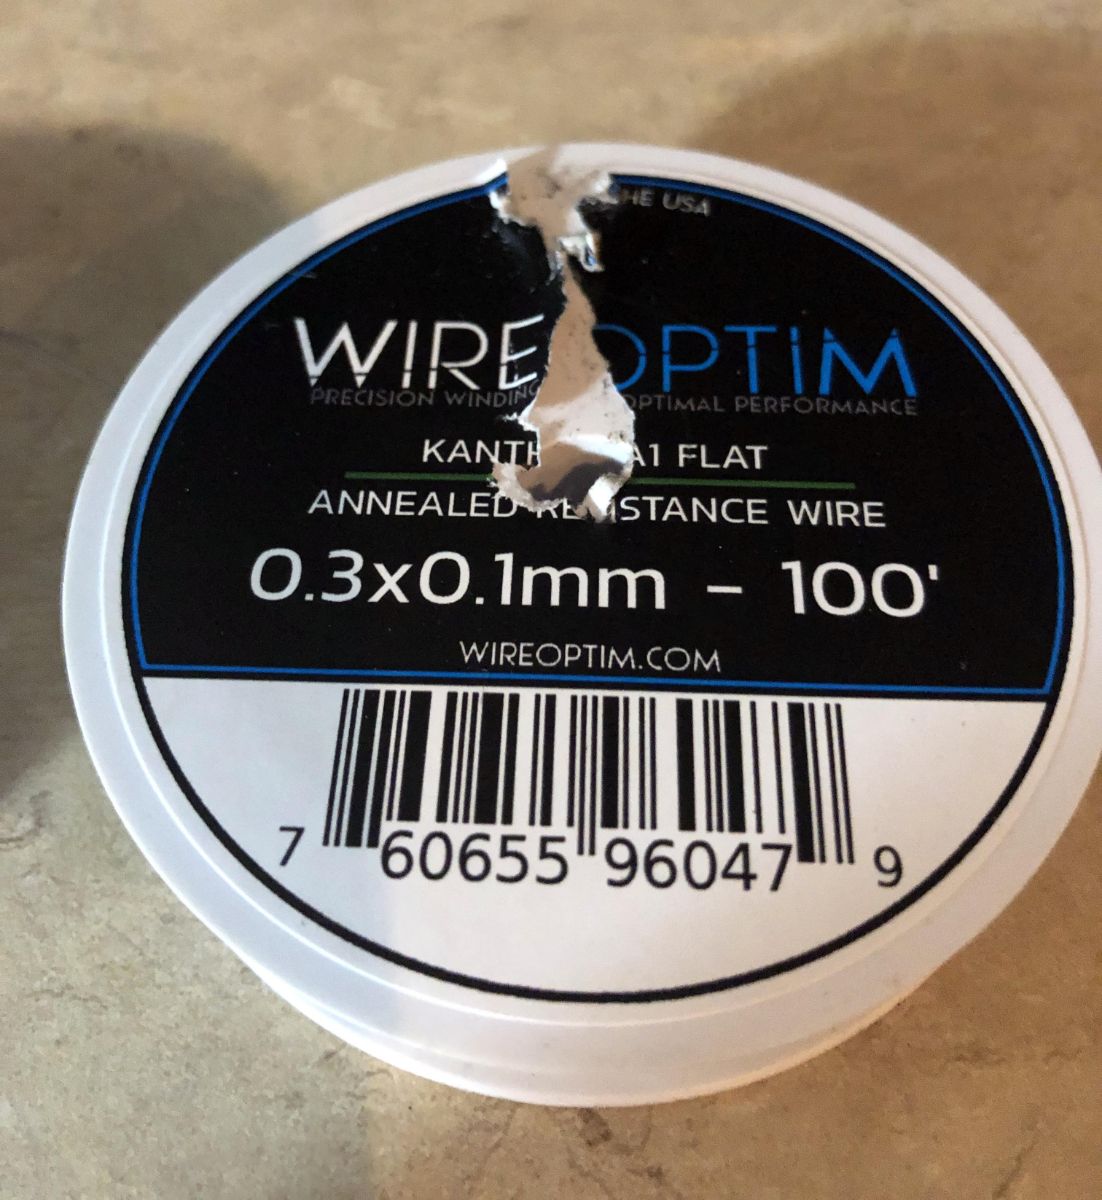
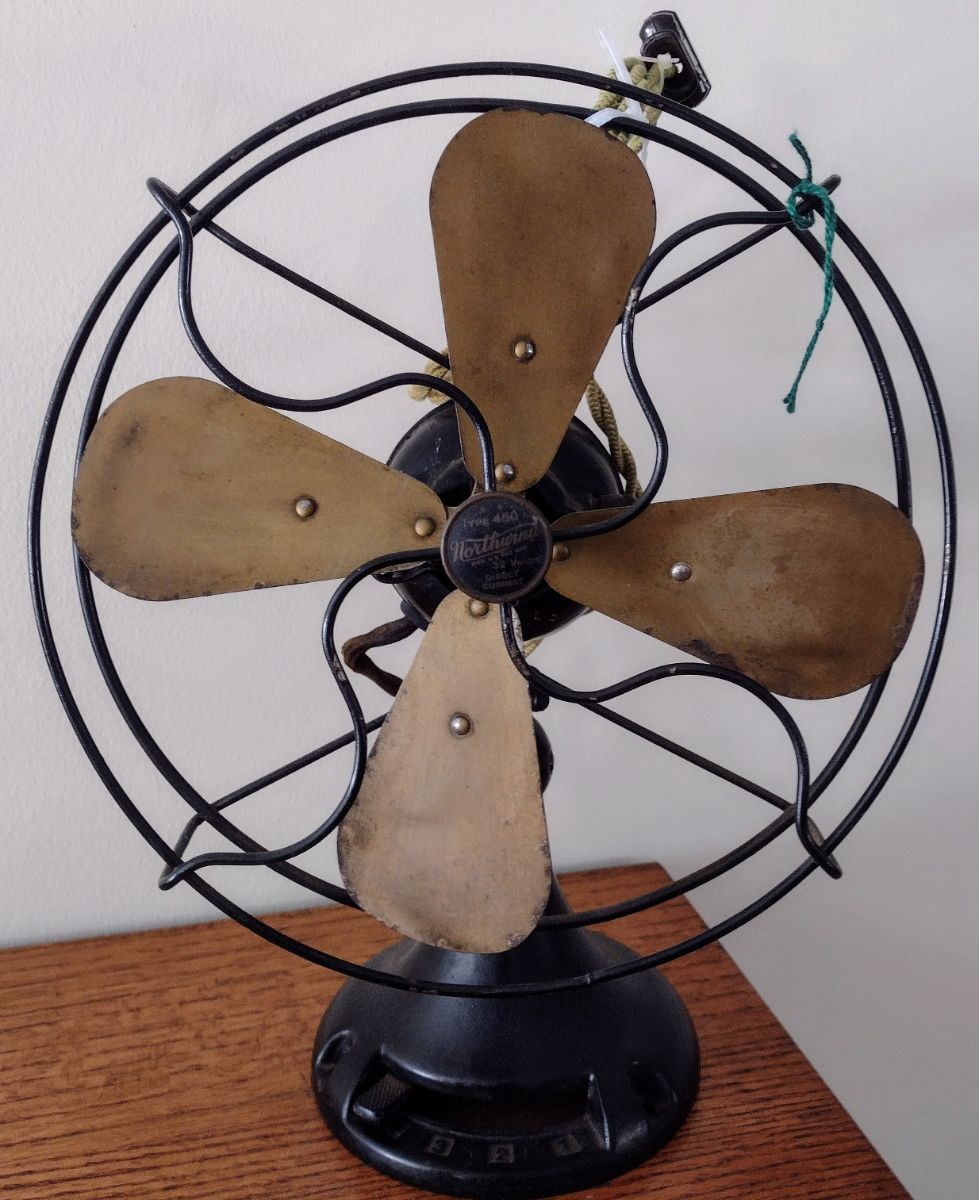
Good evening fan friends. The Kanthal arrived today. It took a bit of work to wind the Kanthal around the tower after having painted the Sodium Silicate over the asbestos on the tower. The Kanthal kept slipping down the tower. The fix was to take my tiny tweezers to create small notches in the sodium silicate to hold the Kanthal in place while I was winding it. Below is what the coil looked like with 6.5 feet of nichrome wire which provided 26 ohms of resistance (not enough to give a noticably slower second speed). I replaced the nichrome with about half as much Kanthal or 3.5 feet, which was rated at 14.3 ohms/foot. This provided 50 ohms of resistance which gave me a nice second speed. Below is a picture of the rewound choke coil with the Kanthal wire (thanks to Tom Newcity for suggesting this). Give a listen to the video below and you'll hear the nice second speed with the new Kanthal wire. This was much easier to do than I had imagined so I would encourage anyone to give it a try.
 6 points
 -
Don't ask where the shaded pole is2 points
-
It's still zip cord, just a different forming die. "Double D" rather than two rounds bridged together I've also seen a very thin type of double insulated cord on many of my 30s fans and lamps. Thin back and white insulated conductors paralleled inside a thin rubber jacket.2 points
-
There's only two reasons I can think to spring for one. 32VDC and the wheel....
1 point
-
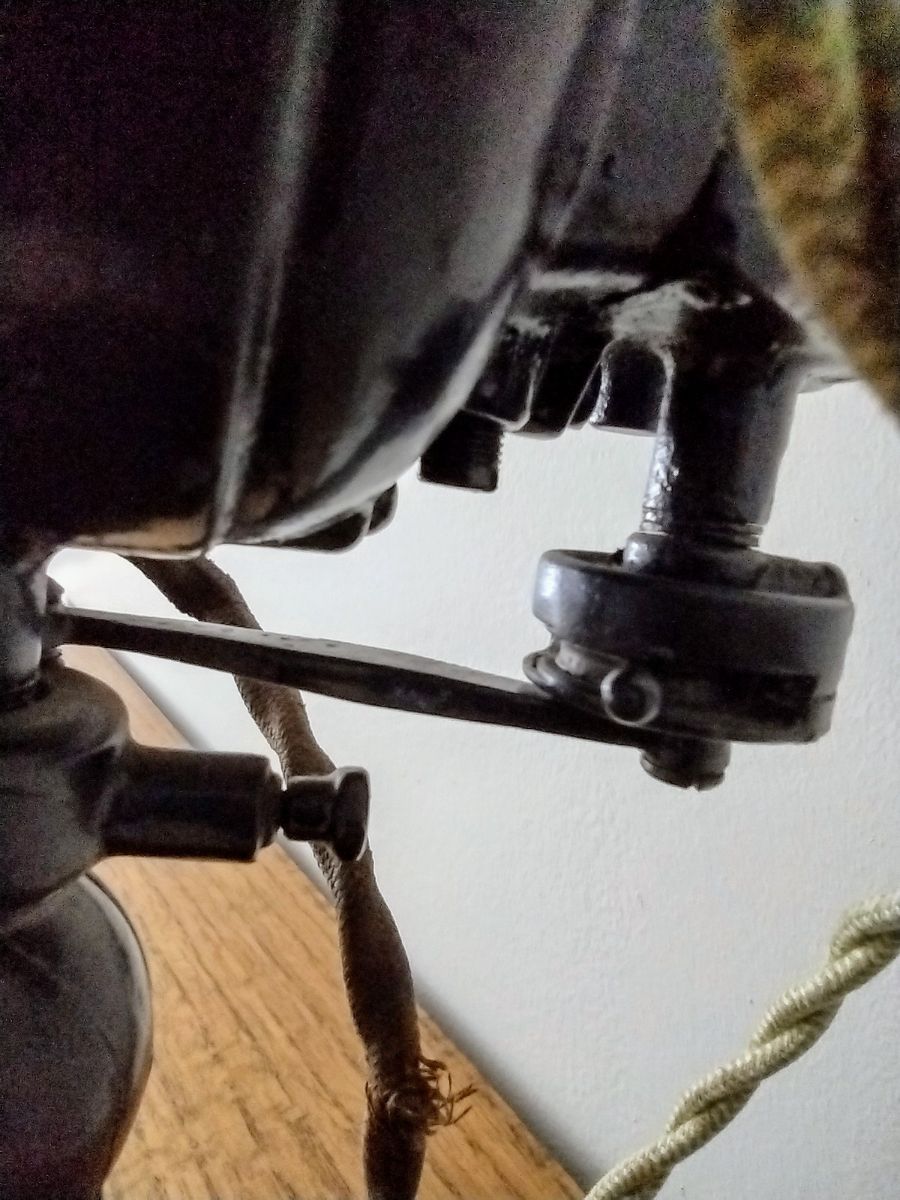
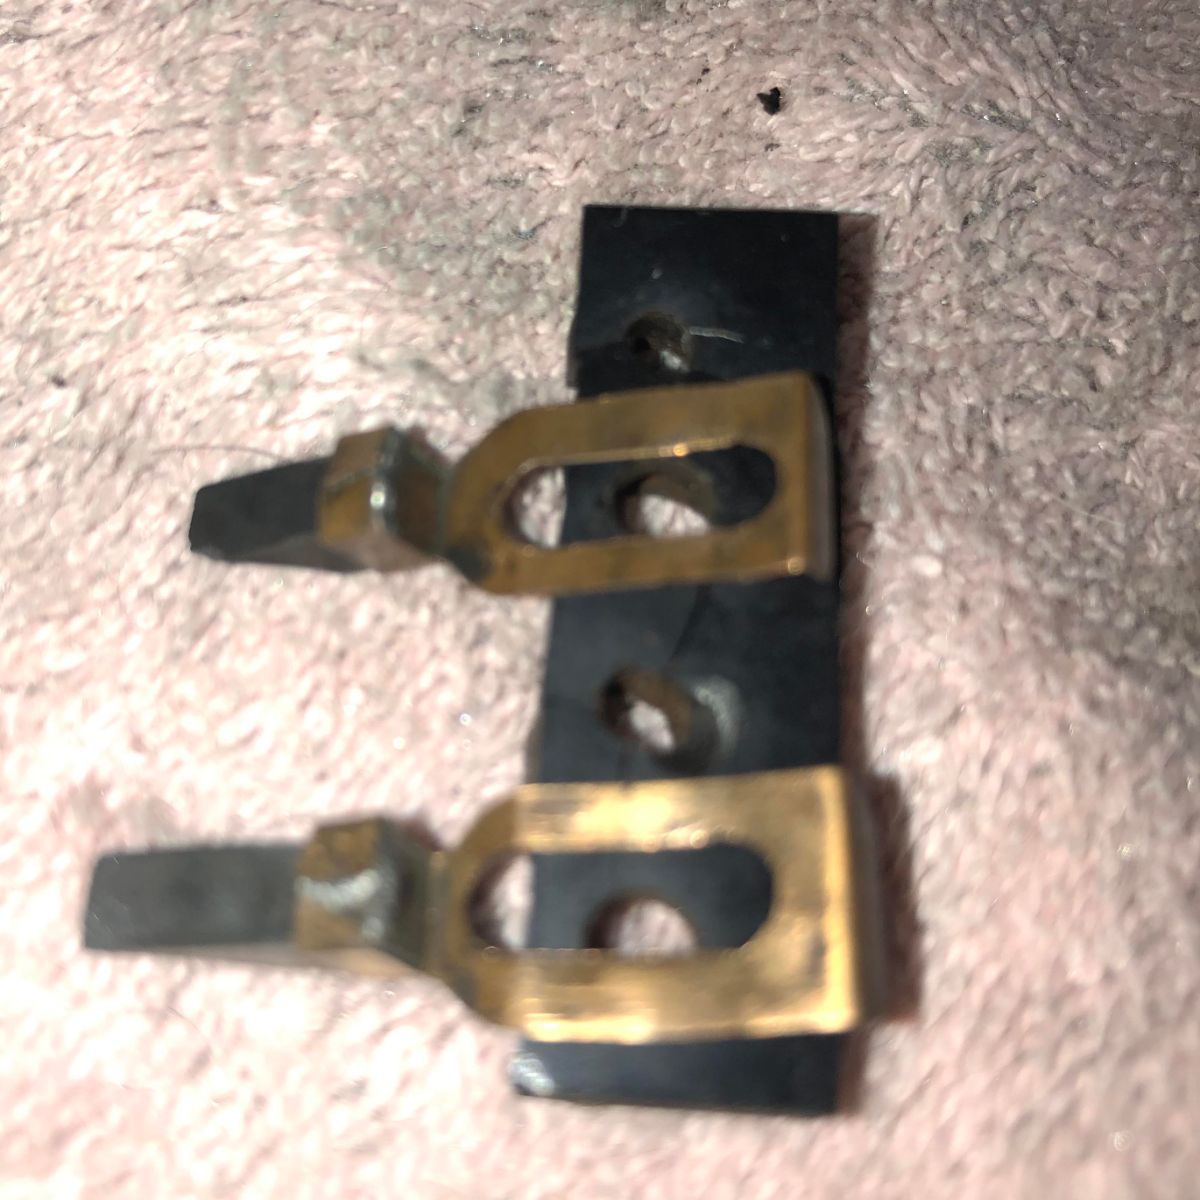
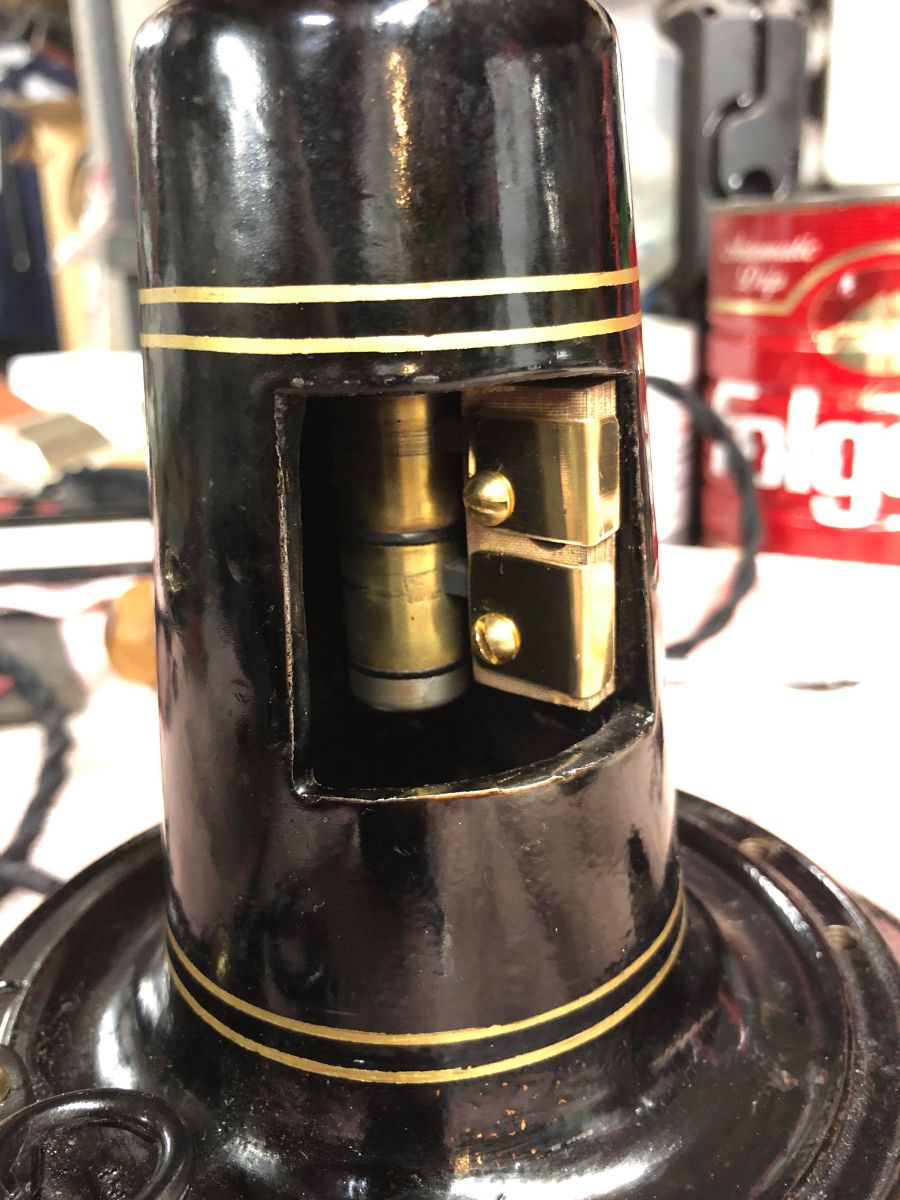
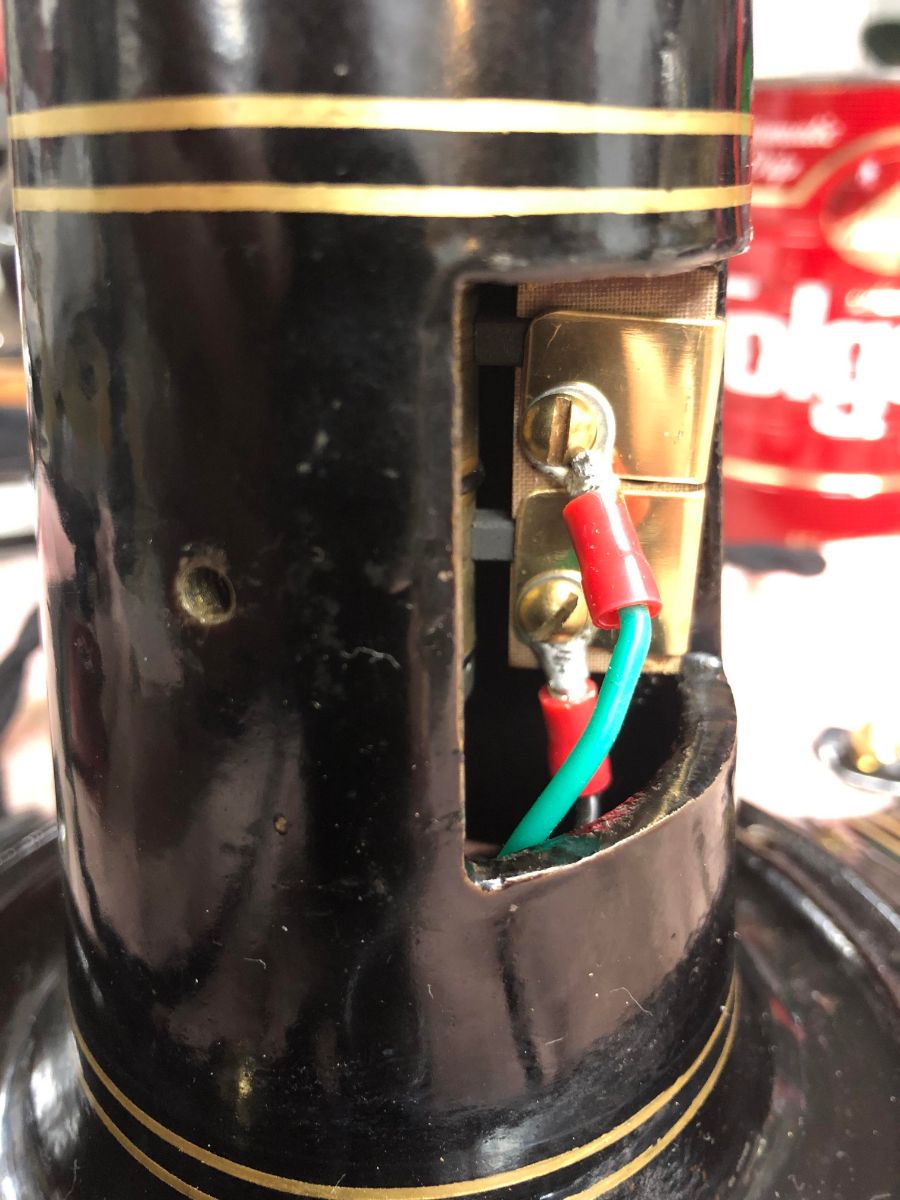
I will be happy to help anyone that needs their lollipop choke coil rewound using this technique at no charge. It's not as hard as it looks but it did take a bit of work to get the hang of it. The steps are: 1. Remove the coil and put your ohm meter on the nichrome wire where it attaches to the first switch position. Put the second lead of the ohm meter at the end of the winding where it attaches to the copper wire. In other words, find the resistance of the existing wire. Mine ohm'd out at 26 ohms. 2. Remove the nichrome wire but leave the copper loop in place. 3. Buy the Kanthal wire seen above and measure out 3.5 feet and wrap that around a piece of PVC pipe without allowing the wire loops around the PVC to touch. Tape each end to the PVC and put your ohm meter on each end. Test for resistance. Cut the wire until you get 50 ohms or so by touching each end with your ohm meter. 4. Remove the wire from the PVC pipe and put a small loop in the wire at one end and wrap that around the first position of the choke coil. 5. Slowly start pulling the wire around the tower holding the wire against each leg of the tower to keep it in place before moving around the next leg of the tower where you will hold it in place with your finger (or thumb). 6. Continue until you get to the end of the wire which you will need to attach to the copper wire that is looped around the top of the tower. You won't be able to solder the Kanthal (it won't adhere to Kanthal like it does to copper), so you may have to make a small loop of copper wire to twist around the copper loop where you can attach the Kanthal. In my case, the Kanthal ended right where the copper loop was vertical. 7. Retest the ends of the Kanthal wire to assure that you have about 50 ohms of resistance. 8. Connect the tower to the fan without reinstalling it first and test that the resistance of the new wire still yields 50 ohms. The Kanthal will briefly smoke when it heats up for the first time, but only briefly so don't be alarmed. 9. Reinstall the choke coil when you are satisfied that the second speed is what you want. You can always remove a turn of the Kanthal, if the RPM's of the motor are too slow. 10. While you are doing this, you might want to consider changing out the parts behind the removeable door with Darryl Hudson's kit. Below is the original arrangement: Below is Darryl's replacement:
1 point
-
Got one for you, Dave.1 point
-
When I'm stripping one of these to powder coat it, I first wrap the shaft with painters tape (low adhesive) and then duct tape over the painters tape. This protects it during abrasive blasting, and still comes back off pretty easily. During coating I use high-temp masking tape.1 point