Leaderboard


Popular Content
Showing content with the highest reputation on 03/17/2024 in all areas
-
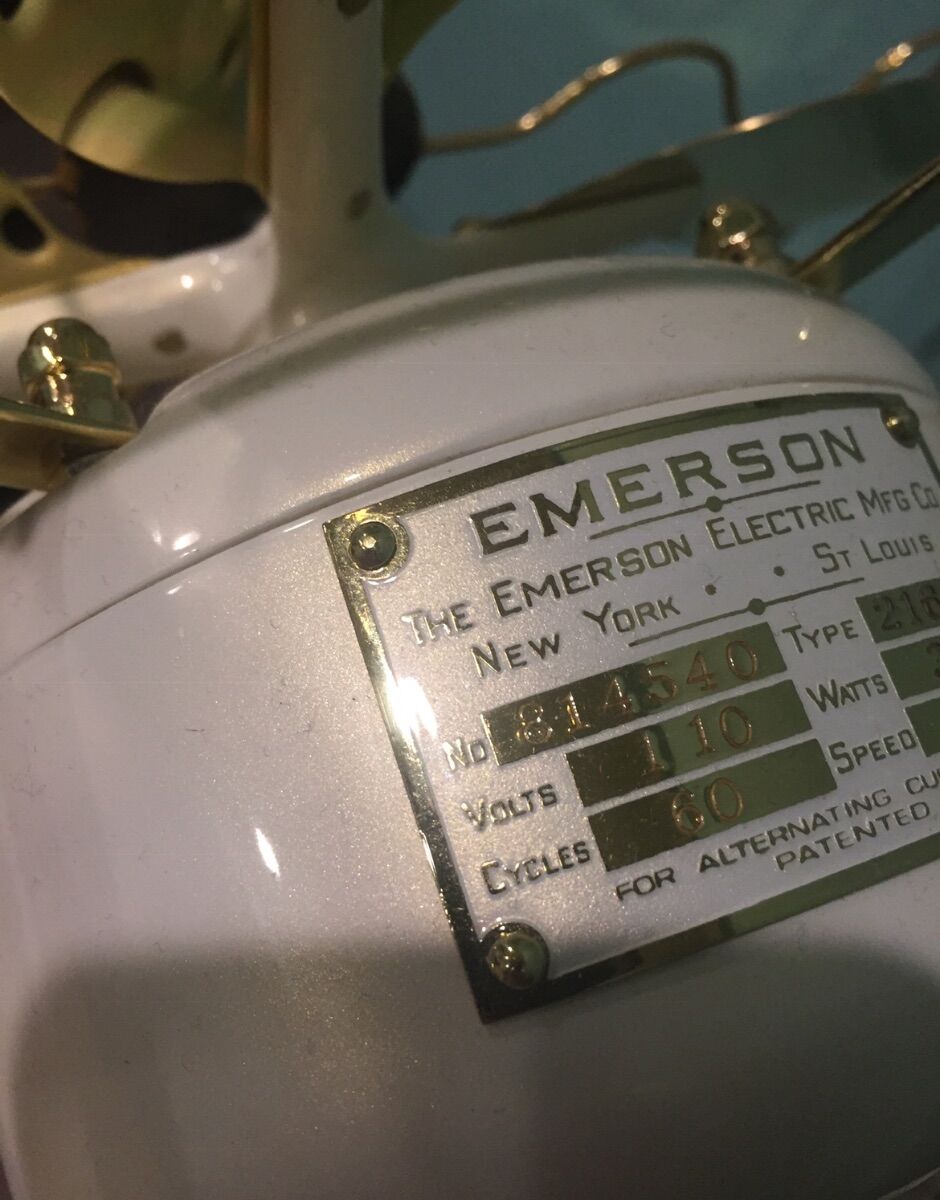
I do initially clean with toilet bowl cleaner and again before clearing. Purpose of initially cleaning is to knock off any film over past 100 years that could allow paint from adhering in places. Paint that lifts when wet sanding is no fun. Hot water and toilet bowl cleaner used again once finished to strip off any polish and grit on painted fields before clearing. I never use anything aerosol. Purpose of airbrush is to have full control of fluid flow and anything aerosol never compares. Start by cleaning as above with toilet bowl cleaner. Sometimes scrubbed with toothbrush if crusty. Rinse with hot water for clean surface. Airbrush base color or flat enamel. Enamel is harder vs acrylic or mystery paints found in aerosols. Remove paint from high brass areas with small pieces of 1000 grit sand paper wet sanded with soap water. Soapy water allows sand paper to glide easily. Any areas of paint removed unintentionally are spot touched up with airbrush. This could be as small as 1/8” area vs starting over again. Once high areas knocked down with 1000 grit then use 1500 and 2000 to remove sanding marks. After that a non solvent based polish and cotton tshirt. The tag or badge will have grit and polish residue. To clean use toilet bowl cleaner / hot water again. Then clear. When I use lacquer will do a light dusting then additional dustings with airbrush until satisfied. This will lock the surface and prevent wrinkling of paint or bleeding when using light coats. If using urethane generally just one heavy coat. Airbrushes provide control vs anything you will ever find in a can. The idea is to have the thinnest layers of paint that are solid enough to block brass surface and thin enough to easily be removed where needed. Easily touched up when needed. Airbrushes will give you adjustable 1/8” through 1” paint pattern radius. This badge is white primer, white base, pearl layer and then urethane. 4 layers of painted material. It is perfect and took multiple attempts. I also use an airbrush opened up to 1” pattern to lacquer brass blades. Low air pressure does not kick dust into wet lacquer and avoids orange peel both of which work against mirrored brass.
 2 points
 -
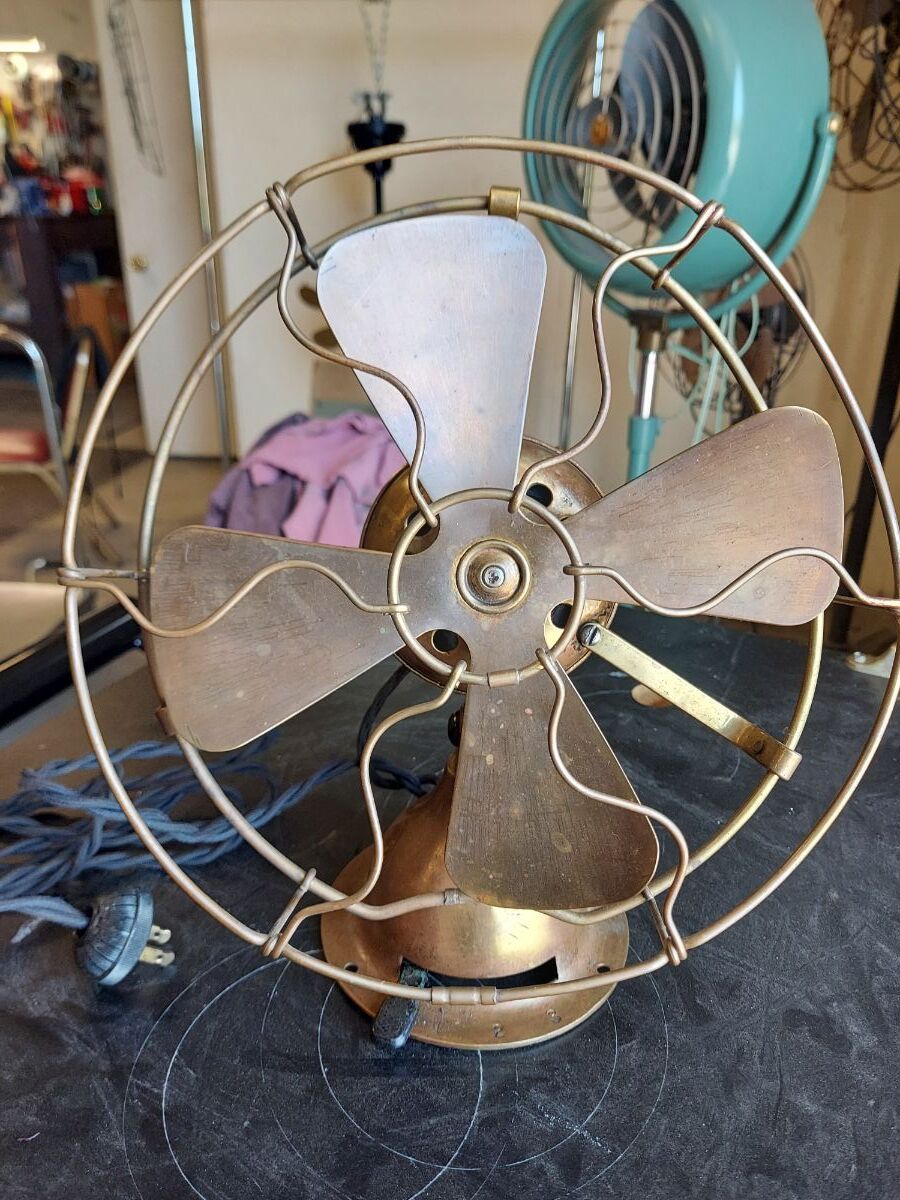
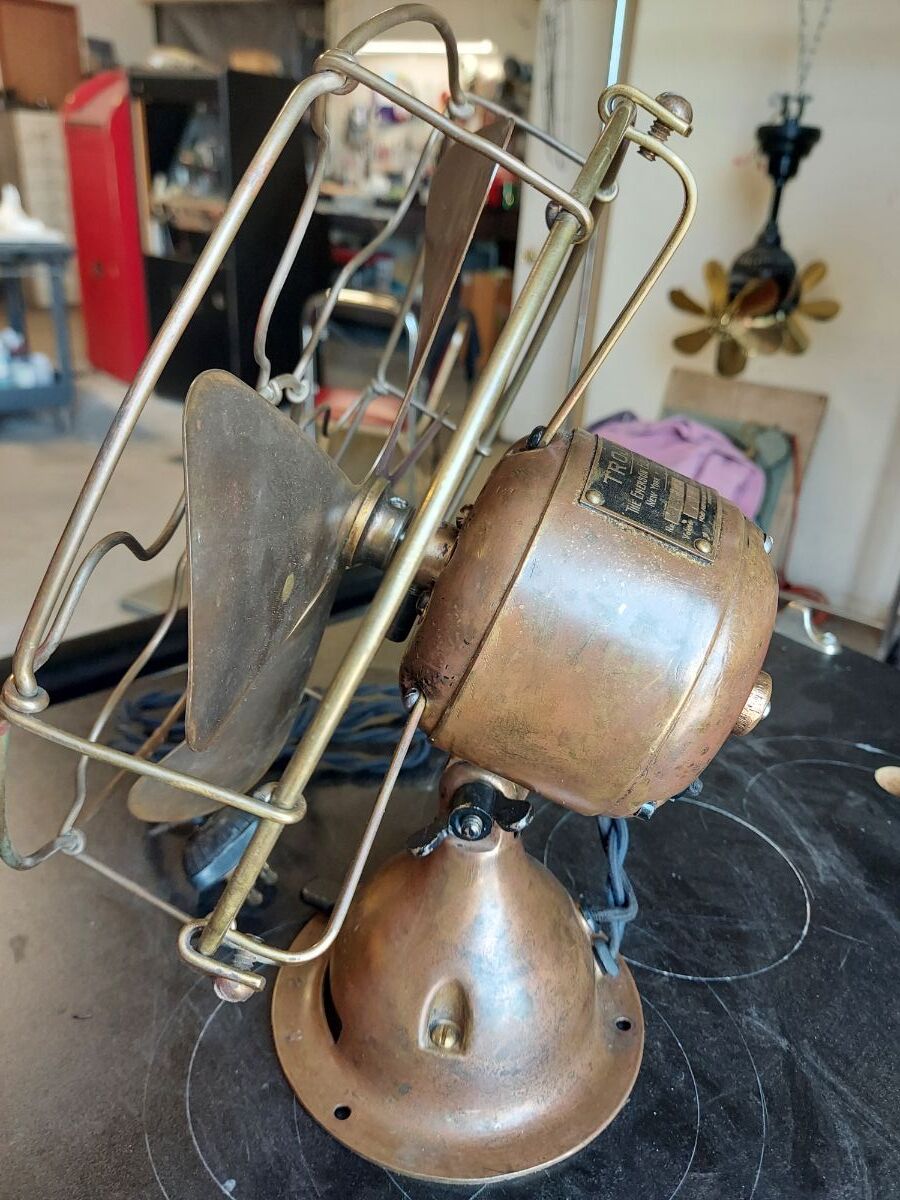
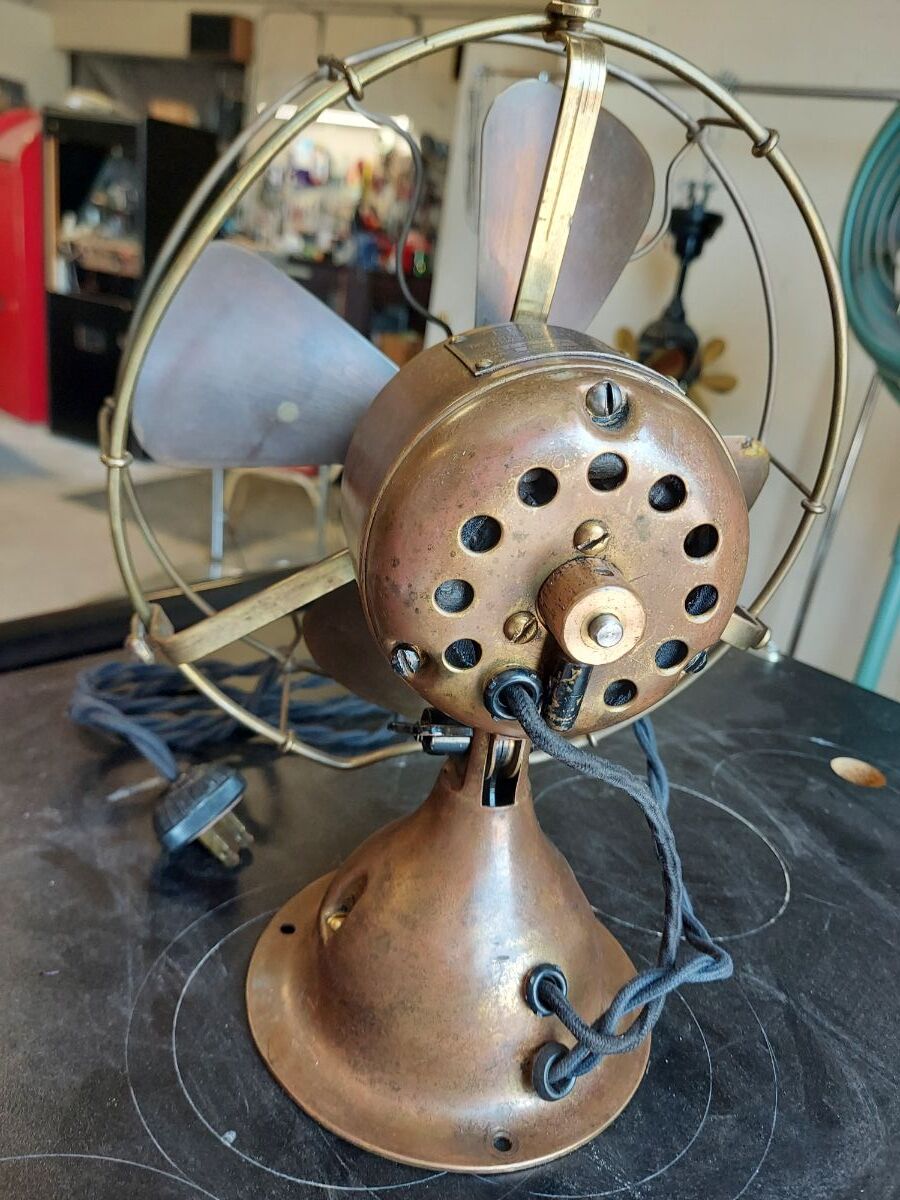
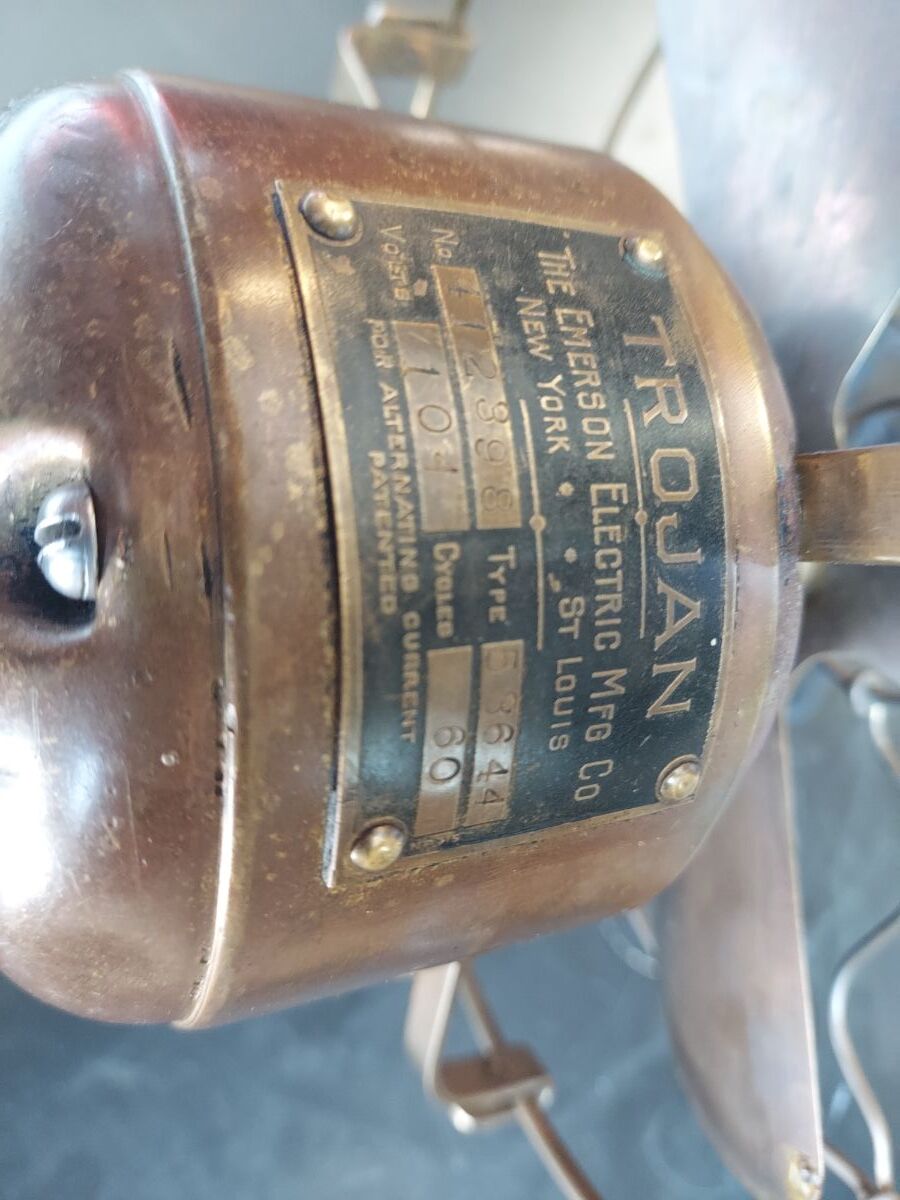
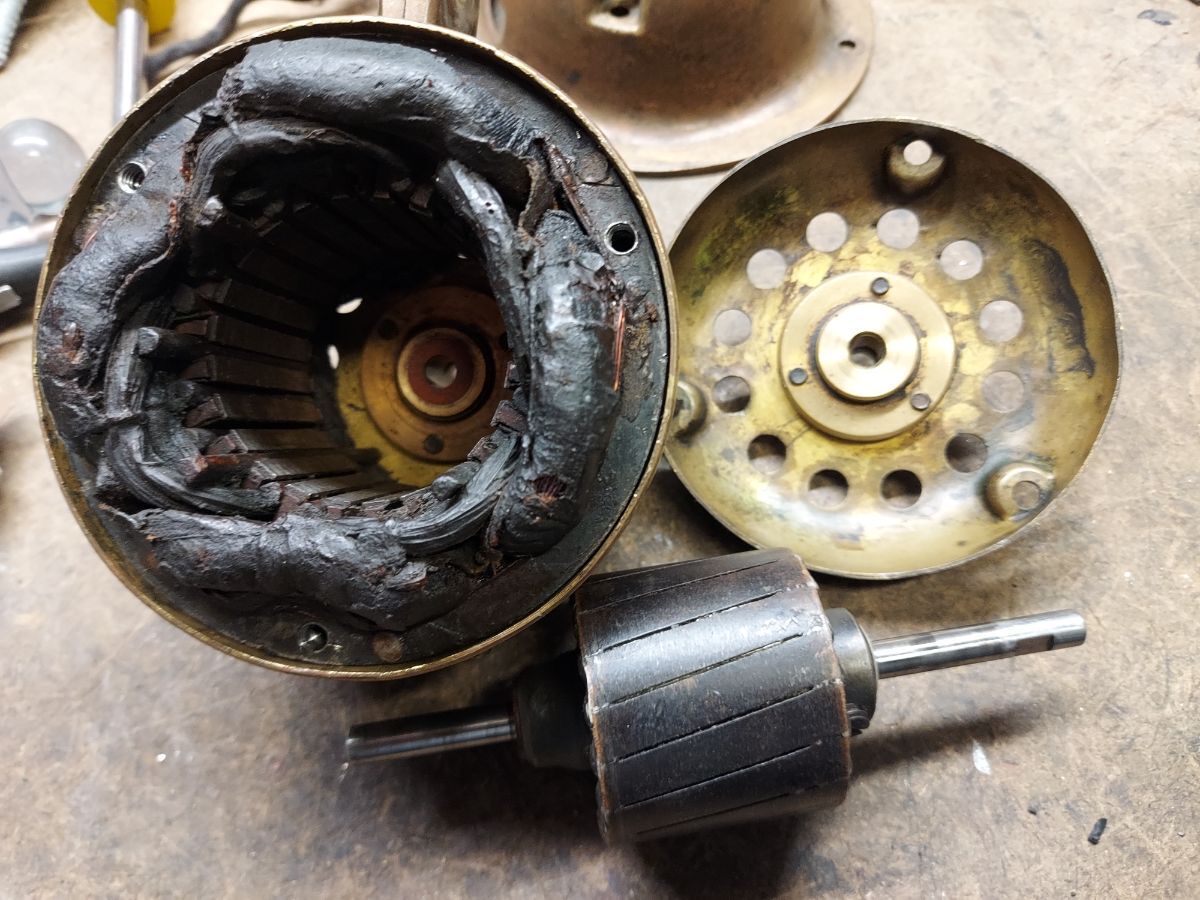
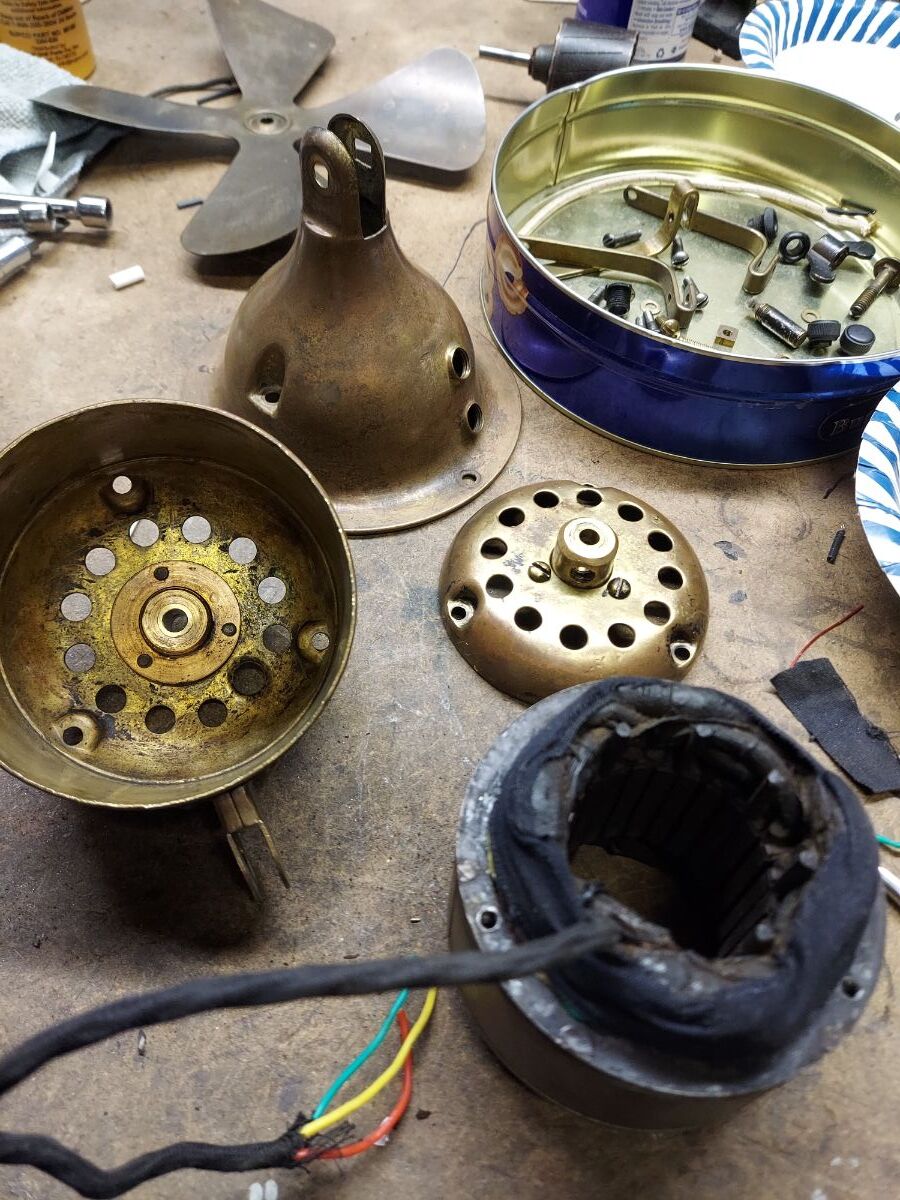
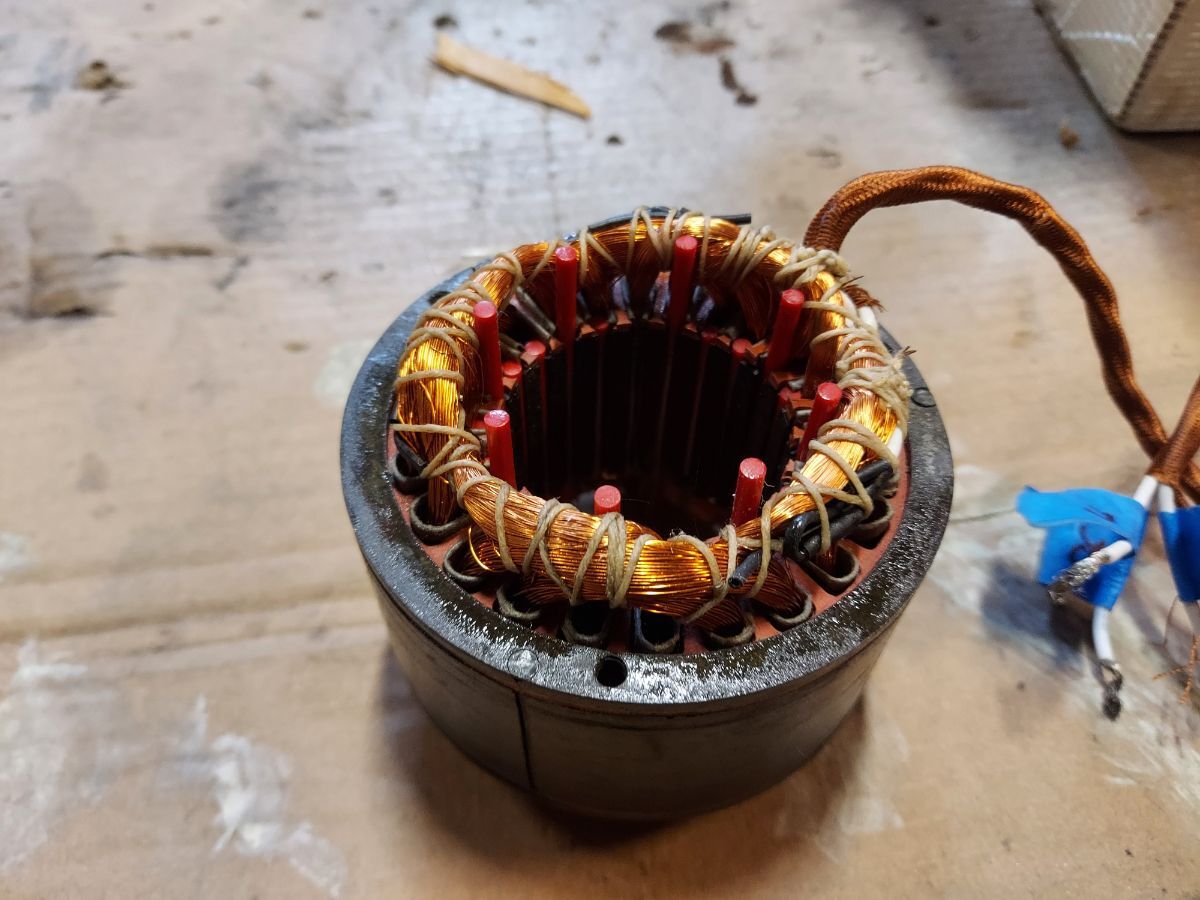
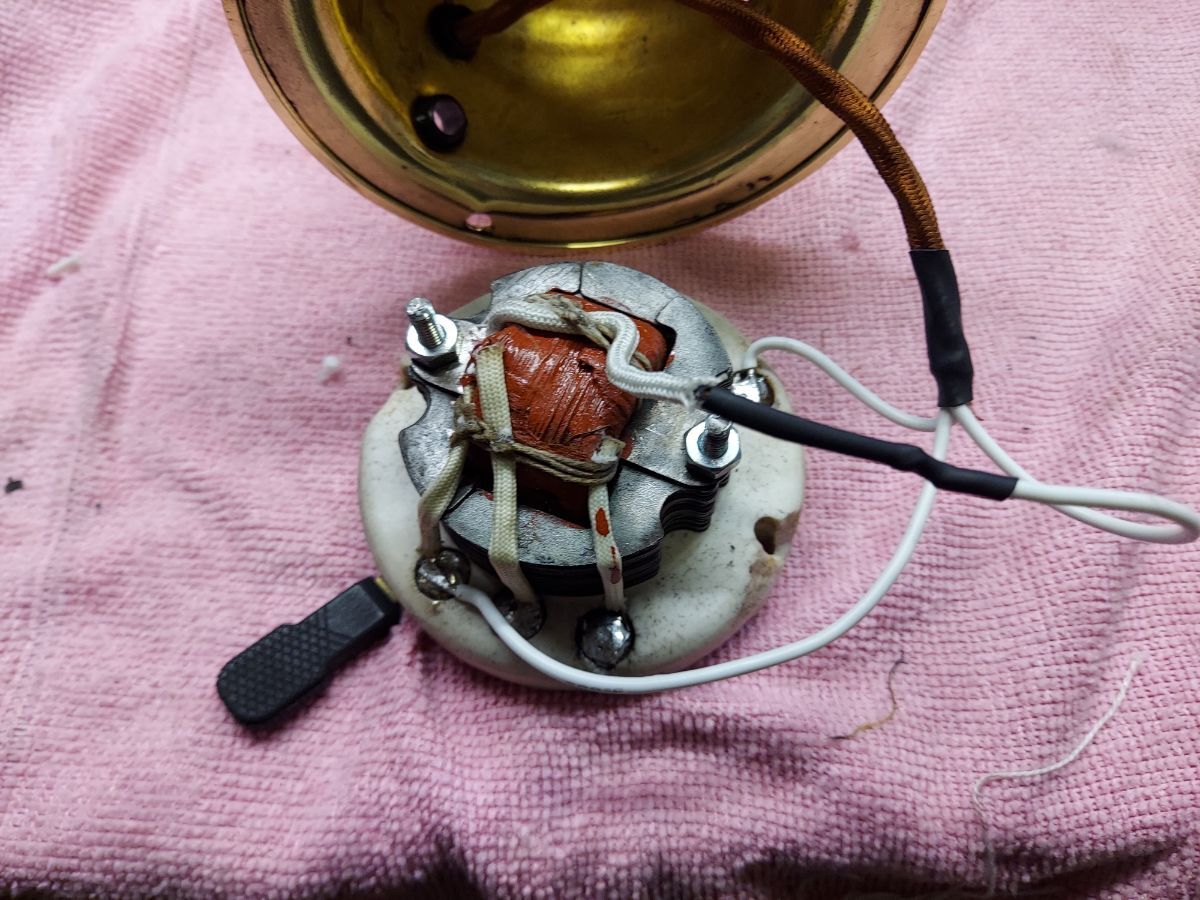
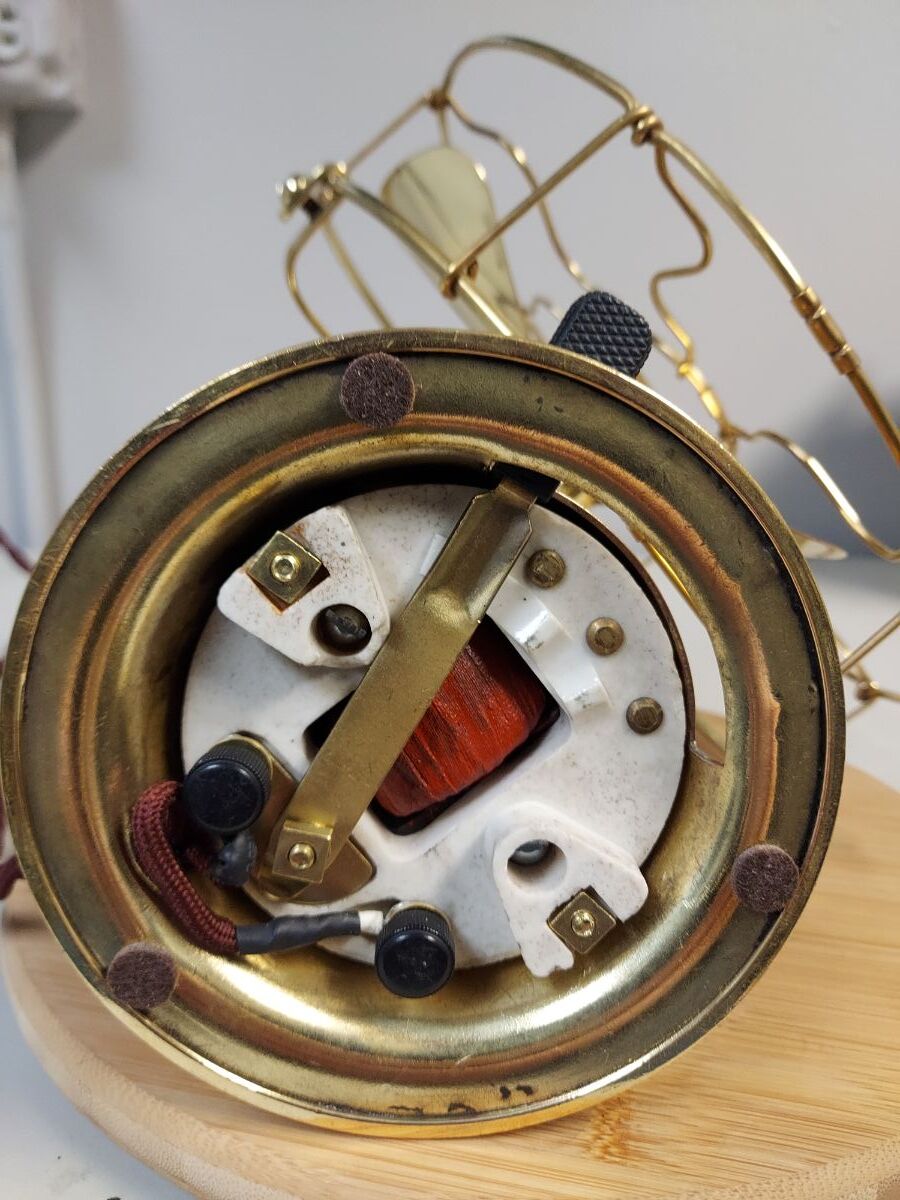
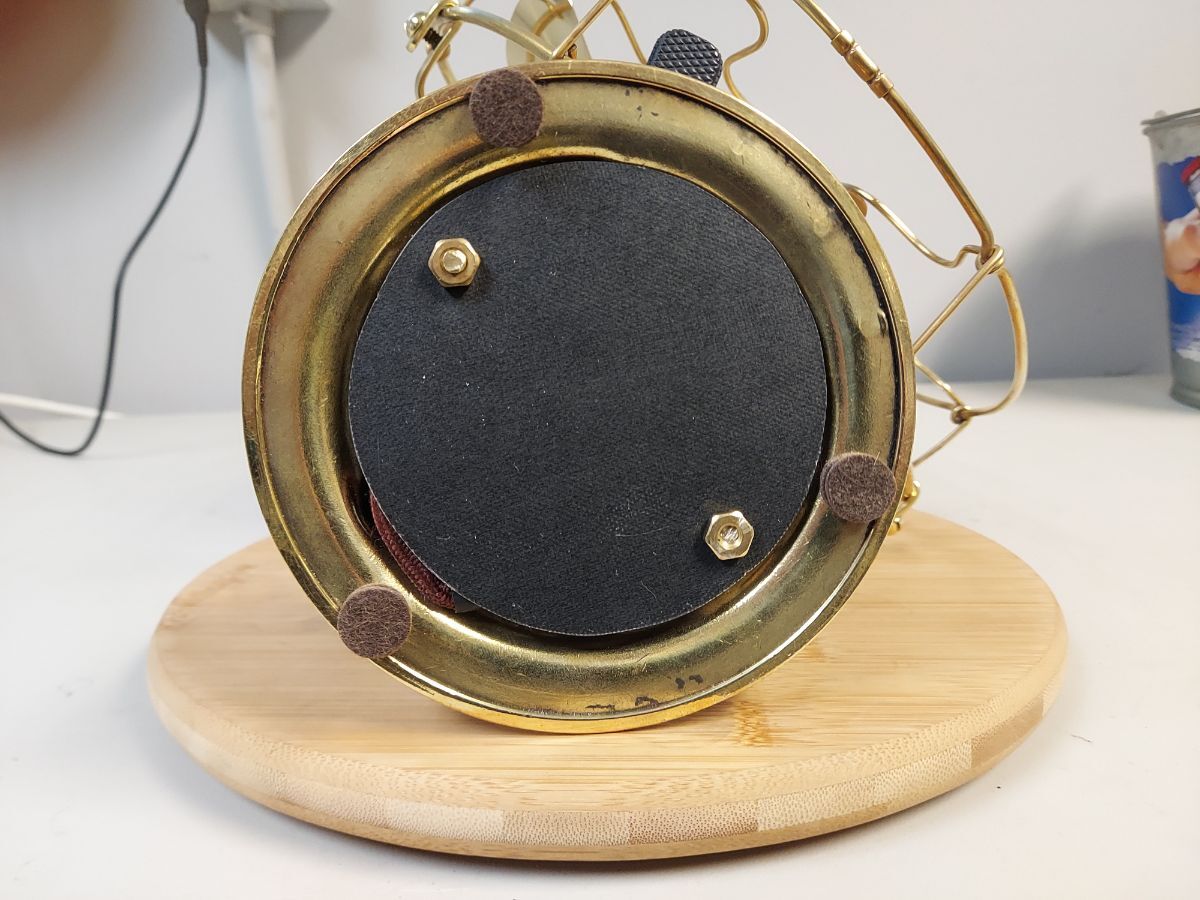
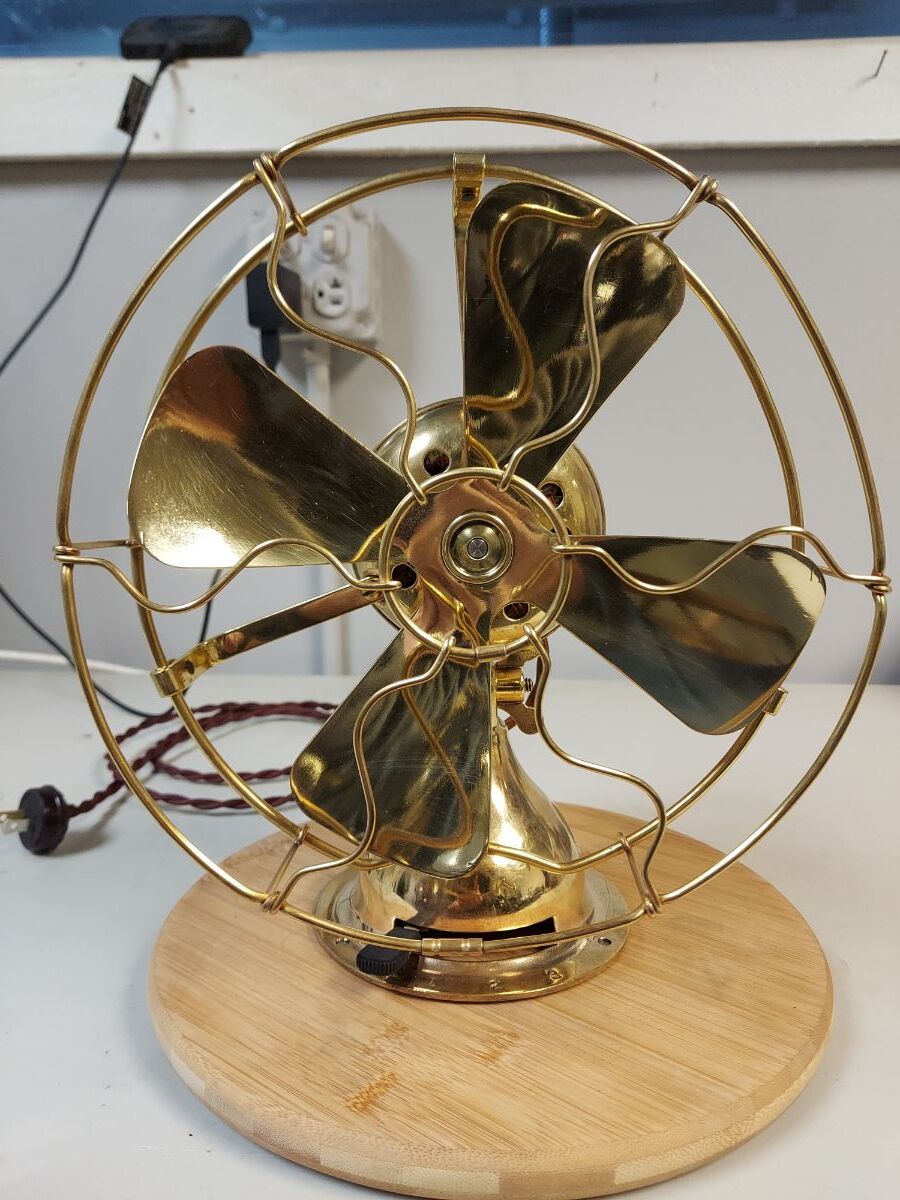
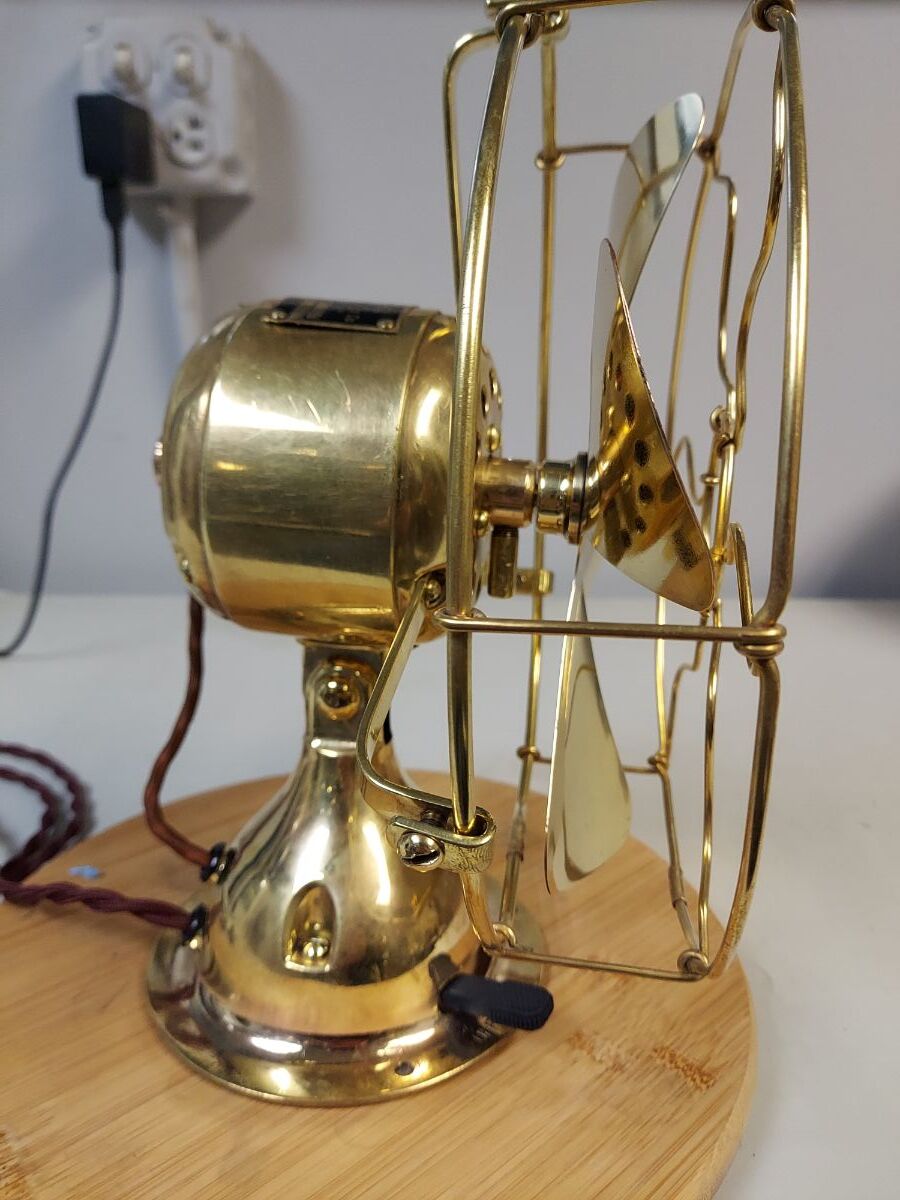
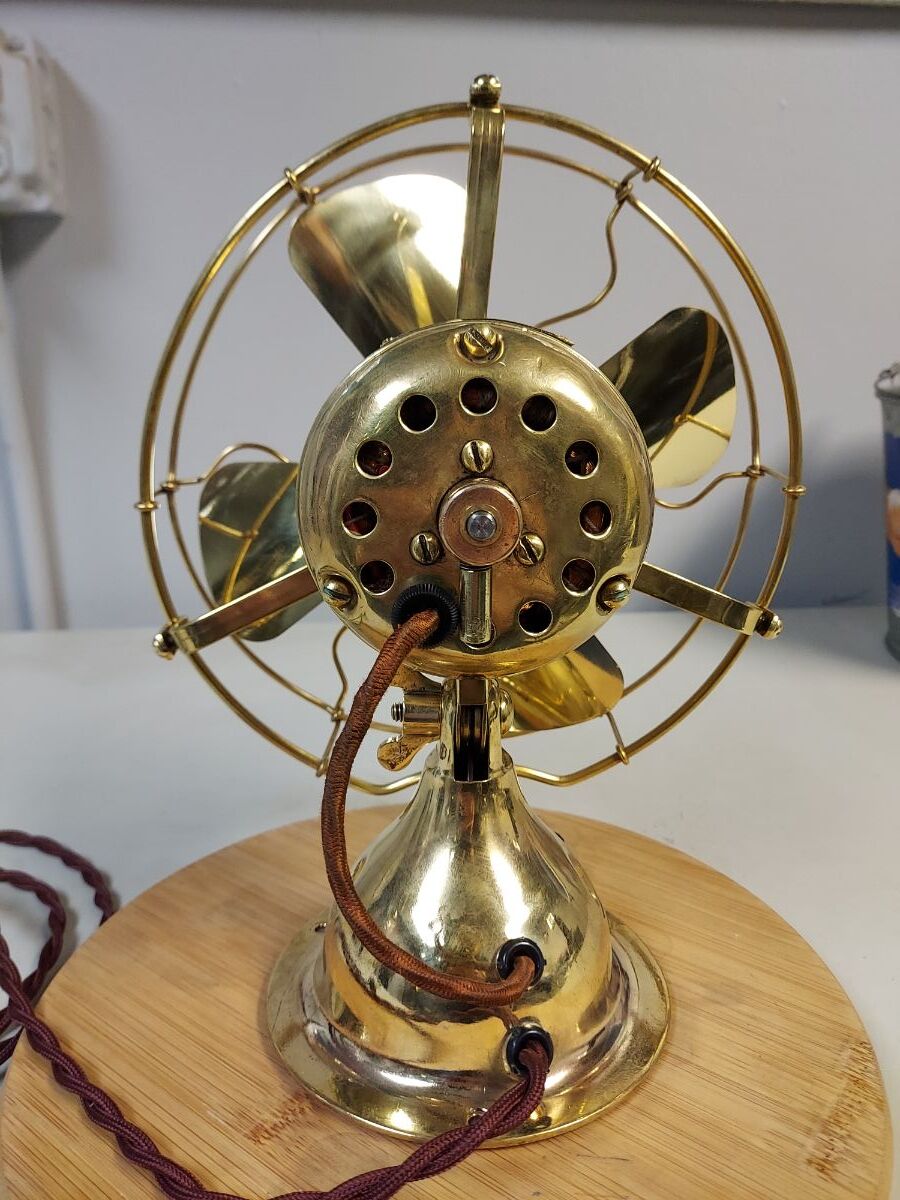
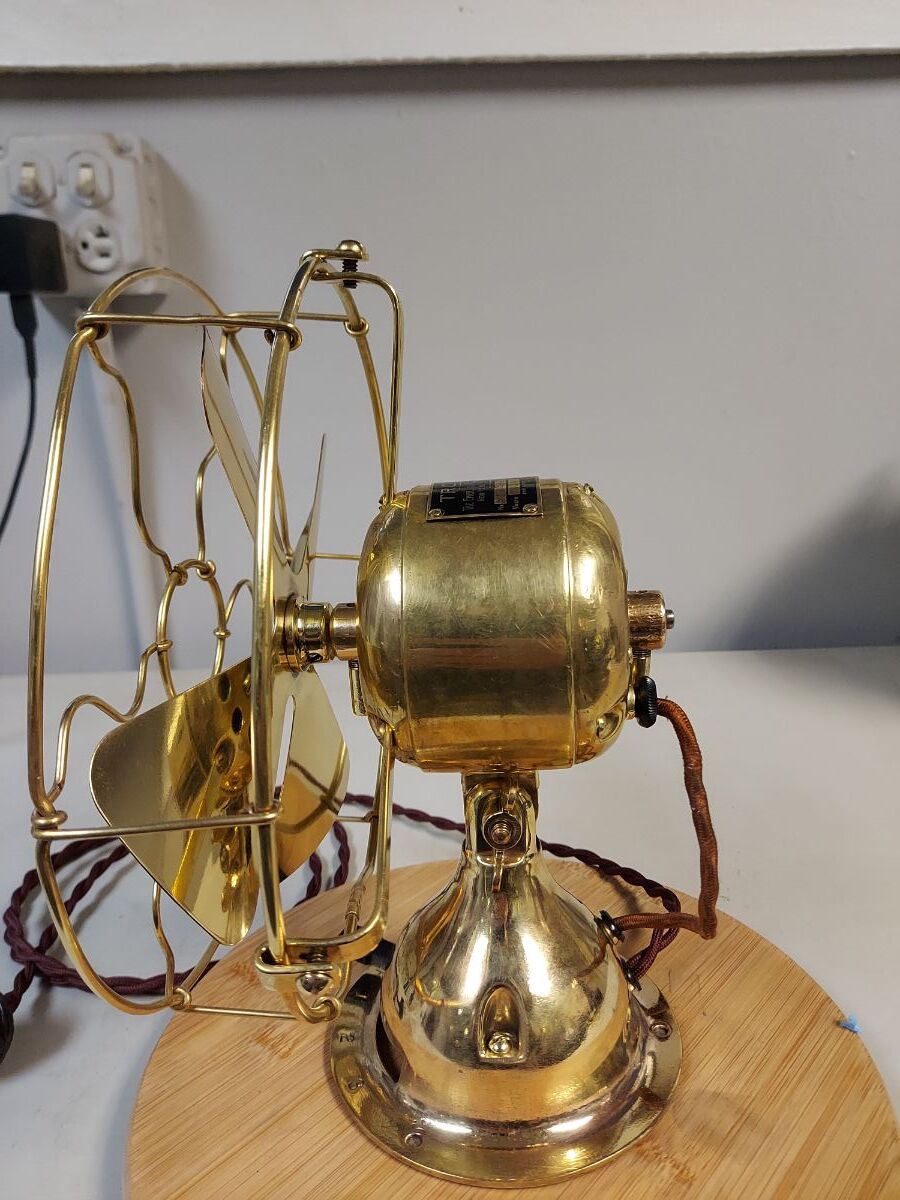
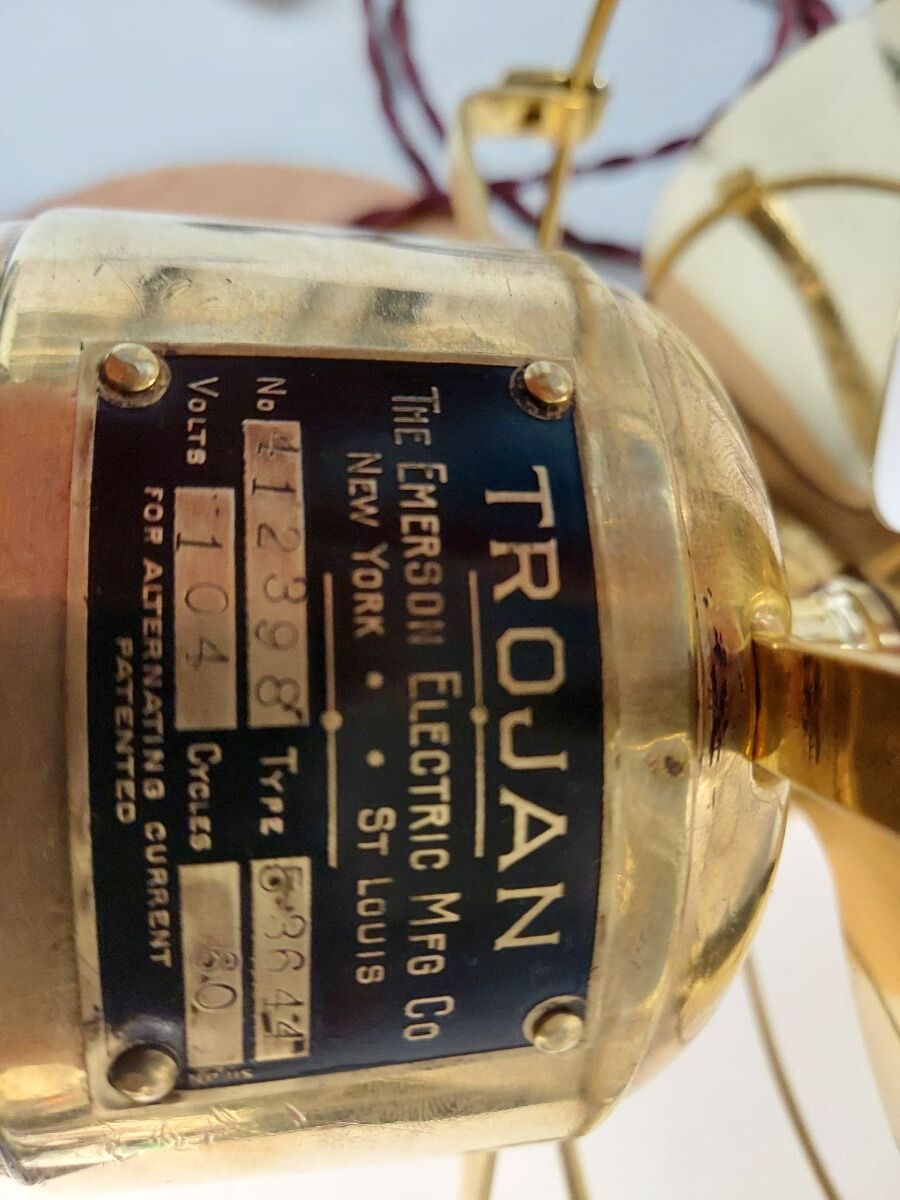
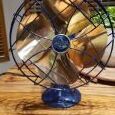
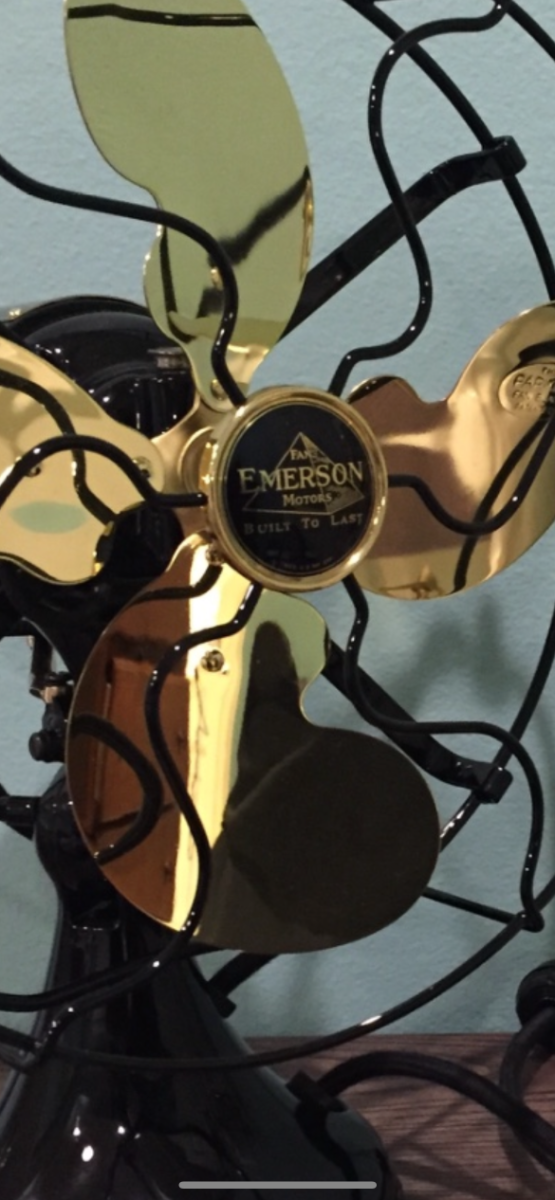
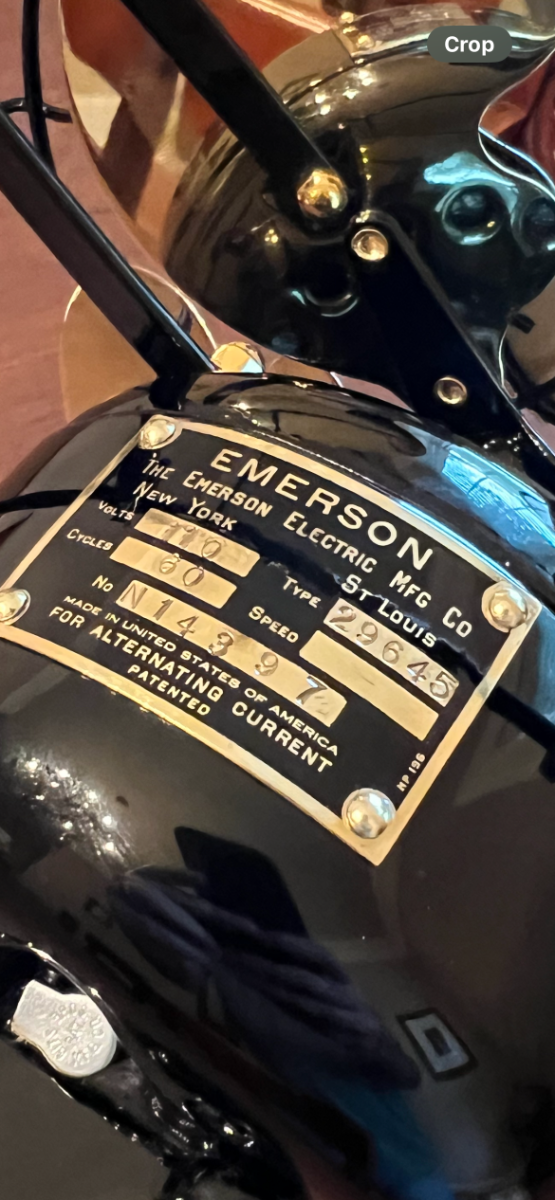
Finished up restoring this all brass. It runs in three distinct speeds. Circa 1911. No painting on this one. I sent the whole motor too Mark Olsen to have the stator rewound. He discovered that the rotor shaft had to be replaced and align the bearings. Mark did an awesome job! I can't thank him enough. The fan runs quiet and smooth. This is my second all brass fan. The other is an 8" Western Electric.
1 point
-
June 13,14,15.1 point
-
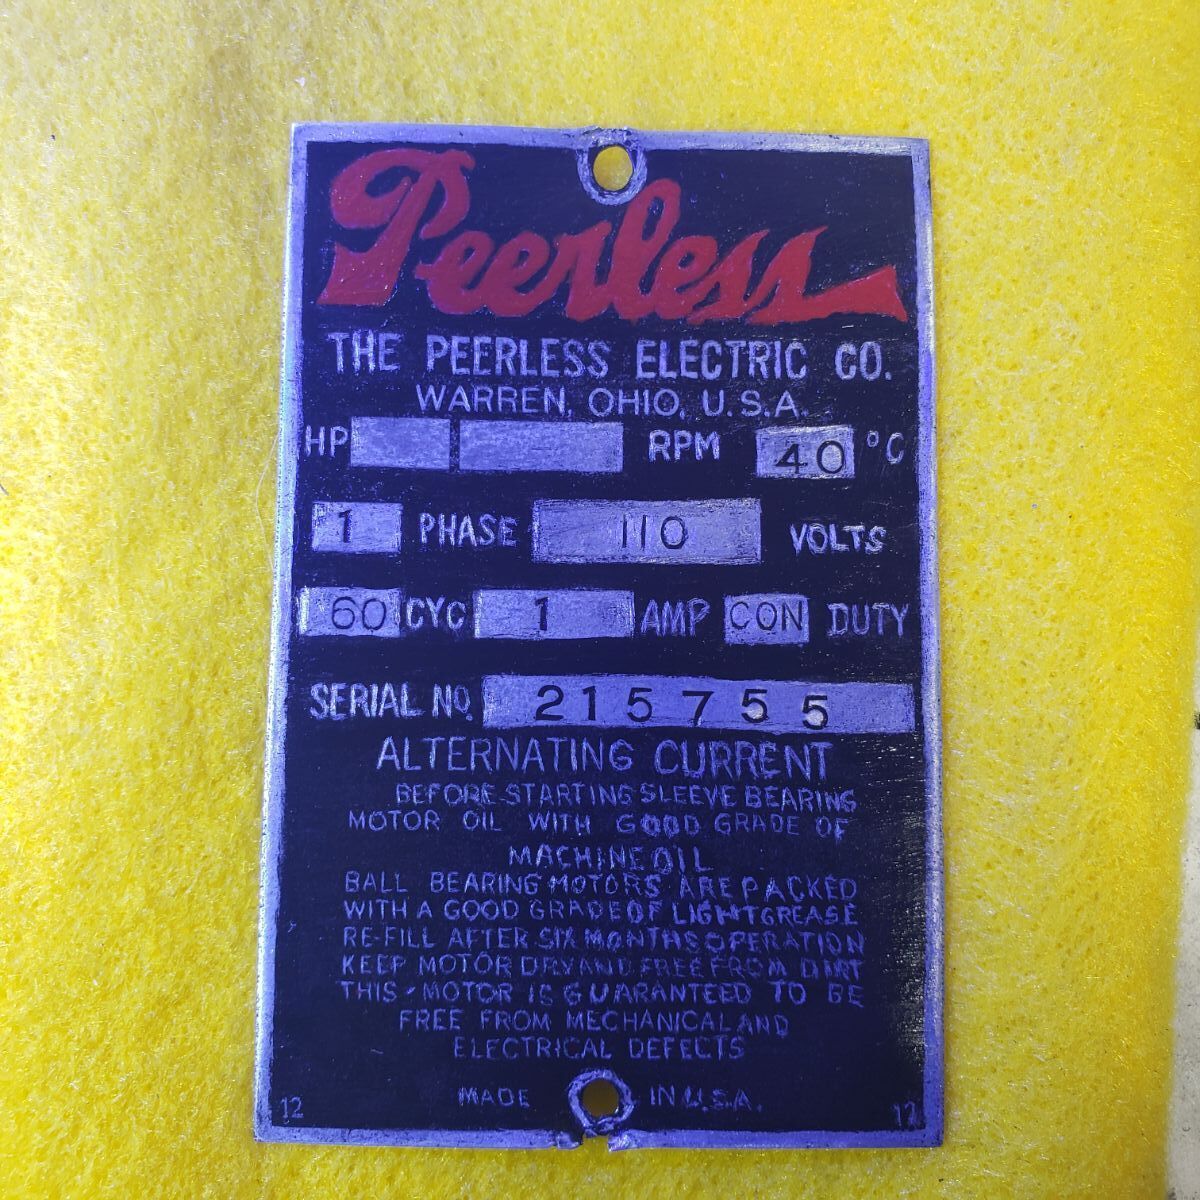
From what I have been able to figure out, the badge was originally stamped with the relief then pressed into its final shape. That is probably why the relief along the edge is slightly worn. This is noticeable when the "rays" are drawn. The rays are not straight and are slight curved. I'll finish putting on the details tomorrow and work on the pattern for the curvature tomorrow.1 point
-
1 point
-
I have seen that several times. I have no Idea why it's there but it is interesting.1 point
-
It's hard to give a tutorial for something requiring dexterity and patience. Like when my kindergarten teacher would tell me to only color between the lines. Some badges can be sprayed and the high points sanded but this really only works on more simple designs and risks wearing down the embossing before you can get the painting right. I brush on water based acrylic urethane airbrush paint. I remove paint from embossing with an xacto knife and fine hobby q-tips dipped in denatured alcohol. Then I put down a bleed check layer and clear coat of choice over that. That's the method I used for this.
1 point
-
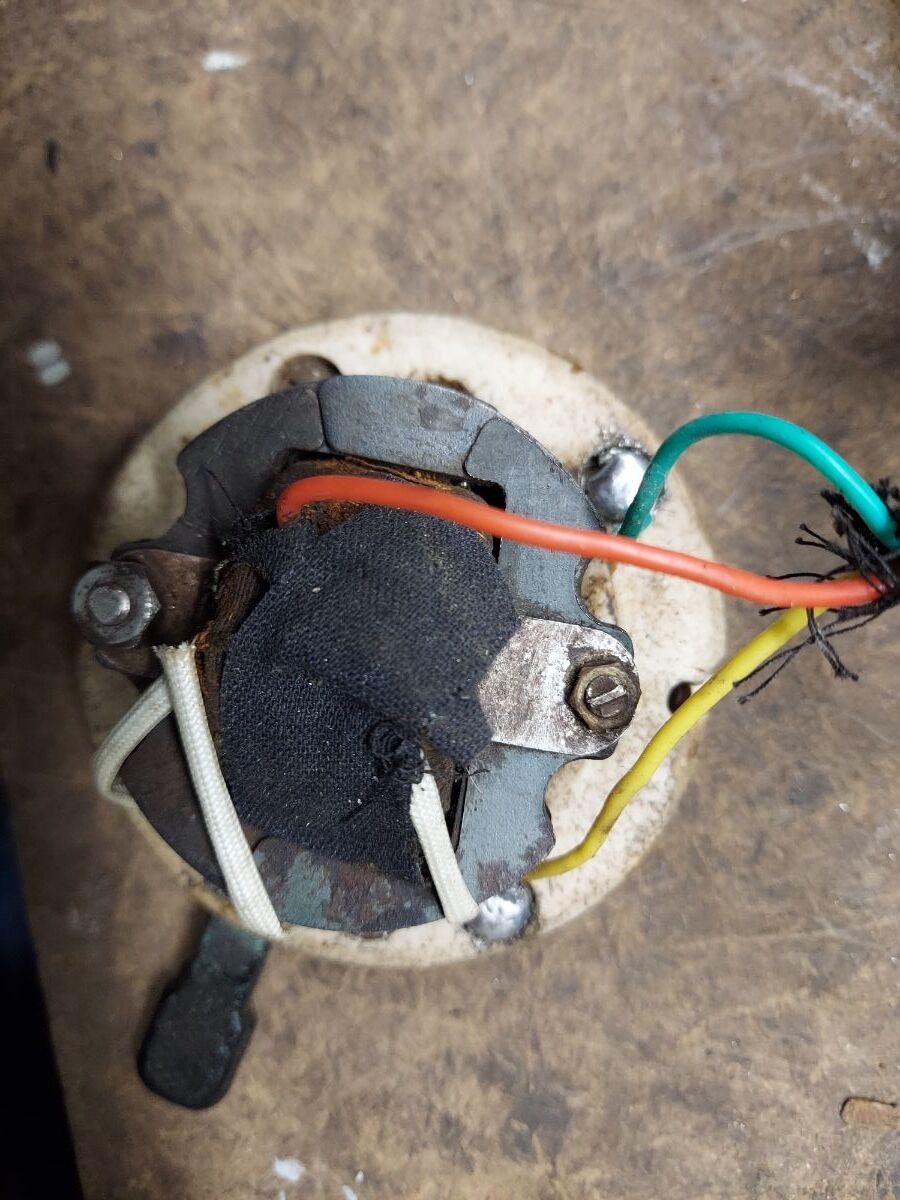
Label wires A,B,C Make pairs: A B A C B C Resistance will be measured between two wires in each pair. Use Toms diagram provided in other post to identify wires1 point
-
As Stan mentioned in second post is how it is done. Different approaches but clean and polish the brass high points. I then airbrush the black areas. Never scrape or pick away paint however use 1000-2000 grit sandpaper with soapy water to knock paint off high areas. Any black areas which get messed up can be touched up with airbrush vs starting from scratch. Sanding marks are then hand polished with old cotton shirt and car polish. Badge/tags cleaned under hot water and toilet bowl cleaner. Then cleared. Generally use flat black enamel paint from Testors or automotive base paint
1 point
-
I did try searching first and again after reading your response but after searching for over an hour I found many refinished steel cages but no one showing or describing their process? That's why I thought asking may be the best directions? I can't be the only guy starting out with a rusty steel cage needing a total refin?1 point