Leaderboard


Popular Content
Showing content with the highest reputation on 03/25/2024 in all areas
-
Here it is, fully complete VID_20240324_141451.mp4 and functional. Look for a video in the next few days about this one in greater detail. Man, those Monster Energy drinks are really stimulating my imagination.7 points
-
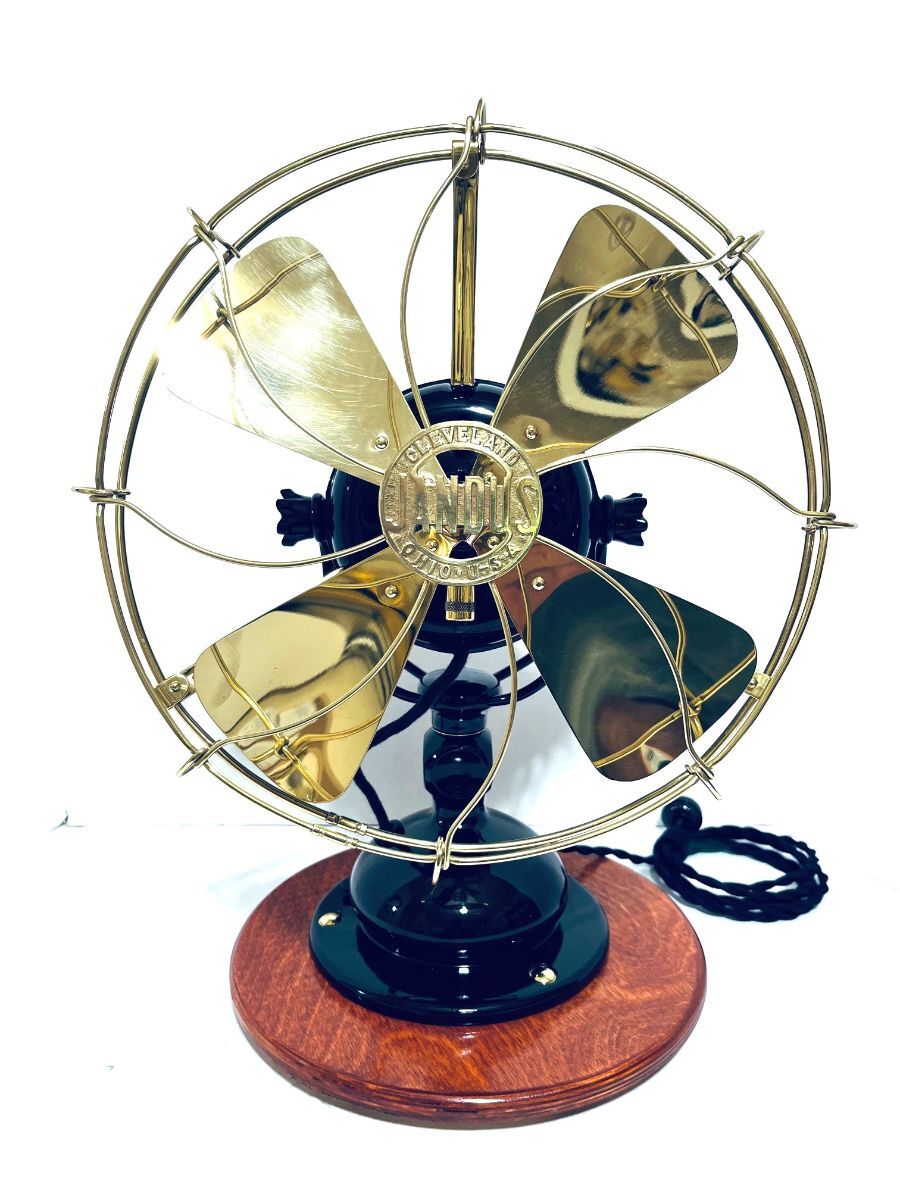
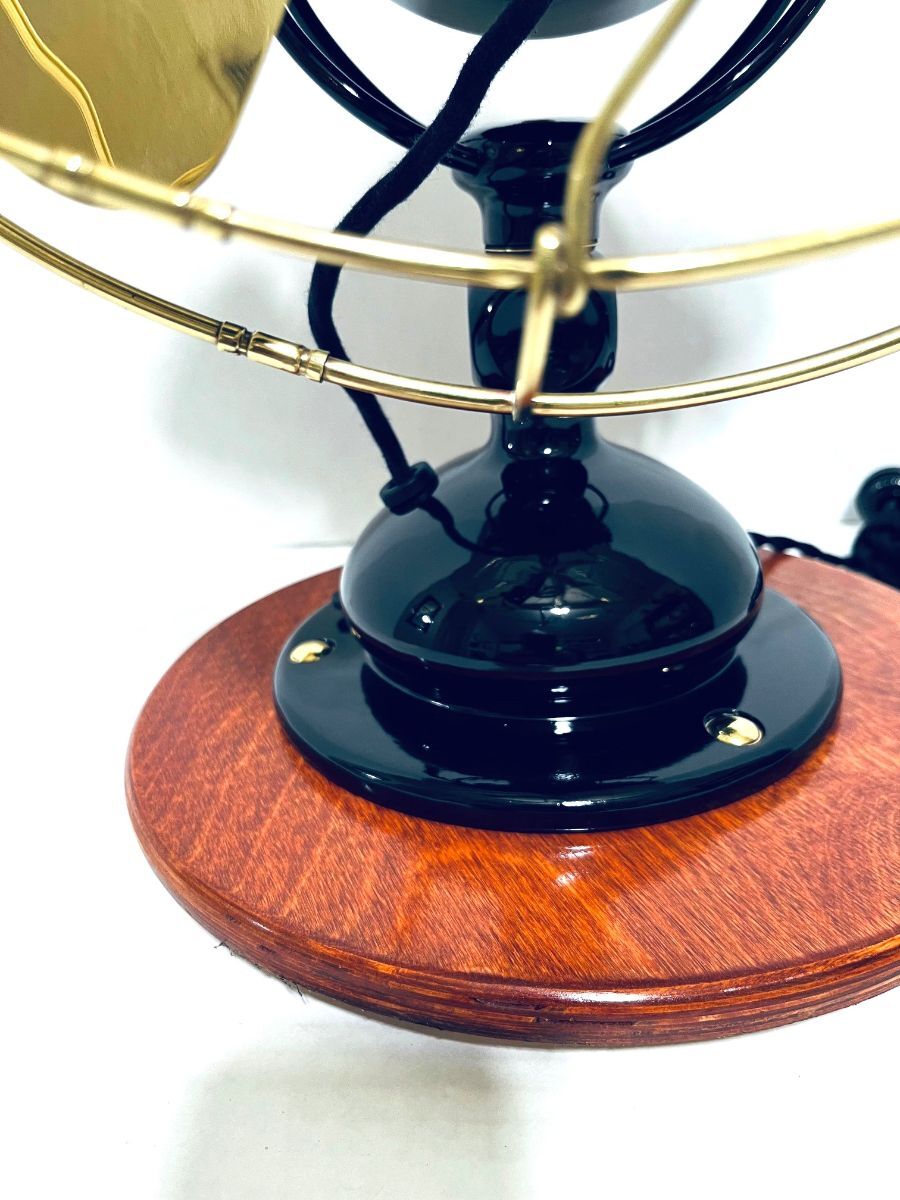
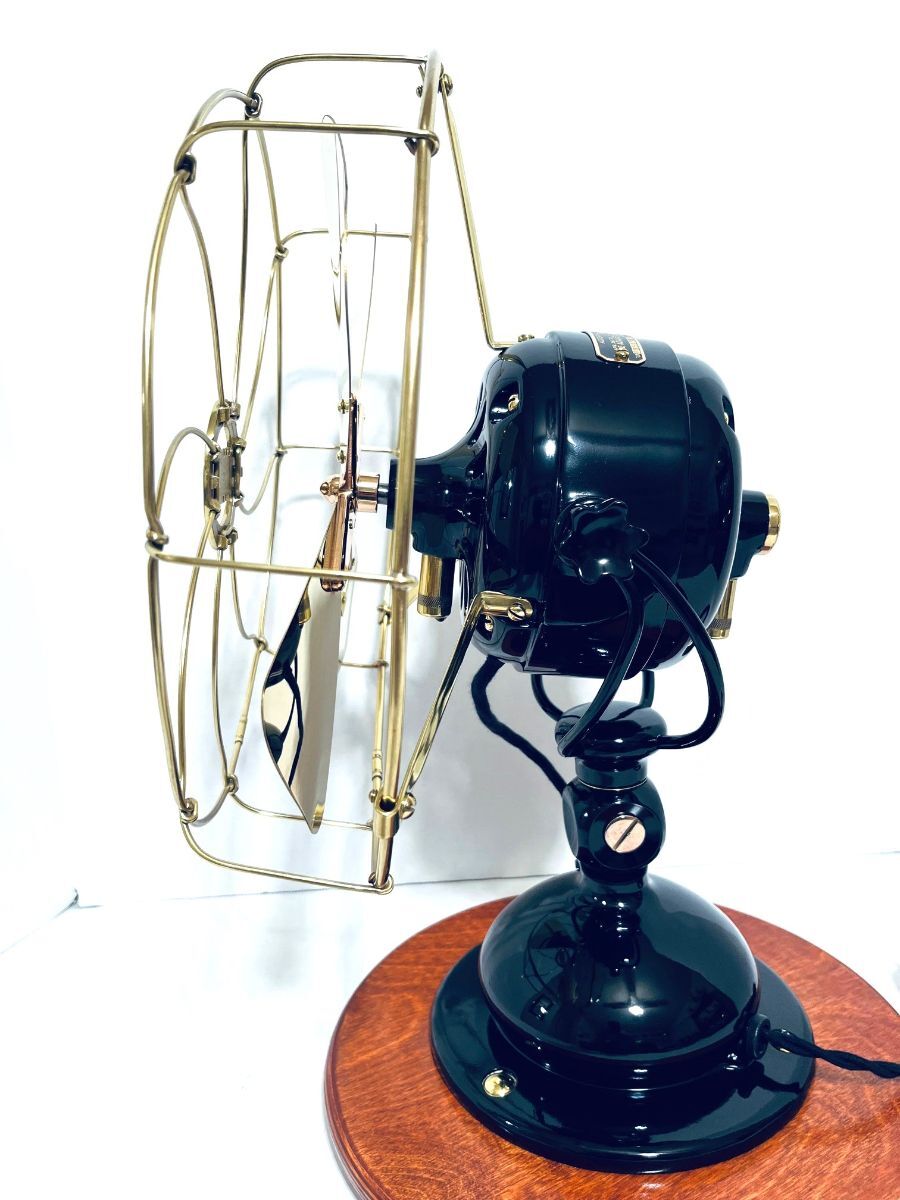
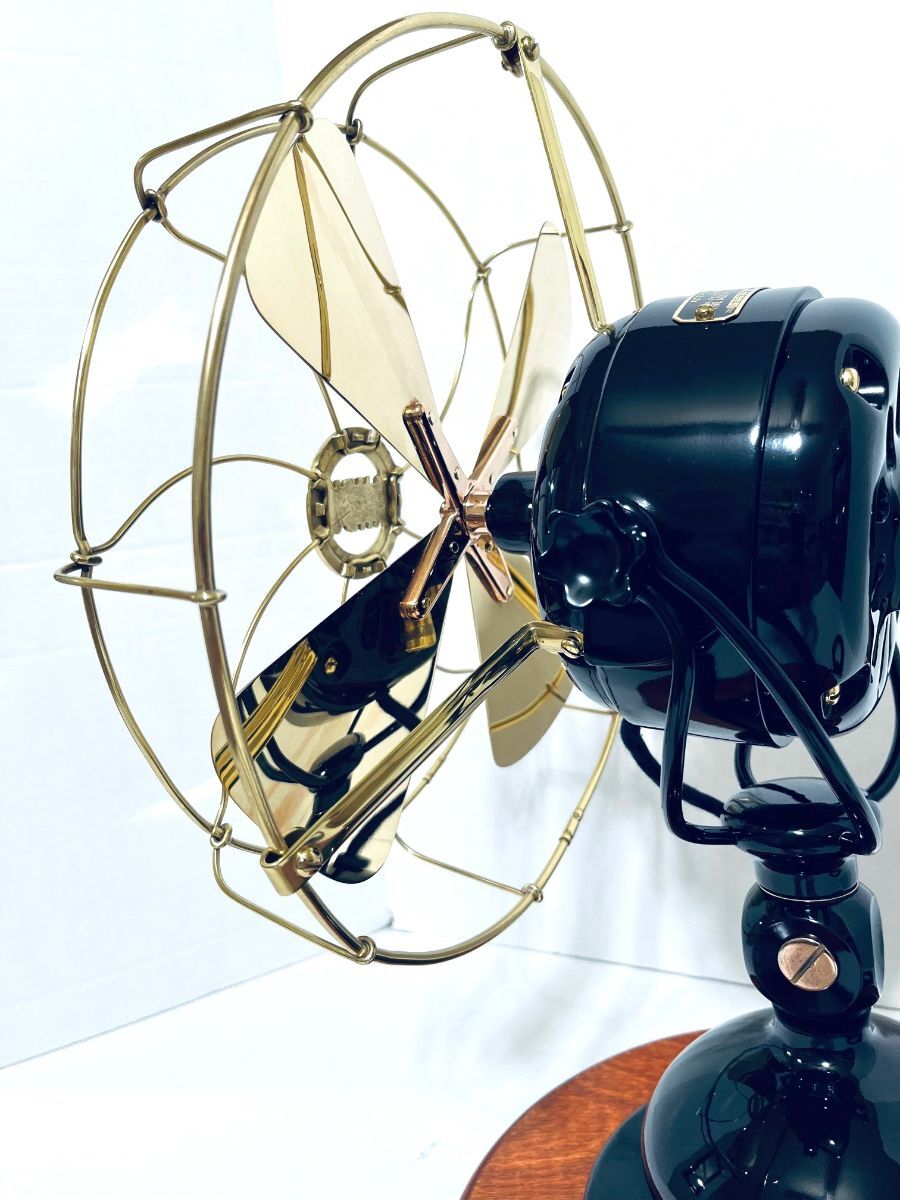
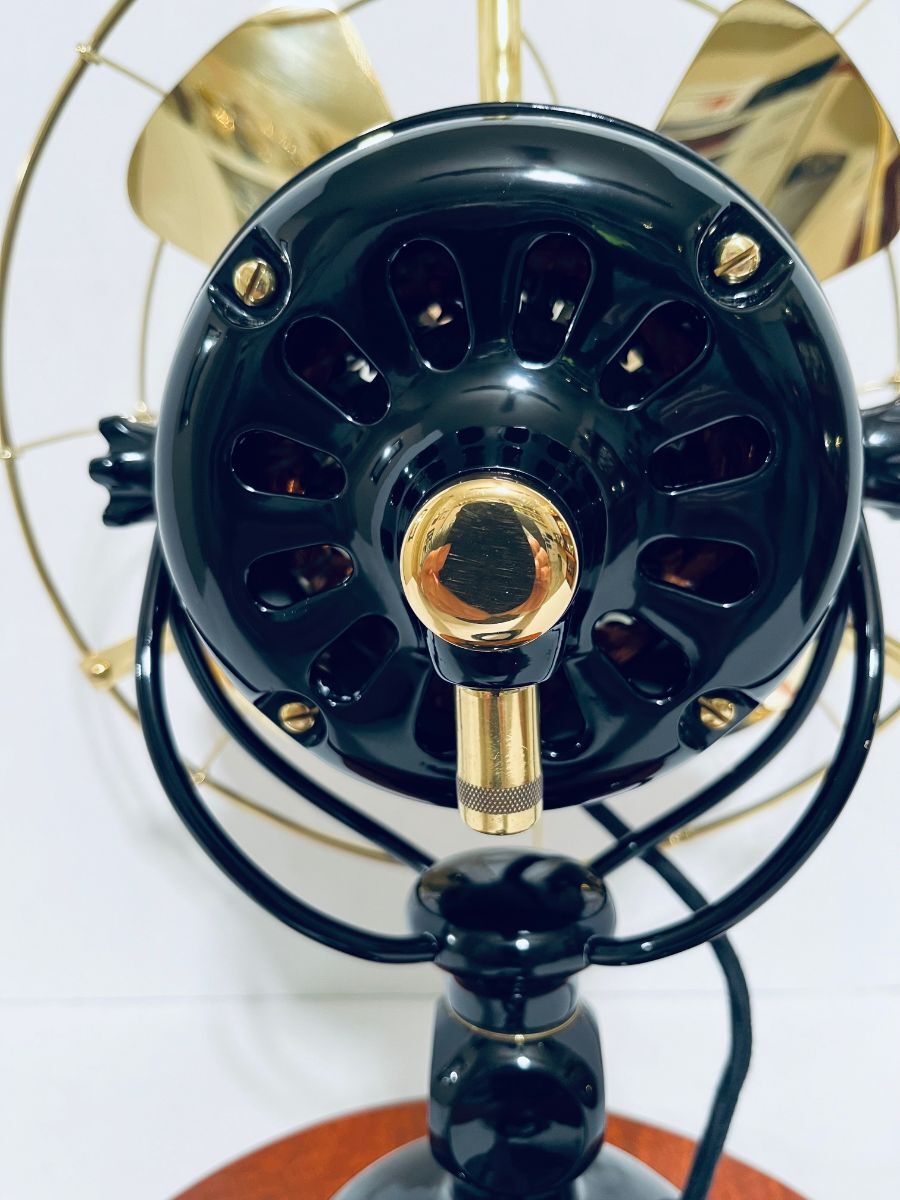
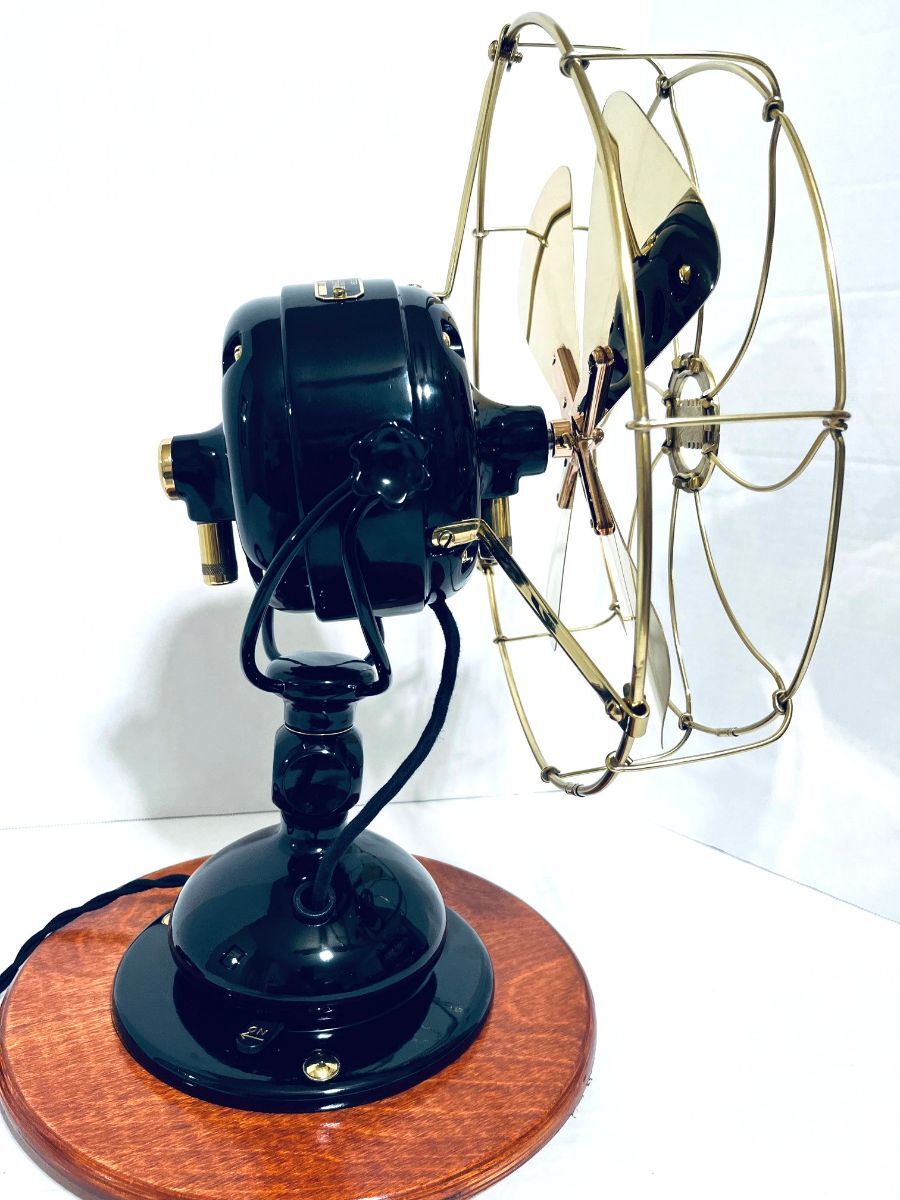
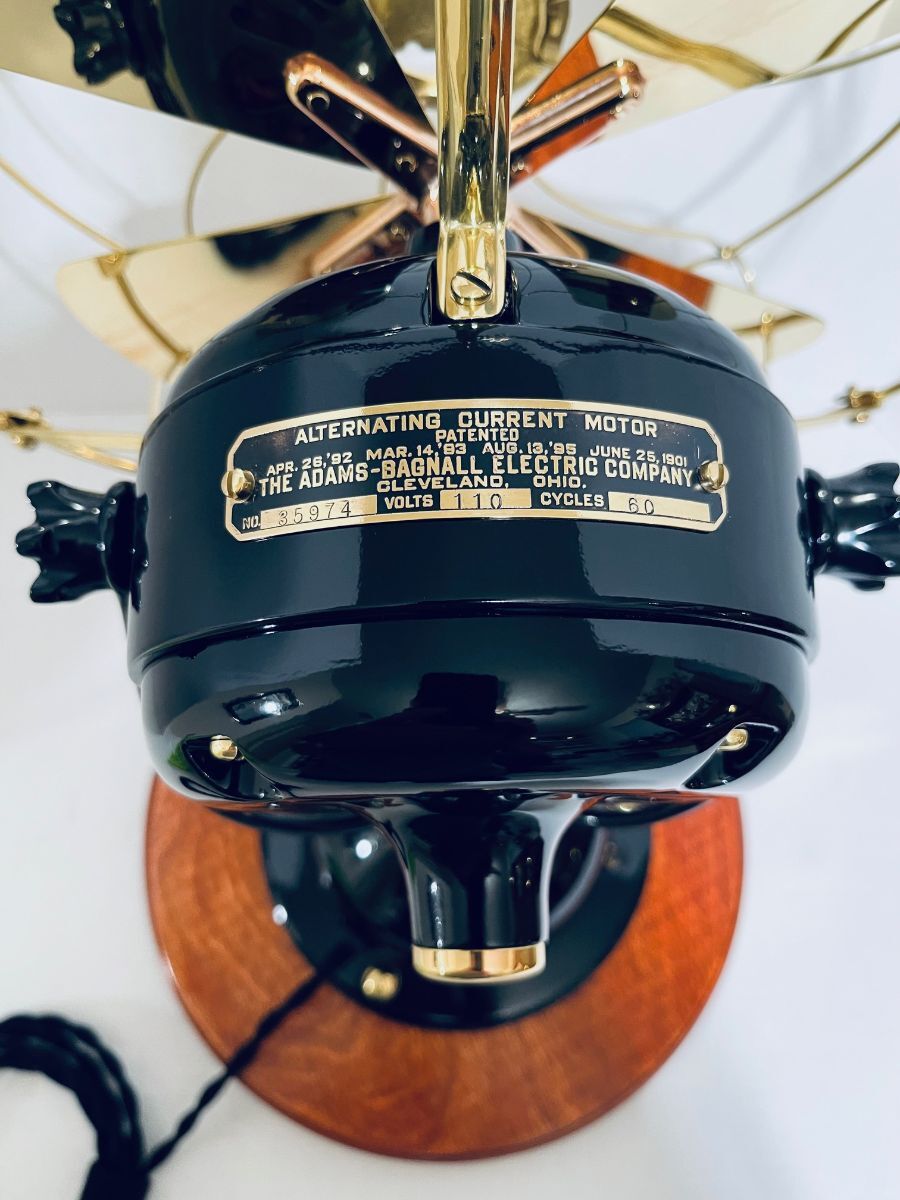
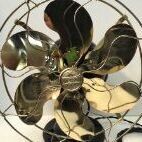
Hi Everybody! Finally I finished my 12" Jandus Wire yoke. I acquired over a year ago. The biggest problem was get the right blade, When I received the fan it had a 12" GE blade on it so I started looking for the right blade. I had no luck finding one so I decided to let Dan Nguyen make one for me, Dan made me a beautiful correct Jandus blade and shipped it my way. That is when the problems started, three months later still no blade. The last tracking report it was at JFK airport, After another two months Dan decided it was lost and said he would make another one for me. The second blade arrived in about a month safe and sound in bullet proof metal box. Dan is the man he fabricated two beautiful blade and I finally got one. Rick Huckabee rewound the stator, Darryl Hudson replaced the bearings and sent me a bearing cap for it. Anyway its done! Video.MOV
 5 points
 -
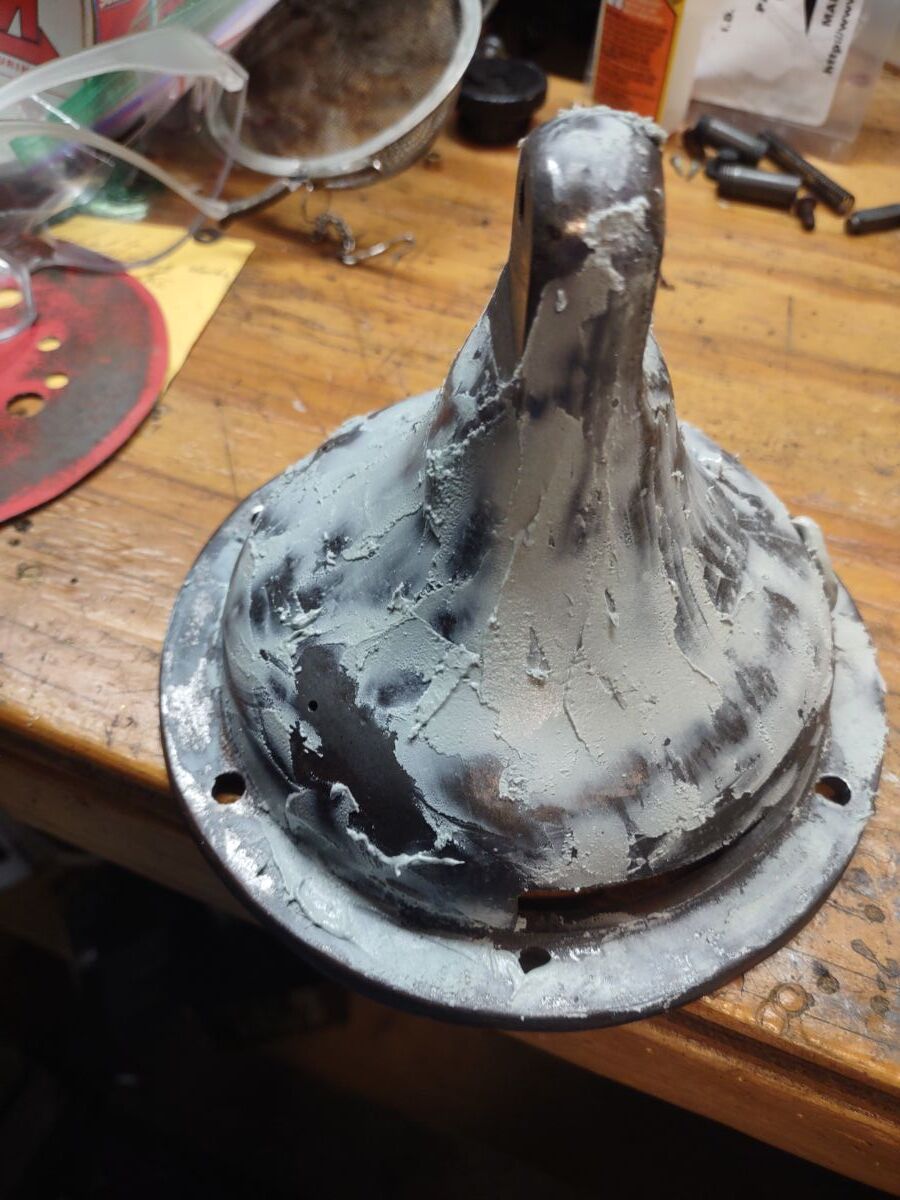
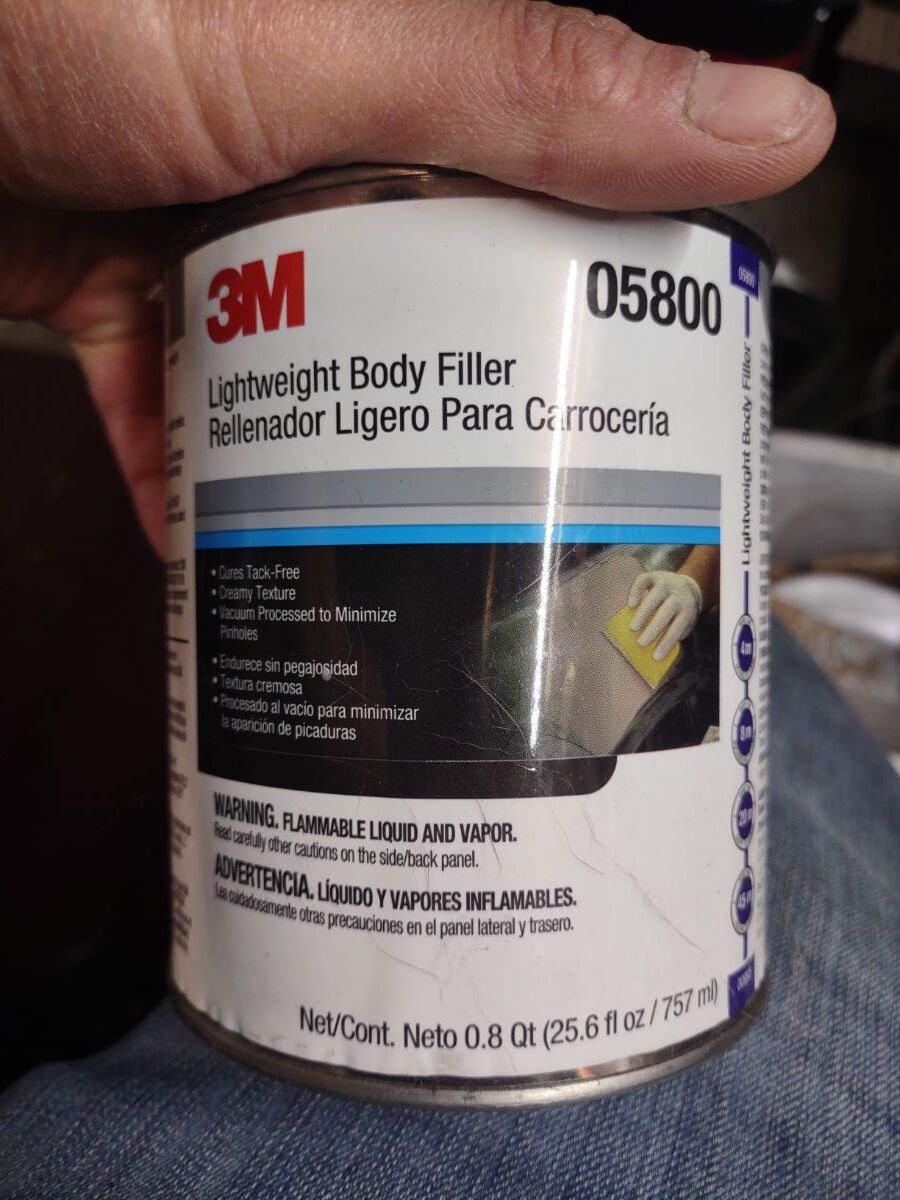
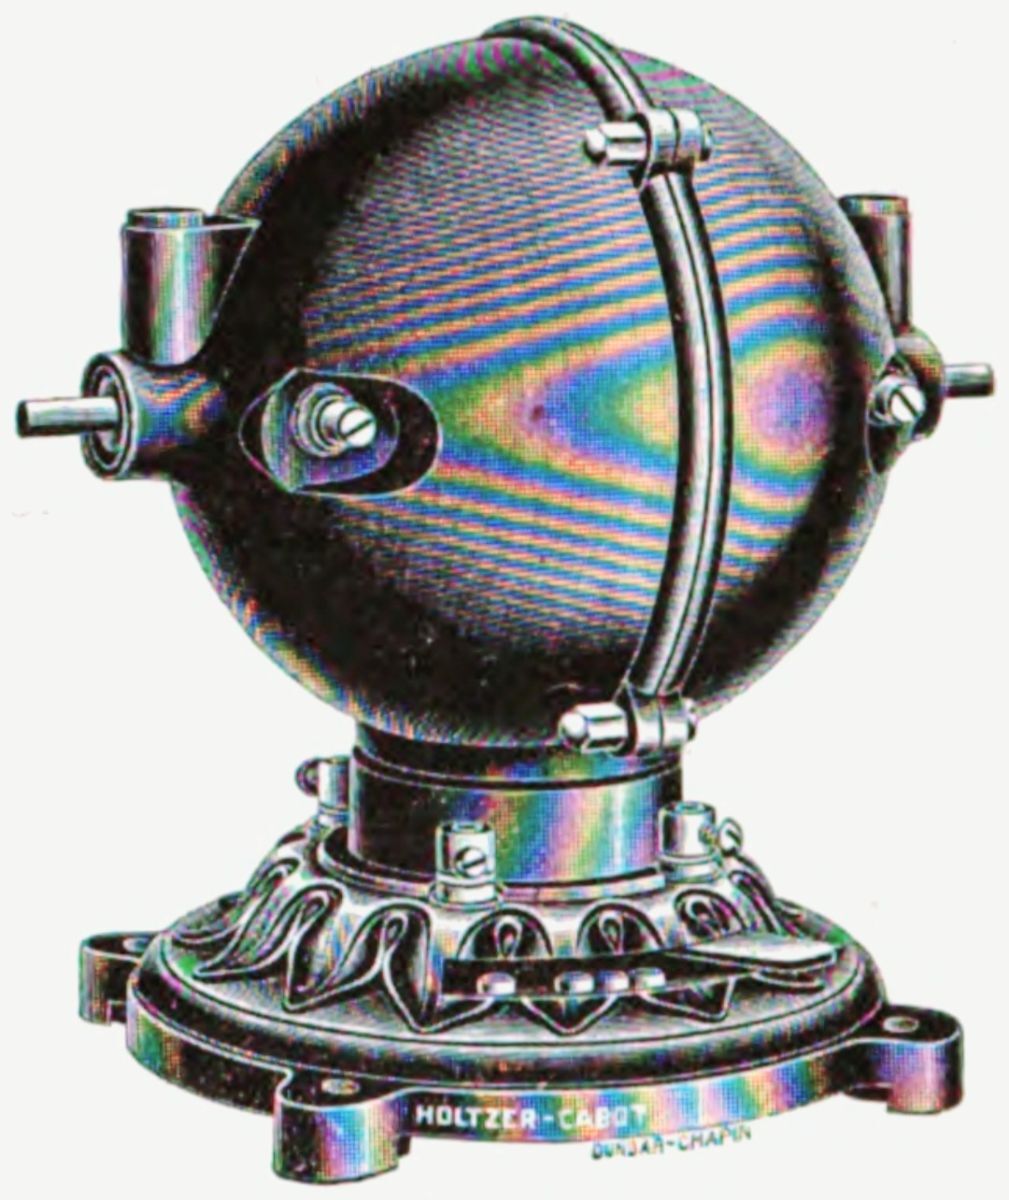
Going a lil backwards here. Way too many imperfections in the base that weren't being hidden. Stripped the paint and prepped for some body work. Using 3M light weight body filler as it's easy to carve down.
3 points
-
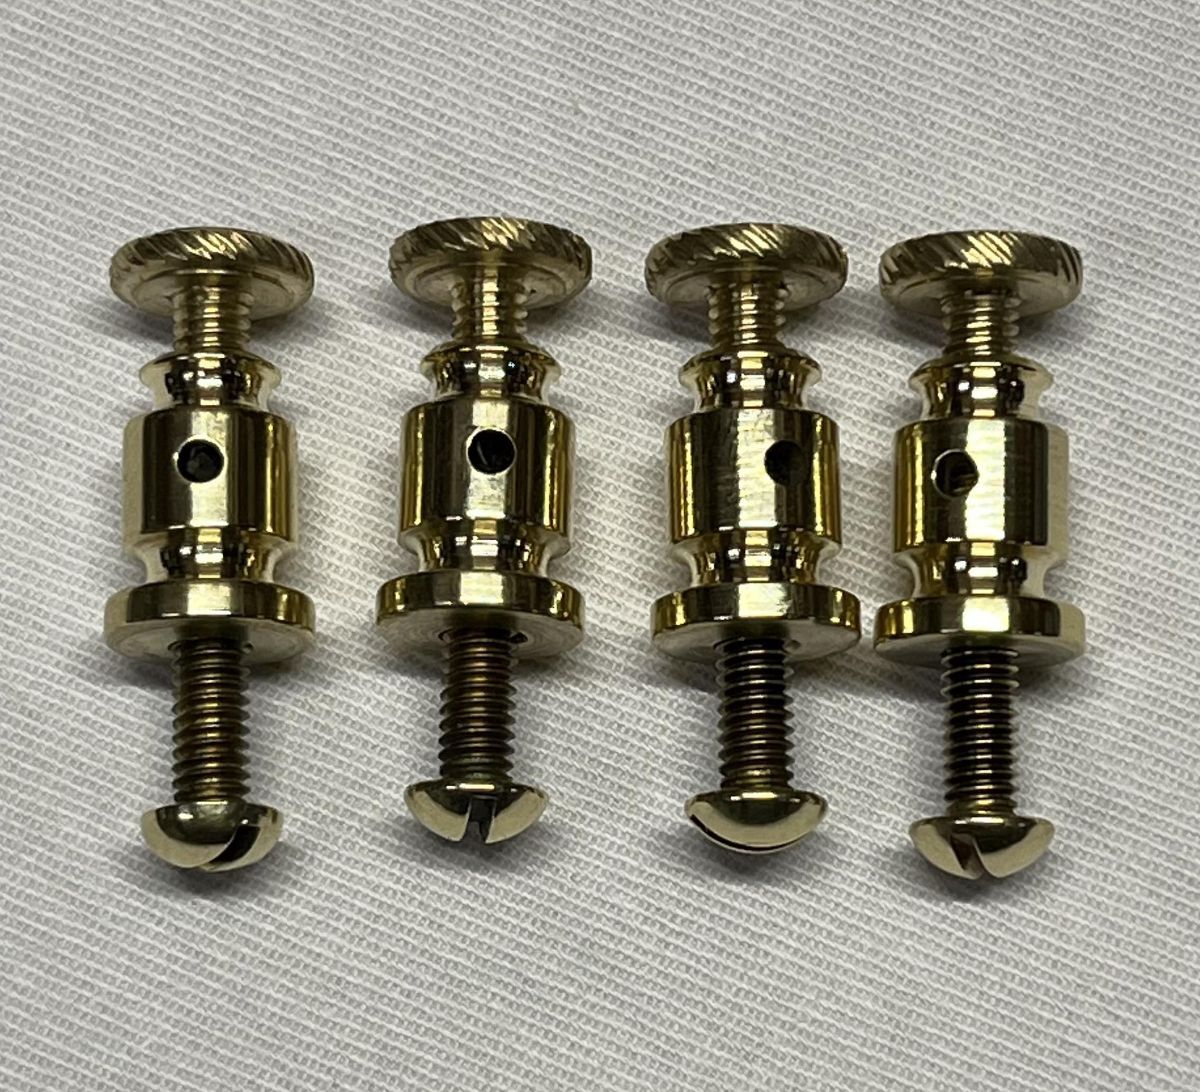
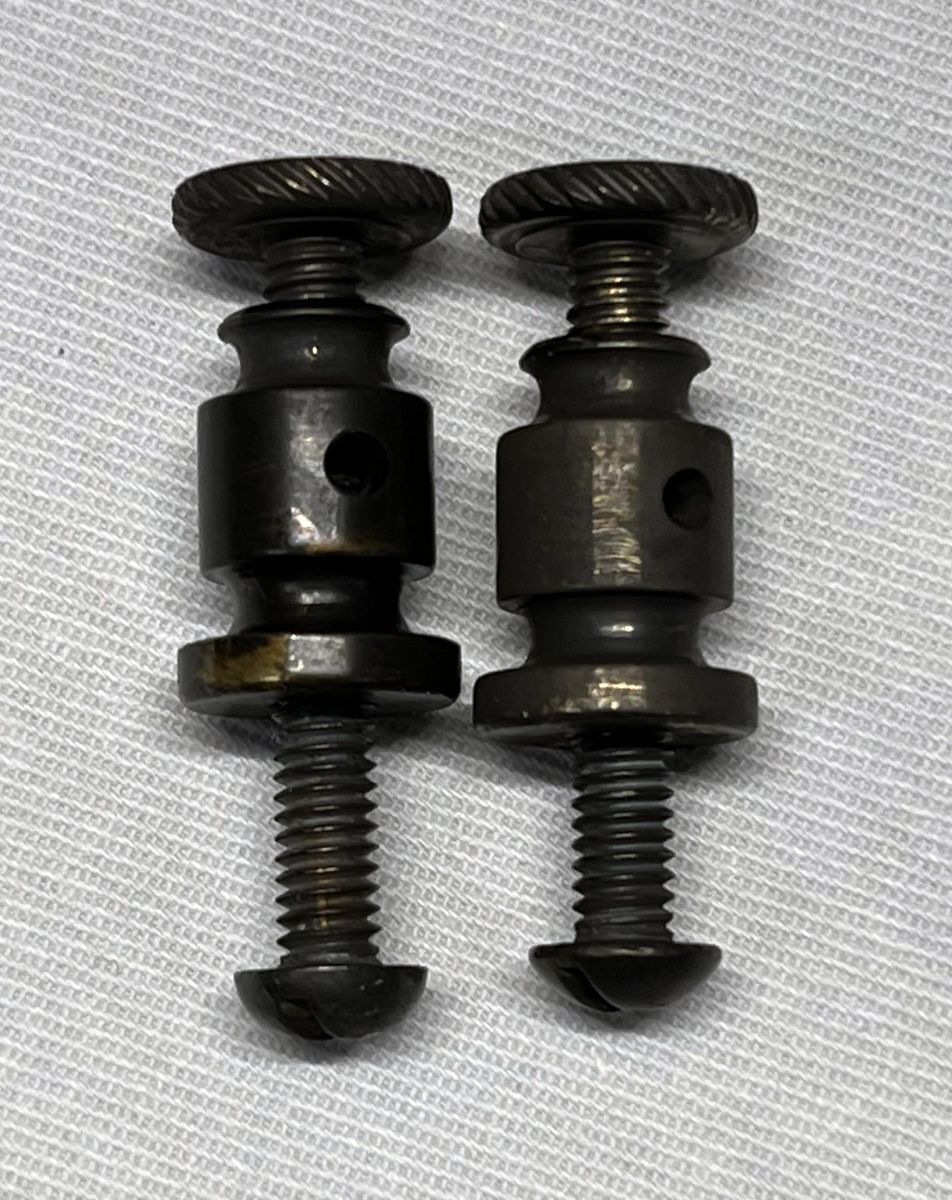
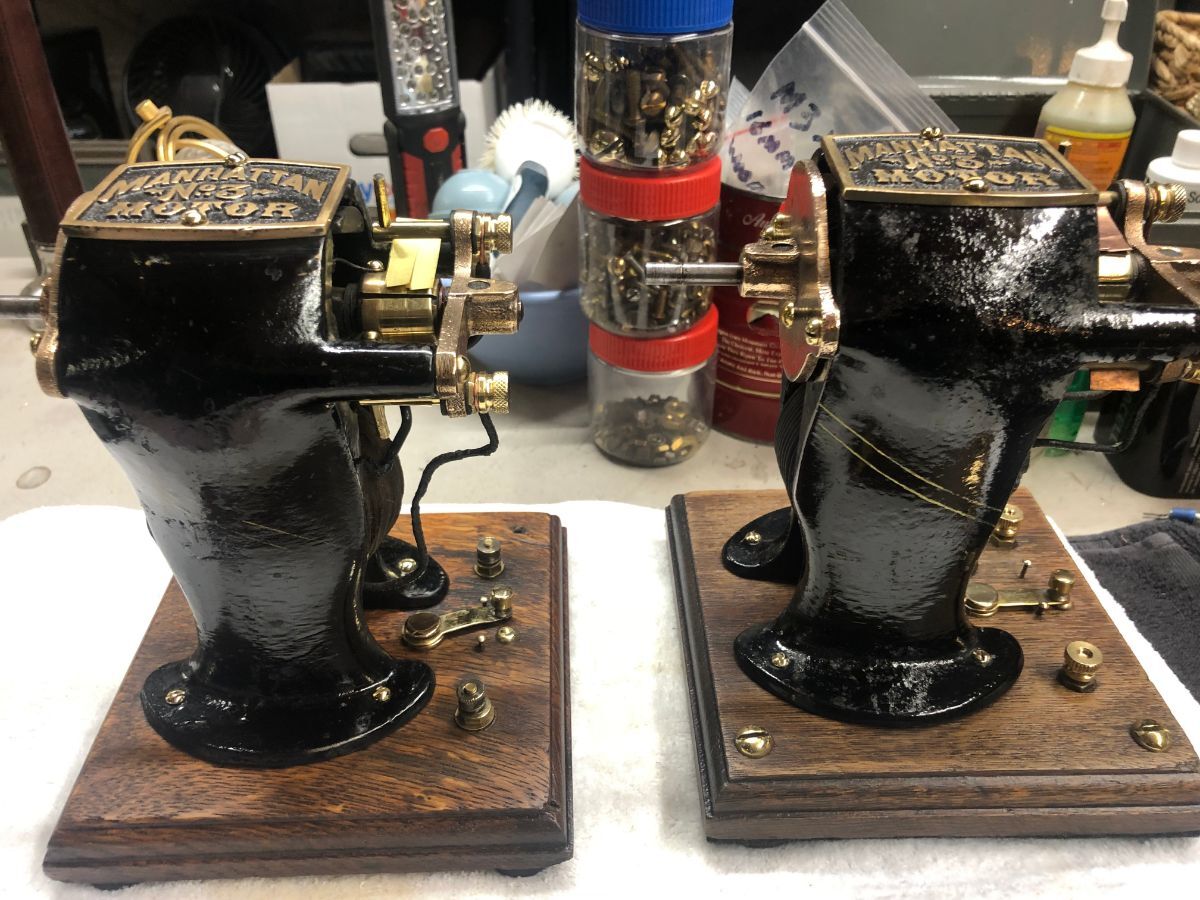
Hello fan friends: I recently acquired (as many of you know) my second Manhattan No. 3 on the left below. The original, on the right, had one knurled post and one other odd connector. The one on the left had just what you see. I spoke to Darryl Hudson (my go to guy) and asked him the reproduce the knurled terminal posts. Today, he completed them and sent me the pictures below. For those of you that prefer the "aged" look, Darryl made an extra set for inventory seen below. Feel free to contact Darryl, if you want a set of these for your Manhattan No. 3. Prices are between you and Darryl but as for me, Darryl's craftsmanship is priceless!
2 points
-
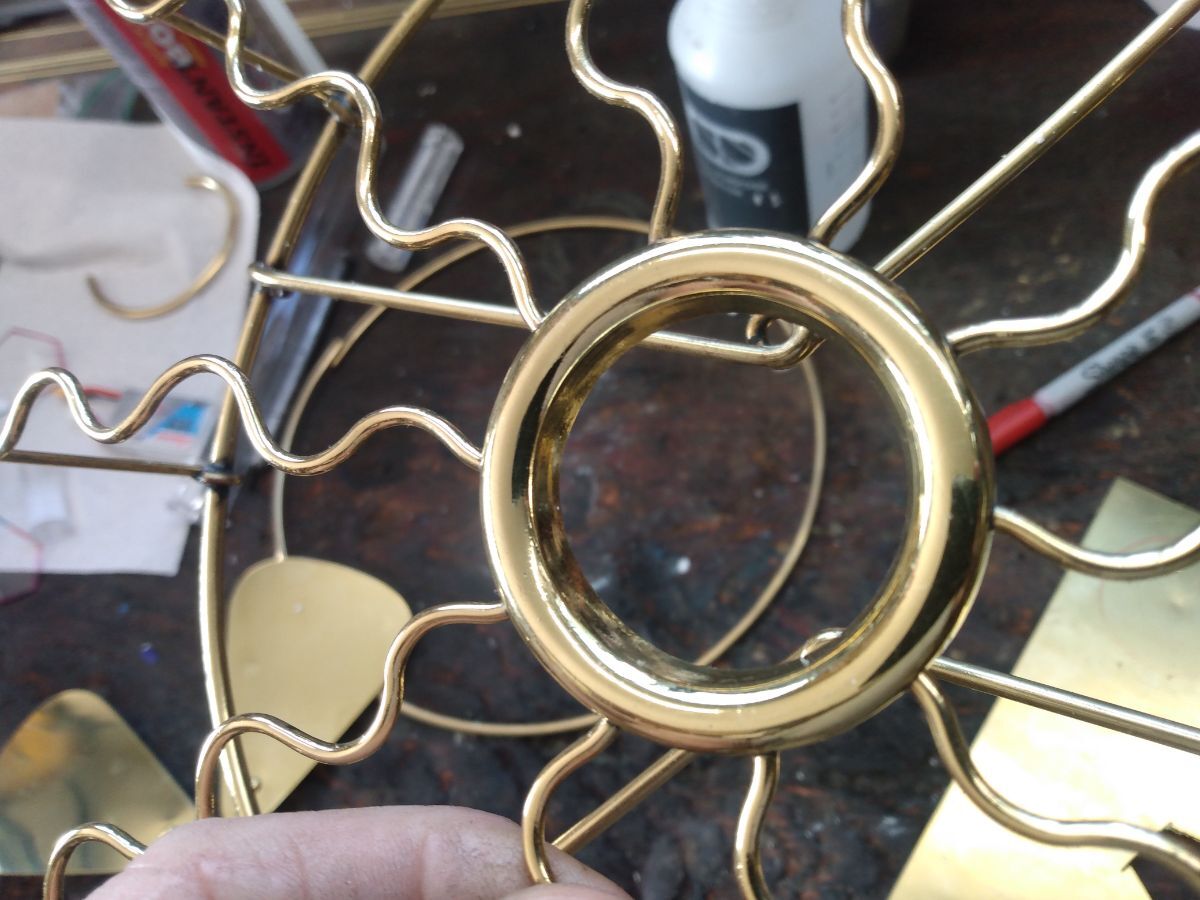
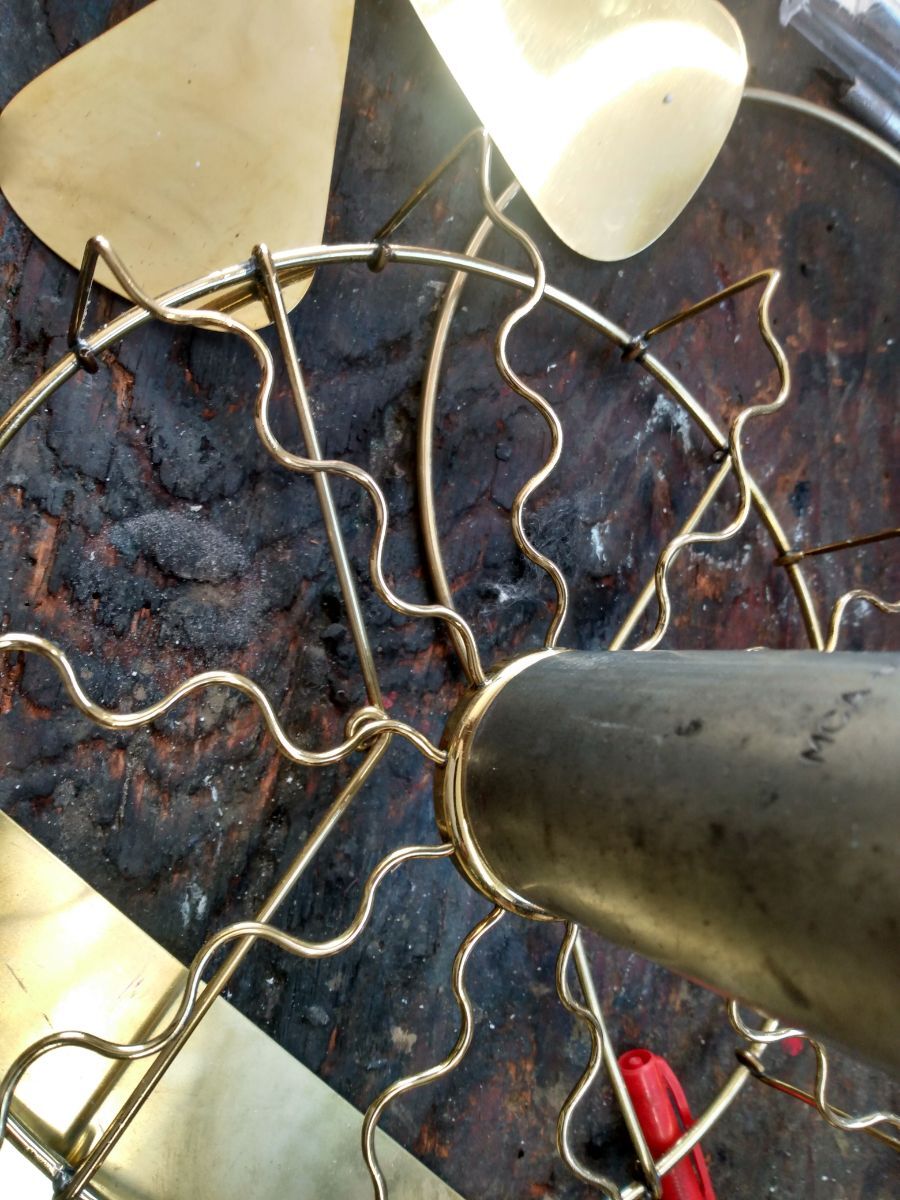
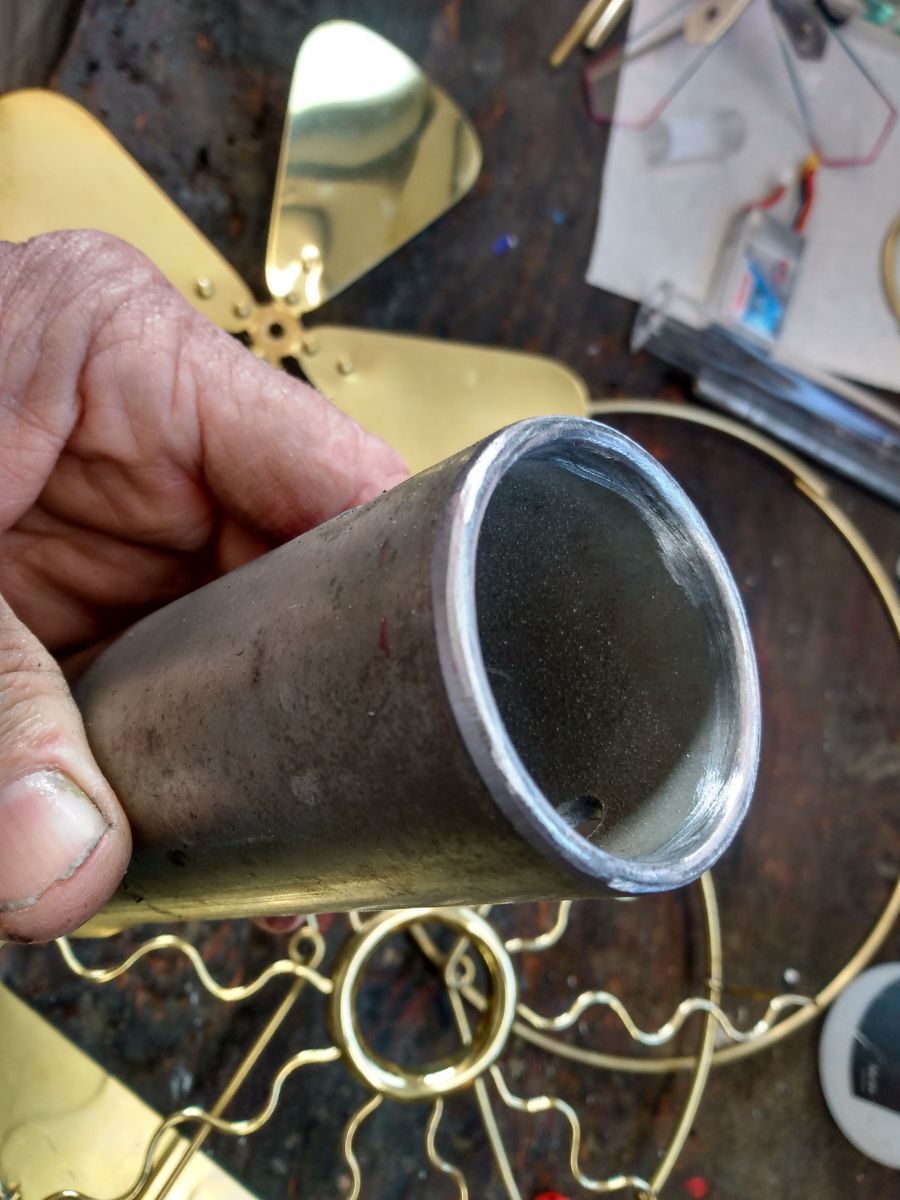
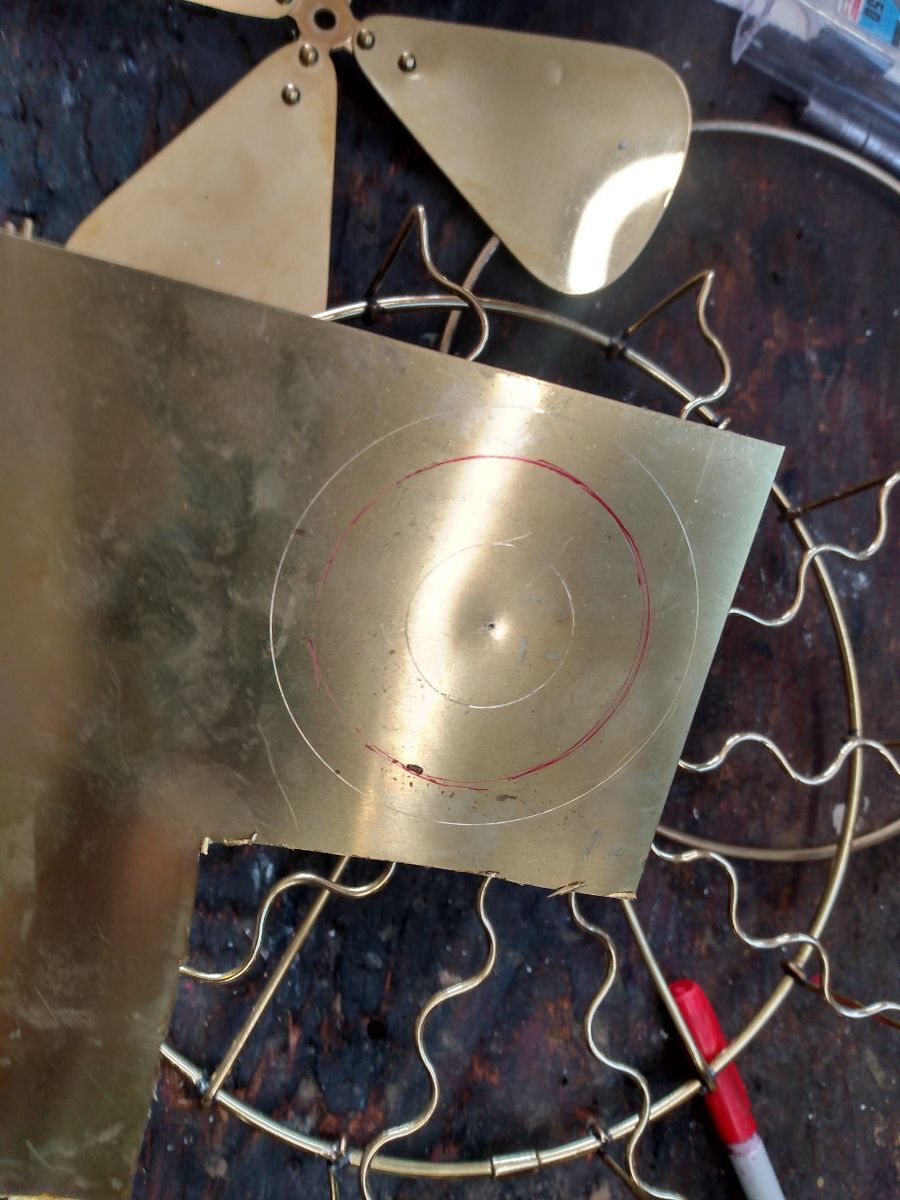
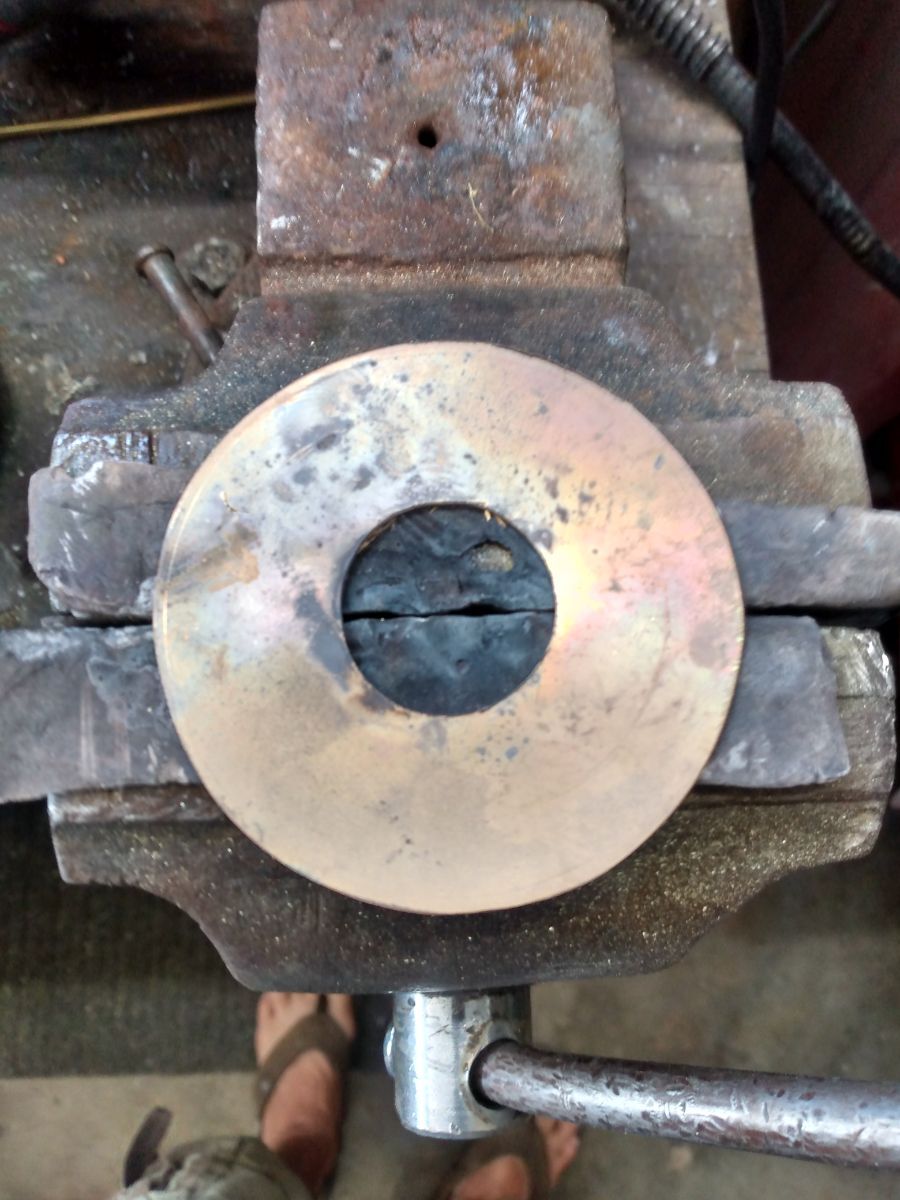
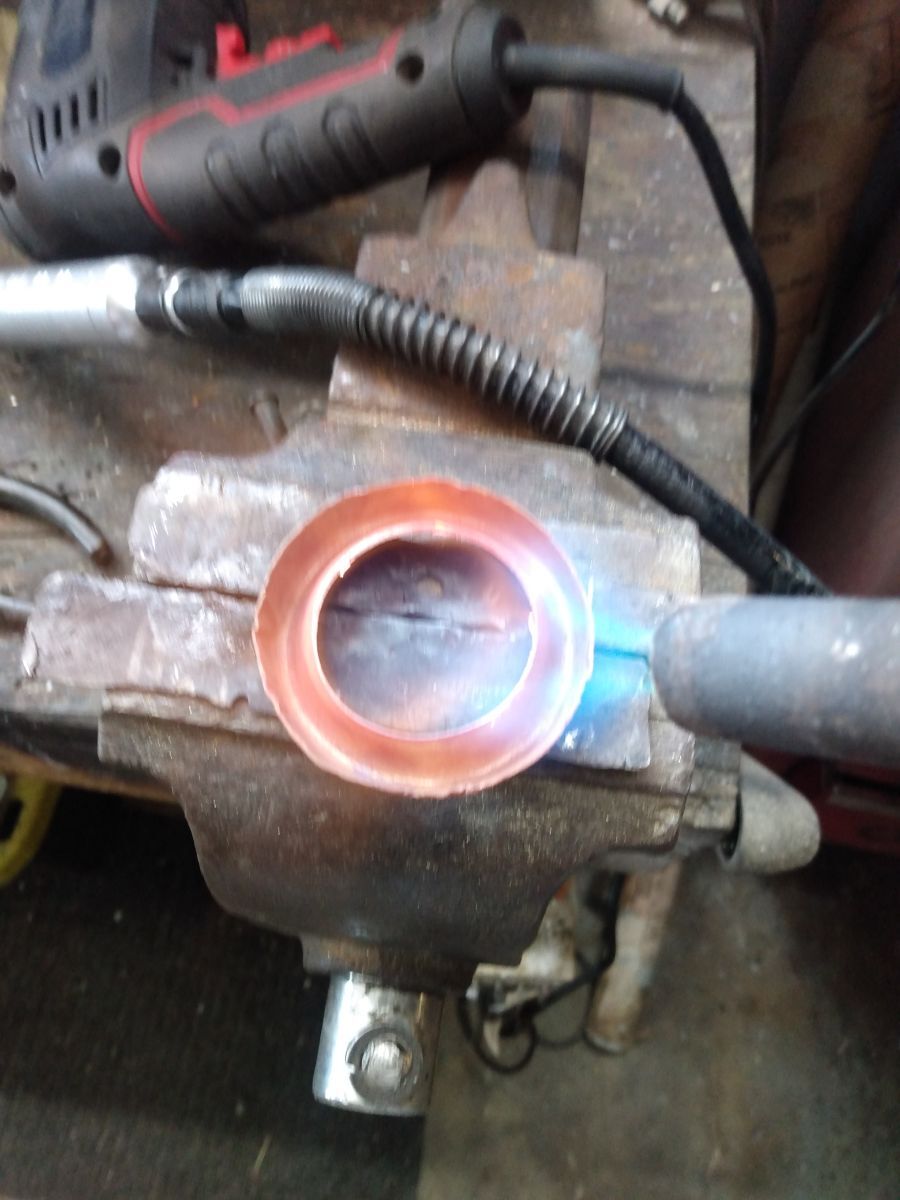
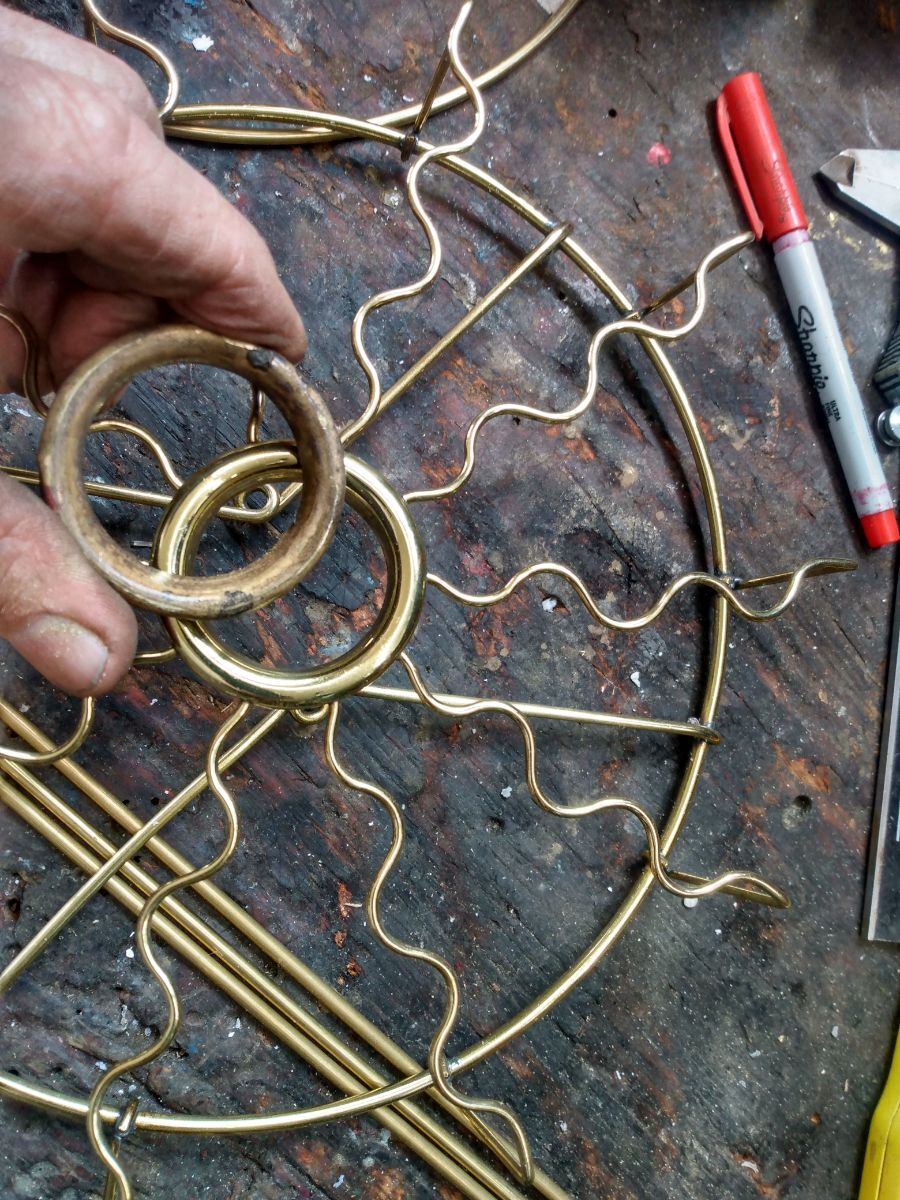
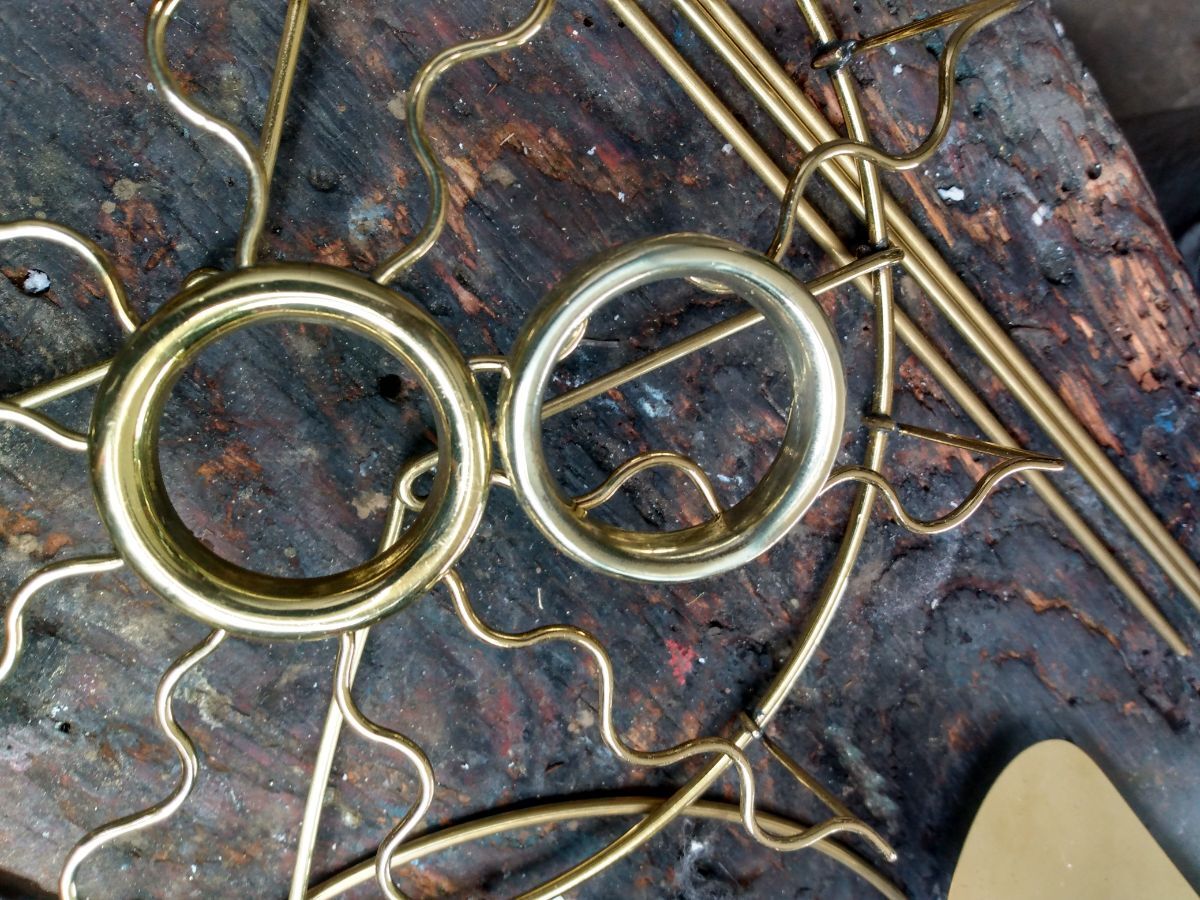
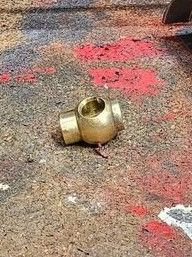
I received a request to reproduce a Manhattan fan cage using a sample. When I opened the box, I was met with a real problem. The center piece was a stamped ring instead of a solid ring. I don't have a punch press and tooling to make these, so If I couldn't figure out a way to fab this up, I would have to return the cage and not accept this project. Searching around my toolbox, I found a huge tube socket for the sprocket nut on one of my bikes. It was the right size. I rounded the end of it on my belt sander and radiused the inside with my moto tool. Taking some sheet brass, I measured it up and cut it to size. Using hammer and dolly method, I folded the edges around the tube socket, stopping to frequently anneal the brass so it wouldn't crack and split. At this point I used my drill press to push the center through inside the tube socket. Now I had something that would work. Success. I saved the project. The rest is just like any other cage, with rings and spokes. Cheers, Bill
1 point
-
1 point
-
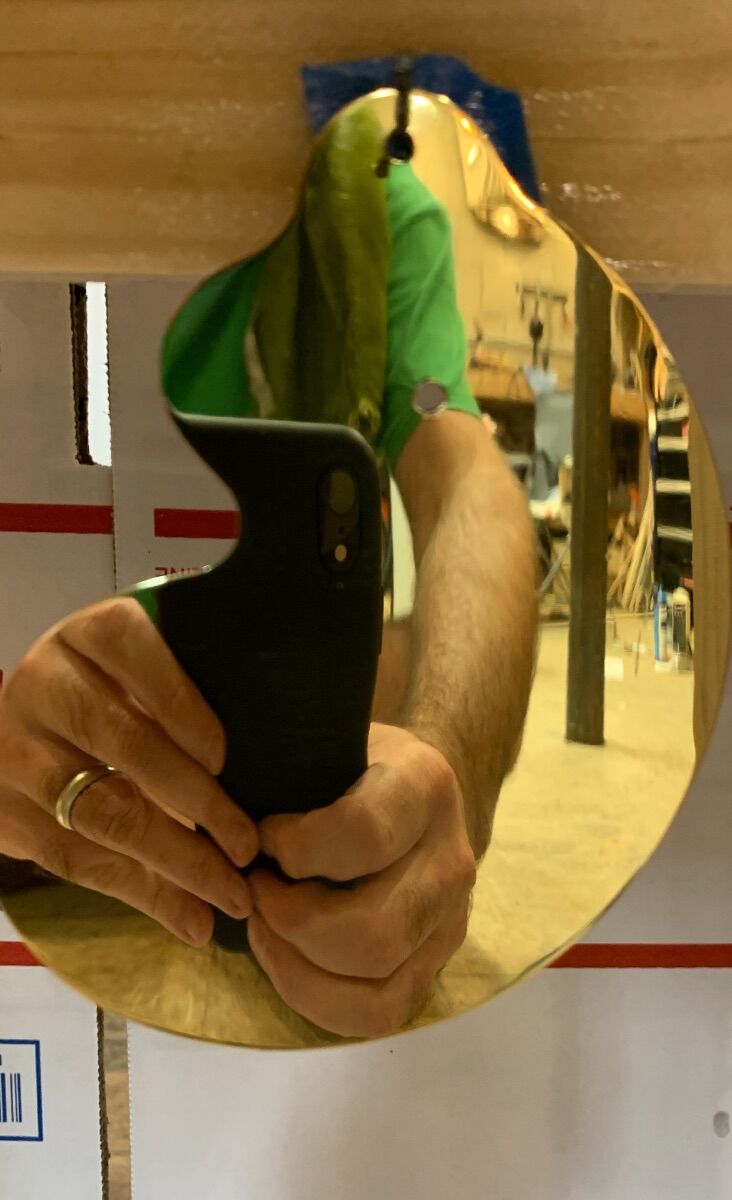
Bobby Bright Brass. 🙂 I see you have the base mounted to a wooden plaque. Looks nice. FWIW....Vic Valencheck posted a McMaster find I used on mine for like original factory rubber footing, and it worked slick for a vibration damper. You just cut it to correct length and a few spaced drops of glue to hold it in secure. McMaster-Carr
1 point
-
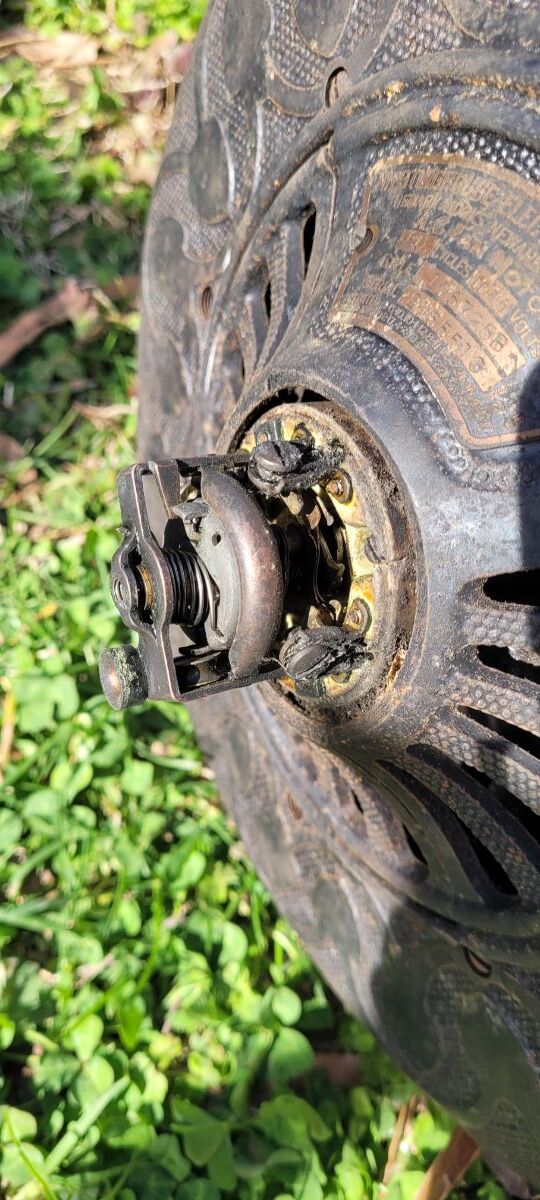
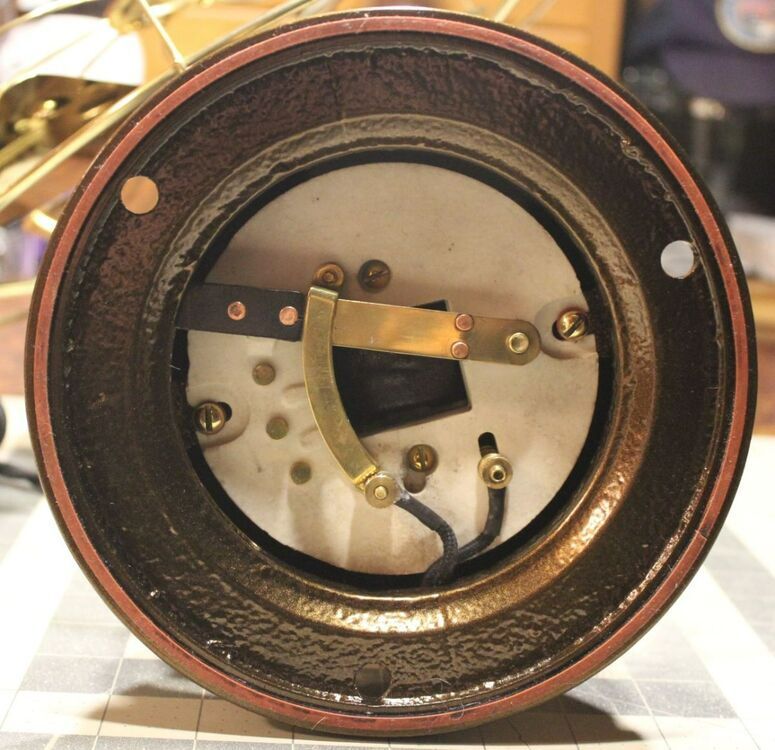
There will be rotor shaft fiber shim wear/scaring on the "in-side" of the bearing sleeve to guide you for orientation. It has been a while but the bearing in the image my bet goes to the front.
1 point
-
Looking Good, Patrick!1 point
-
It’s a good question for Jamie, but I’m guessing that the old forum images are still being indexed. That was happening in the test environment but eventually settled out when the indexing was complete. The old forum data is a very large file. .1 point
-
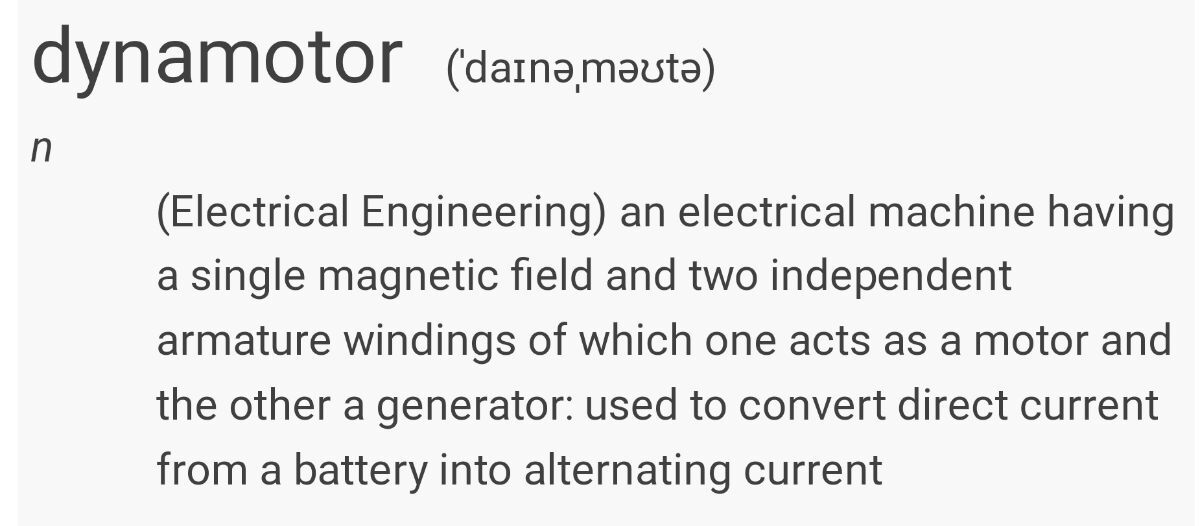
Striped multichromatic finish (as shown) optional at a slight extra cost.
1 point
-
Got it all smoothed out! The flange was the roughest portion of the casting. Ready for some paint! I'll probably paint it some evening after work this week.
1 point
-
The first picture on this post was that of a fan that wouldn’t get a second look. It’s going to be a head turner when you get done!1 point
-
Thanks for all the hard work!1 point
-
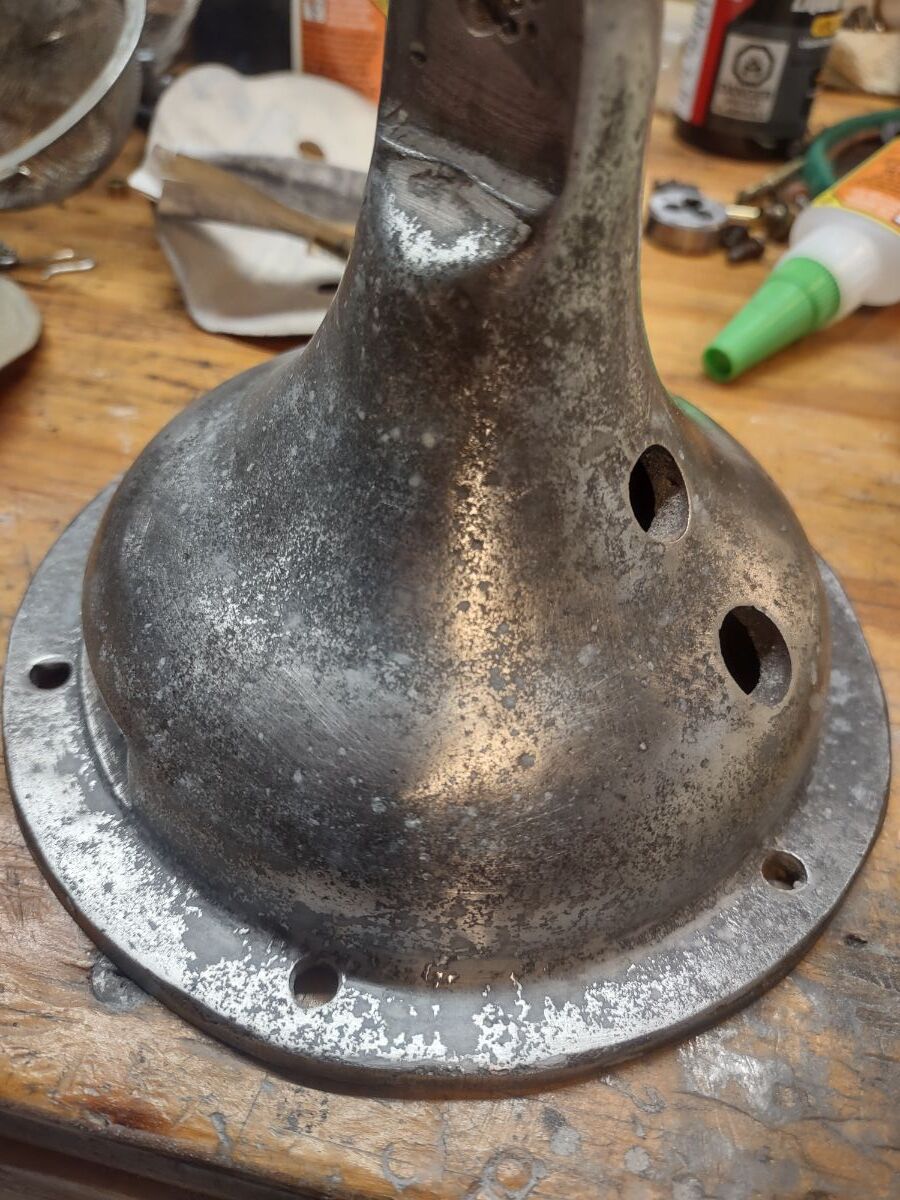
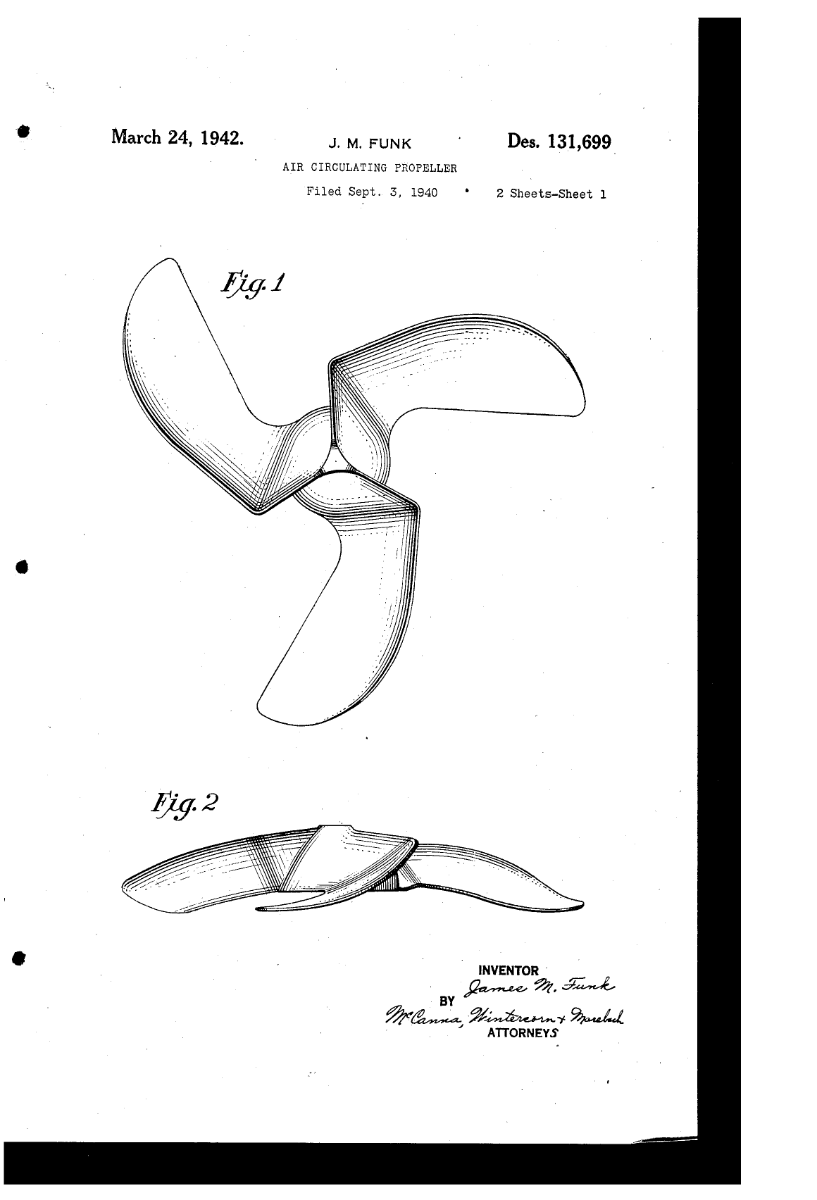
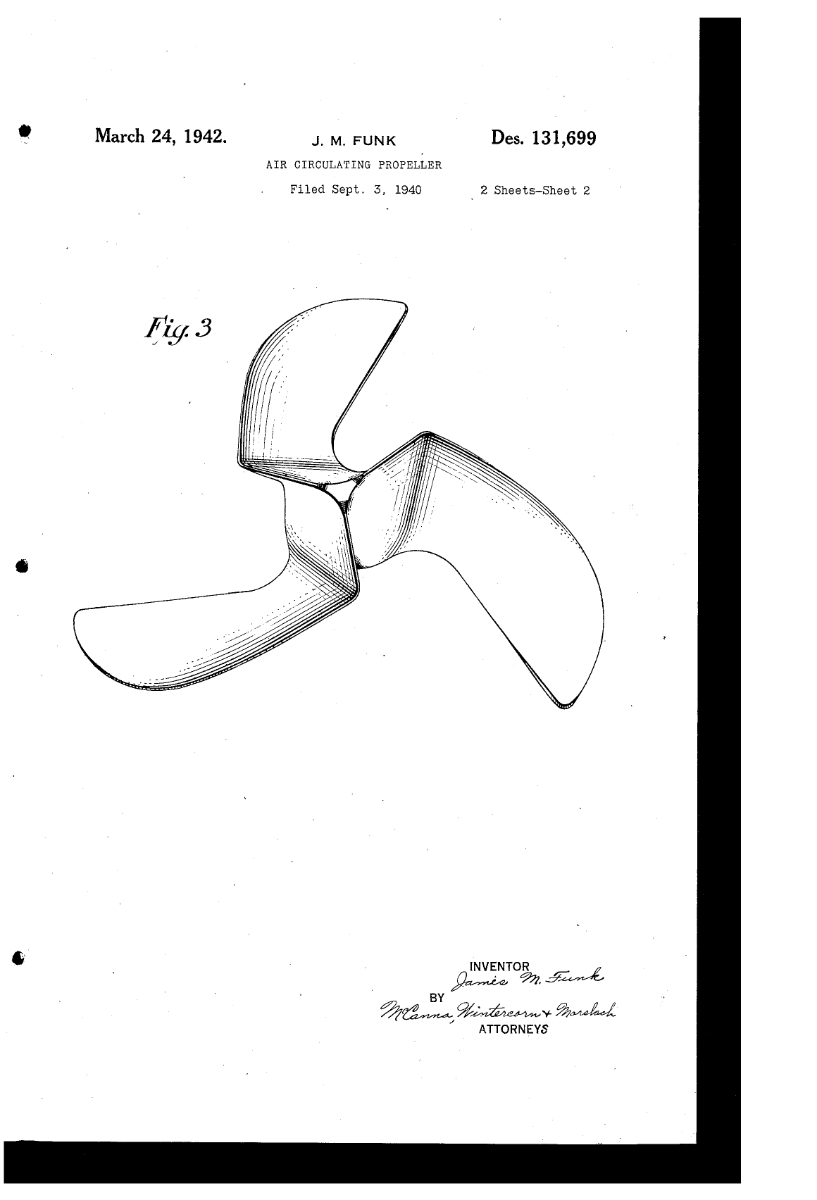
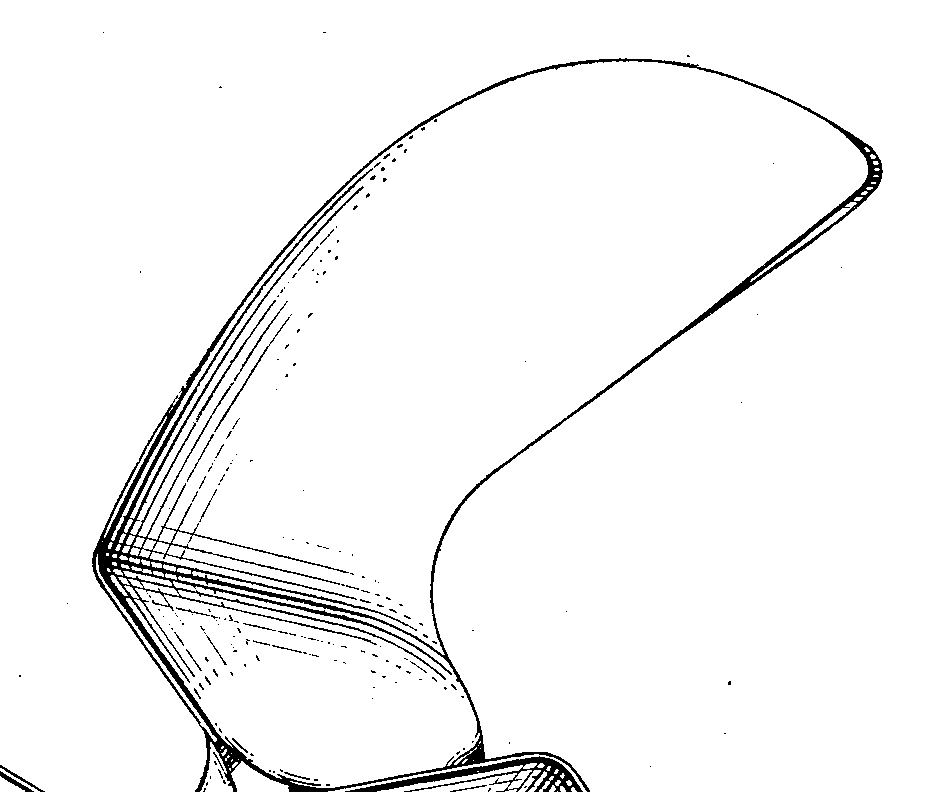
I thought I would never see Jim Funk's last blade patent assigned to Reynolds Electric of Chicago filed in 1940. For those that don't know James Funk designed cast aluminum blades used by Airmaster/Diehl and Marathon circulators. Funk passed early in life at age 48 from what appears to be liver disease from alcoholism. His blade patent design to Reynolds would have been his last. 1498402039060494066-D0131699 (storage.googleapis.com)
1 point
-
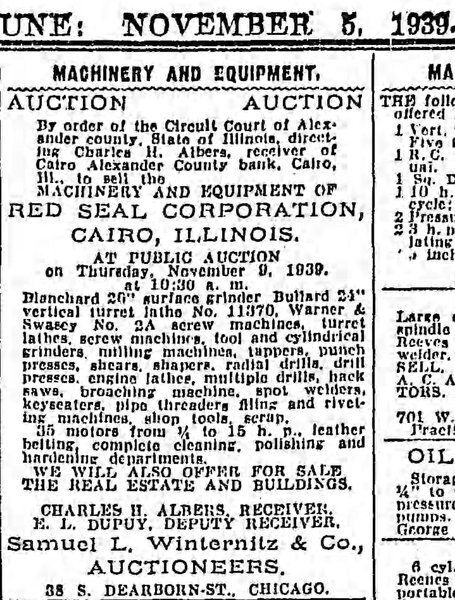
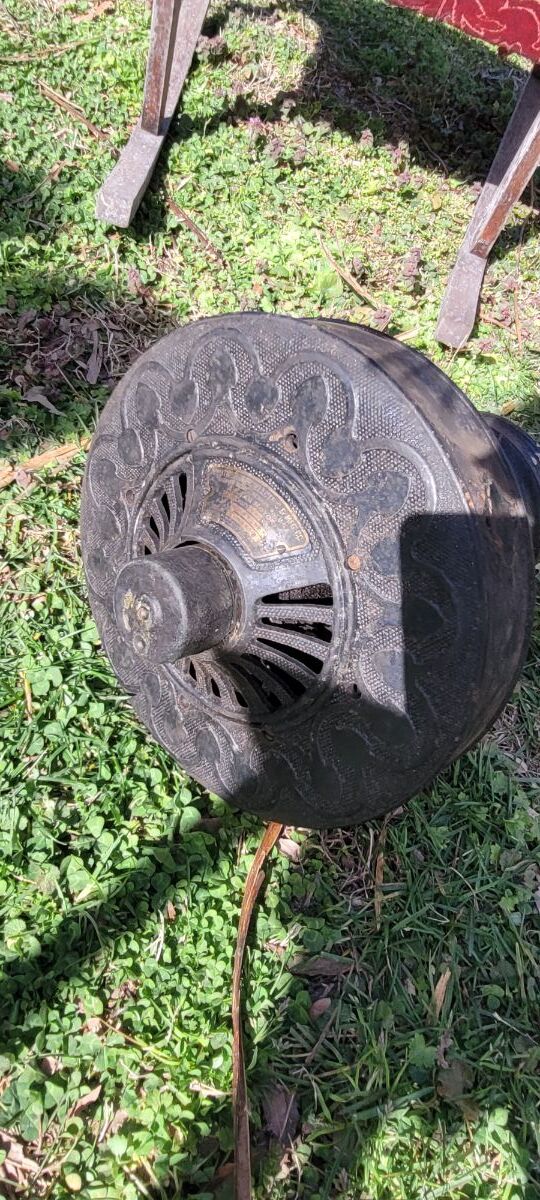
Believe it or not it sold for $90 at the auction today! I didn't have the heart to explain to the guy what that thing is! He seemed very happy and I try not to bust peoples bubbles...😆 Geo...1 point
-
I do initially clean with toilet bowl cleaner and again before clearing. Purpose of initially cleaning is to knock off any film over past 100 years that could allow paint from adhering in places. Paint that lifts when wet sanding is no fun. Hot water and toilet bowl cleaner used again once finished to strip off any polish and grit on painted fields before clearing. I never use anything aerosol. Purpose of airbrush is to have full control of fluid flow and anything aerosol never compares. Start by cleaning as above with toilet bowl cleaner. Sometimes scrubbed with toothbrush if crusty. Rinse with hot water for clean surface. Airbrush base color or flat enamel. Enamel is harder vs acrylic or mystery paints found in aerosols. Remove paint from high brass areas with small pieces of 1000 grit sand paper wet sanded with soap water. Soapy water allows sand paper to glide easily. Any areas of paint removed unintentionally are spot touched up with airbrush. This could be as small as 1/8” area vs starting over again. Once high areas knocked down with 1000 grit then use 1500 and 2000 to remove sanding marks. After that a non solvent based polish and cotton tshirt. The tag or badge will have grit and polish residue. To clean use toilet bowl cleaner / hot water again. Then clear. When I use lacquer will do a light dusting then additional dustings with airbrush until satisfied. This will lock the surface and prevent wrinkling of paint or bleeding when using light coats. If using urethane generally just one heavy coat. Airbrushes provide control vs anything you will ever find in a can. The idea is to have the thinnest layers of paint that are solid enough to block brass surface and thin enough to easily be removed where needed. Easily touched up when needed. Airbrushes will give you adjustable 1/8” through 1” paint pattern radius. This badge is white primer, white base, pearl layer and then urethane. 4 layers of painted material. It is perfect and took multiple attempts. I also use an airbrush opened up to 1” pattern to lacquer brass blades. Low air pressure does not kick dust into wet lacquer and avoids orange peel both of which work against mirrored brass.
1 point
-
The 27648 was the last of the four blade big motors. The 29648 was totally redesigned motor.1 point
-
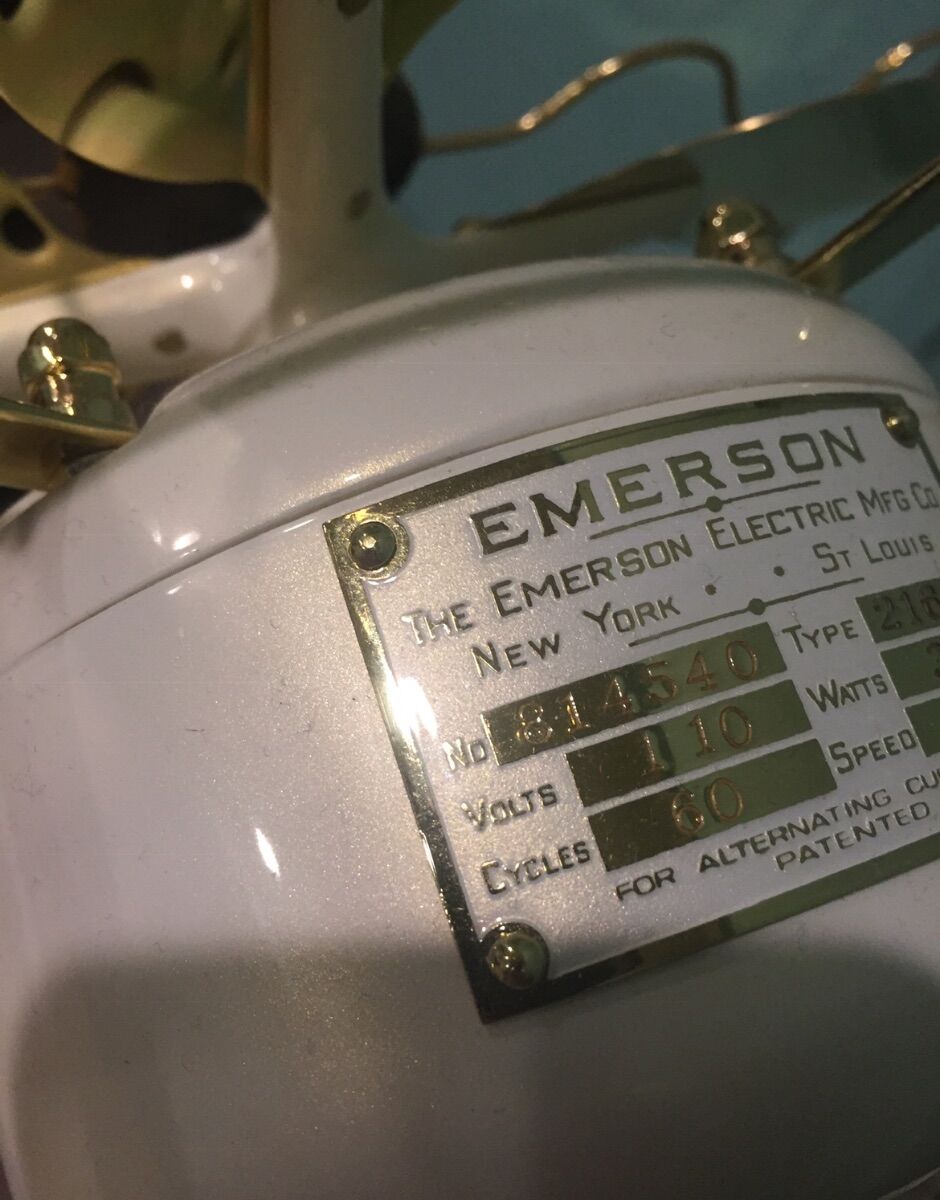
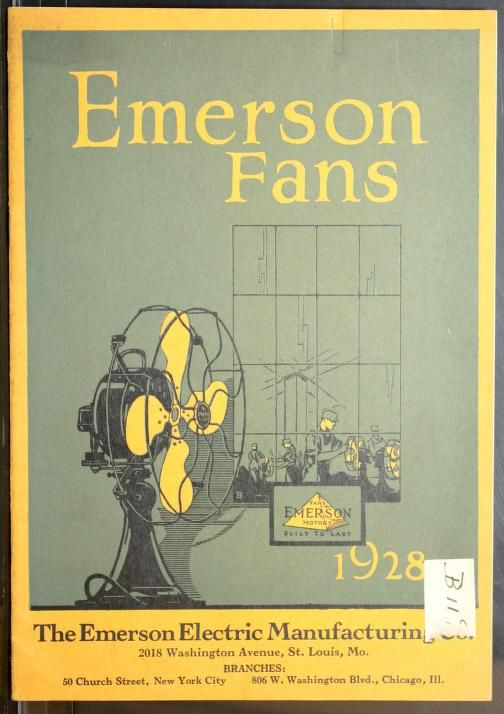
No mention of a 29648 (16") in 1928, or for that matter, a 29646 (12") Emerson fans for alternating and direct currents. : Emerson Electric Manufacturing Co. : Free Download, Borrow, and Streaming : Internet Archive
1 point
-
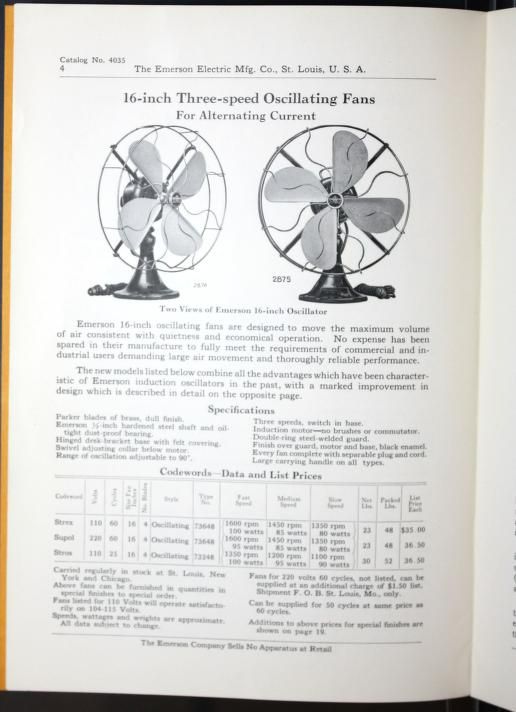
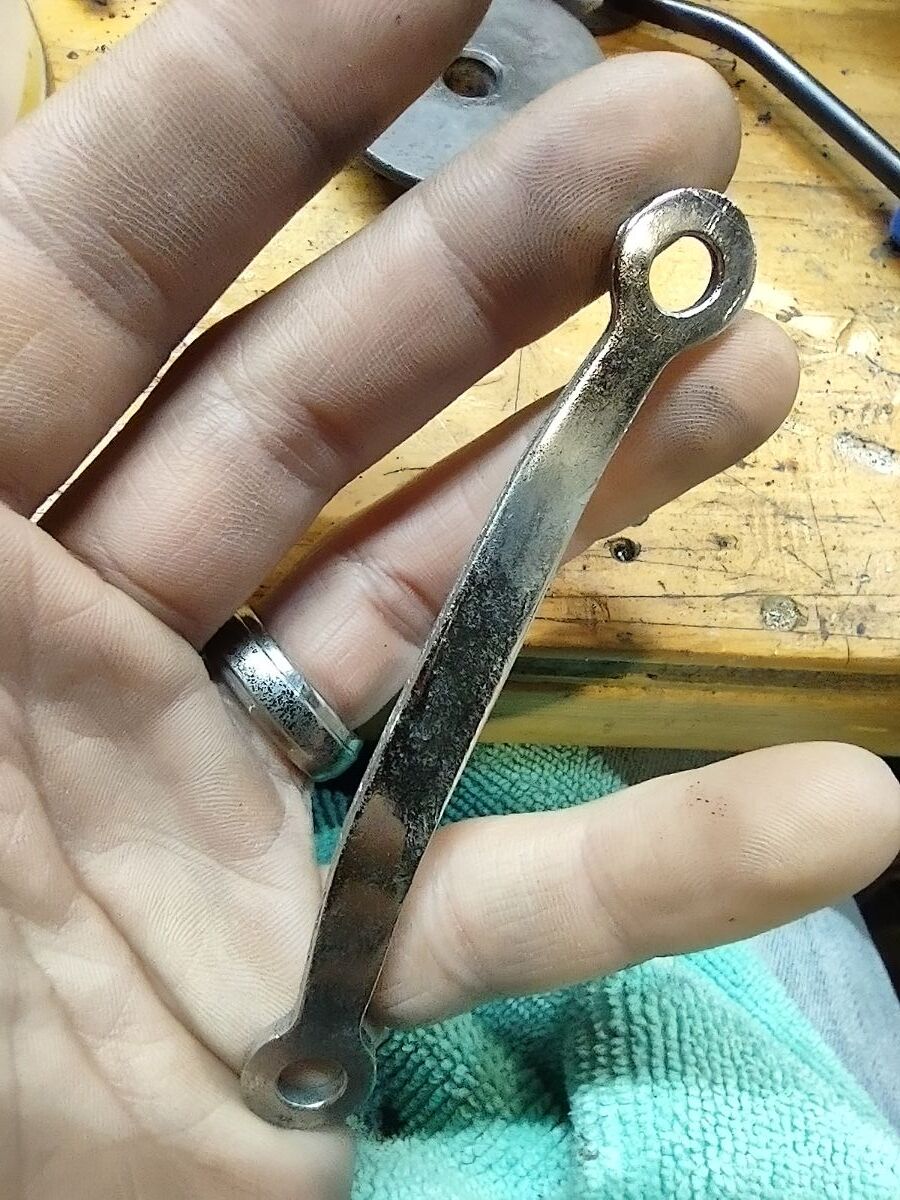
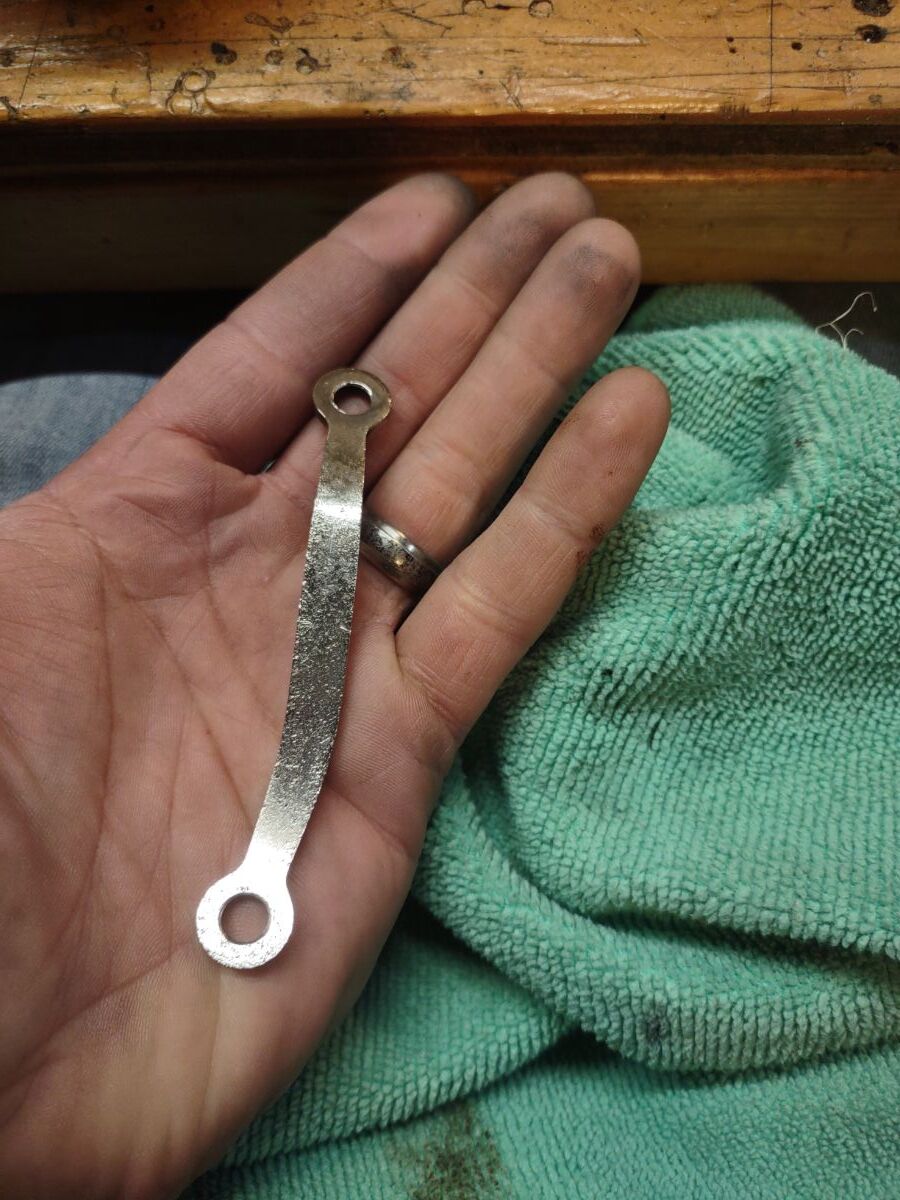
Oscillator arm was rusty and pitted. Wanted to do something different and not paint it like the rest of the fan. Did a homebrew nickel plating! Can still see some of the pits from the rust, but I'll call it a win!
1 point
-
1 point
-
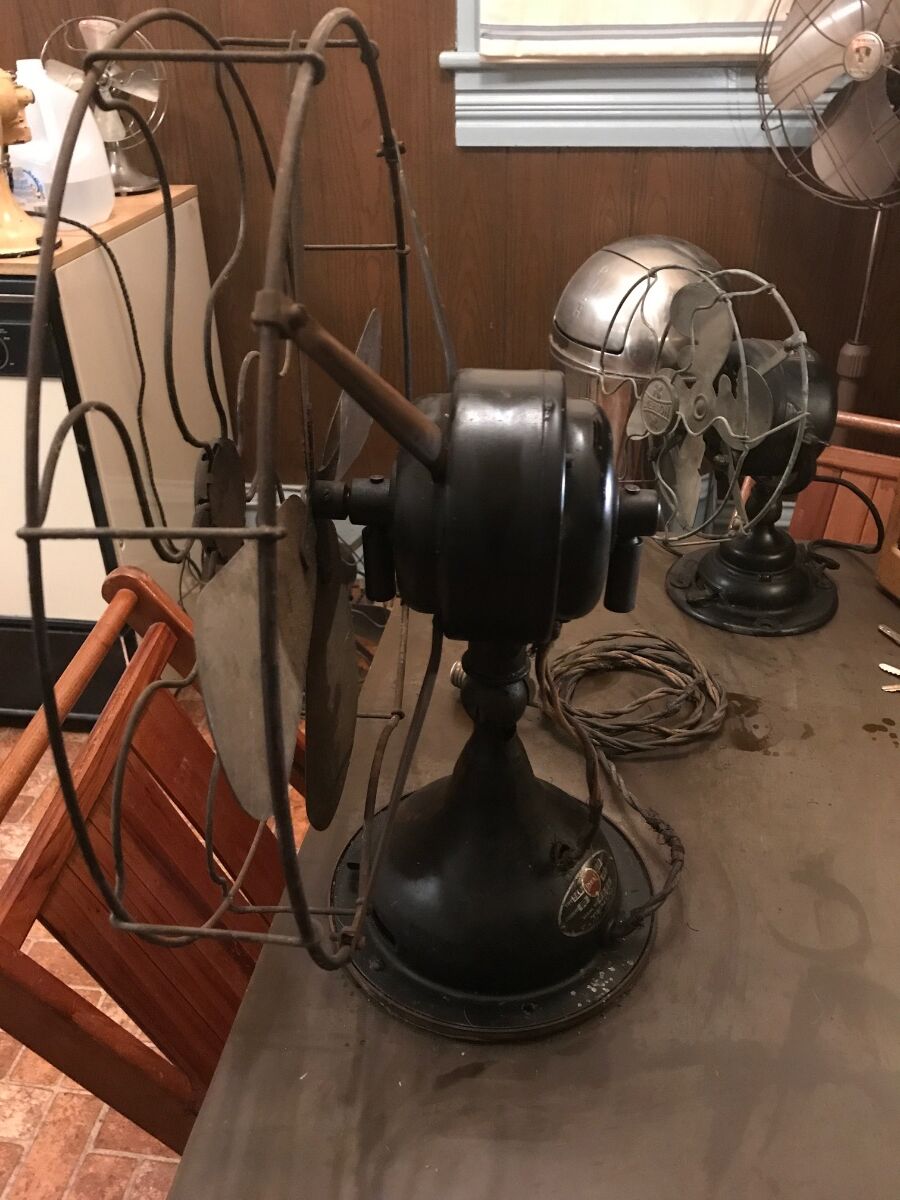
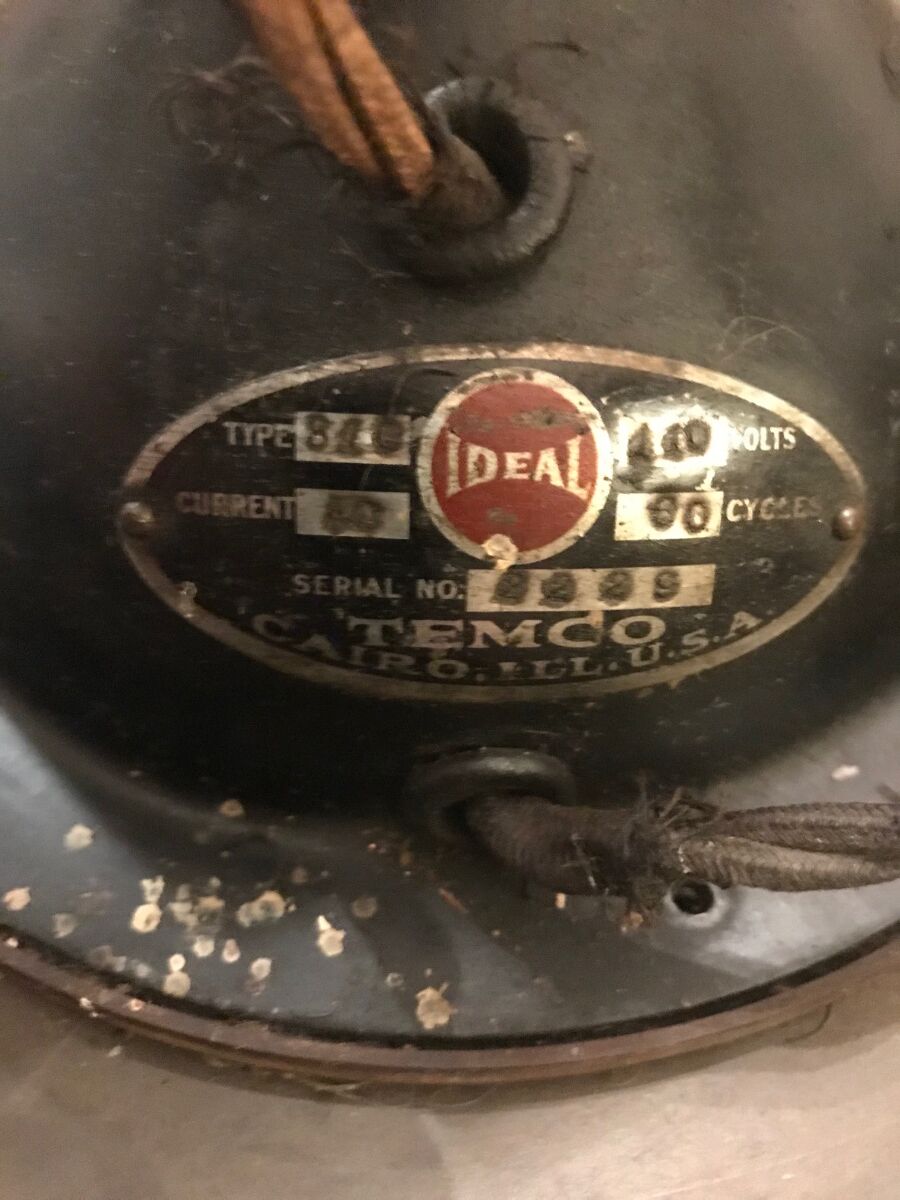
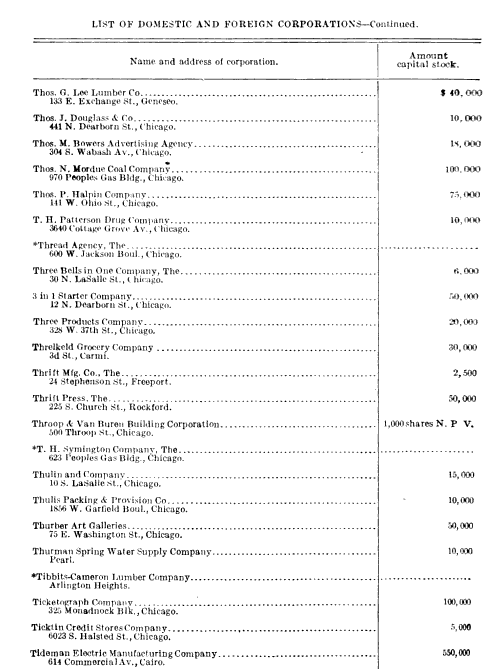
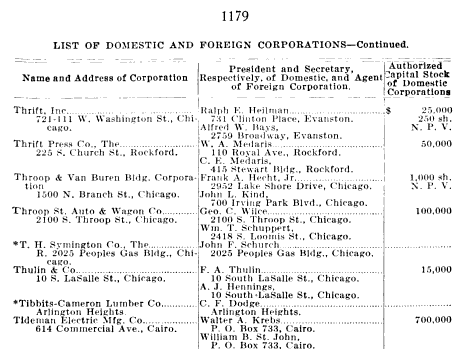
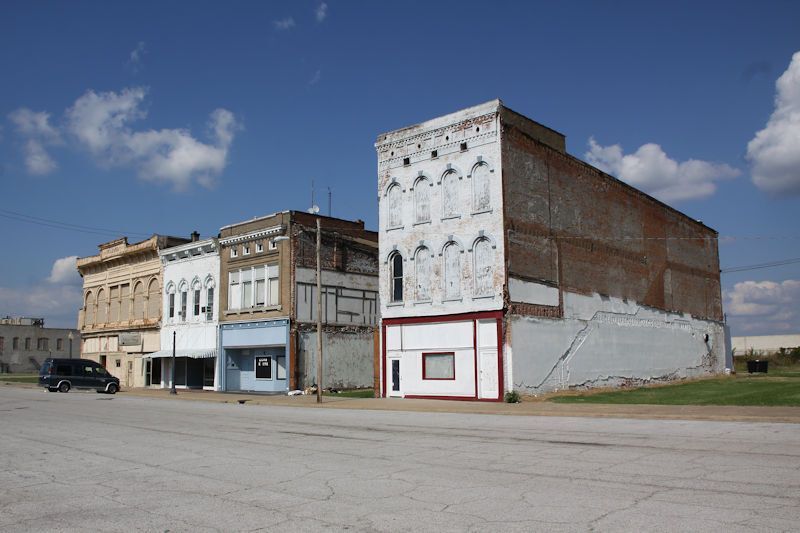
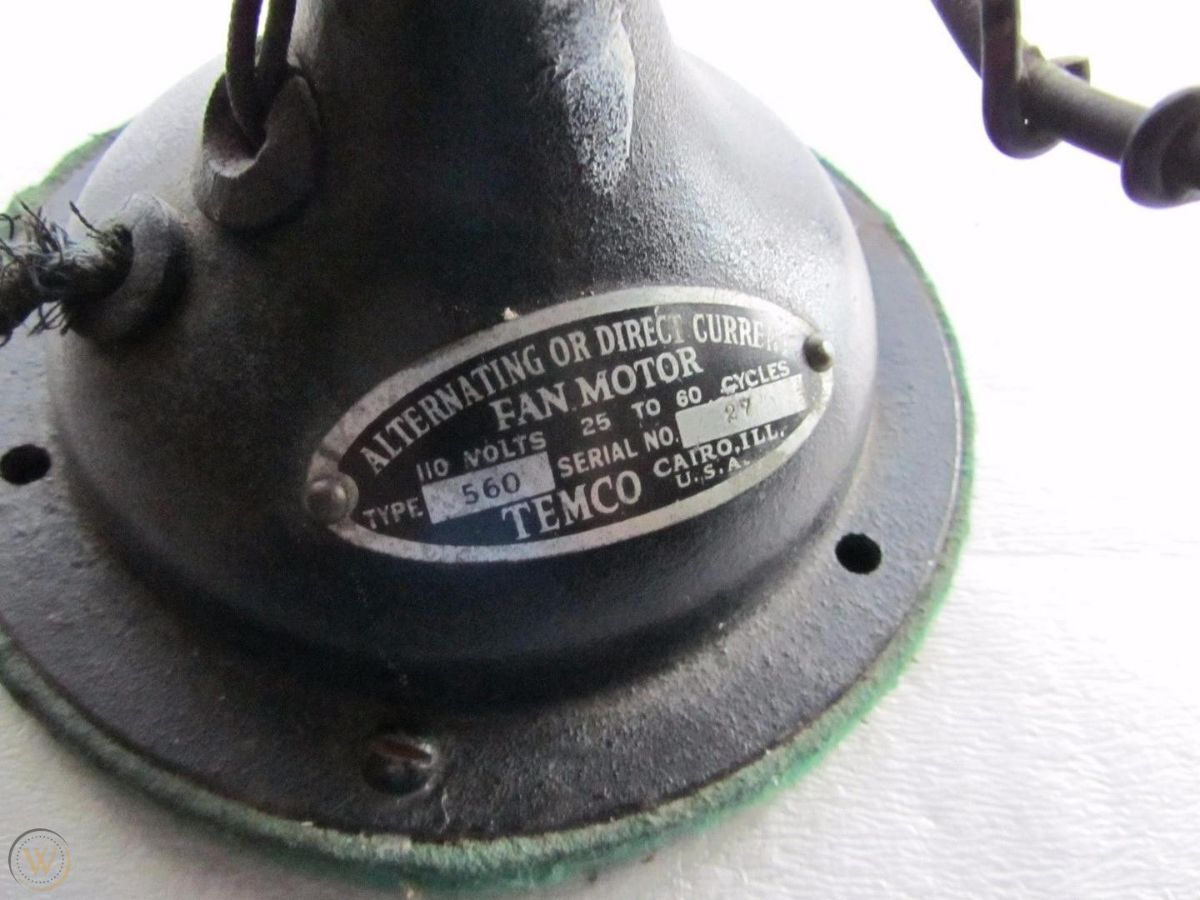
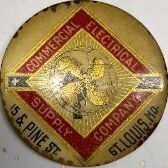
The new Tideman Electric Mfg. co. was completed in 1919 at 614 Commercial Ave. in Cairo, IL. The images below show what appears to be the factory building(part of the factory?) on the far right at 614 Commercial Ave. 1923
1 point
-
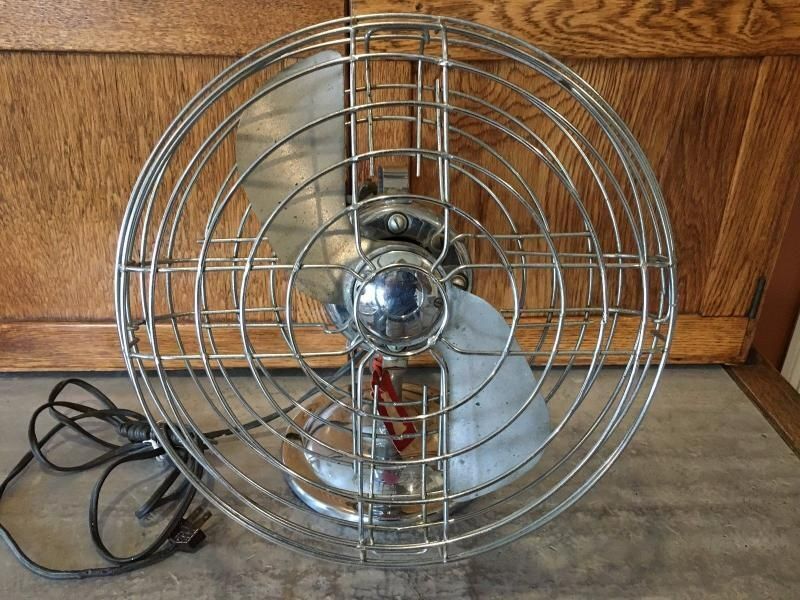
Definitely not 21. Your fan could date as late as mid 20s. Airster fans emerged from from the WP corporation (later to become Red Seal(?) absorption of Tideman Electric (under receiver since late 21/early 22) Iron age 1927The WP Corporation, Cairo, ill., recently organized, has purchased the local properties of the Tideman Electric Co. and will continue the manufacture of electric fans, small electric motors and other electrical appliances.Merchandising week 1928Electrical Merchandising, May, 1928. Yl-ln. Oscillating Fan in Colored Finish A new AC, 12-in. oscillating fan placed on the market by the WP Corporation, Electrical Division, Cairo, 111
1 point


.thumb.jpg.a5b59ba24cf89b14bfee7ca078742dfa.jpg.8307c8933086c9746da0d8ee7271e303.jpg)