Leaderboard


Popular Content
Showing content with the highest reputation since 04/29/2024 in Posts
-
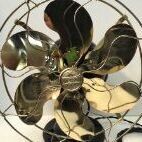
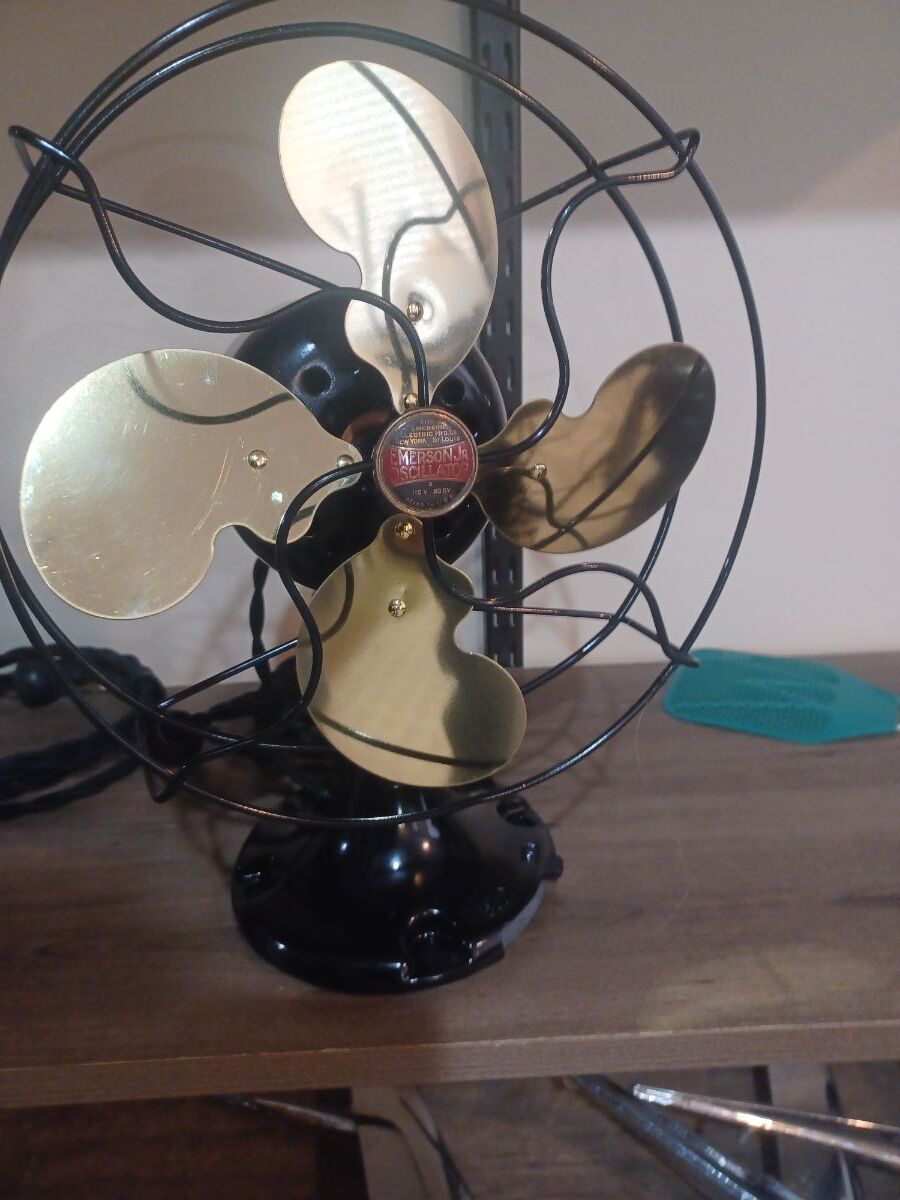
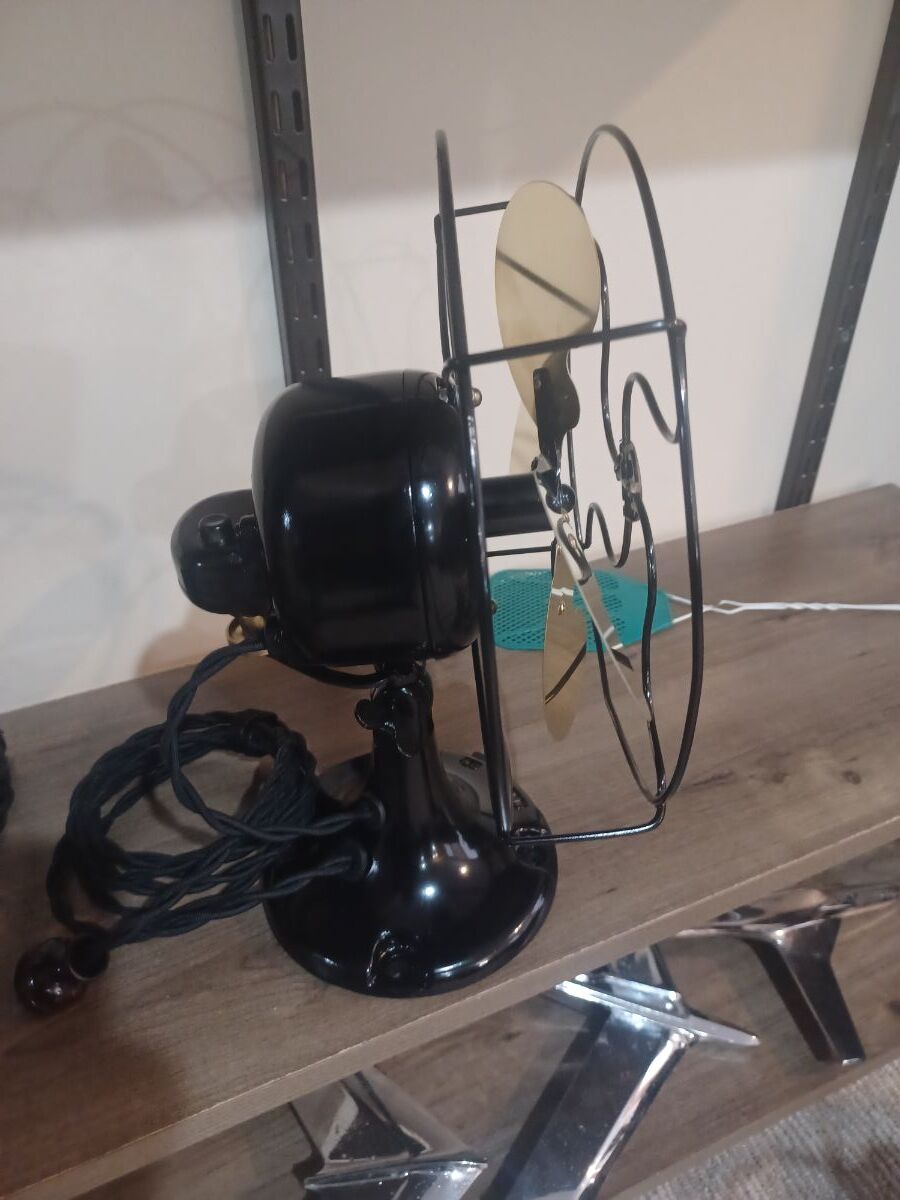
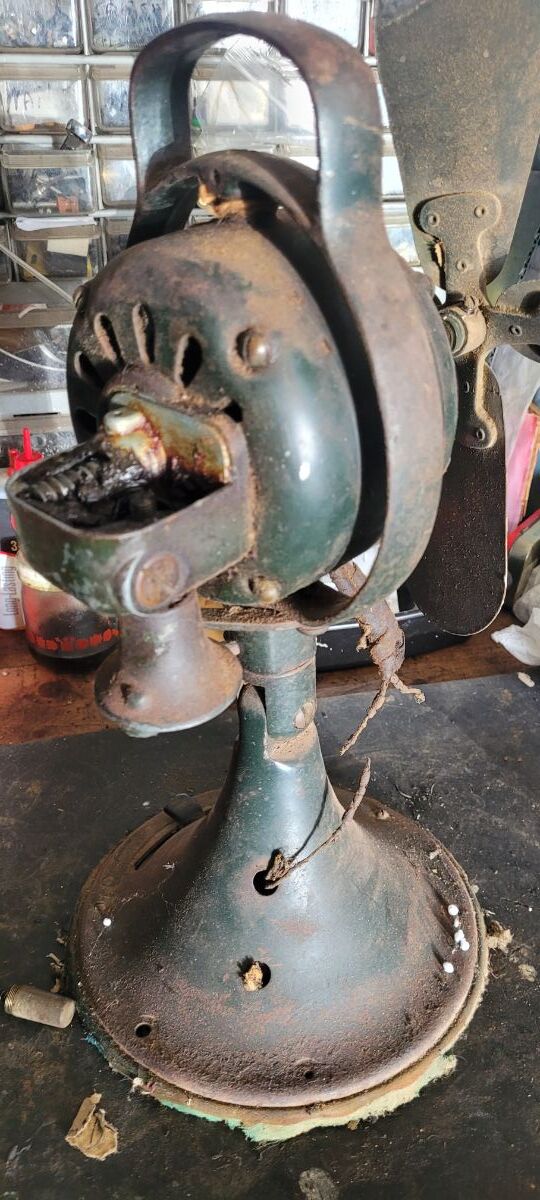
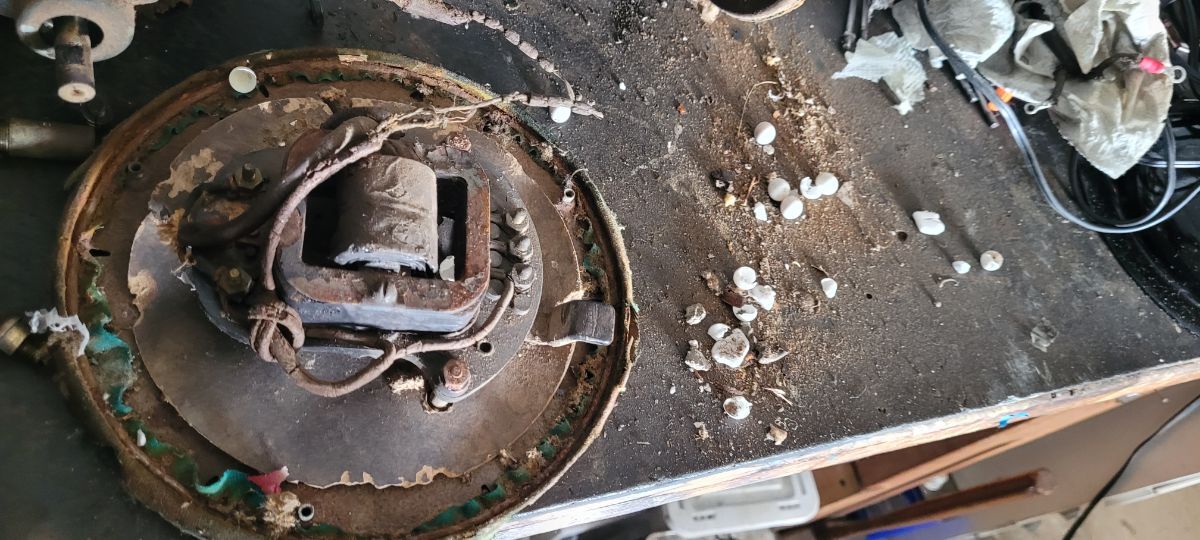
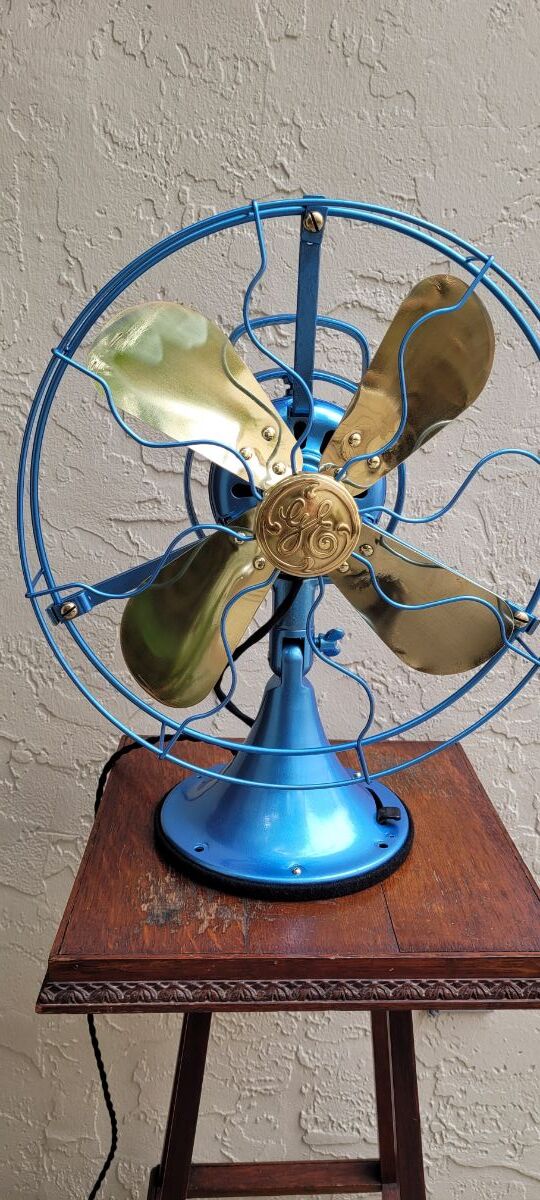
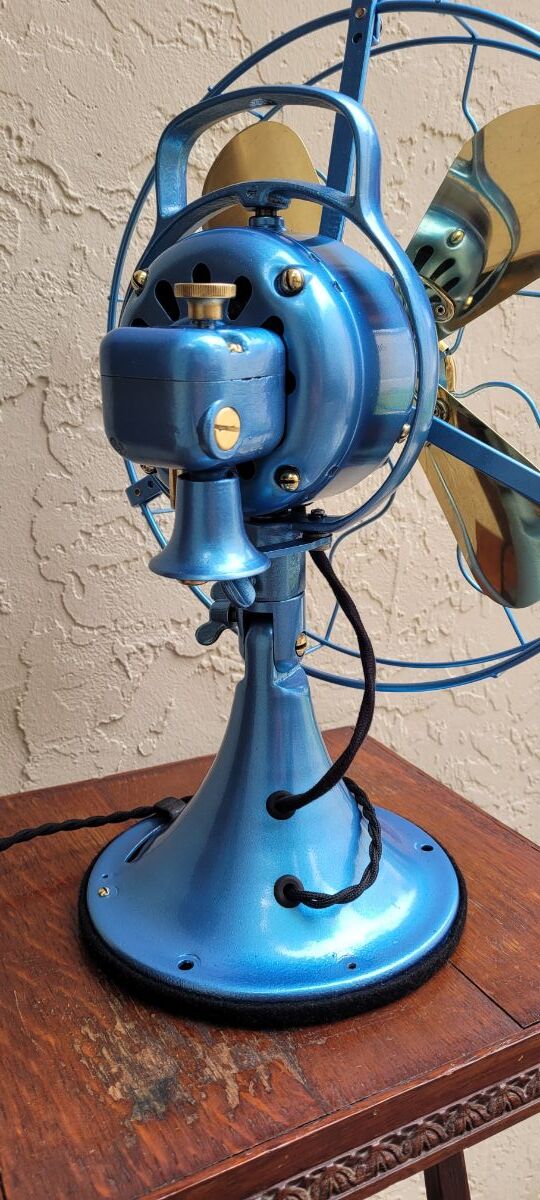
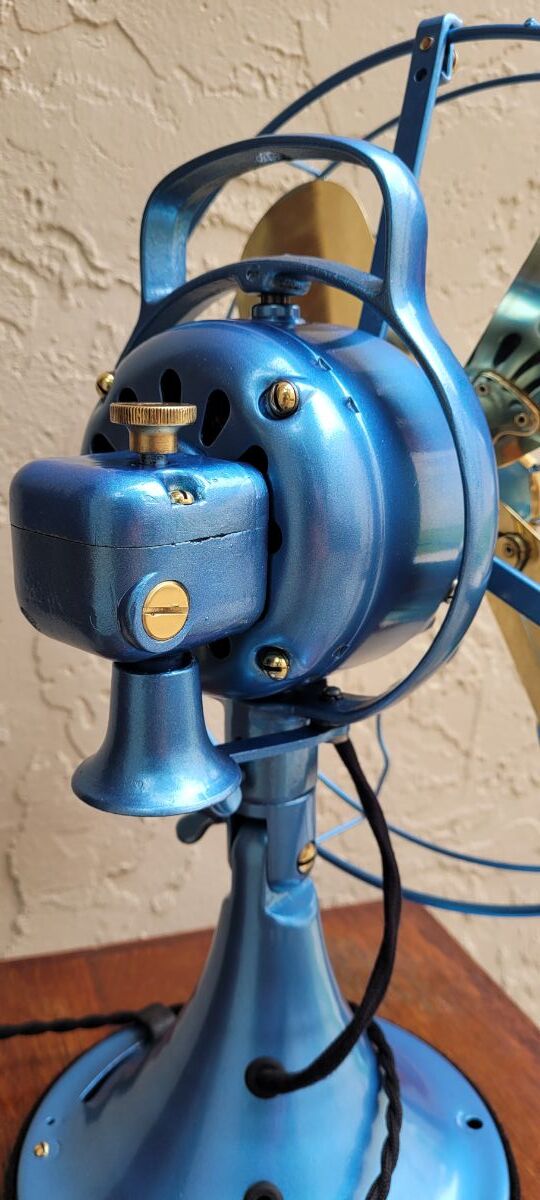
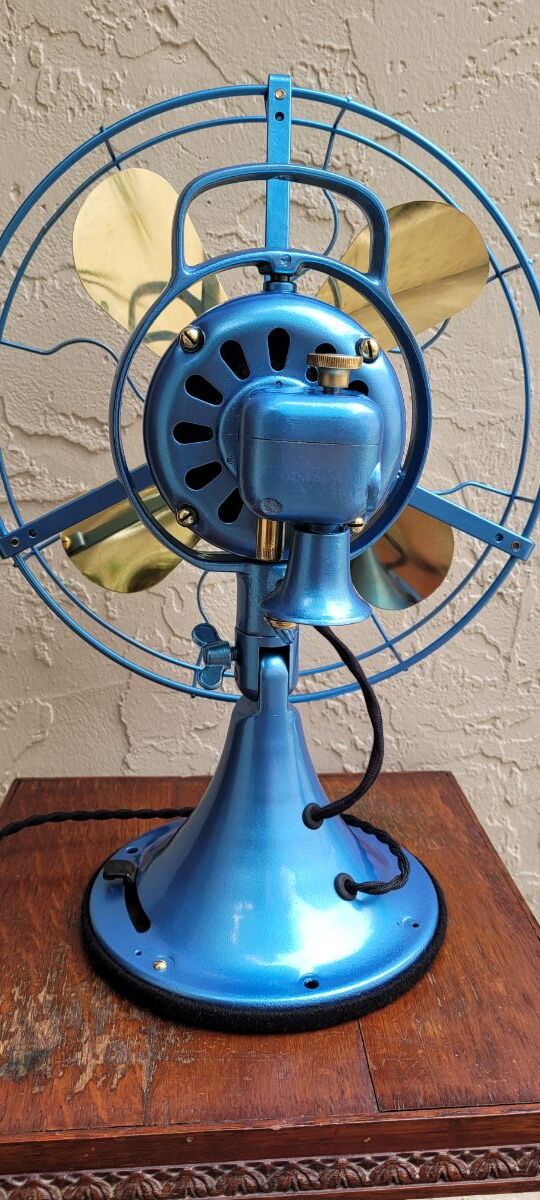
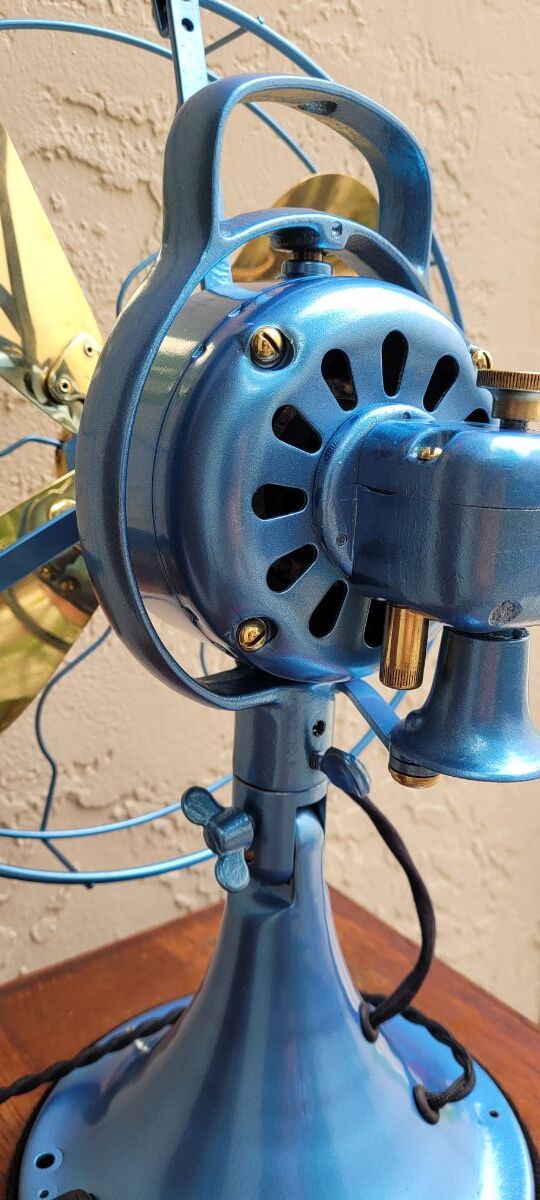
Repaint, repaired and added brass blades.
 6 points
 -
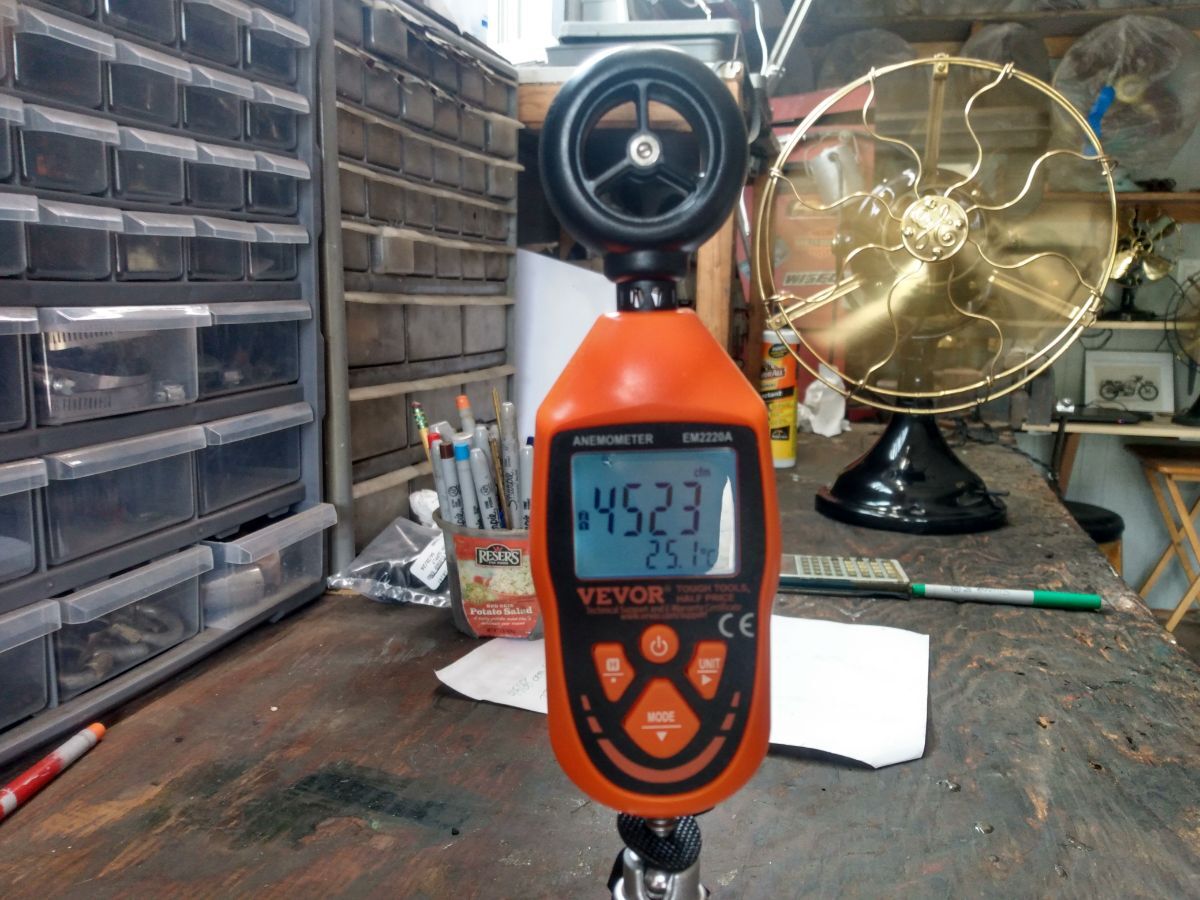
I bought a new tool, called an Anemometer, which measures air flow in a number of different ways. I'm really only interested in CFM measurements since that's what the factories used when advertising their fans. I set up a test rig so that I could reliably compare different 12 inch fans for efficiency. I used CFM divided by watts consumed to come up with a number which I could use to compare fans to each other and to their advertised claims. I set the fans and the meter at exactly 3 feet apart with the meter center in the wing rather than the blade itself. I assumed that at least some fans will have a dead spot in the center due to wing design and differing badges. Results from four fans tested so far. Emerson 73646 4568 CFM @ 68.5 watts 66.6 CFM/W Verity's Junior 7772 CFM @ 68.2 watts 113.9 CFM/W Emerson 79646 APG 9200 CFM @ 36 watts 255 CFM/W GE BMY 5550 CFM @ 35.6 watts 155.9 CFM/W No surprise that the APG came out on top. It's well known as an excellent and efficient fan. A little more surprising is how well the BMY stacks up against the Emersons, especially the 73646. However, The Emerson lacks a motor tag so I suspect that it may actually be a 648 instead, which means it's spins a bit slower than the 12 inch models. You can guess which fan I use every day, all day long and have for years. That's a no brainer. All fans are well maintained, run at full speed and cleaned before use. Cheers, Bill
6 points
-
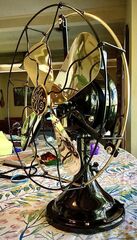
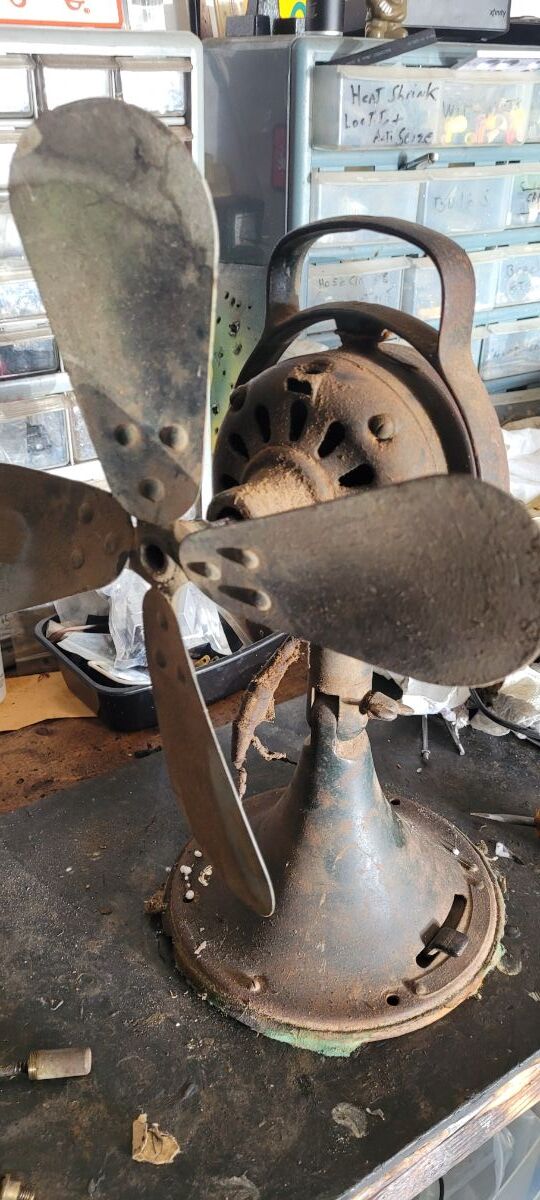
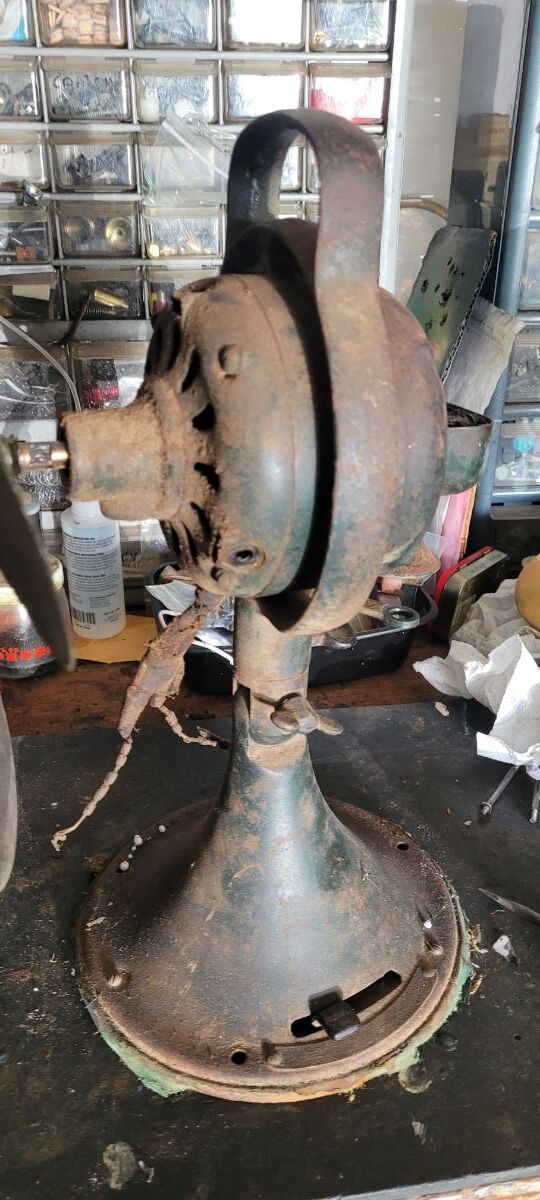
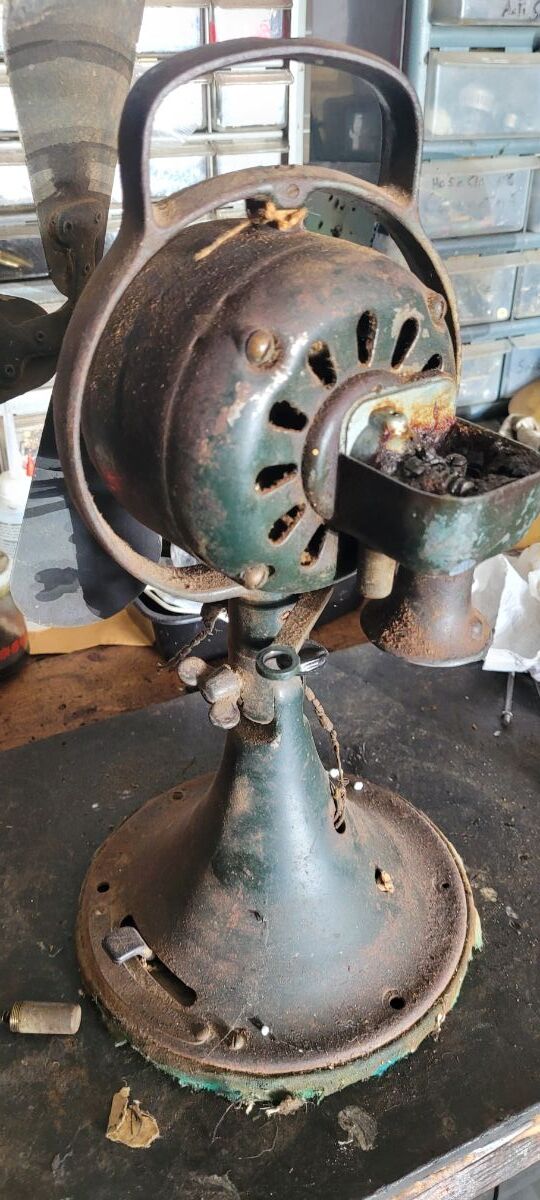
This poor guy was really down on his luck so I felt sorry for him and cleaned him up. He's really happy now and humming along as you read this.
5 points
-
I agree, but eyes keep getting pulled over to that fly swatter. 🙂3 points
-
Let's see if my power point presentation will upload on here... BLADE RIVETING.pptx3 points
-
A wide twister touched down about a mile and a half east of me, just beyond the outskirts of town, and swept eastward away from Lincoln. No damage here at the house of Kovar. No fatalities, just a few minor injuries in a factory east of Lincoln. Thank you, God!
3 points
-
Ok now you guys peaked my interest to see what my 12” 6 blade Westinghouse tank & 12” 6 blade Westinghouse/Federal tank vane oscillator results are !! Westinghouse 12” 6 blade tank 100/110 volts 60 cycles Style # 138580 Serial # 346907 6 pole motor Amps, low 0.69 high 0.79 Watts, low 51 high 61 Westinghouse/Federal 12” 6 blade vane oscillator tank 110/120 volts 60 cycles Style # 133610 Serial # 165114 6 pole motor Amps, low 0.59 high 0.67 Watts, low 45 high 52 RPM’s on the vane low 965 high 1065 ? Not really sure on the RPM ‘s As for the fans being 6 pole motors I did not open the motors to see,just looked into the vent holes.I believe all 6 blade tanks are 6 poles !! Just my findings hope this info helps clarify things a bit !! Jeff…😽2 points
-
Wonder who got this?
2 points
-
I never tried the stuff... Just kidding, Anthony! Again, nicely done.
2 points
-
It was an 1820. I live about a 10 min walk from the auction location and saw it in person. I was set to bid but then ended up at a lunch with some old high school friends that I have not seen for years and thought it would be in bad form to be bidding during that discussion. I had talked with the previous owner many times. He ran an architectural salvage / antique store there for a few decades. I think he was about 65 and was talking to his wife on the phone and just dropped over dead. His wife only heard the phone hit the floor. Sorry for all the extra information..2 points
-
I think the tank blade hub takes a 3/8" shaft, & 164864B takes a 5/16" shaft if I got my numbers correct2 points
-
And another update. Thanks to Lane Shirey, I now have a correct early style cage for this fan. I test fit everything yesterday while I wait for my rear housing, honestly was a little unsure as to whether I would be able to bring this one back when I got it but here we are.
2 points
-
Several great Fan Meets coming up. North Jersey Breezin May 31 - Jun 1 Pig Pickin in Harrison Arkansas June 13 - 15 Chicagoland Fan Meet June 21 - 22 Come out & meet your fan family!2 points
-
Beautiful work!1 point
-
The coil is going to get warm running on low speed with a rewind or a 29646-cheater coil. My advice to you before you get a rewind is think about becoming a member, I have seen you post more than once. Number two, as a member you can meet up with another member in your area that may have more experience to help check your fan out thoroughly. It would be a bummer to have a coil rewind and have the same problem. Good luck.1 point
-
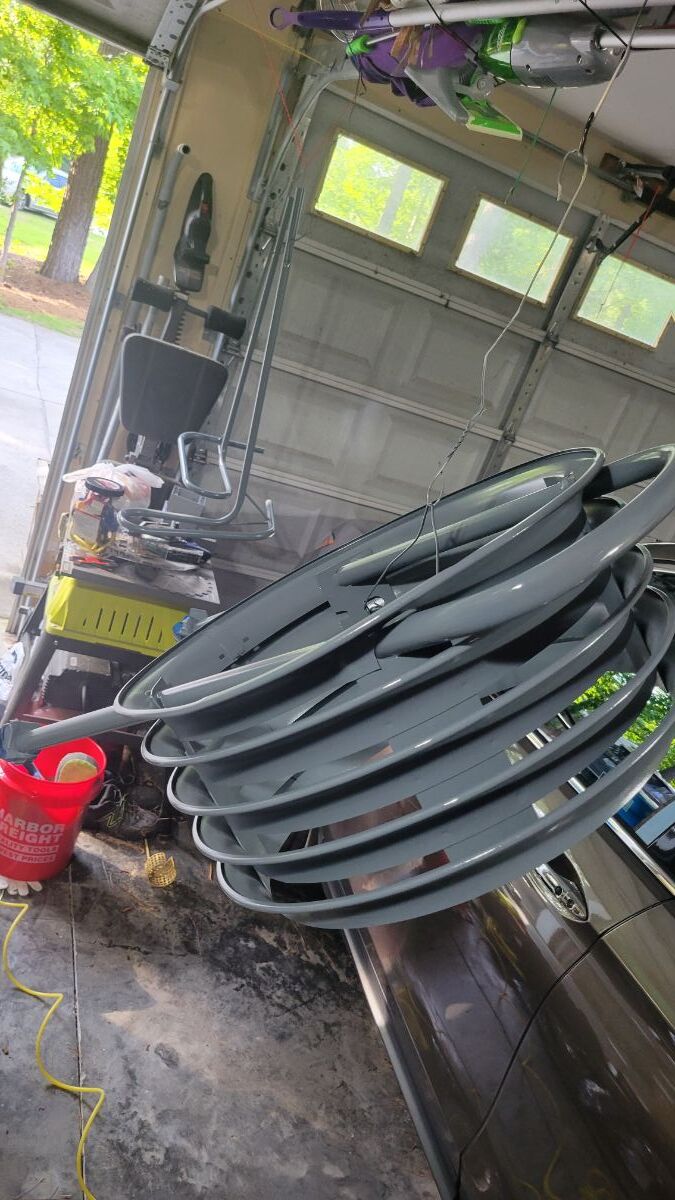
George Durbin and David Cherry and for myself, I ordered a set of 5 different styles (a set is 4). Should be interesting.1 point
-
Reach out to Mark Olson1 point
-
Nice Job! I really like the blue.1 point
-
1 point
-
The 1911 books so far are not specific of the 12" residence 6-wing 6-pole AC vane oscillator, and so far, no images of one. But the 1911 Western Electric article gives strong support of a 6 wing oscillator. In the 1914 catalogue there are THREE different STYLE numbers of 12" 6 wing 6 pole AC vane oscillators based on operating voltage.
1 point
-
This meter measures wind speed in mph and kph, volume in lpm and cfm. The math is done internally and is essentially mysterious to me. The accuracy, even according to their manual isn't great, but the numbers can be useful anyway, especially when used for comparisons. Cheers, Bill1 point
-
I have the same question as David Allen. I see how this measures velocity at a certain distance, but I don't see how it measures volume of air moved over time (CFM). I'm sure I'm missing something.1 point
-
This is a very interesting test! I am trying to understand how that instrument is measuring CFM based only on the velocity of air at one point. Did you have to program in the area of the aperture through which the air is passing? I've assisted technicians at industrial sites using meters similar to that for measuring CFM from HVAC systems in the past. They usually had a large funnel-shaped hood which brought the air together into an opening of known diameter; where the meter was located. The hood part was baffled to smooth out turbulent and uneven airflow; as well as capture all the air from the source.1 point
-
Thanks Dave! Way too much! Blows ceiling fan too. Thanks for watching!!!1 point
-
The 3rd column going left to right. 50 watts on high speed. 5 watts MORE than the 60 cycle 12" vane 4-pole on high speed. 900 RPM on low speed.
1 point
-
This is very nice & it did completely open ! Thanks Patrick Ray1 point
-
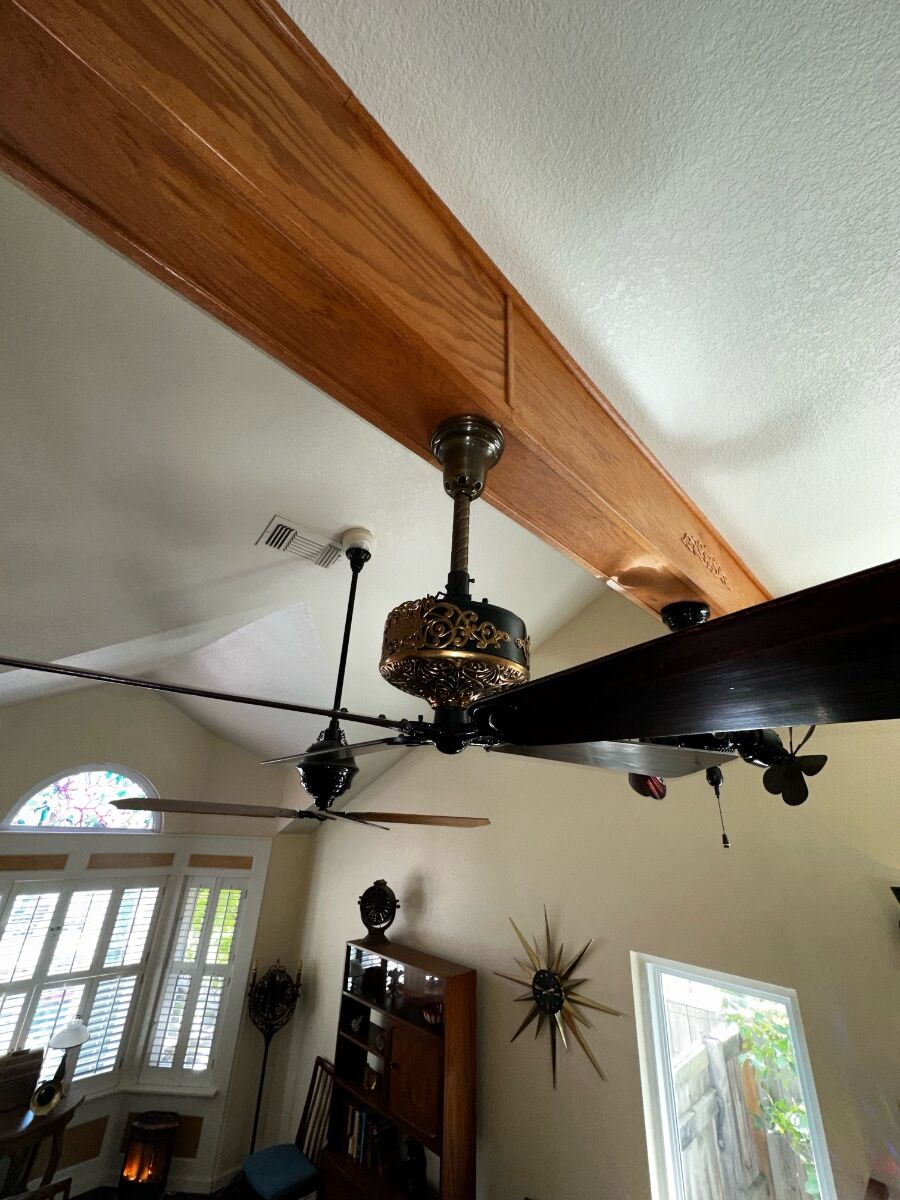
As always, very nice work in restoring that fan. I do like your idea of keeping the original wood board and incorporating it into your display. It seems to have loads of power, making all the window shades move in the room!1 point
-
Another well-done video and great save! Looks great in the dining room!1 point
-
Thanks Steve! I'll be able to cut that tube that 8-3/4" length without having to assemble it all together to measure it... only to take it all apart again! You've definitely saved me some time! I just finished painting the major parts of the fan. If the weather is cooperative tomorrow, I'll be doing some clearcoat next! I went with "Duke Gray".
1 point
-
Simple fix is to join so you have access to all the info you’re requesting. It’s well worth it. it will also relieve a lot of stress trying to access info that is only available to members.1 point
-
Stan Adams, I did get the blade off. Only two set screws thankfully. I appreciate your feedback and the follow up email. Thank you very much.1 point
-
That's a great color...1 point
-
Looks great Tony!1 point
-
Enjoyed the video Larry! Really like how it’s displayed too. Thanks for sharing.1 point
-
Nicely done, Anthony!1 point
-
I sold it for $300 and the gal was thrilled to get it... I think it is an insane price but it is what it is...1 point
-
I have my doubts George will let them go now that he has them customize Vidrio badge.1 point
-
Me too, hoping for the best for you.1 point
-
No, I'm not faking a six blade vane. I recently bought one with a mess up hub....poor soldering job.1 point
-
Rocky, are you confusing "mind spinning with ideas" with just being dizzy?
1 point
-
Talked to Boswell yesterday....they are fine. ~Sparky~1 point
-
Close enough in my book. You’ll love this….the mascot for my high school was a Griffin !
1 point
-
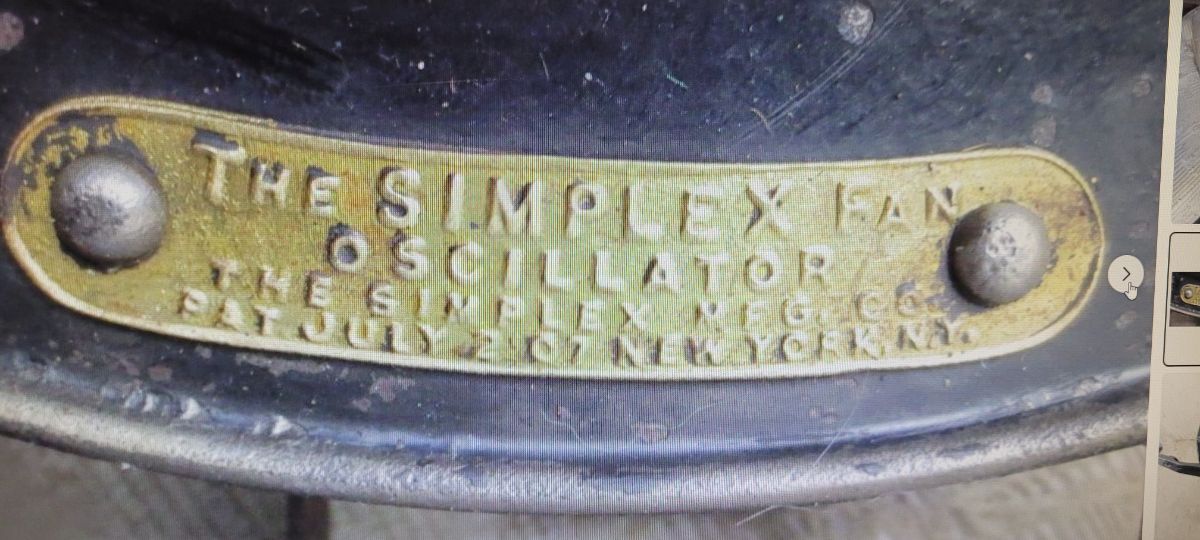
Neat fan!I really like the Art Deco badge.1 point
-
The 1901 model bipolar motor tag sports a serial of 6,28?. Logic states the average desk fan motor manufacture in each of the 3 years the bipolar was on the market at roughly 2,000 models + or - per season.
1 point
-
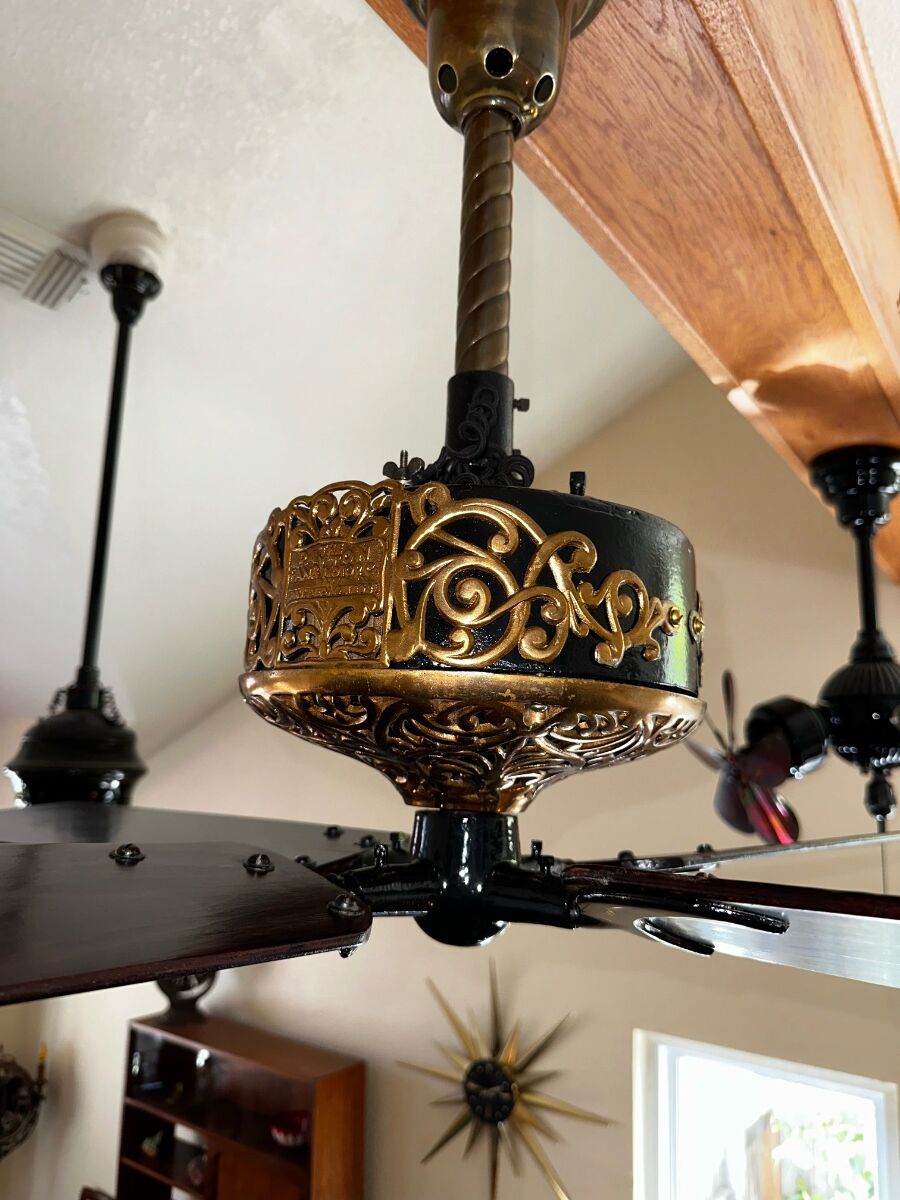
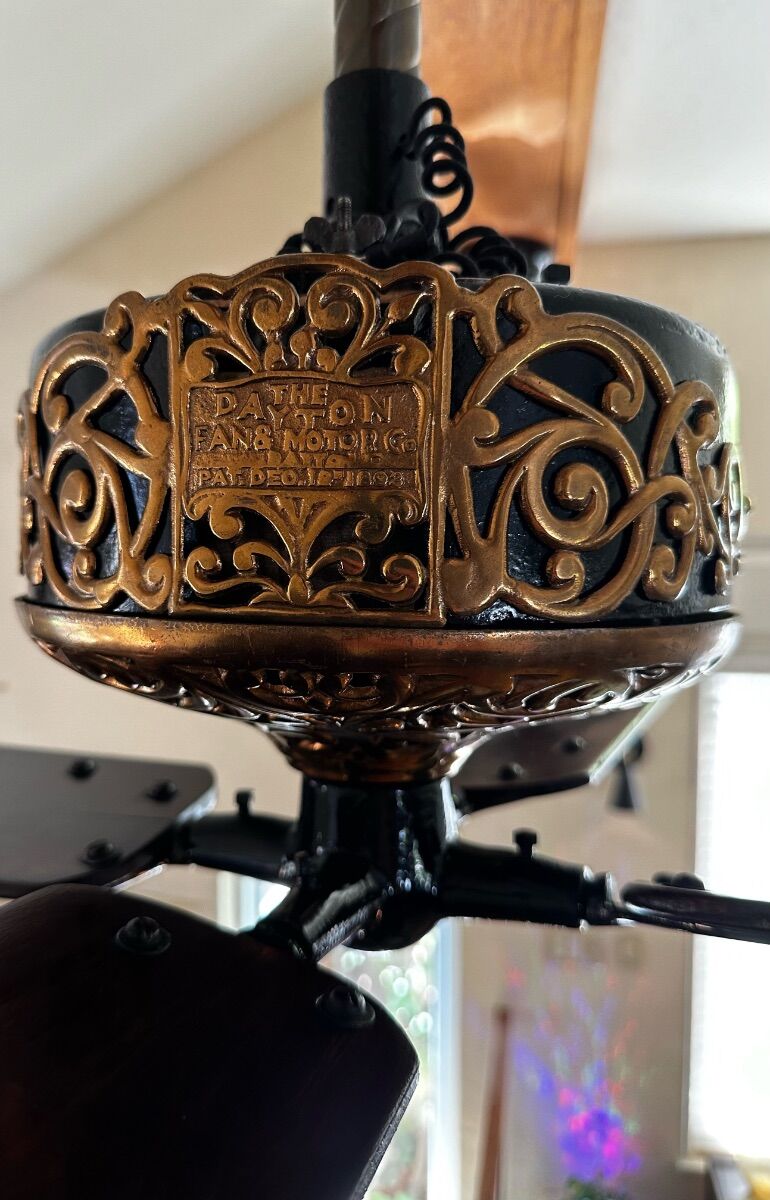
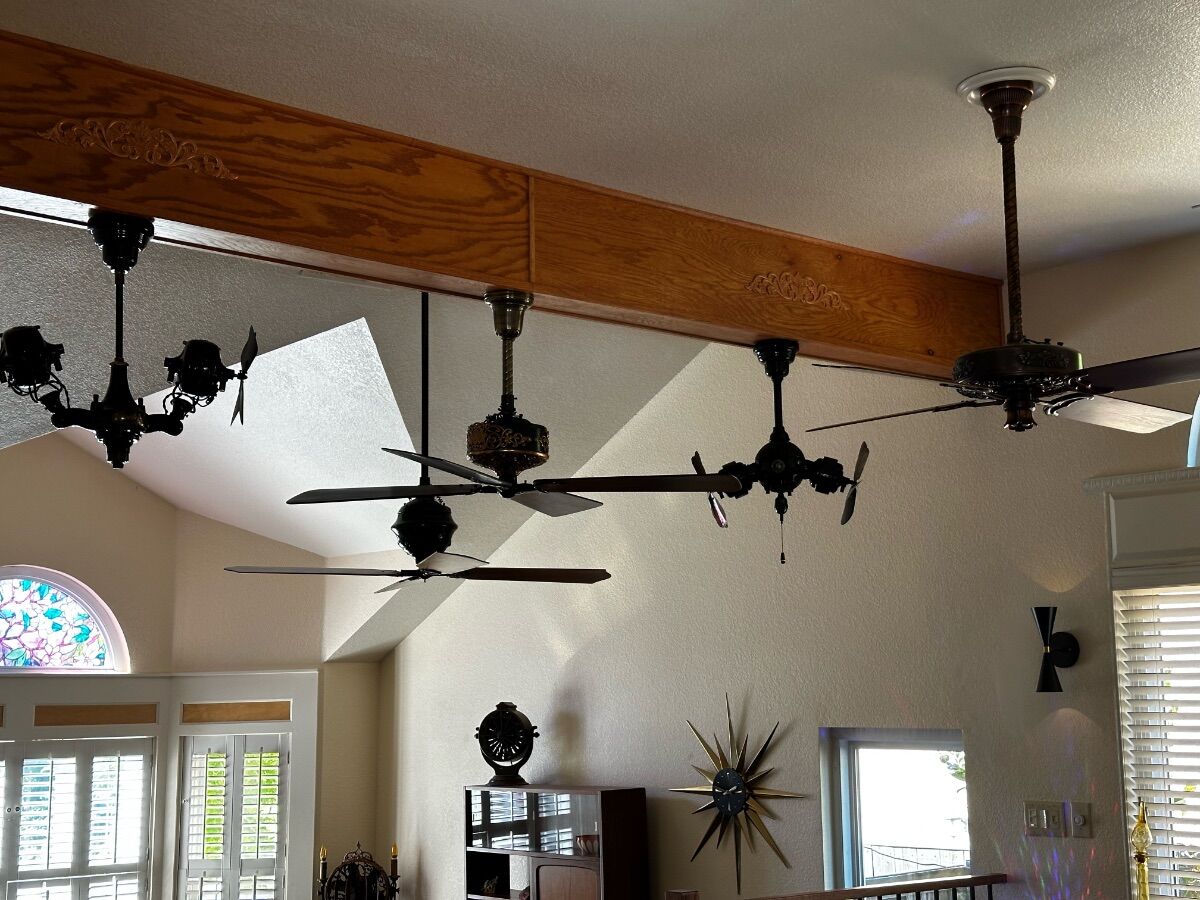
I purchased this ceiling fan quite a number of years ago, and then left it boxed. Finally I was motivated to do some work on it and hang it with some of the rest of the fans throughout the house.
1 point
-
Another one made, both run well.
1 point
-
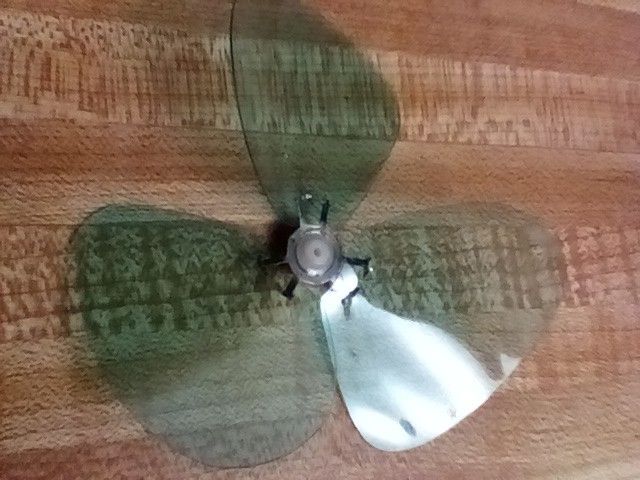
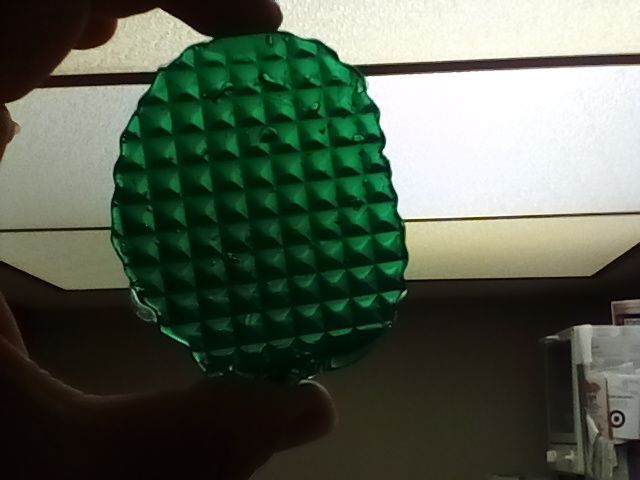
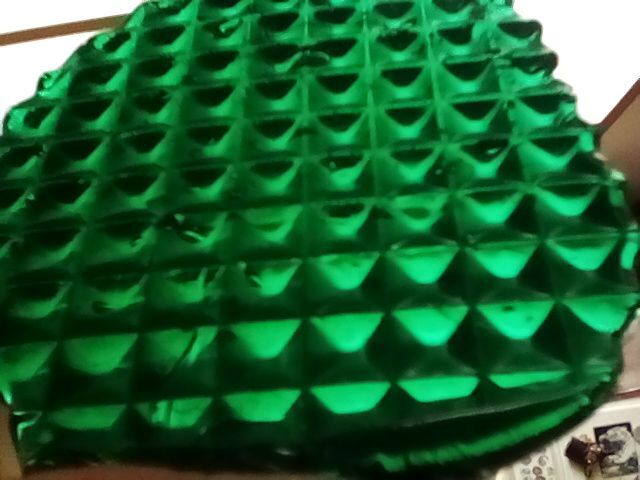
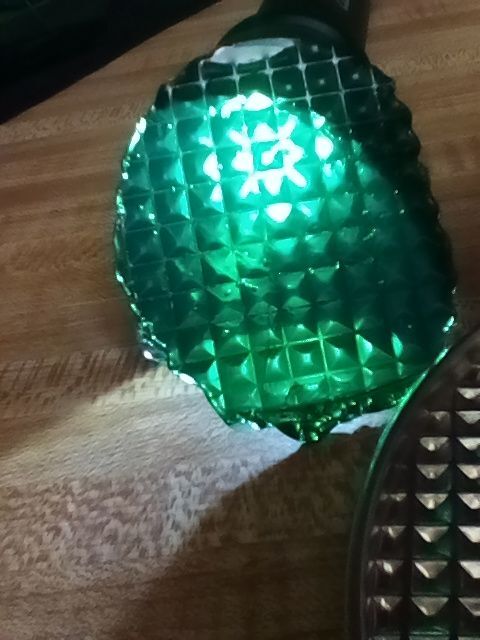
...The Forbidden potato chip? Not quite.. It's a cost effective way to make my own lamp covers (for my line of lamp fans.) Must use a certain type of plastic to maintain clarity. An aluminum bakery thing was torn apart and used as the master press mould.
1 point
-
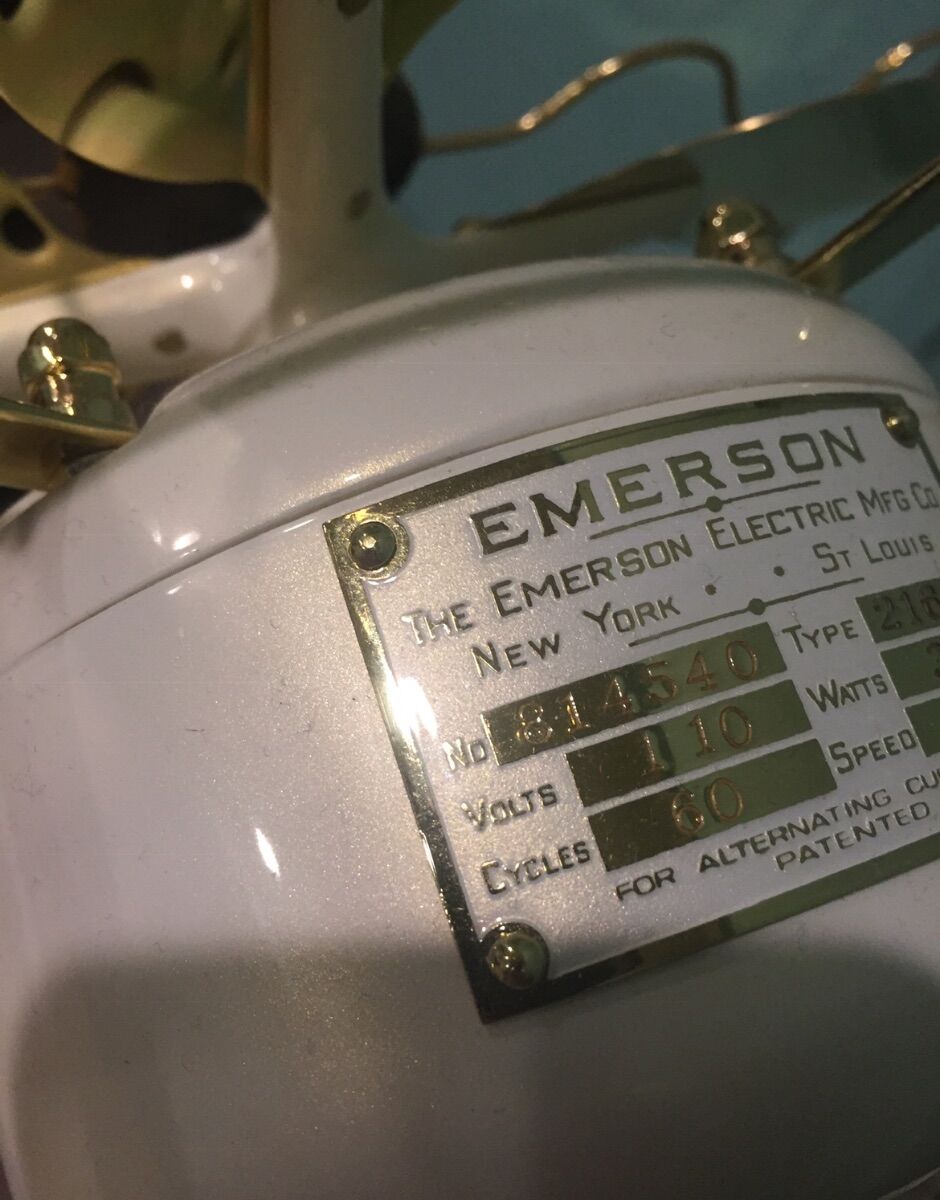
I do initially clean with toilet bowl cleaner and again before clearing. Purpose of initially cleaning is to knock off any film over past 100 years that could allow paint from adhering in places. Paint that lifts when wet sanding is no fun. Hot water and toilet bowl cleaner used again once finished to strip off any polish and grit on painted fields before clearing. I never use anything aerosol. Purpose of airbrush is to have full control of fluid flow and anything aerosol never compares. Start by cleaning as above with toilet bowl cleaner. Sometimes scrubbed with toothbrush if crusty. Rinse with hot water for clean surface. Airbrush base color or flat enamel. Enamel is harder vs acrylic or mystery paints found in aerosols. Remove paint from high brass areas with small pieces of 1000 grit sand paper wet sanded with soap water. Soapy water allows sand paper to glide easily. Any areas of paint removed unintentionally are spot touched up with airbrush. This could be as small as 1/8” area vs starting over again. Once high areas knocked down with 1000 grit then use 1500 and 2000 to remove sanding marks. After that a non solvent based polish and cotton tshirt. The tag or badge will have grit and polish residue. To clean use toilet bowl cleaner / hot water again. Then clear. When I use lacquer will do a light dusting then additional dustings with airbrush until satisfied. This will lock the surface and prevent wrinkling of paint or bleeding when using light coats. If using urethane generally just one heavy coat. Airbrushes provide control vs anything you will ever find in a can. The idea is to have the thinnest layers of paint that are solid enough to block brass surface and thin enough to easily be removed where needed. Easily touched up when needed. Airbrushes will give you adjustable 1/8” through 1” paint pattern radius. This badge is white primer, white base, pearl layer and then urethane. 4 layers of painted material. It is perfect and took multiple attempts. I also use an airbrush opened up to 1” pattern to lacquer brass blades. Low air pressure does not kick dust into wet lacquer and avoids orange peel both of which work against mirrored brass.
1 point


.png.113507640d3c9efad44ba0d6c1a7f00a.png)
.jpg.111834ab081752241bca7450dd423bd6.jpg)
.jpg.28e2f329747857ead1451aaefef5fe7b.jpg)
.jpg.4452448f5e730461ce3f0365192b5b34.jpg)
.png.c814166351d259a4c122954d9768ba61.png)


.png.6bfd57cef4461c49458fff6ab5dc1f90.png)