Leaderboard


Popular Content
Showing content with the highest reputation on 04/16/2024 in all areas
-
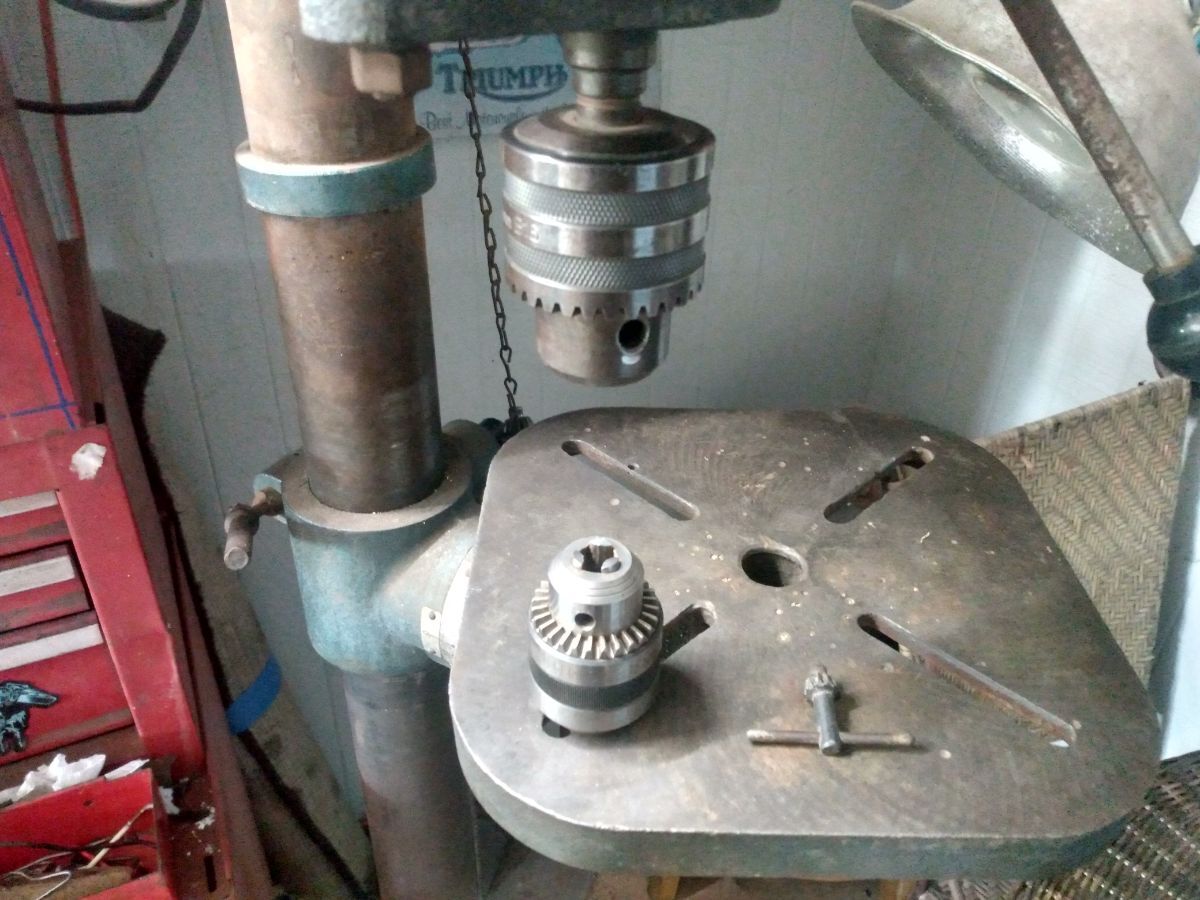
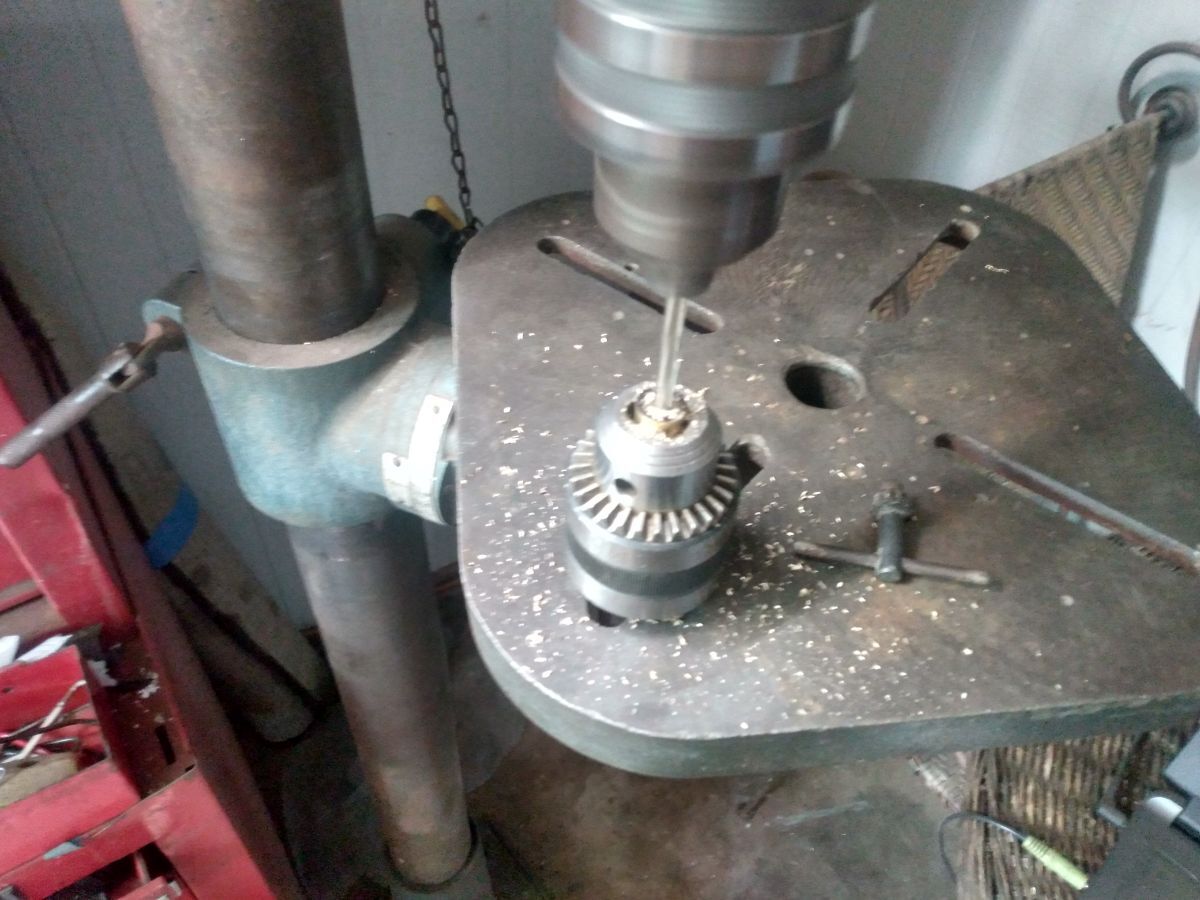
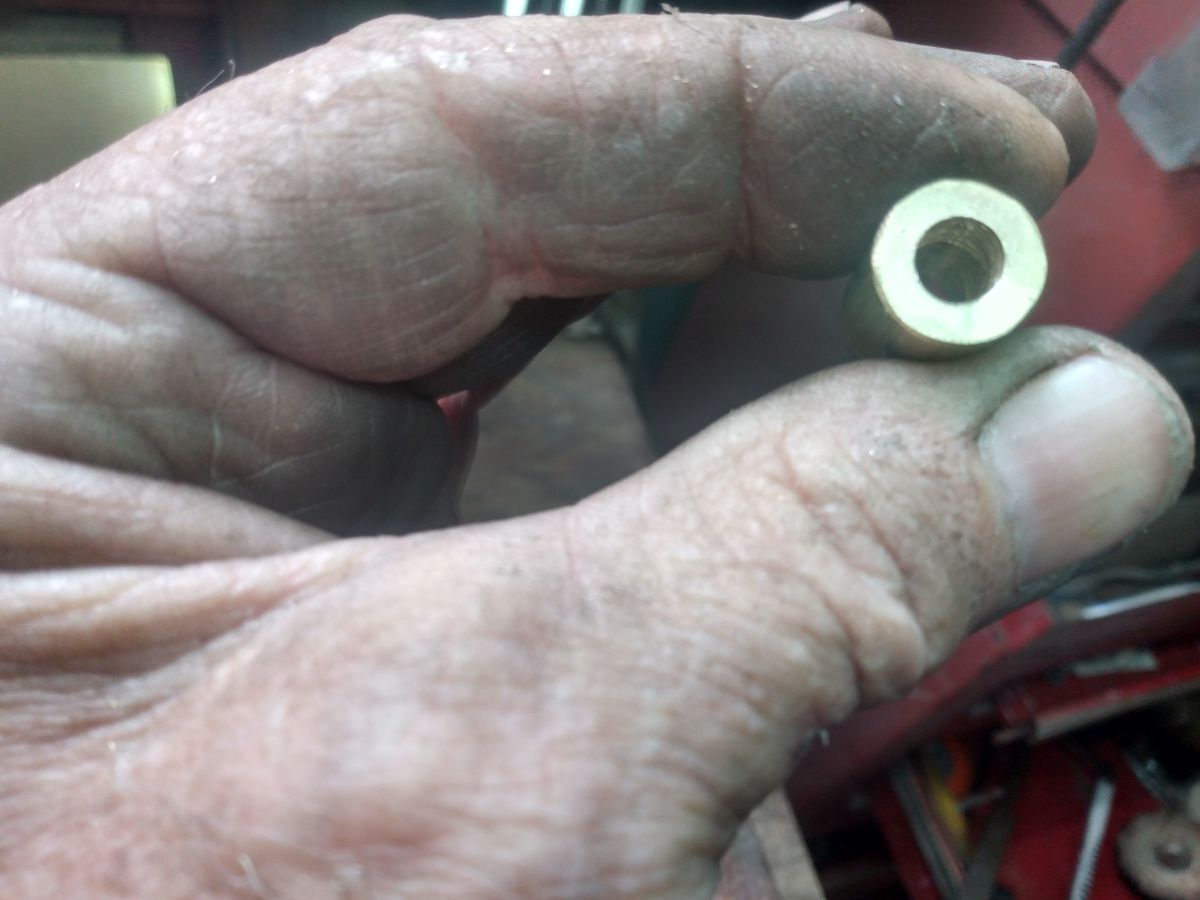
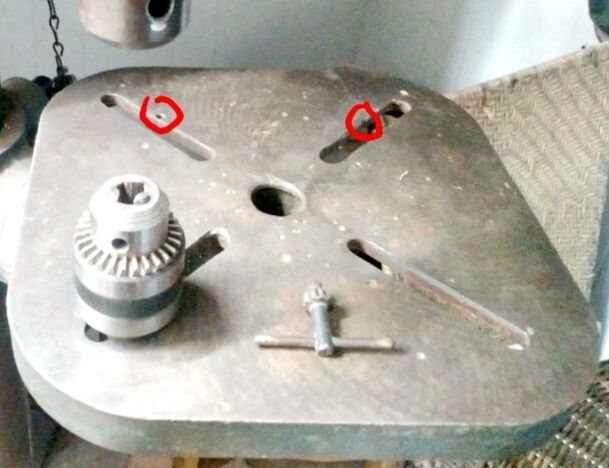
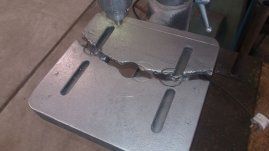
I used to have a lathe for this kind of work, but had to let it go due to limited space. I've since had to find new methods to get from A to B. This is one. I use a Jacob's chuck with 1/2 x 20tpi mount and attach it to my drill press table. Using a 1/4 inch mandrel, I clamp it between the two chucks and tighten them with the key. Then I lock down the table so it can't move. Next, I chuck up the stock in the lower chuck, a drill bit in the upper and begin to drill. The end product comes out like this. Obviously, I'm limited to 1/2 inch stock as that's the largest that fits in the lower chuck. However, I could turn down larger stock to 1/2 inch first as a tail to use for chucking it up in the lower chuck. That's all for now. Cheers, Bill
 7 points
 -
Fraternal.....
5 points
-
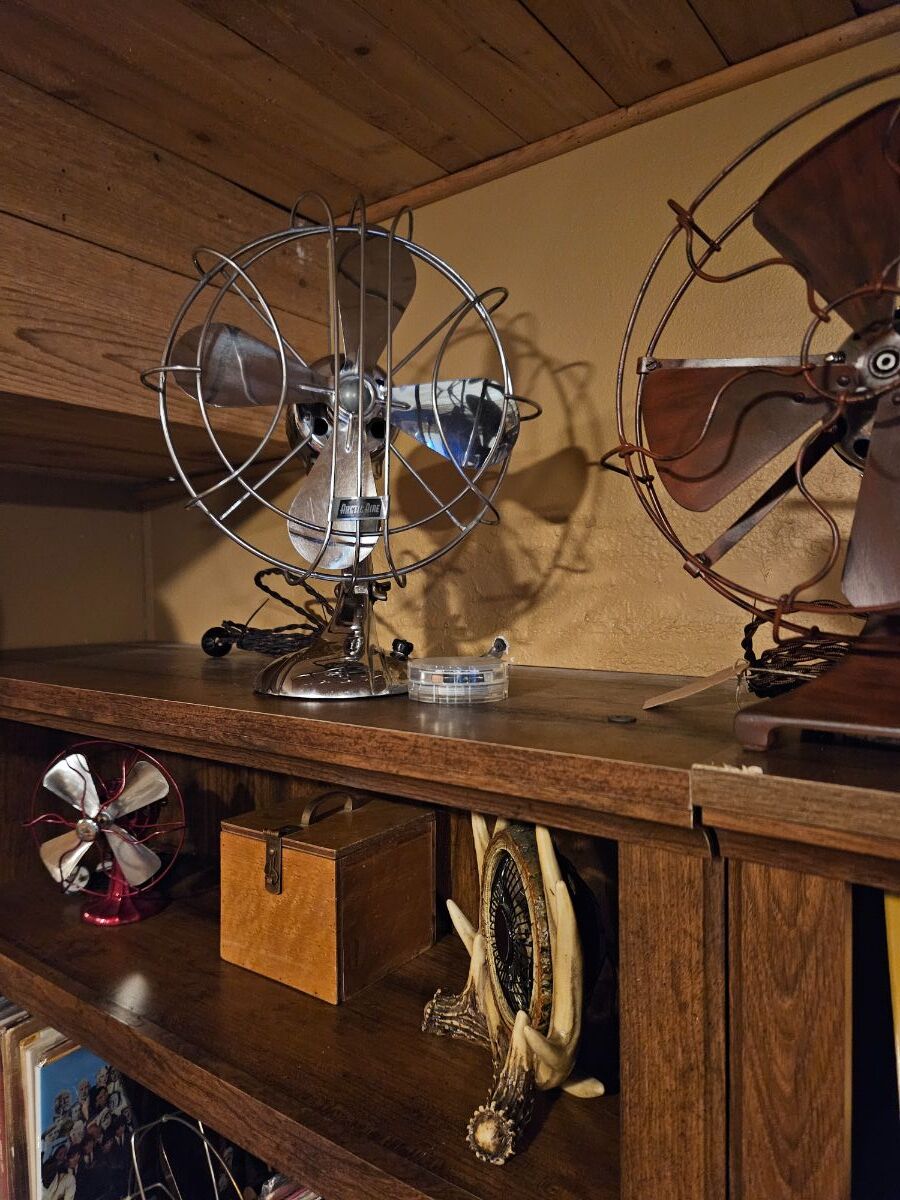
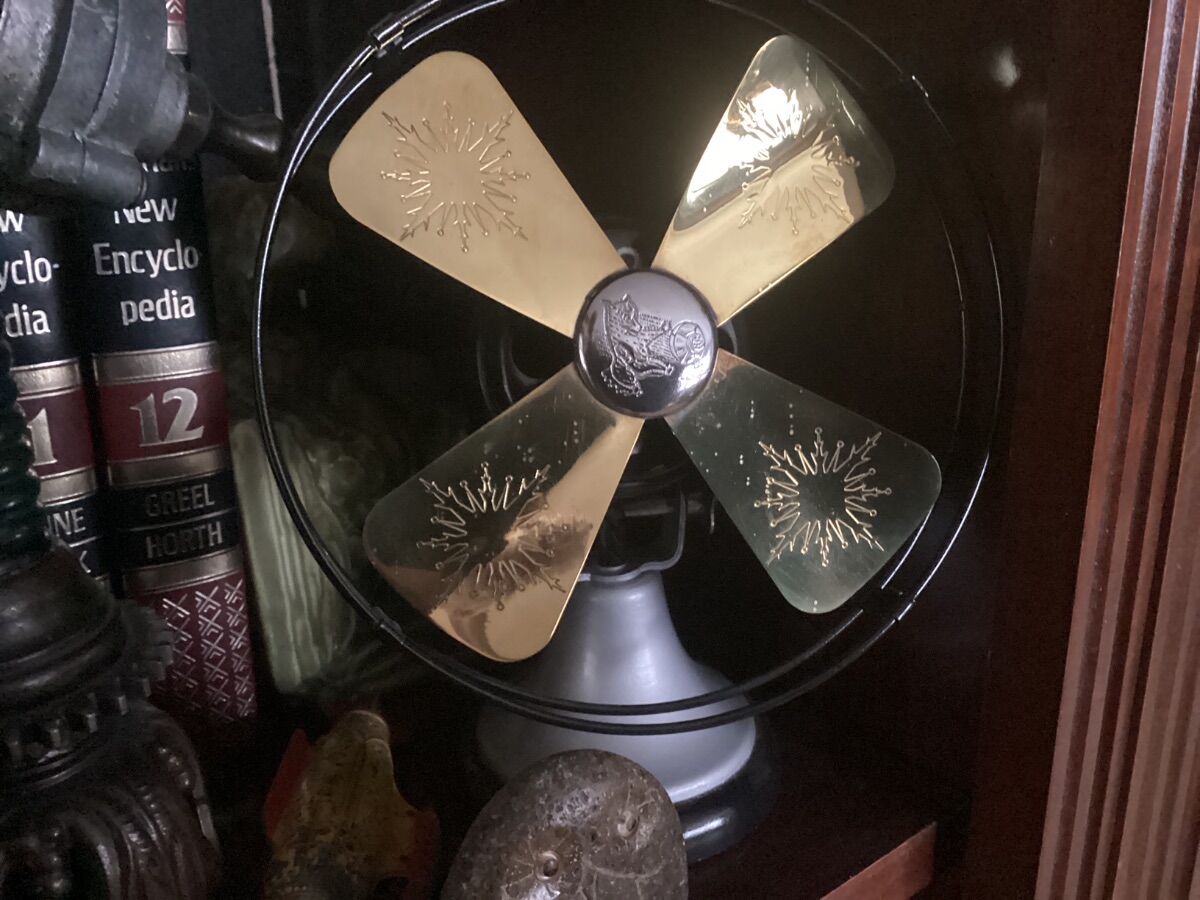
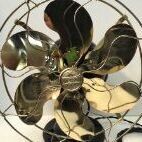
Thanks to Mike I was able to pick up this shiny 10" Oscillating Artic Aire at Fanapalooza. No work necessary on it looked and ran great. Two fans in two fans out net gain zero, perfect in my world
3 points
-
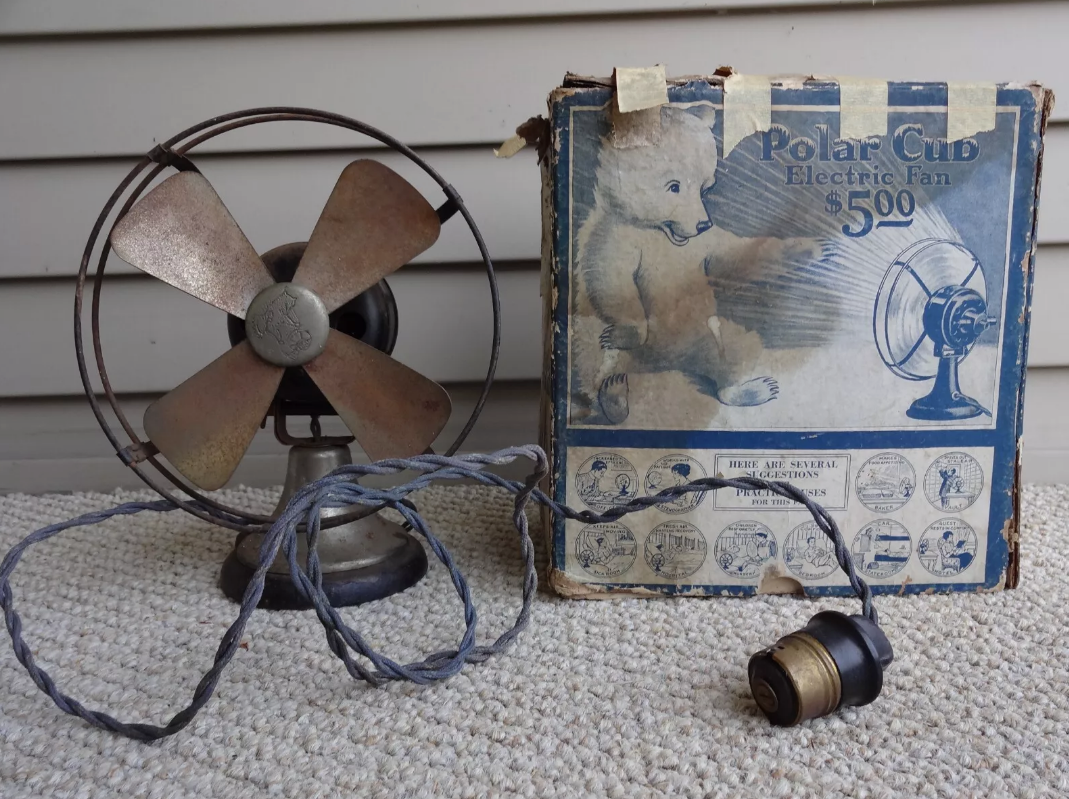
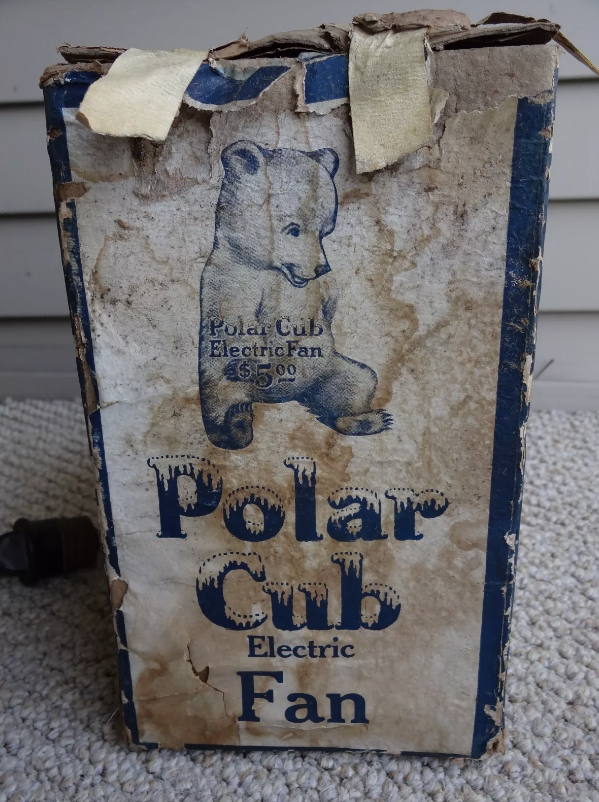
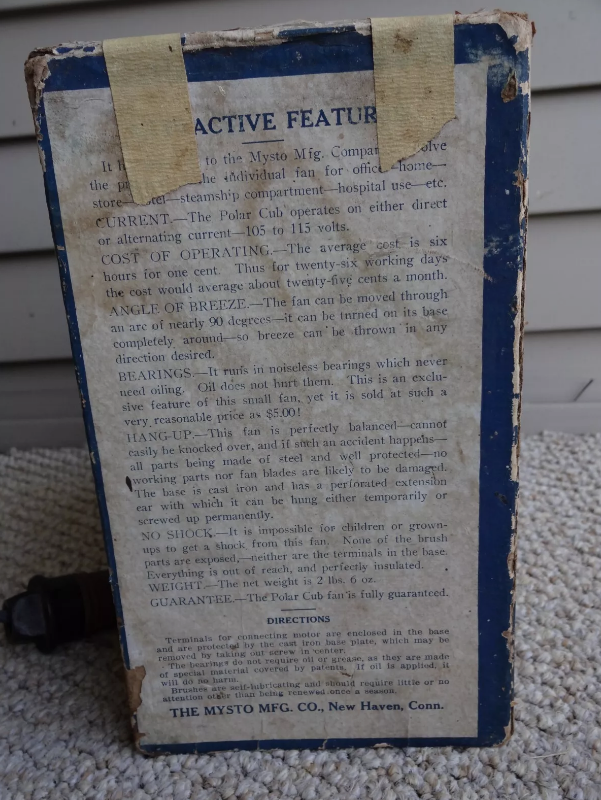
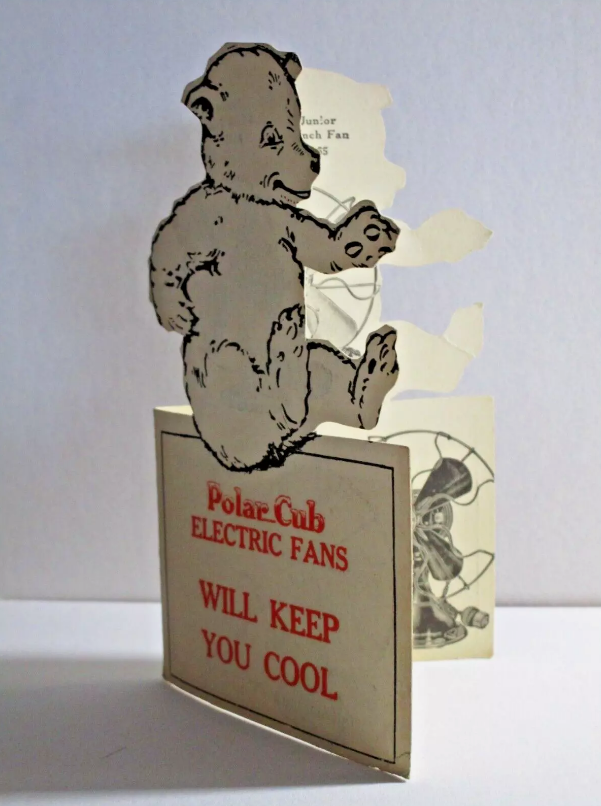
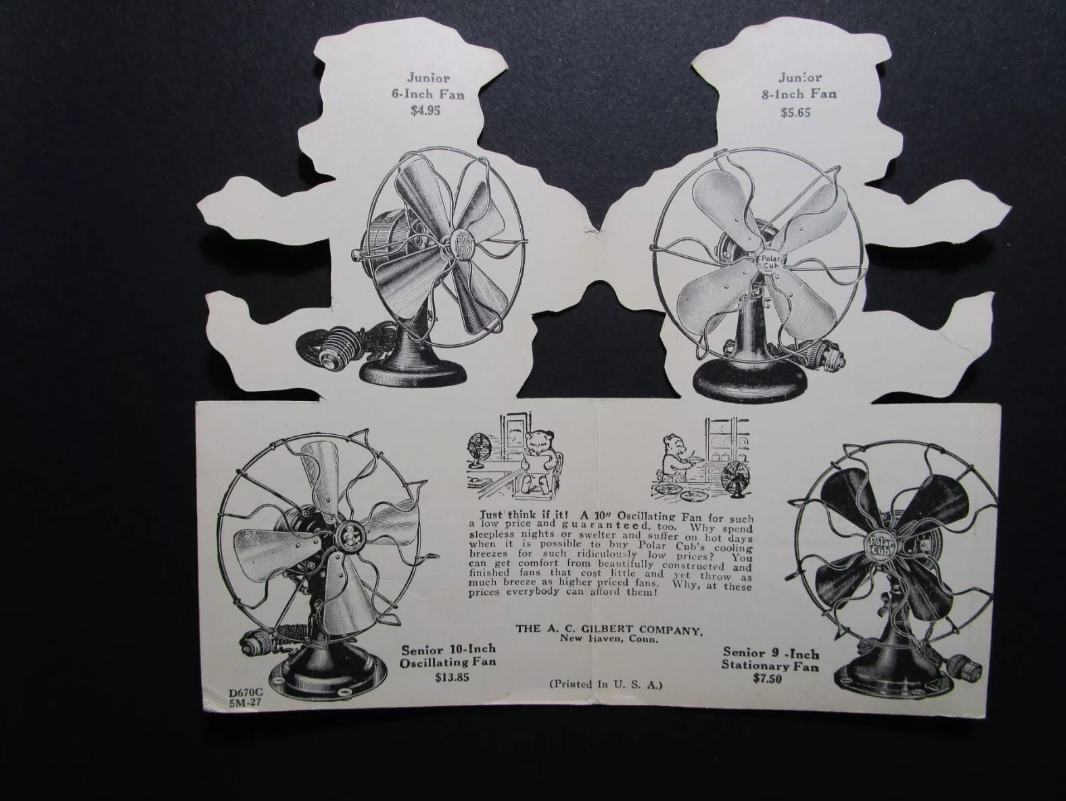
Also got this tag to go with it. I will be recreating the artwork from the box. To answer Steve Dempsey question about the badge. Yes, it is much bigger than the later ones and a bit different. I'll need to make both.
2 points
-
1 point
-
Yes, I should have studied it, and pondered more.1 point
-
Snowflakes optional..
1 point
-
Scott, Thanks for the offer, and I may take you upon that. Right now I’m checking with Specialty Product Technologies to get info on the fuse holder and fuse. I was told by another vendor that your typical fuse you can buy at AutoZone won’t work. No confirmation on that yet. They do have one for another brand of variac (the red ones) but they weren’t familiar enough with the PowerStat to be sure it would work. I’m electrically challenged when it comes to these units. I can rewire your house, but I’m at a loss when it comes to this stuff. I’ll let you know later today (hopefully) after they get back to me.1 point
-
The box logo of the front and back would make a great T-shirt design!1 point
-
ME TOO! ..THAT WAS A GOOD FIND!1 point
-
Great idea, Bill. Thanks. A modest start on the "Arc of shame"... * * Yeah, yeah, I know,... you bought it used...
1 point
-
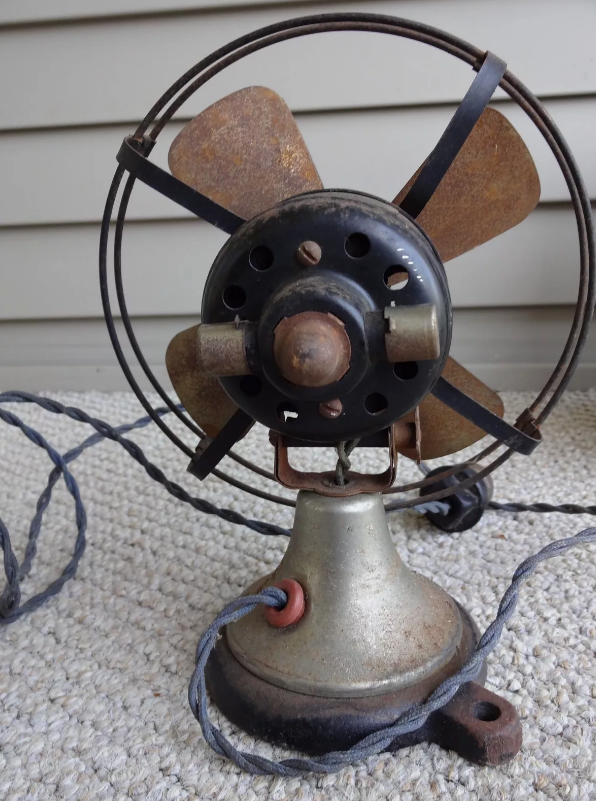
Does the rotor spins freely when you spin it by hand? If not, these have self centering bearings that can get cocked sideways and put pressure on the rotor shaft. As you’re tightening the screws that hold the motor halves together, tighten them a little, then tap sharply all around the rotor shaft stub with a screwdriver handle. Verify that the shaft spins freely, then tighten the screws a little more, and repeat until they’re tight. The tapping will center the bearings. When the motor screws are tight, the rotor shaft should spin freely, if not you’ll have to take it back apart and start again. And what has already been mentioned about the motor housings being fully seated into each other. If they’re not fully seated, the same jamming will occur1 point
-
Steve, if I've not mentioned it yet, you're a rockstar researcher. Would have had zero idea about that connection. I sure appreciate you pointing me in that direction! I will have to dig, even more, though I promise that you've made far better of a connection than I ever could. With excellent photos to accompany.1 point
-
Lucky it was Mike. I would have had you eating Kwik trip eggs and potatoes for a month if you would have bought it from me. 🙂1 point
-
Great video Larry! lots of nice fans there.1 point
-
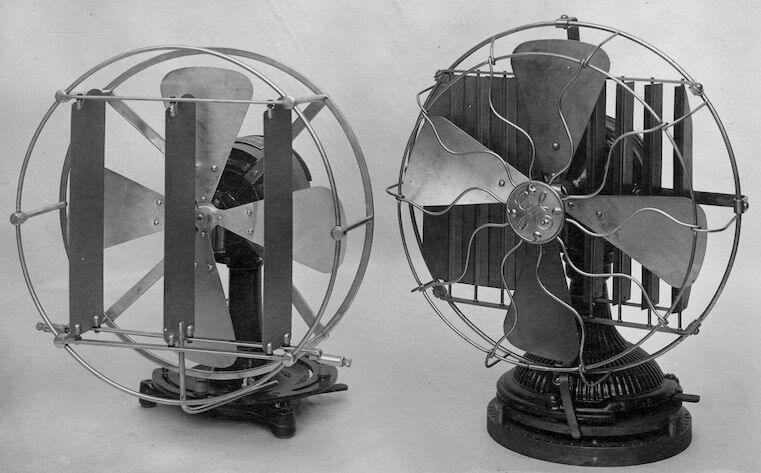
Majority of Emerson are 4 plate patterns. Flat 2 speed - Early Pie Crust style through 1510. White and glazed. Only variation is with early PI241 manual start having 3rd contact. Footed 2 speed - 11 and 12 series. White and non glazed Footed 3 speed like yours - 14. 16, 19, 21 series. Some slight variations in this group. White and non glazed initially then painted black. Later 27 and then 29 * 9” are smaller variants. 12” and 16” use same diameter plates * Footed have insulated phenolic switch covers.1 point
-
This event was a blast. It was fun. Thank you to Jim and his crew who helped put this on. The food was great also. The raffle was rigged.LOL..1 point
-
Tideman Electric Mfg. Co. 1927 successor W-P Corp. Cairo, IL. Airster fans can be validated on the market as late as 1930 through Google book snippets.1 point
-
Kreb's old home sold in Cairo, IL. He was a wealthy lumber merchant. Scroll down to "Family History." Sold - c.1910 Fixer Upper on Millionaire's Row in Cairo, IL Under $30K (oldhousesunder50k.com)1 point
-
Willy, First off I would urge you to join the gang here with a membership. Not that much and is well worth it. Thanks for the compliment. No real trick to it. Strip/De-Rust it, prime and paint it. Primer sticks to metal, paint sticks to primer. I strip the rust by immersing the parts in rust remover. I use Blaster Metal Rescue & rust remover: an eco-friendly product that is reusable. The parts come out black (old rust) that I scrub off under running water. If there is any of the original paint left I use the Orange paint remover. When done with all that I wire wheel the parts and prime with either standard or filler primer paint. Then sand with 800 and (if needed) prime it again. Final primer coat is lightly sanded with 800-1000 wet dry or the flexible sanding pads. I use Rust-Oleum pop cans for both primer and paint. This one is painted with Gloss Almond. Just an FYI, both the blade and cage were prepped in the same fashion, then painted with Rusto’s chrome paint. It’s a very serviceable approach to avoid spending major bucks on chrome plating. It’s up to you what paint and color you prefer. I think on my next one I’ll try a custom color from the local paint shop that will put automotive paint in pop cans for me. I kinda like some of the new car colors that are being used today. I’ve told myself 100 times “it’s just paint….dont like it? Strip it and start over”. If you want to strip it and leave it clear coat it. Gloss/satin/matte. You choose. There are no set rules. Some prefer “all original” and others like to update the color pallets for a more modern look. As for the wiring - it appears that your fan has an added part that’s wired to the speed control. Mine didn’t have that part so the wiring diagram I found on this site worked for me. Not sure what that square metal thingy-ma-bob is. I’m electrically challenged when it comes to this type of wiring. (But I could rewire your house for ya !) if you haven’t yet found the post, there is a ‘bent over’ cotter pin that holds the worm gear onto the shaft. Once removed you can slide off the worm gear and remove the rotor. The staters on these cast models comes out fairly easily. If you need help just search the site. Good luck and impress your friends with the final results. Summer’s almost here and it’ll come in useful.1 point
-
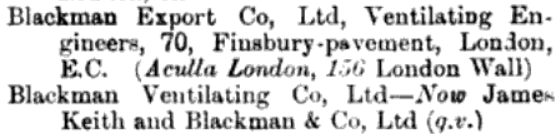
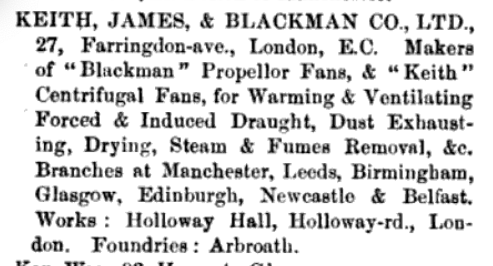
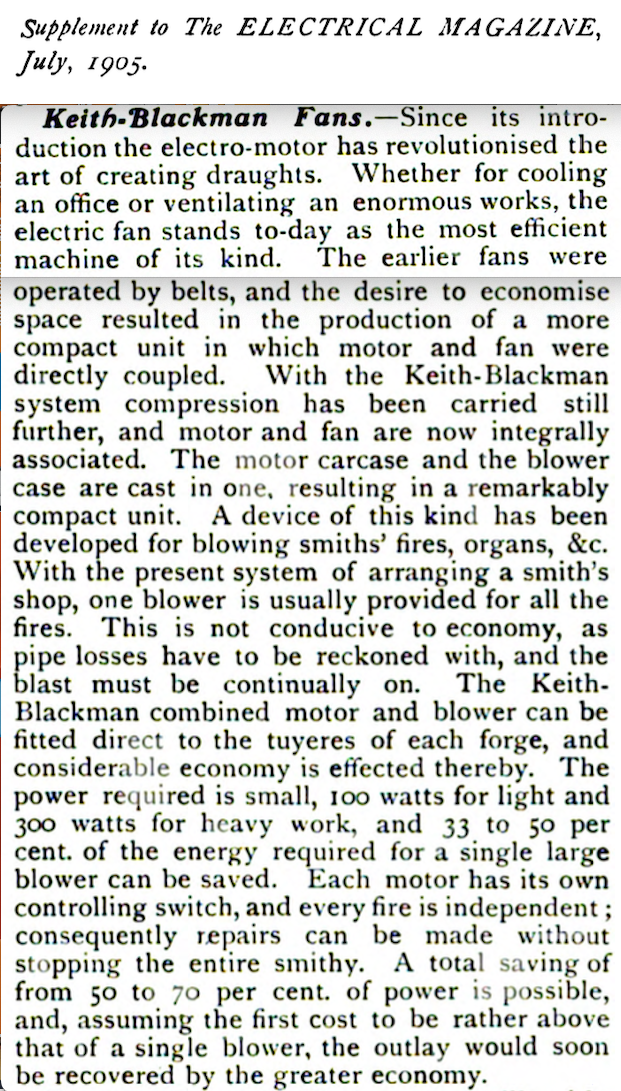
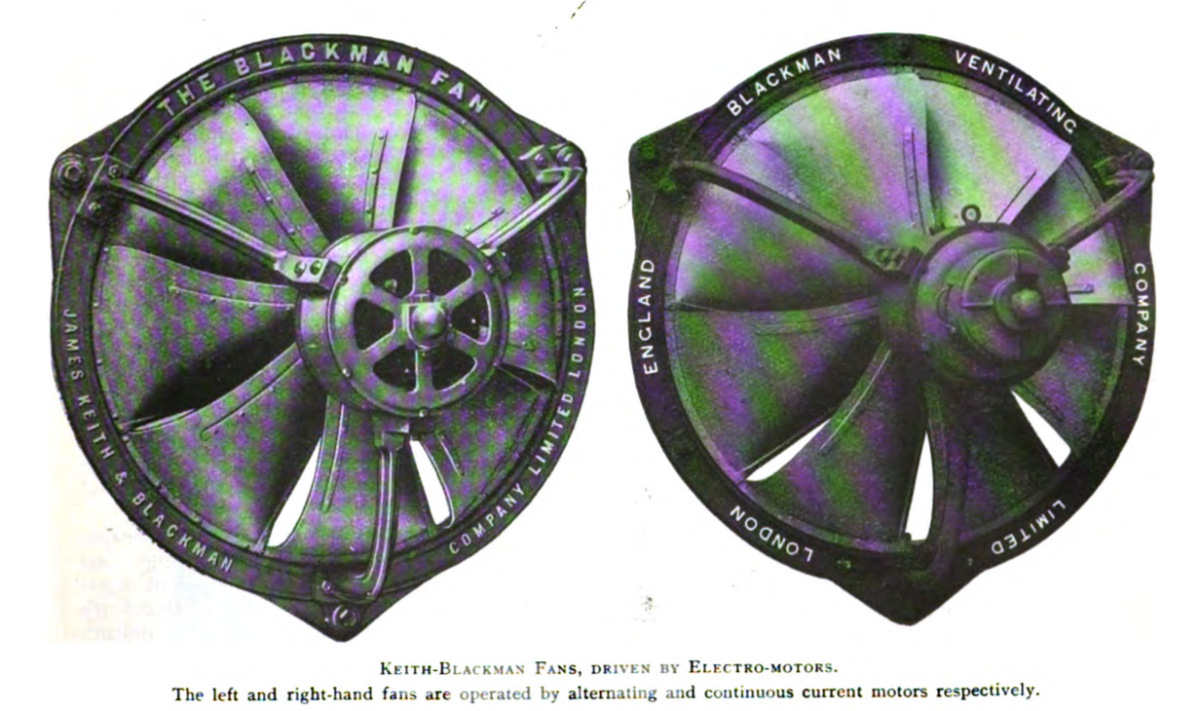
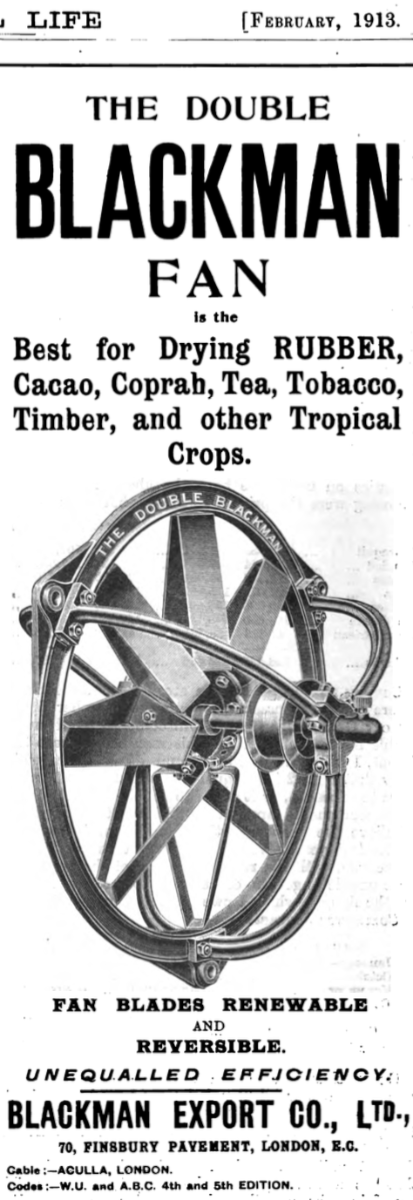
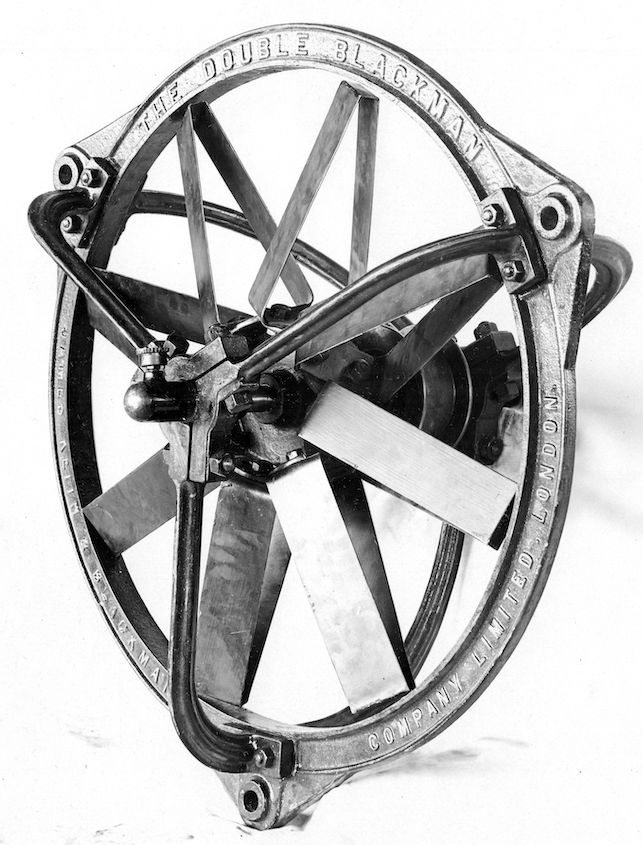
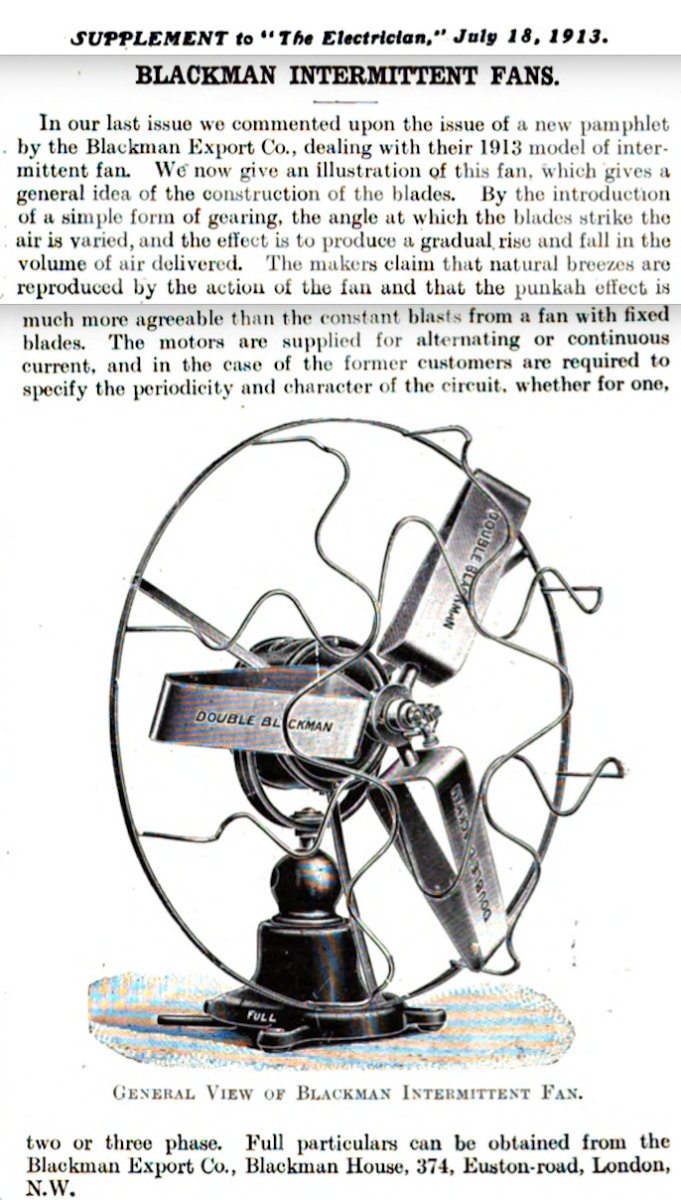
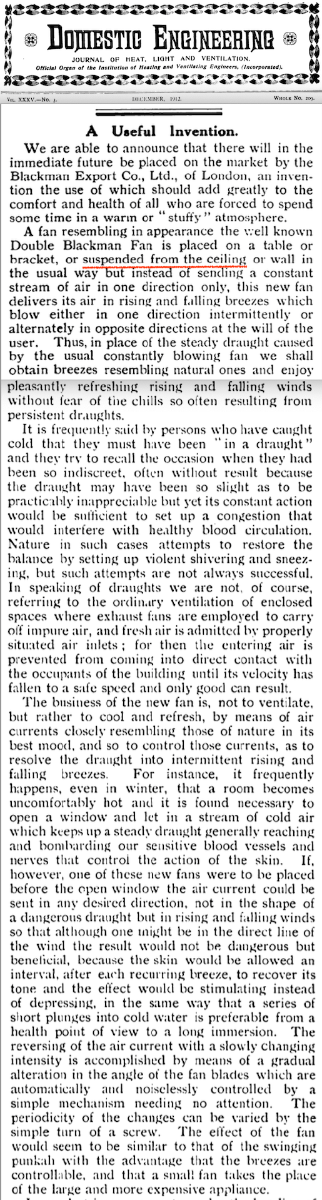
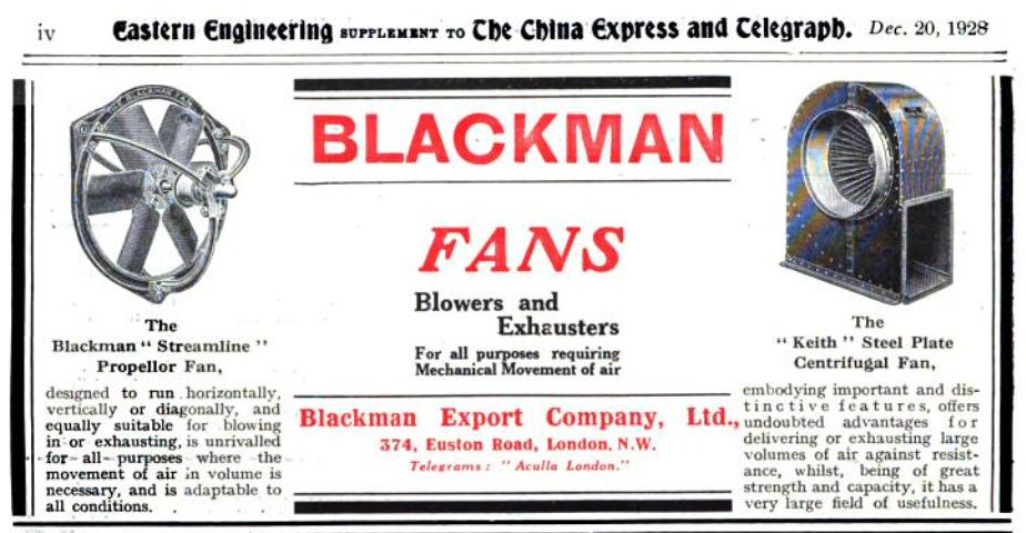
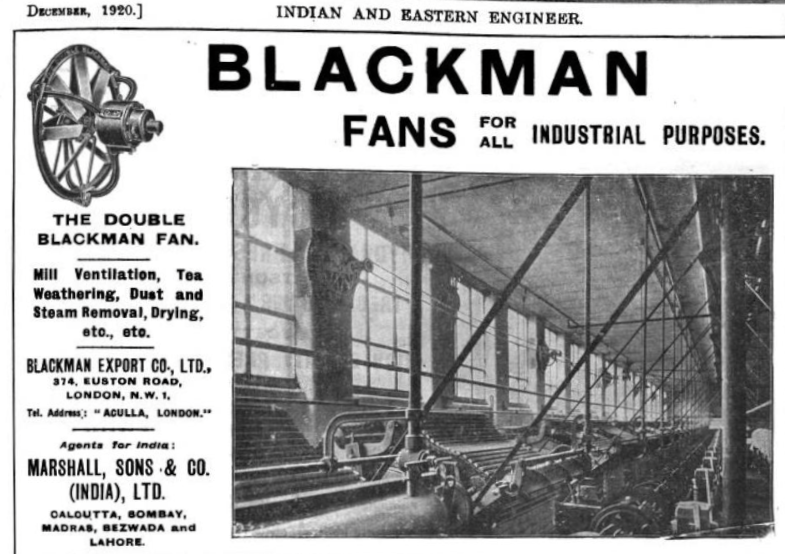
I tried with "Birmingham", to no avail... Evan, I recommend to your attention the Blackman Export Co.... a branch offshoot of the well-established Keith, Blackman firm which did business with India, South Africa, what-not... I've seen classic photos of and ads for many early motors direct connected to Blackman blowers... There was a Henry Hope & Son who got into ventilation and, I believe, fittings for ships, but I can't link them and couldn't find ceiling fans per se (see seventh clip below), so you'll have to do this digging, because I resign from the project as of this moment. Good Luck... https://new.afcaforum.com/index.php?/topic/44289-what-blackman-export-co-ltd-had-to-offer-in-1913/#comment-390110 https://new.afcaforum.com/index.php?/topic/34982-blackman-intermittent-fan/#comment-308655 Only mention of ceiling found easily...
1 point