Leaderboard


Popular Content
Showing content with the highest reputation on 09/30/2023 in all areas
-
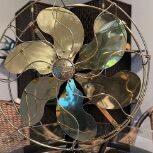
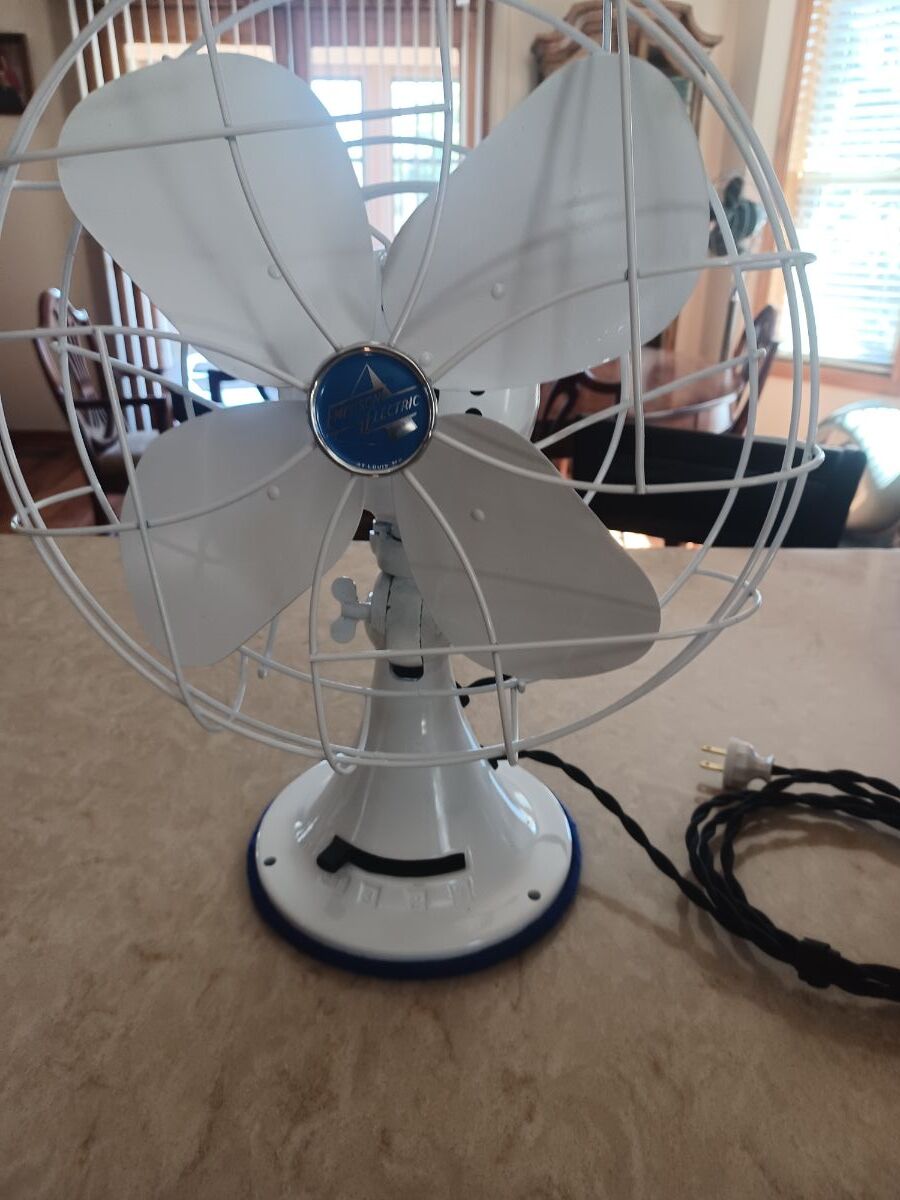
Turned out pretty good. Had issues with rotor making a loud thumping noise, so I replaced it with a 77646 rotor. Runs smooth now. I had some white paint so I painted it white with blue felt to match the badge.
 5 points
 -
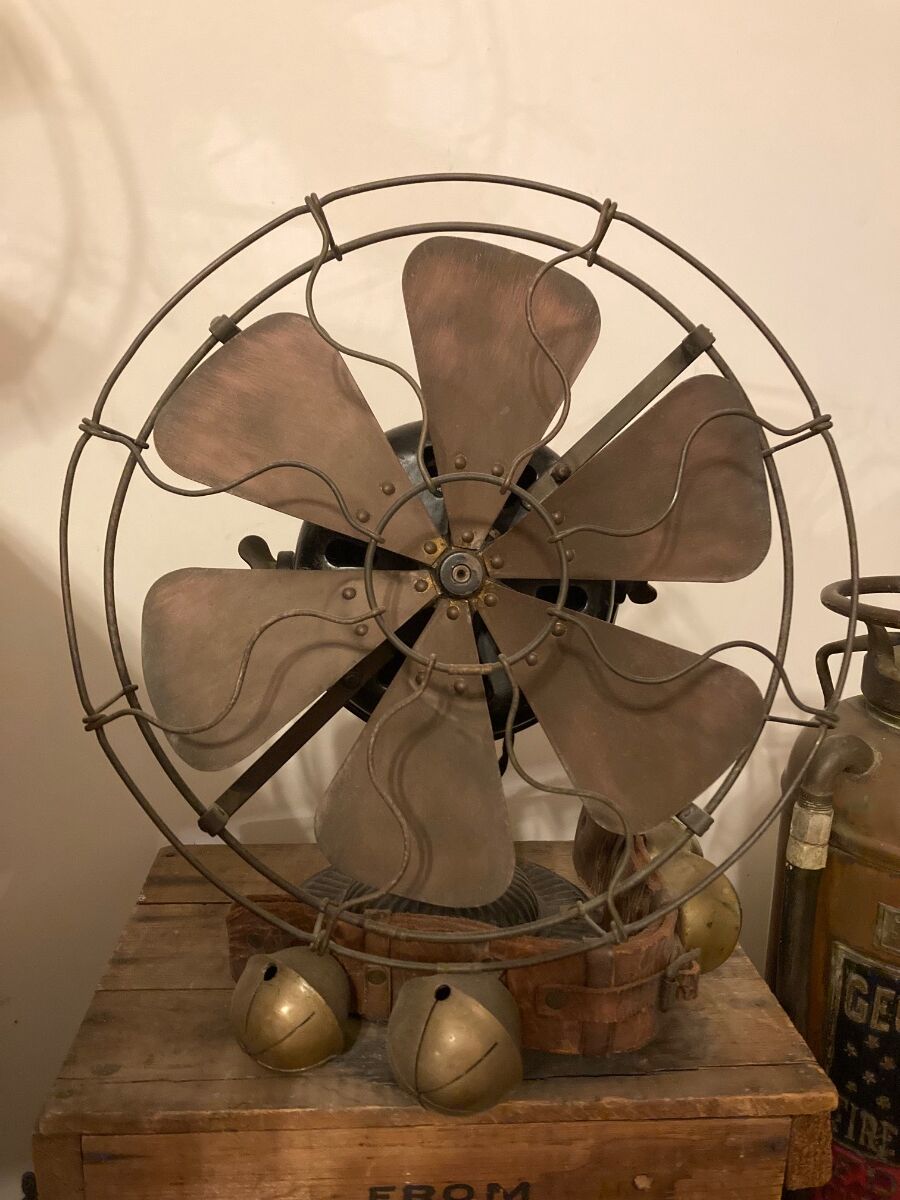
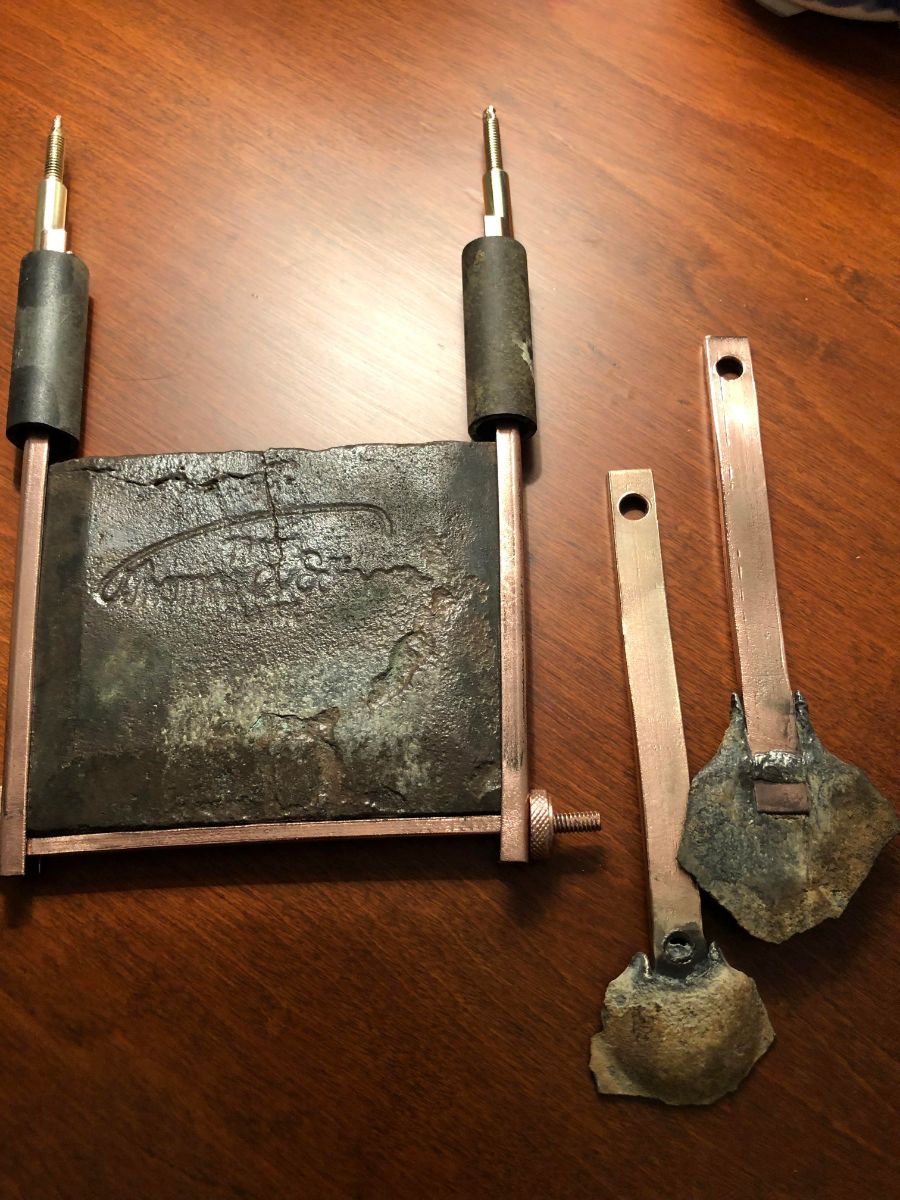
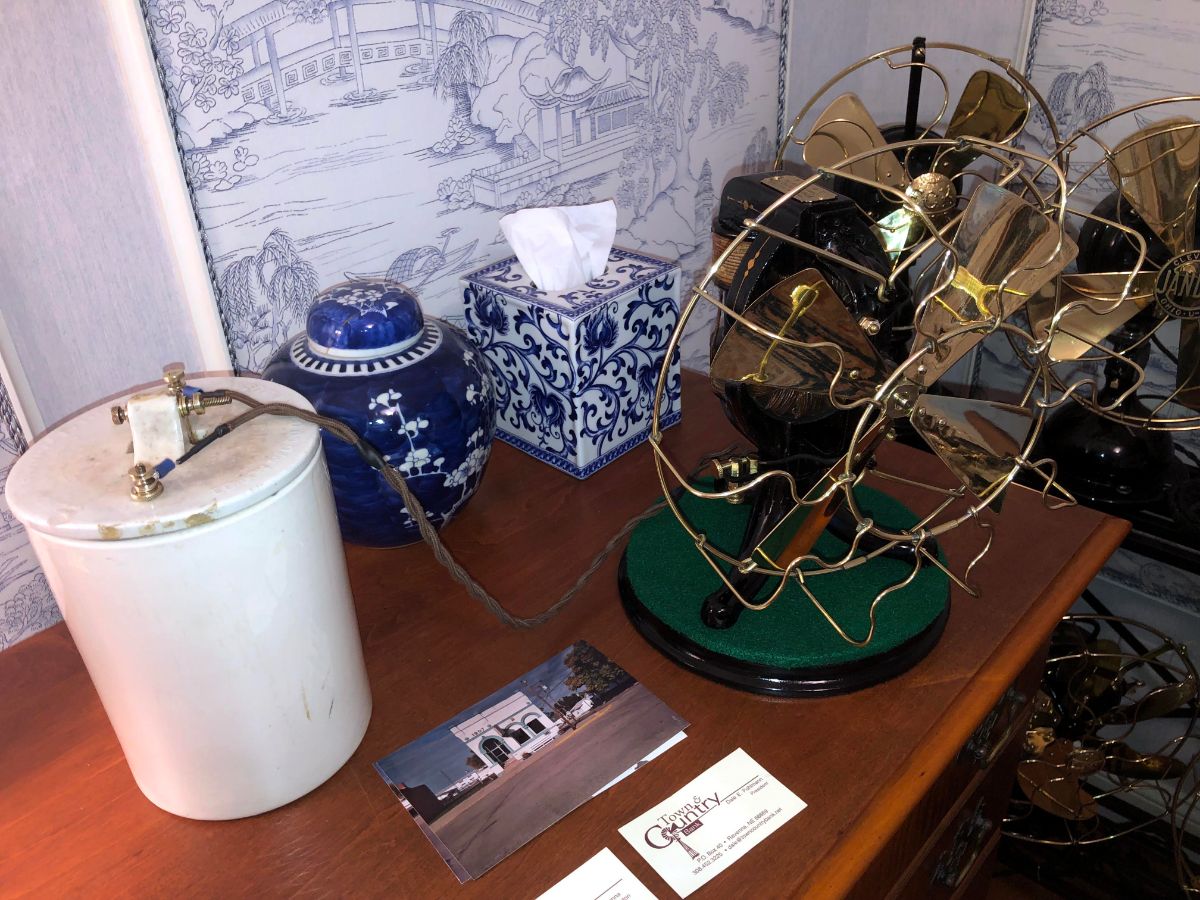
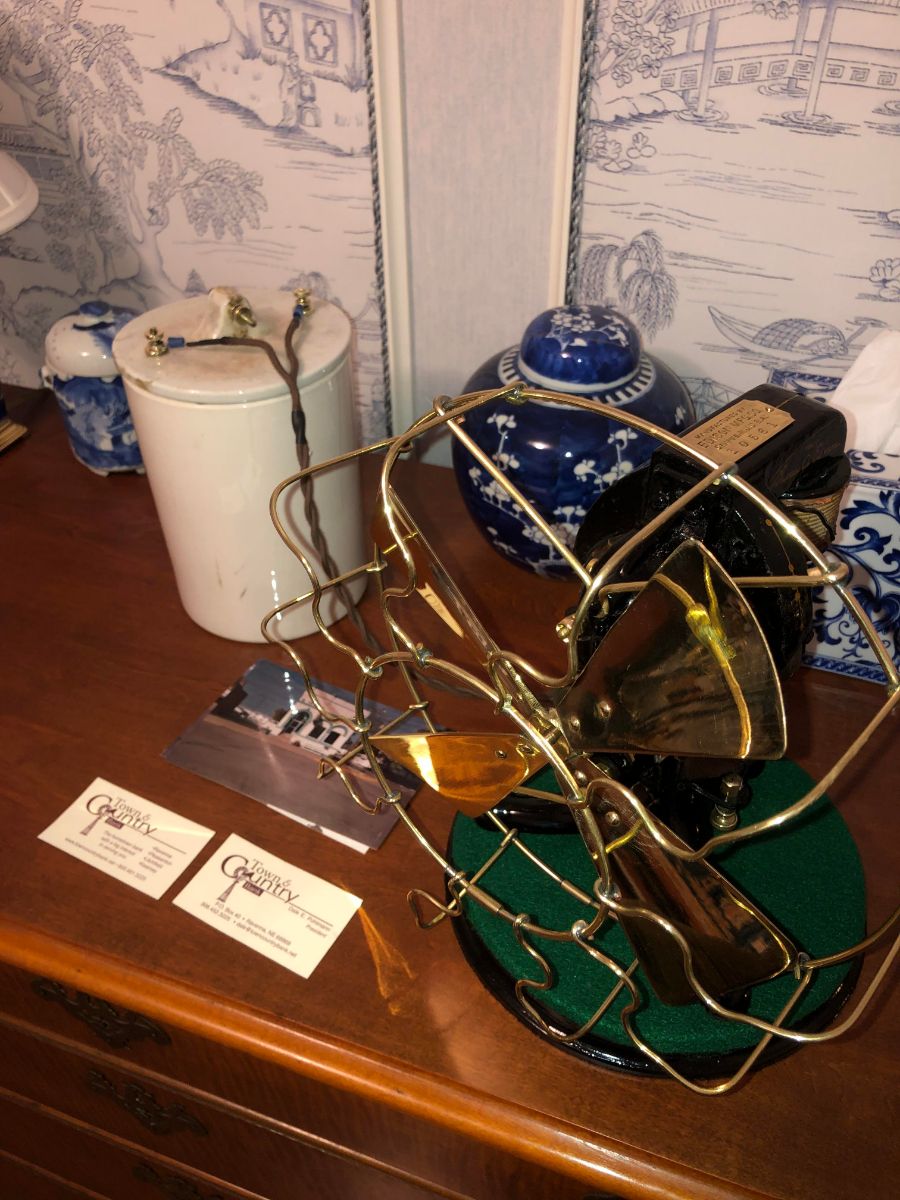
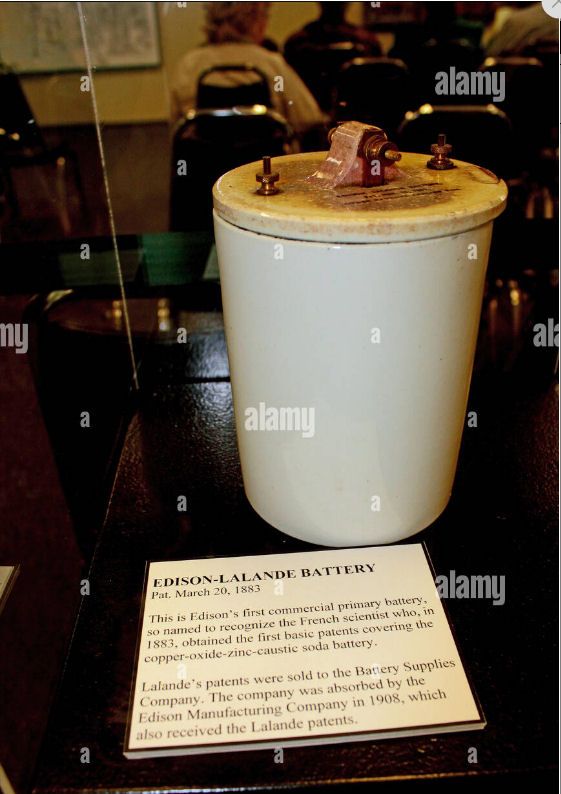
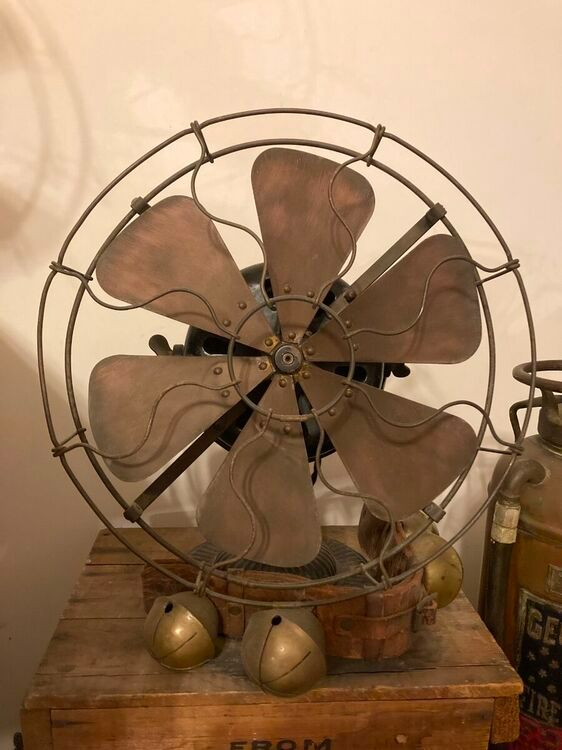
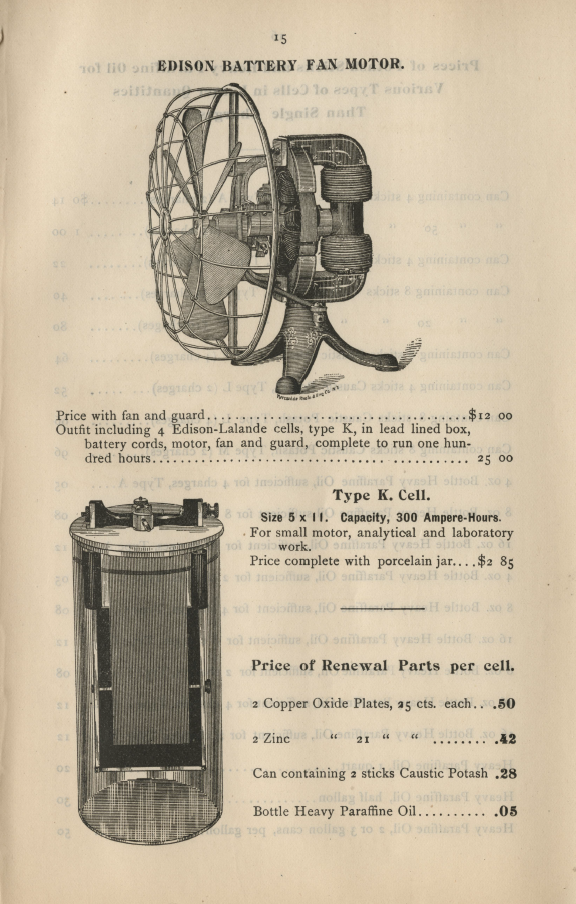
Hello friends from yet another rainy weekend in the Boston area. Second rainiest year on record! Yesterday, the Edison battery that I purchased arrived. It was exceedingly well wrapped. I removed the pieces that hung inside the porcelain jar and cleaned them up. If you look closely, you can see the Thomas Edison name cut into the center piece, which I presume is lead. The piece is framed with copper, which is attached to two pieces of brass. These protruded from the top of the porcelain jar seen below. The other two pieces were attached to the center holes of the lid and were suspended on either side of the lead sheet. I presume that these pieces were suspended in a liquid containing some type of acid which facilitated the movement of electrons from the two smaller pieces to the center sheet of lead, where they flowed out through the brass terminals. Darryl Hudson advised me that one of these jars could produce 1 to 1.4 volts of DC power so that four, wired consecutively, could produce enough power to run the six armature Edison fan. I can imagine that four of these jars, filled with an acid solution, contained within a box must have been quite heavy. Perhaps one of you fine folks could fill in the missing information on this arrangement? What is the composition of the stuff on the end of the two pieces of copper seen in the photo above? How long would this arrangement produce power before the parts and/or the acid solution needed replacing? Thank you for reading this. I inserted the six-volt battery and the drok buck (step down) converter into the now empty porcelain jar (below). Tony Clayton is making me some very special, curled wire for this arrangement which I expect next week. I should also point out that the above arrangement was certainly not my idea. I copied the arrangement from the Davis family's sale of their beloved (late) father's Edison fan, which you can see on eBay.
3 points
-
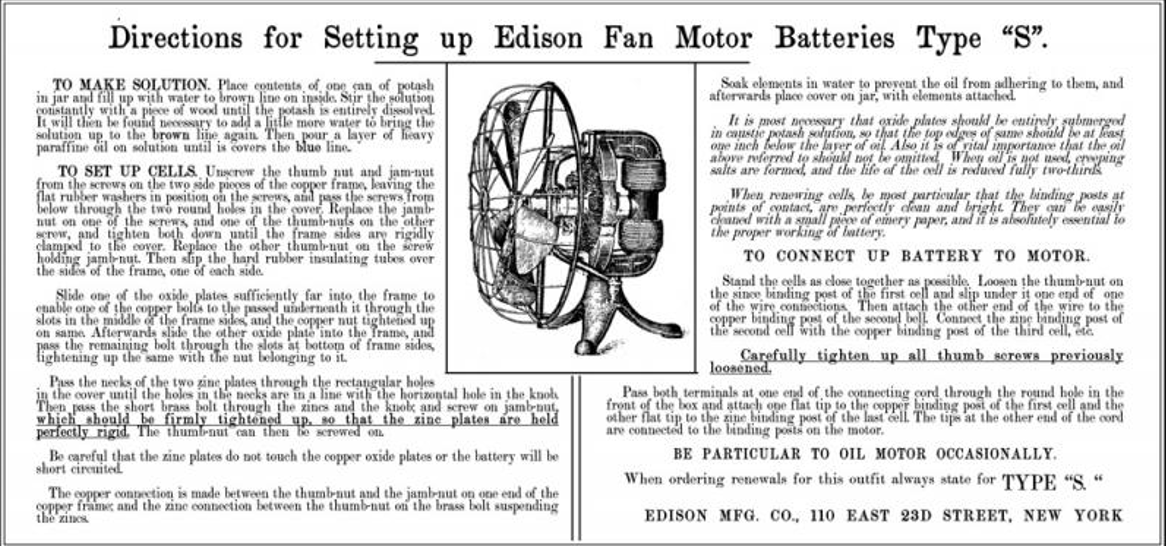
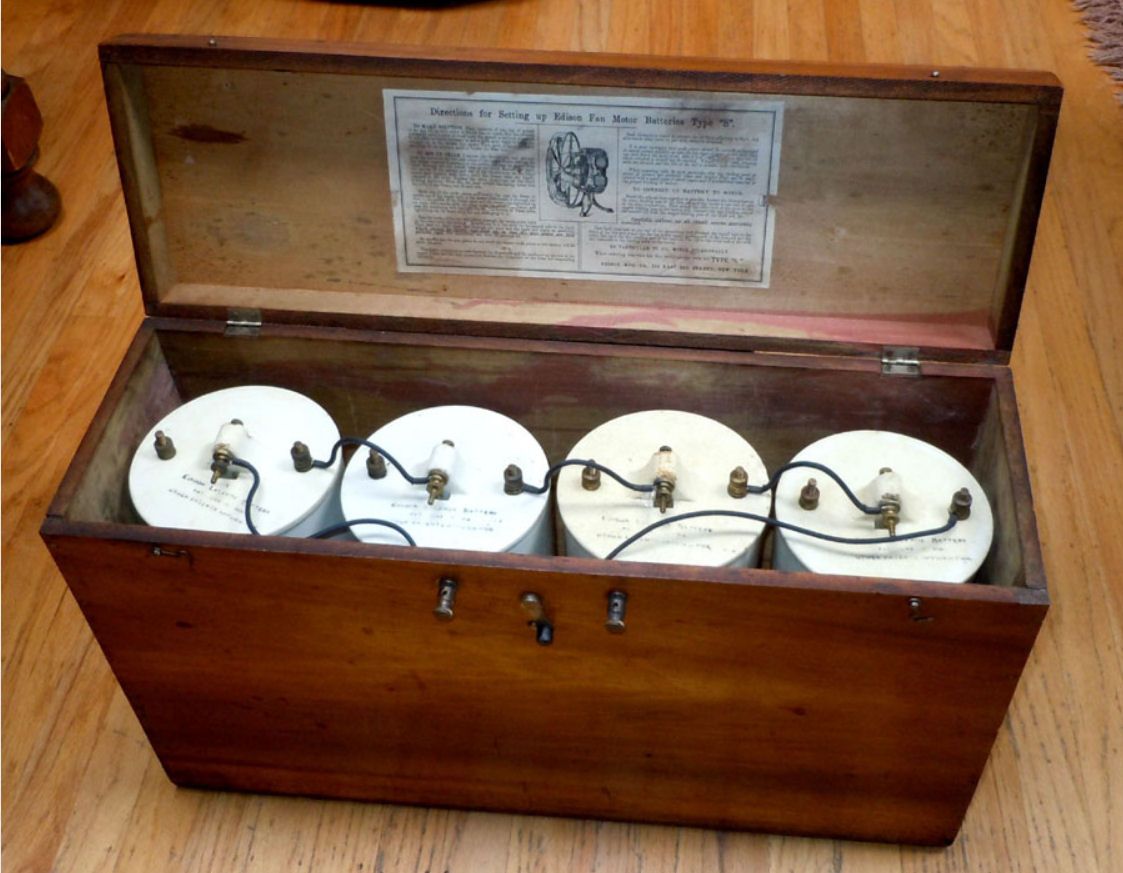
This... https://archive.org/details/catalogueofediso1910edis ...and the label...
2 points
-
Thank you David! I found these images from an internet search'
2 points
-
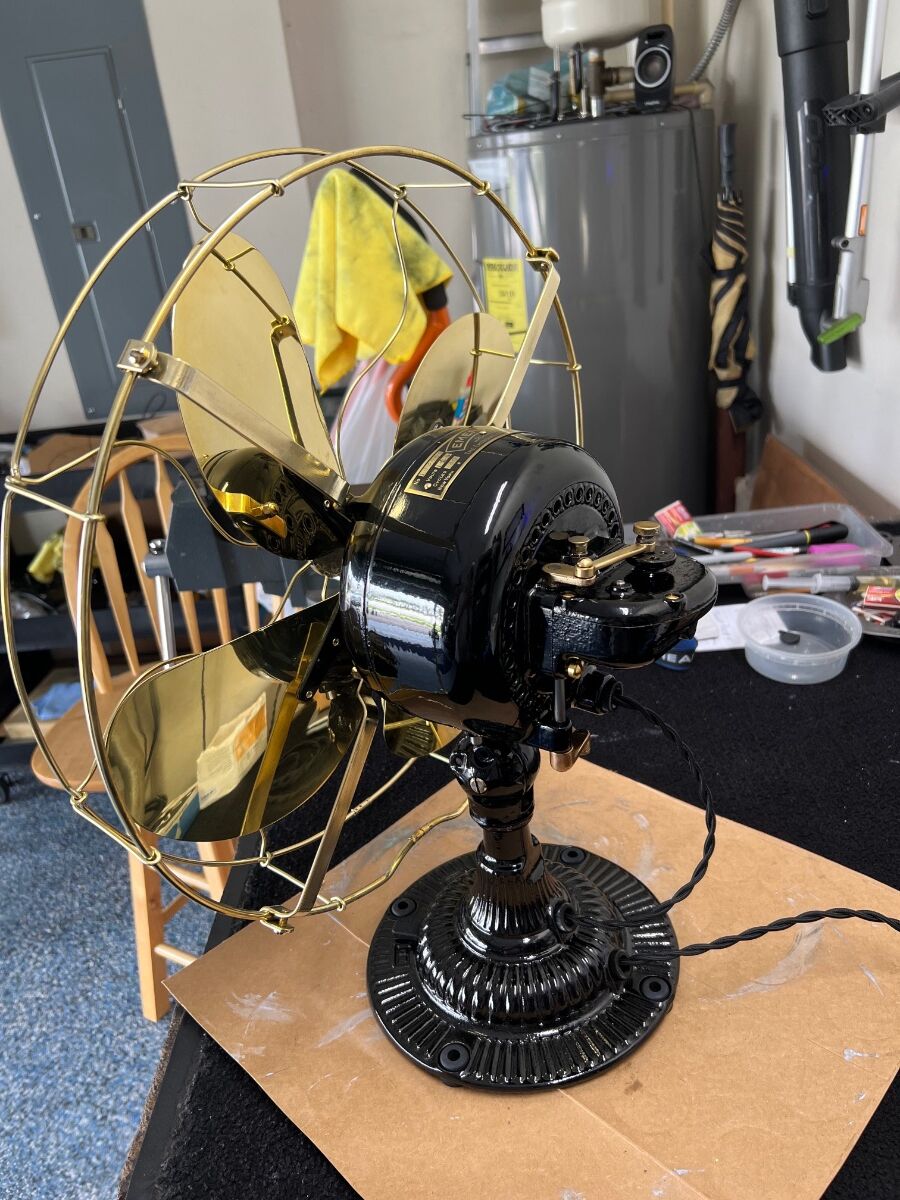
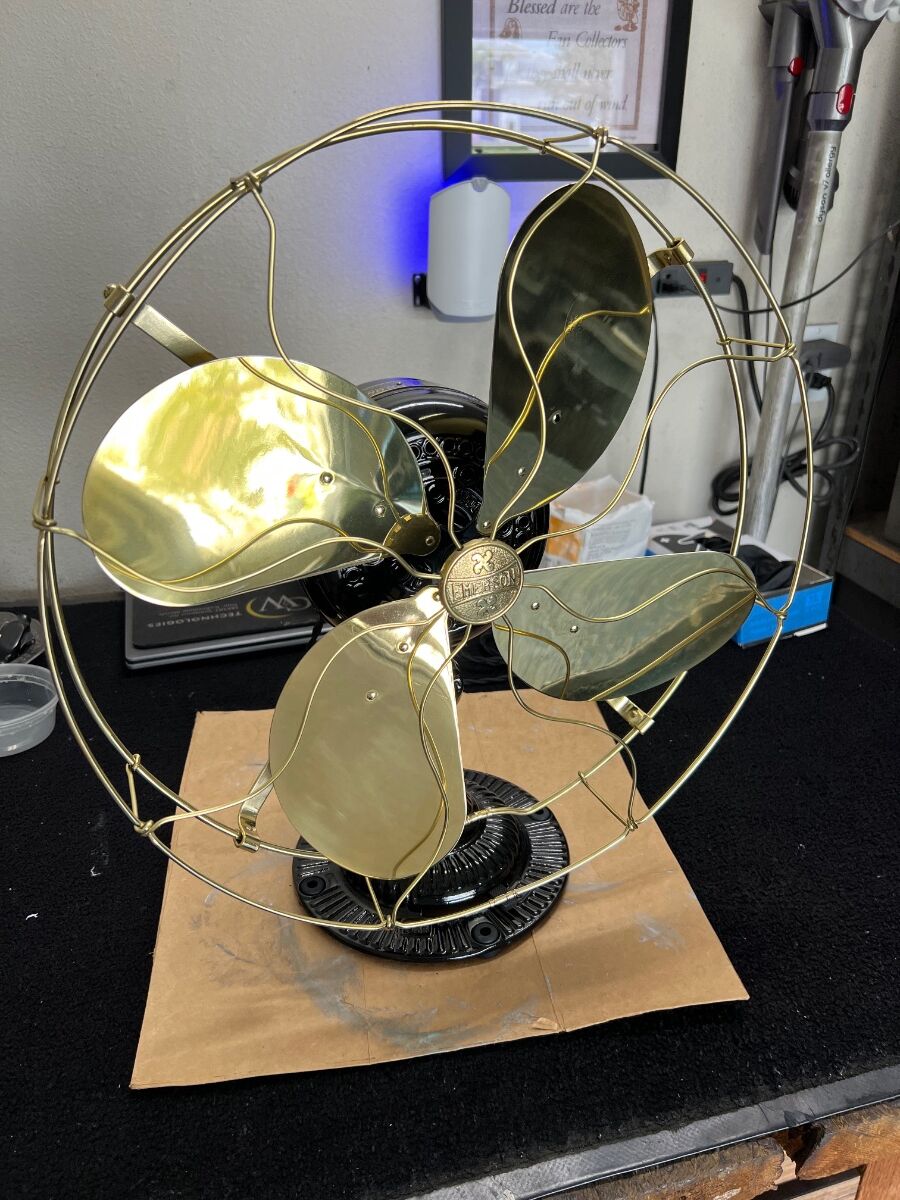
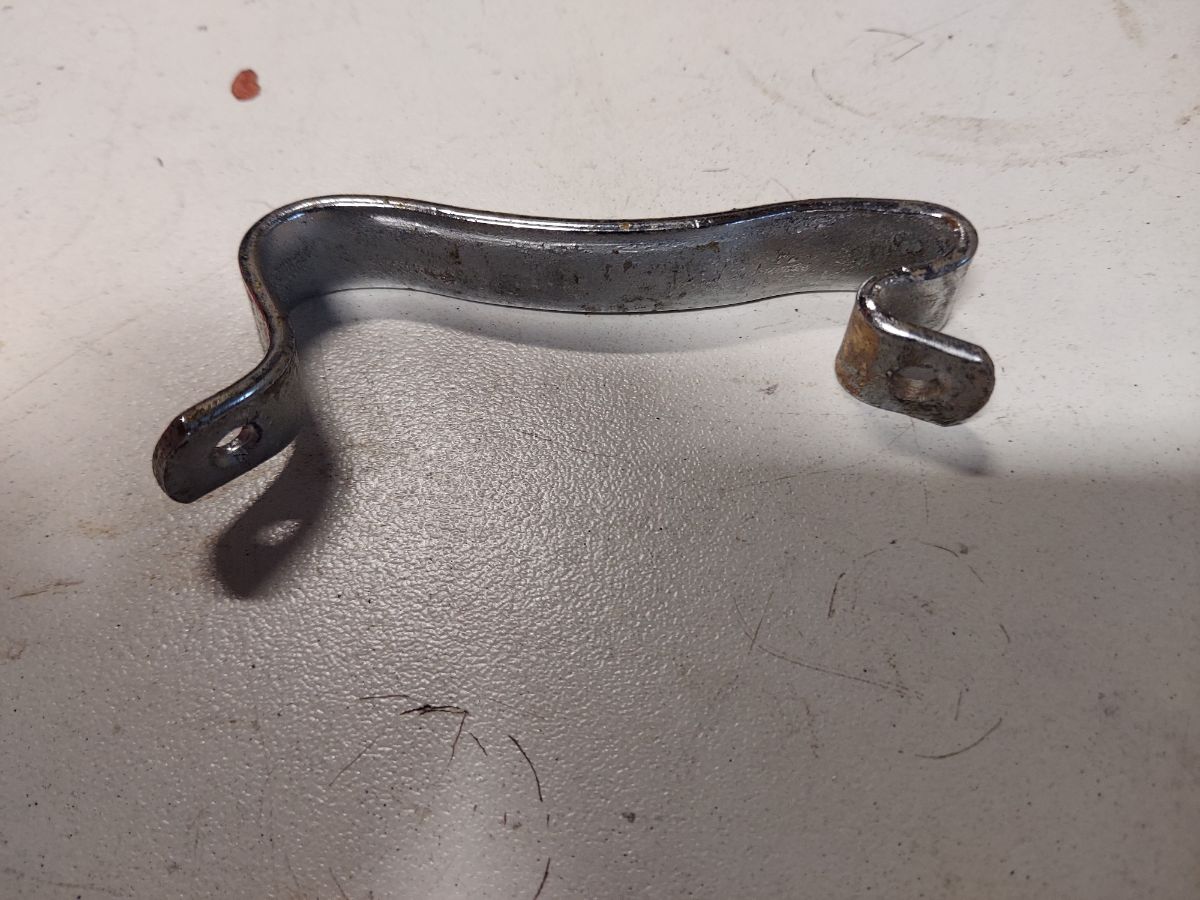
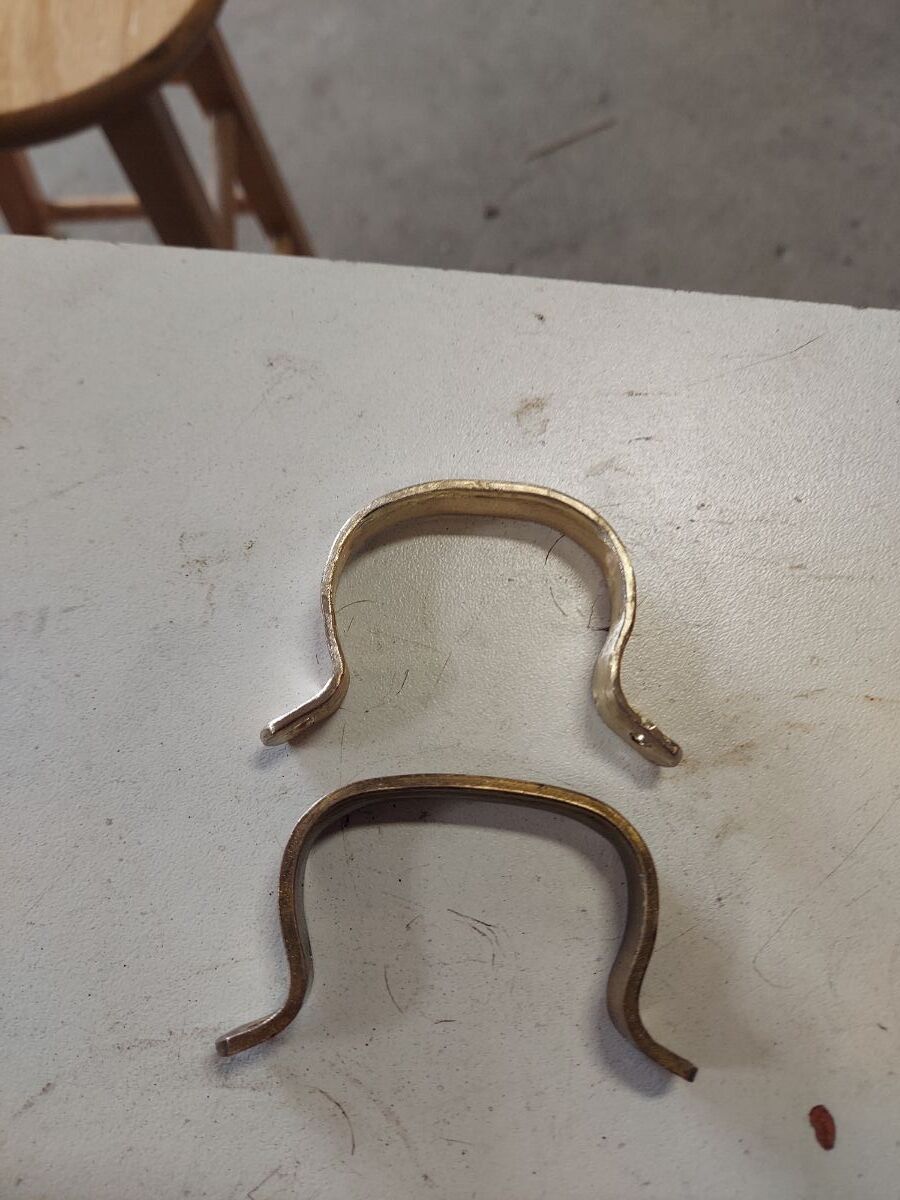
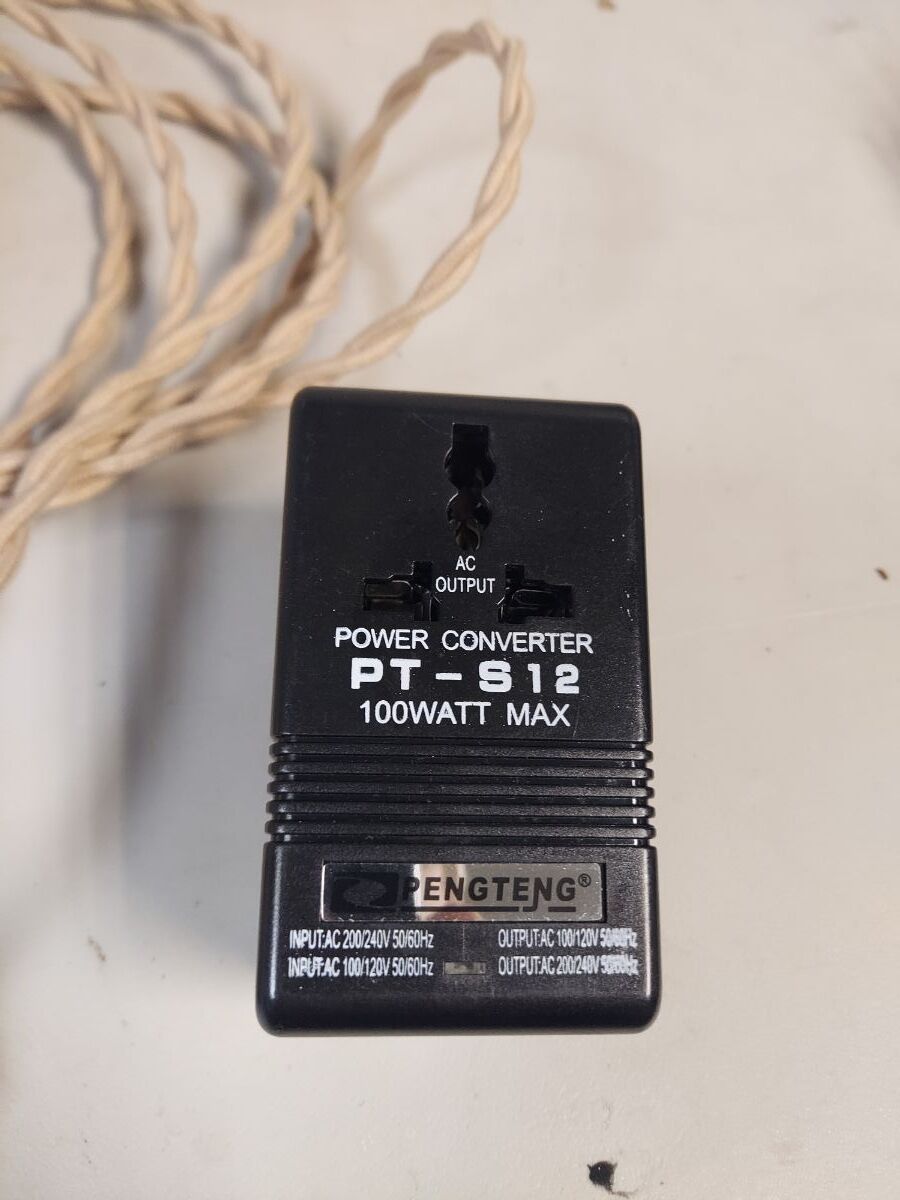
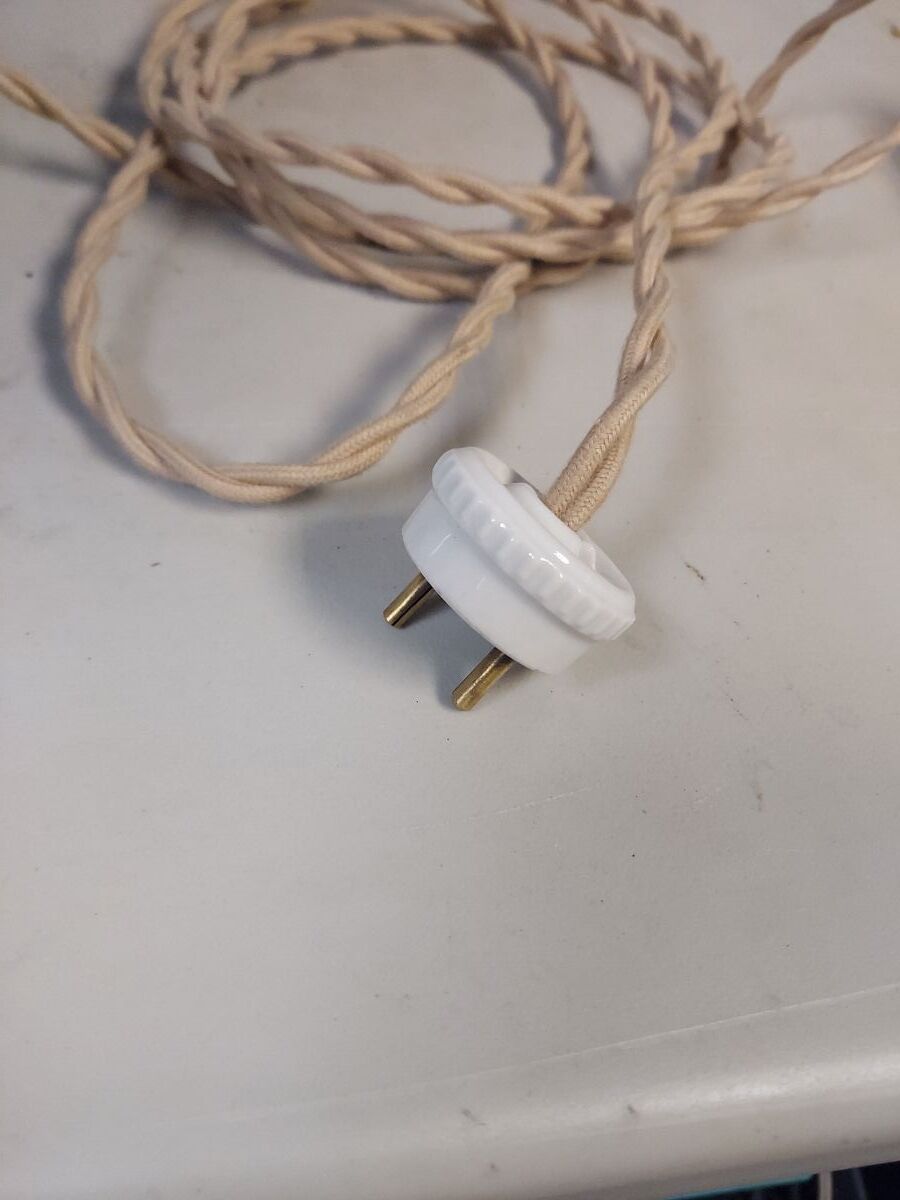
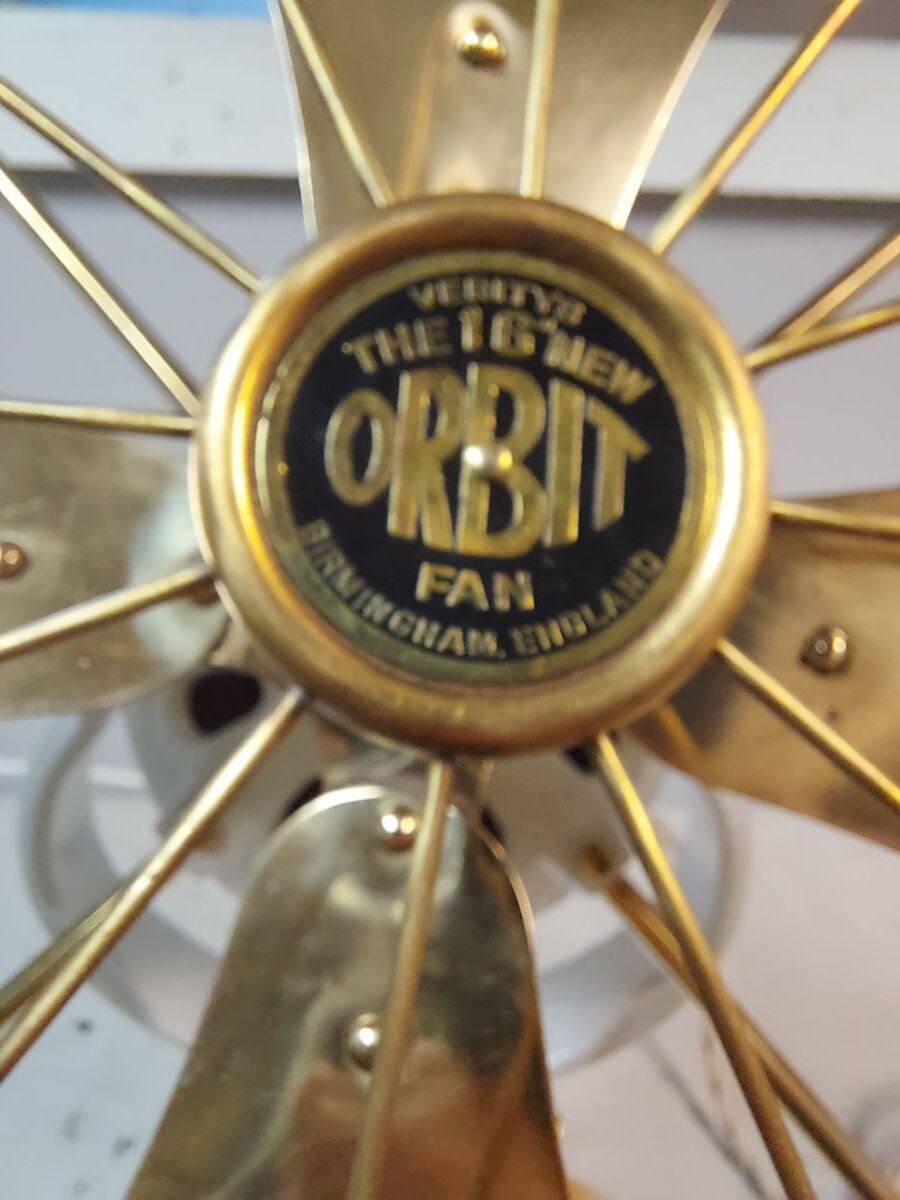
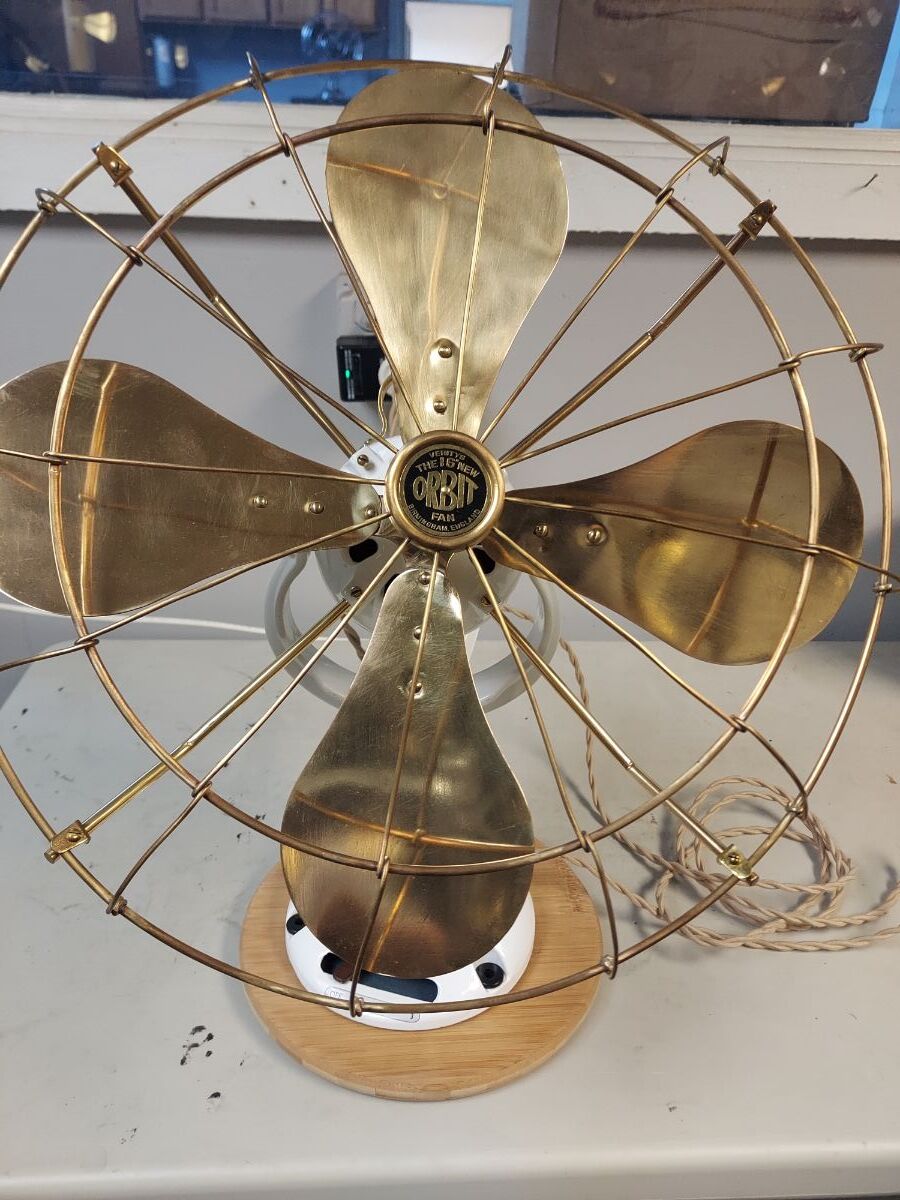
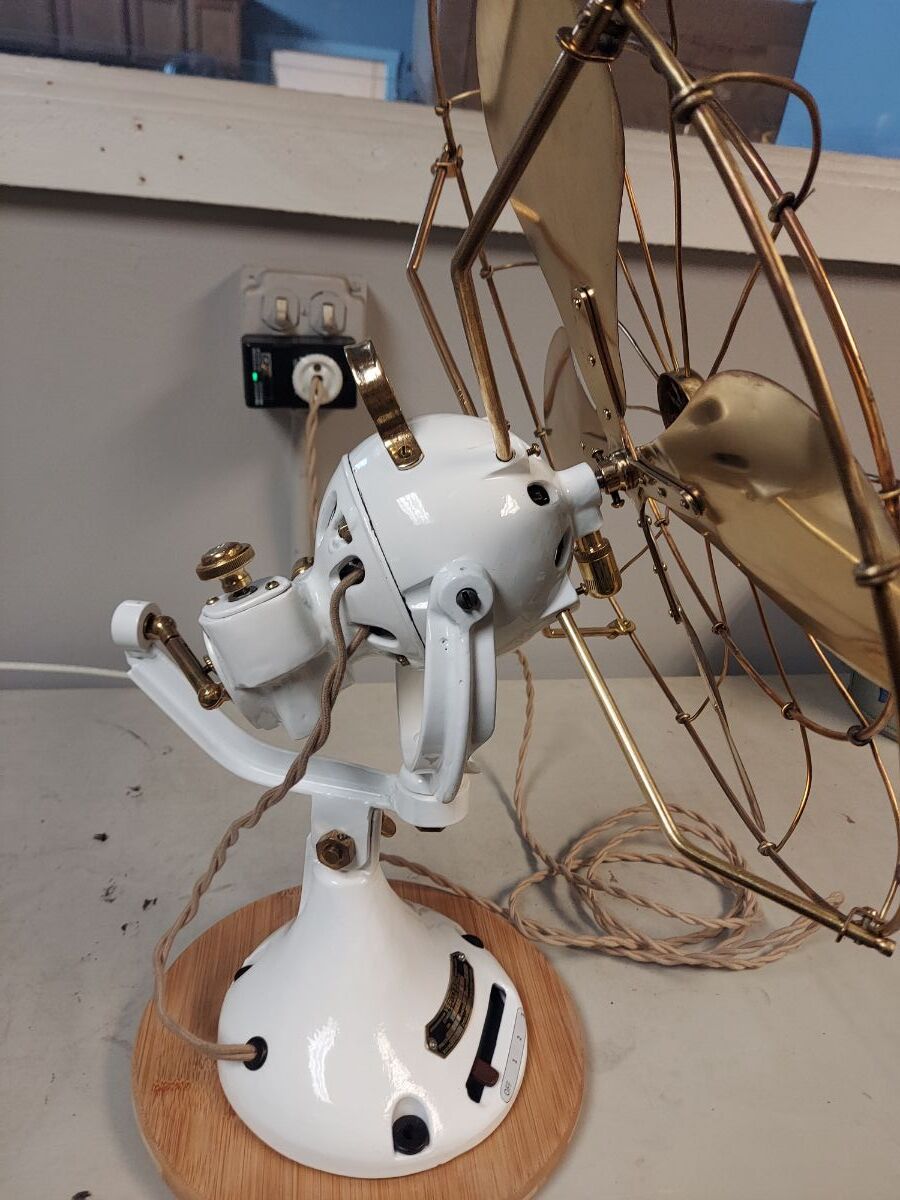
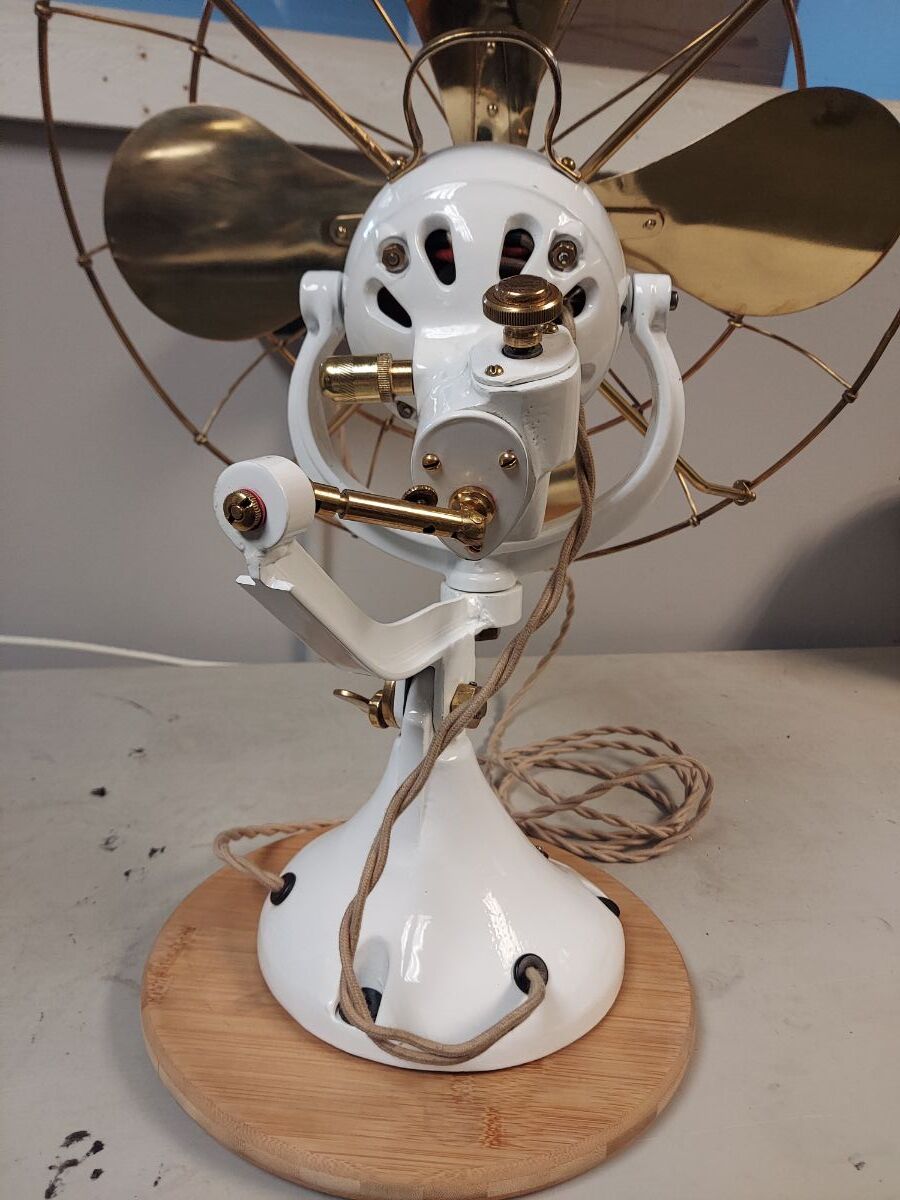
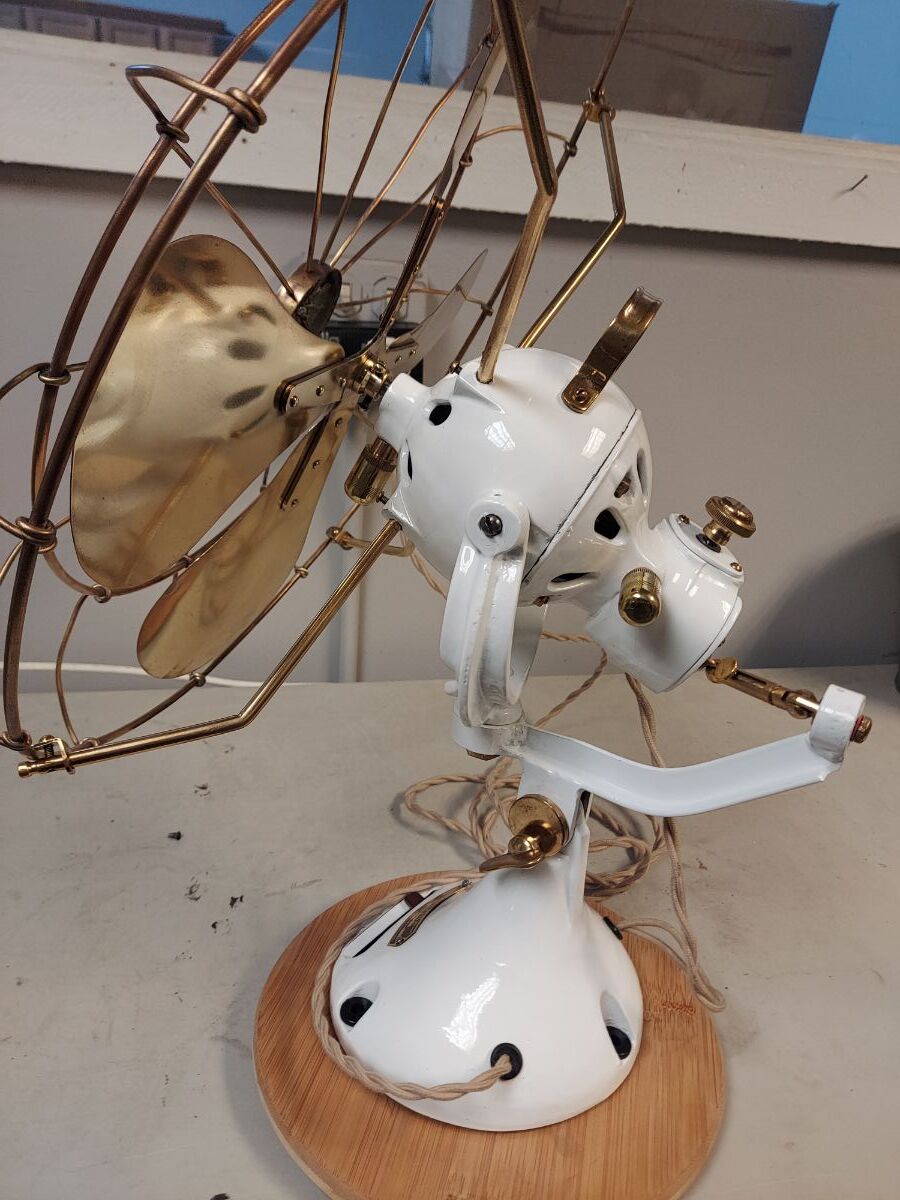
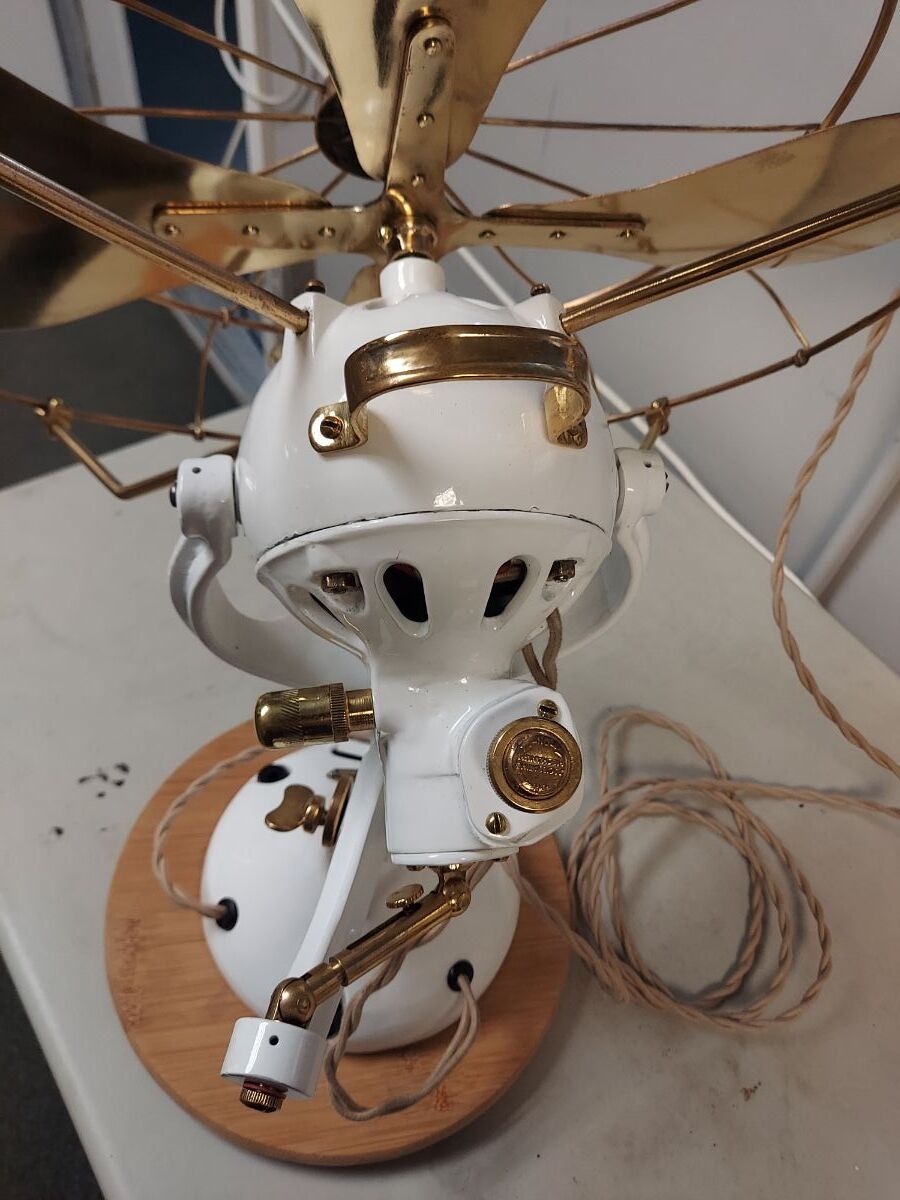
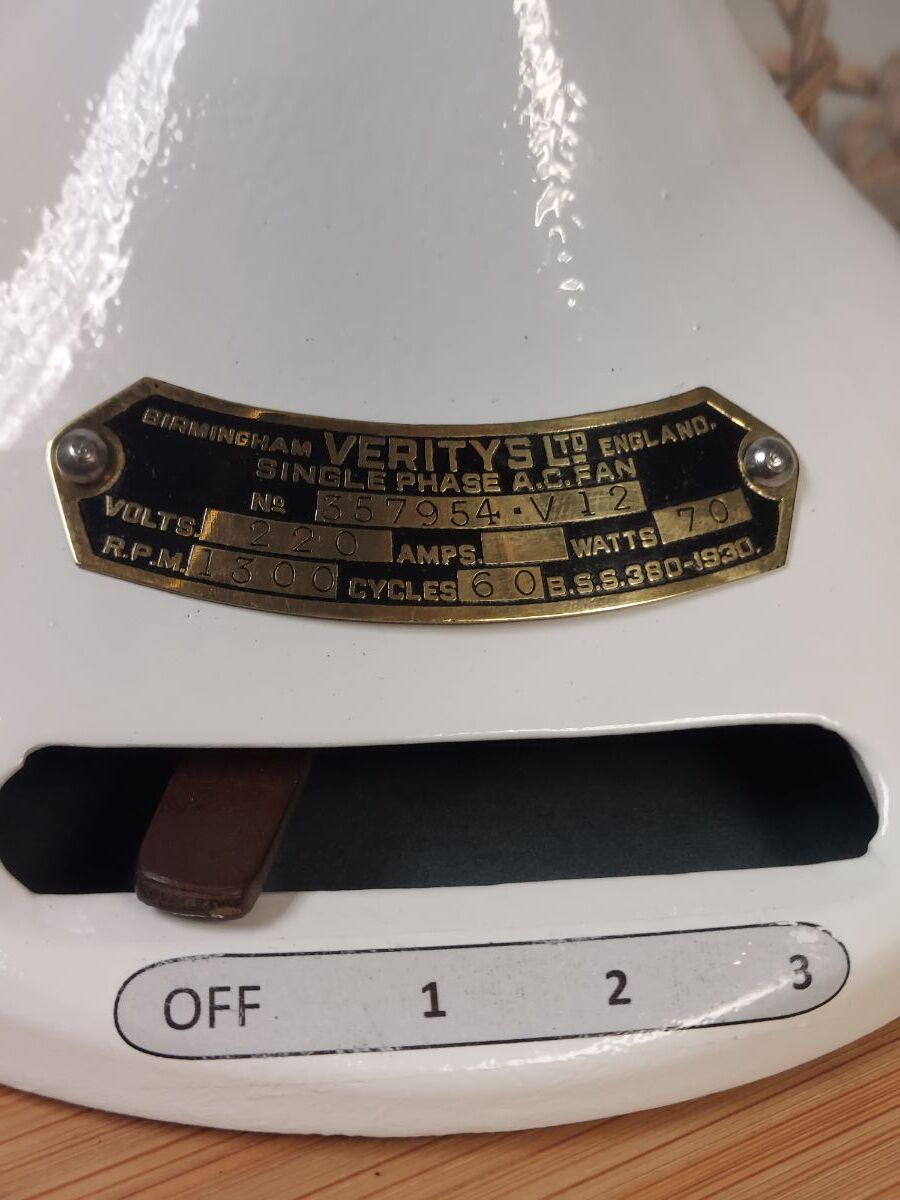
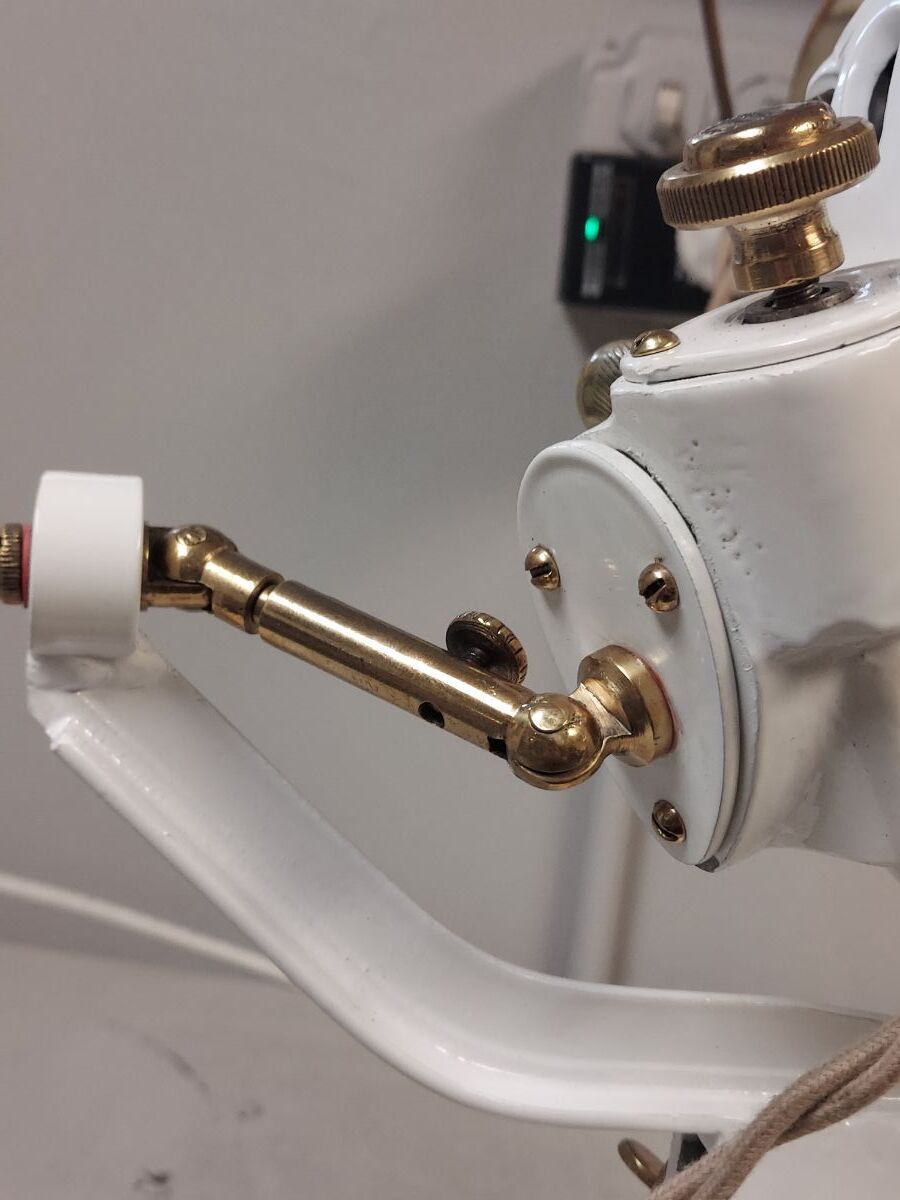
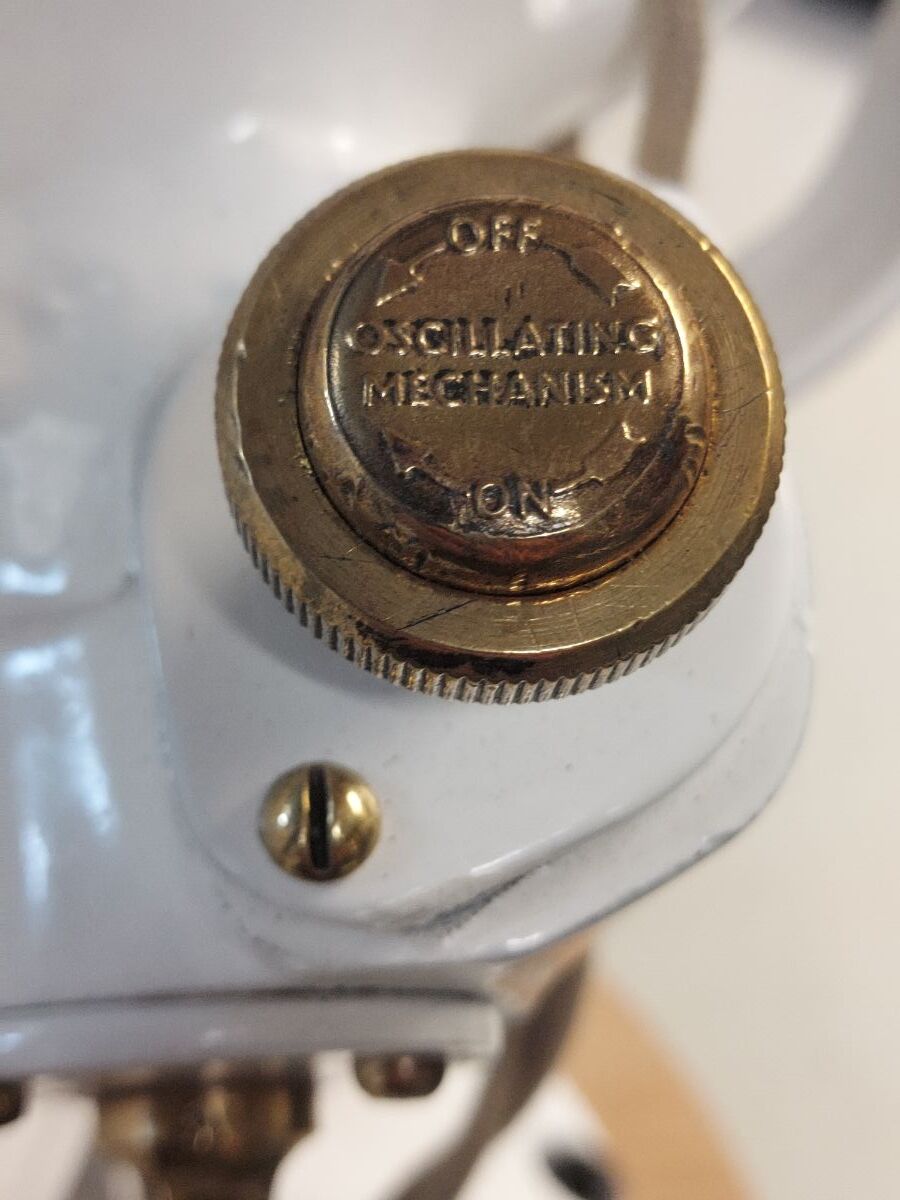
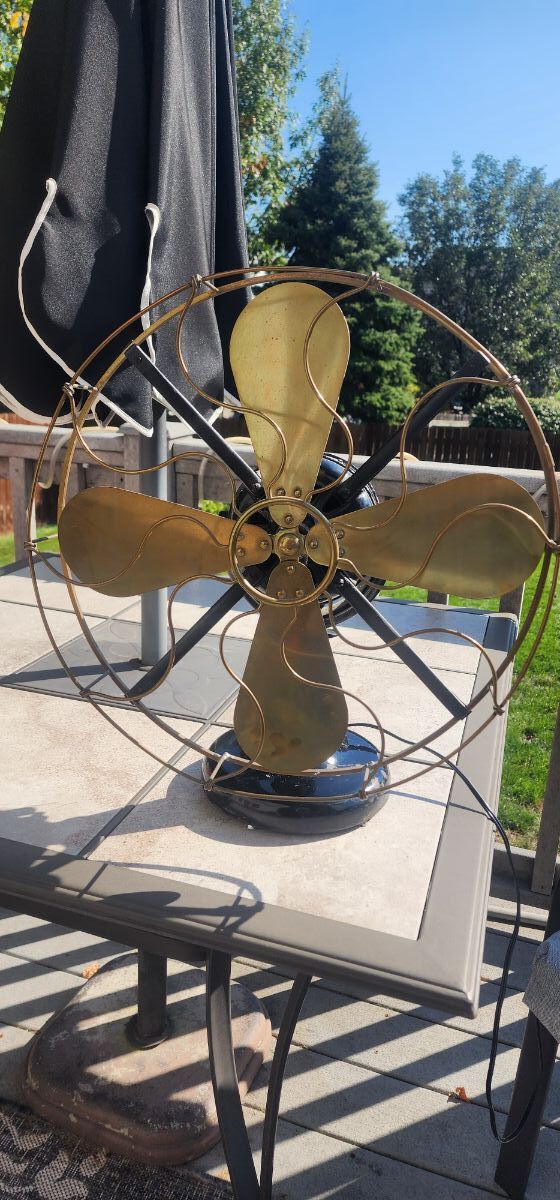
I finally got this fan back together and running. There are a few guys I want to thank for making this possible. Louis Luu supplied me with the four wing blade, cage, handle and 3 struts plus his knowledge of the fan. Bill Dunlap made me an exact copy of the fourth brass strut. Donald Coleman made me awesome replicas of the badge and id base tag. Tony Clayton did a great job on the wire. Jim Roadt had a beautiful white porcelain plug for it. A friend of mine made me two oil lite motor bearings. The Verity has BB/BC, brass struts and hardware. It runs on 220vac. I bought a power converter for it. It runs smooth on 3 distinct speeds and oscillates in an orbital motion. I did the powder coating job myself. Before post: I reformed the handle
2 points
-
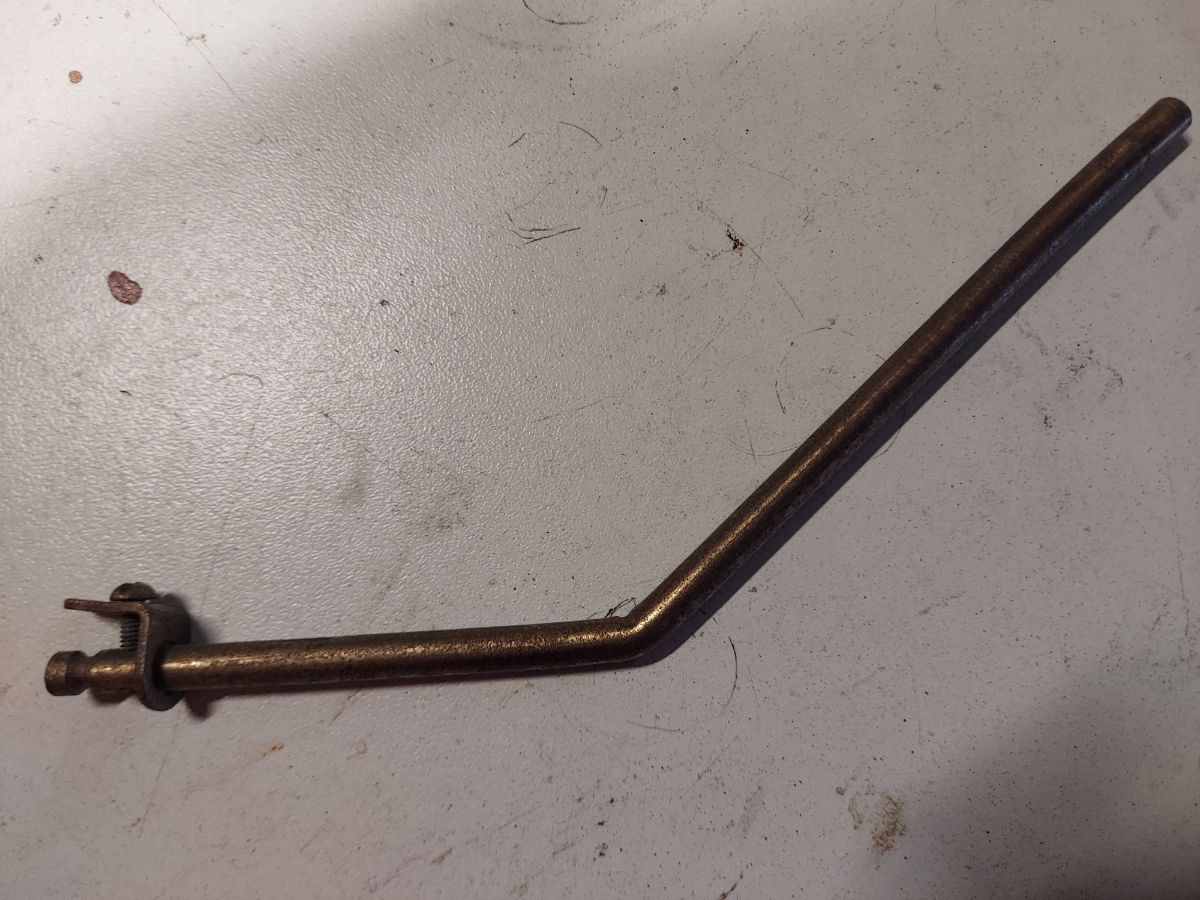
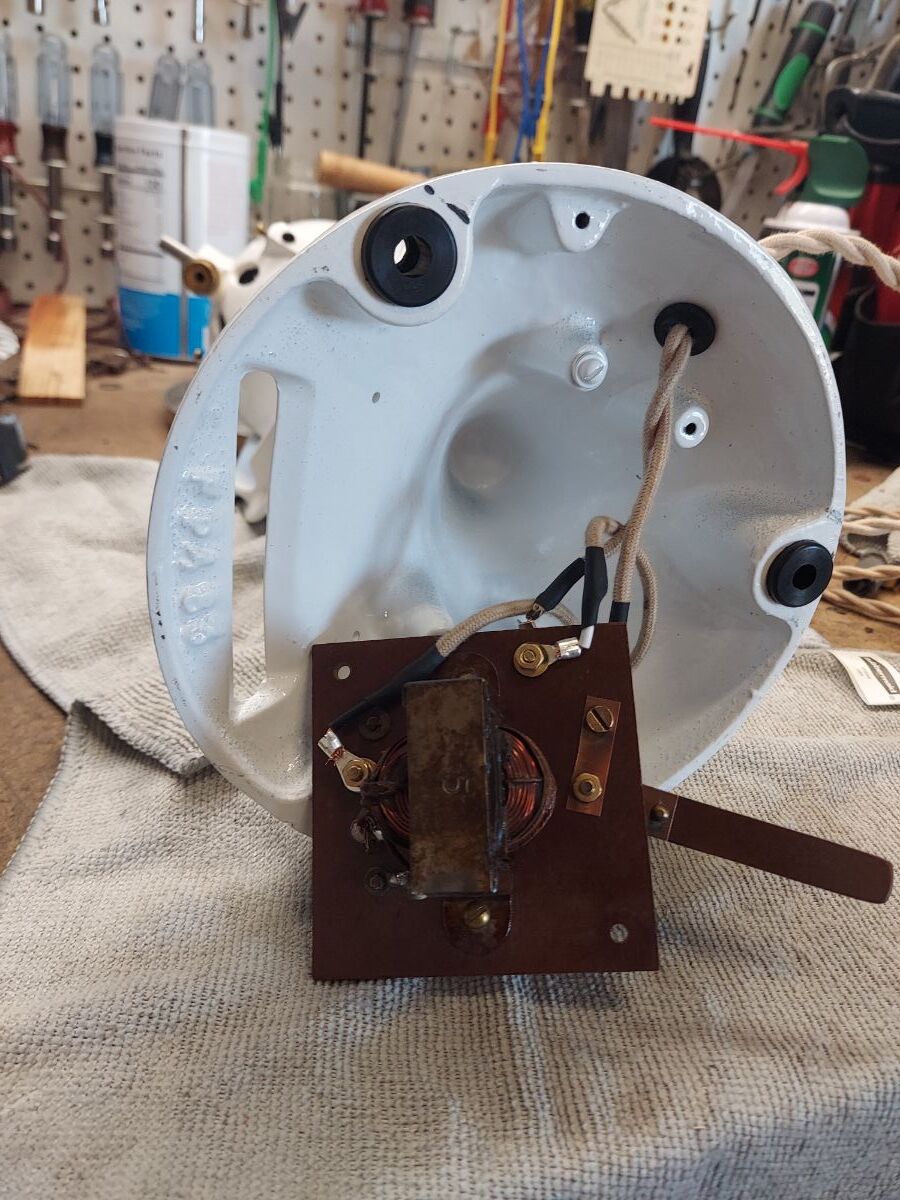
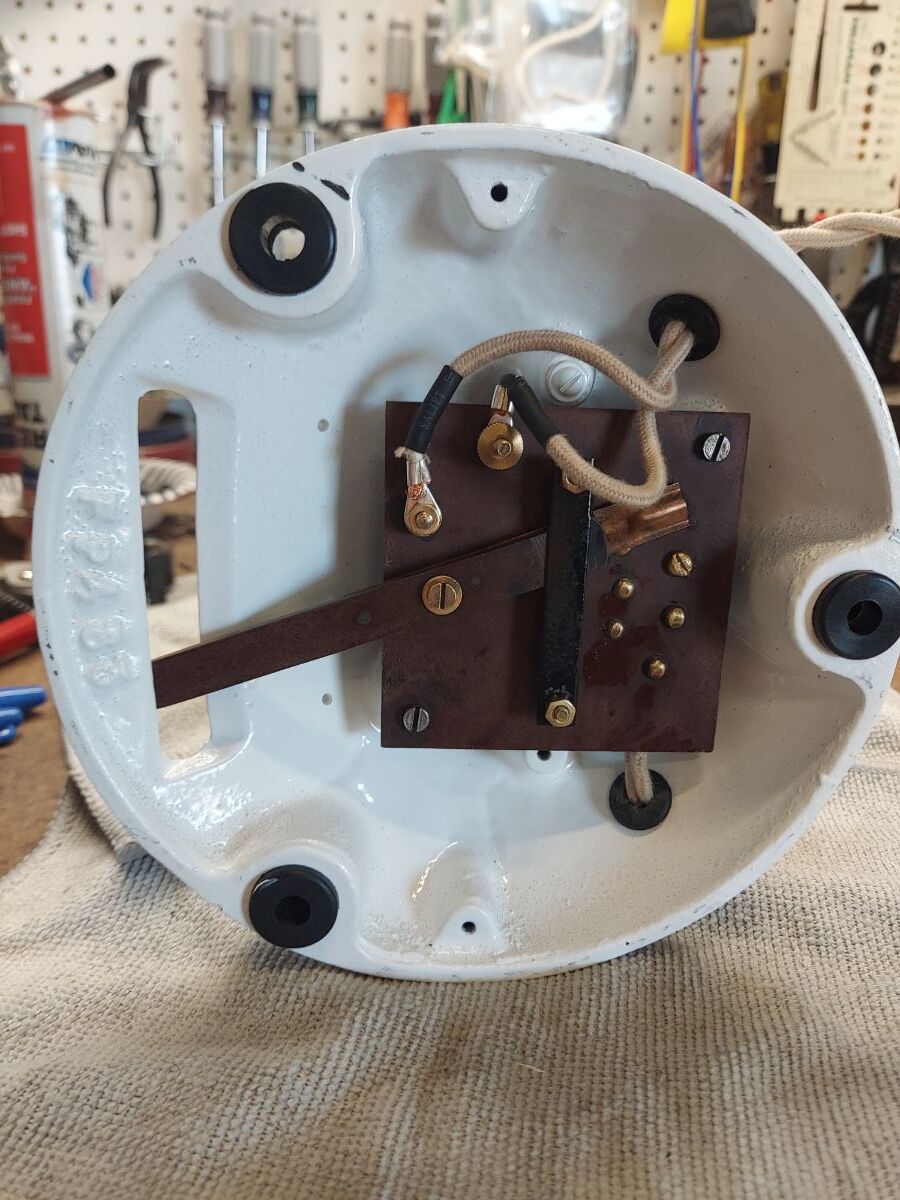
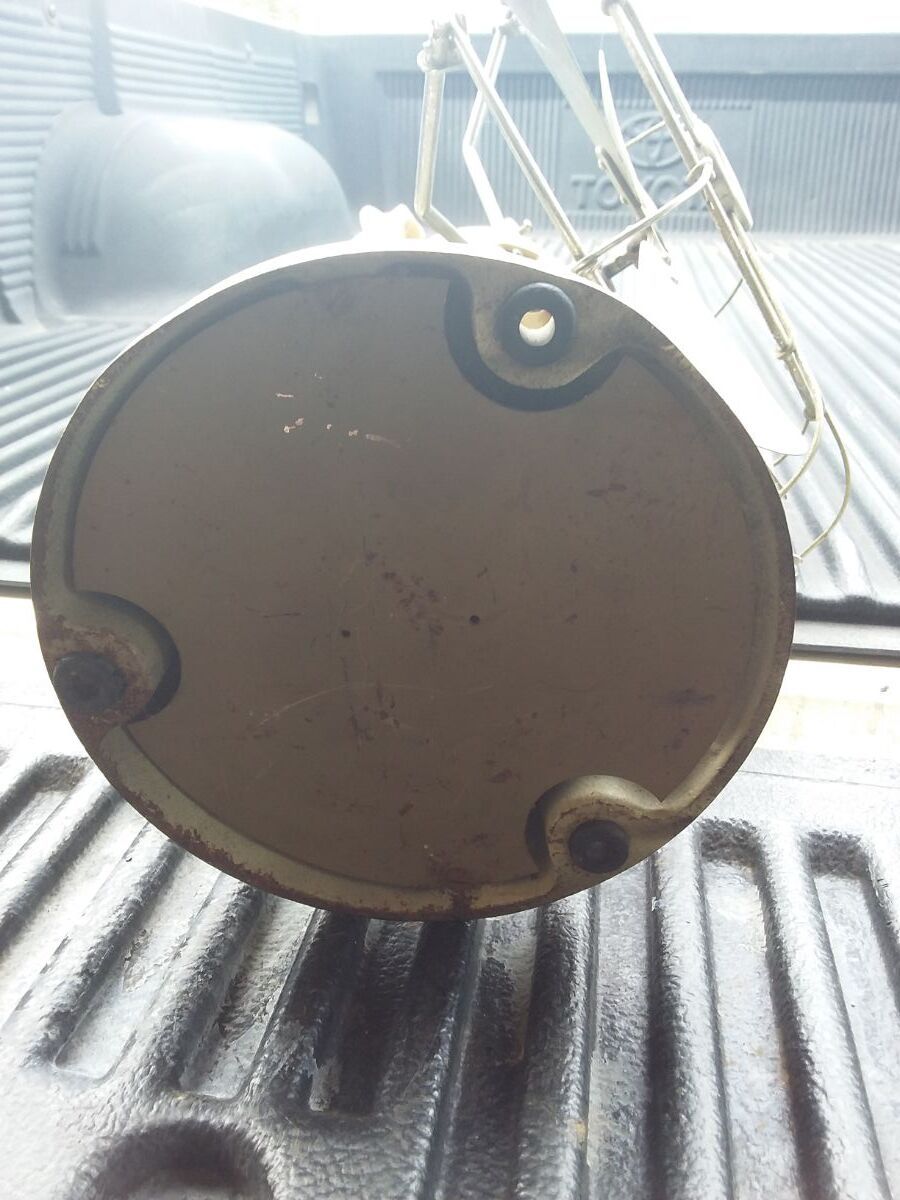
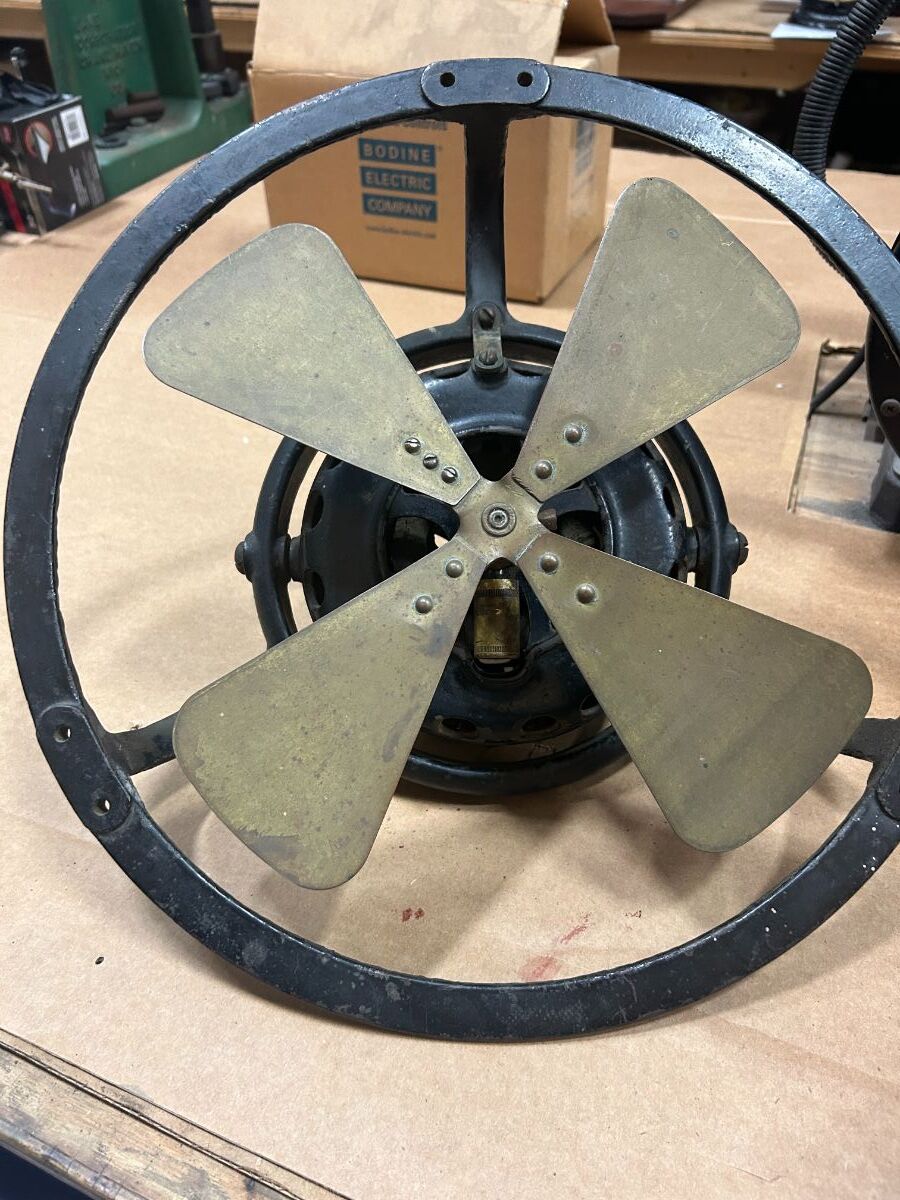
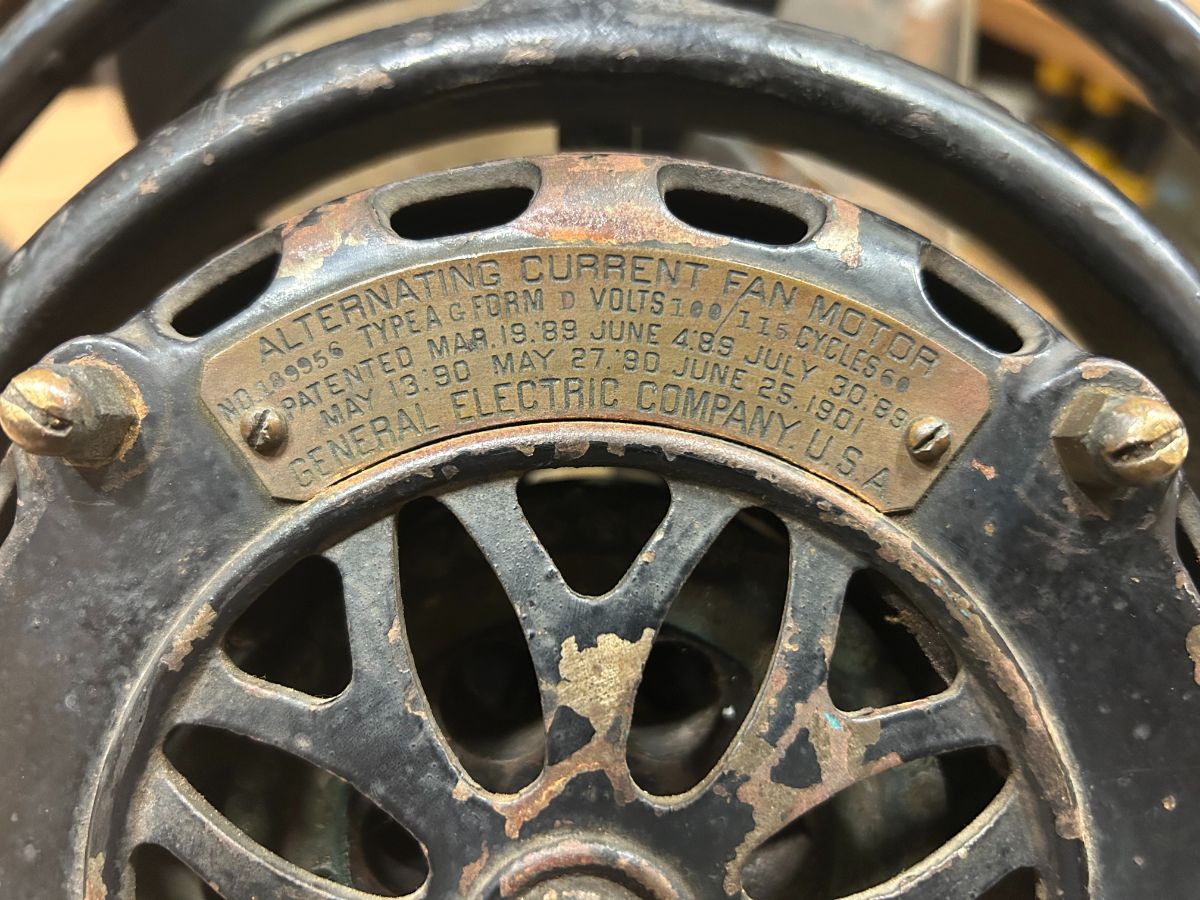
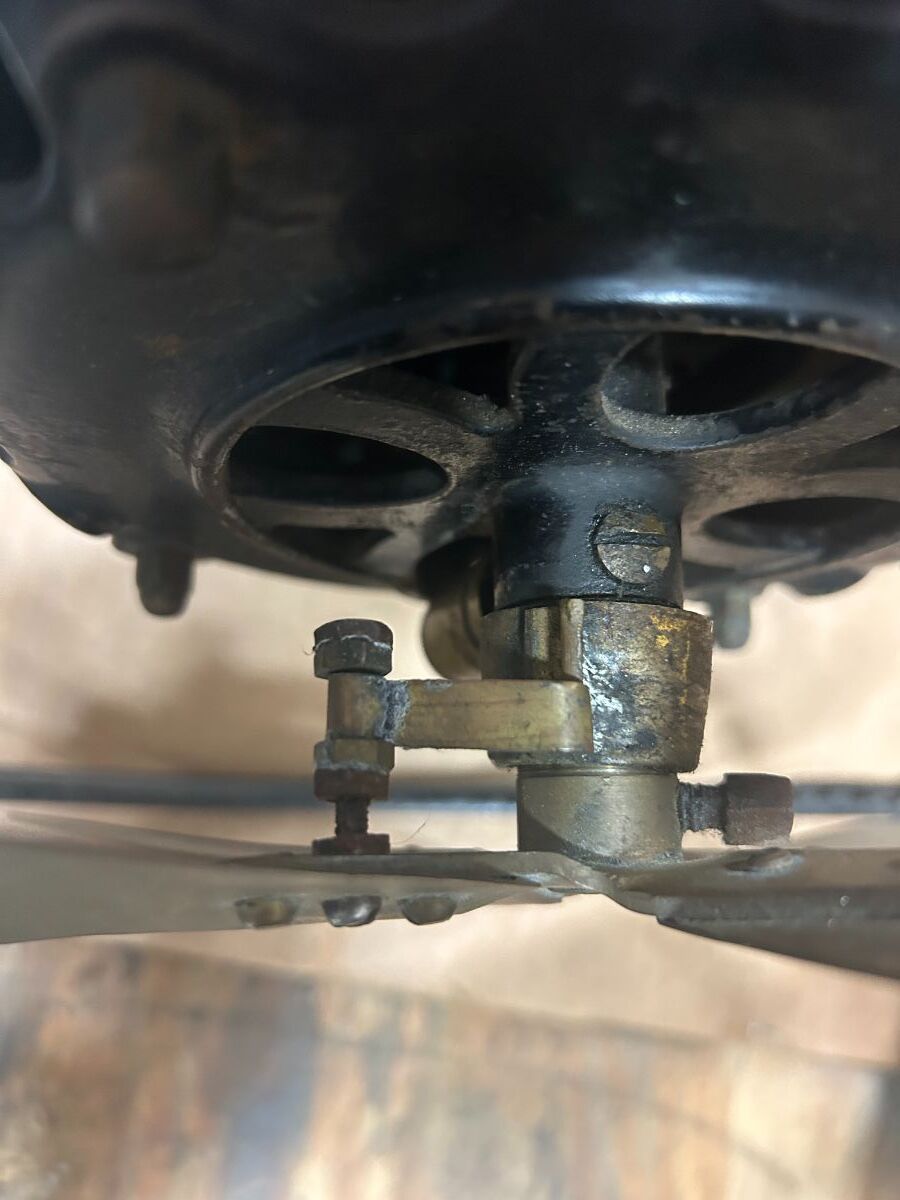
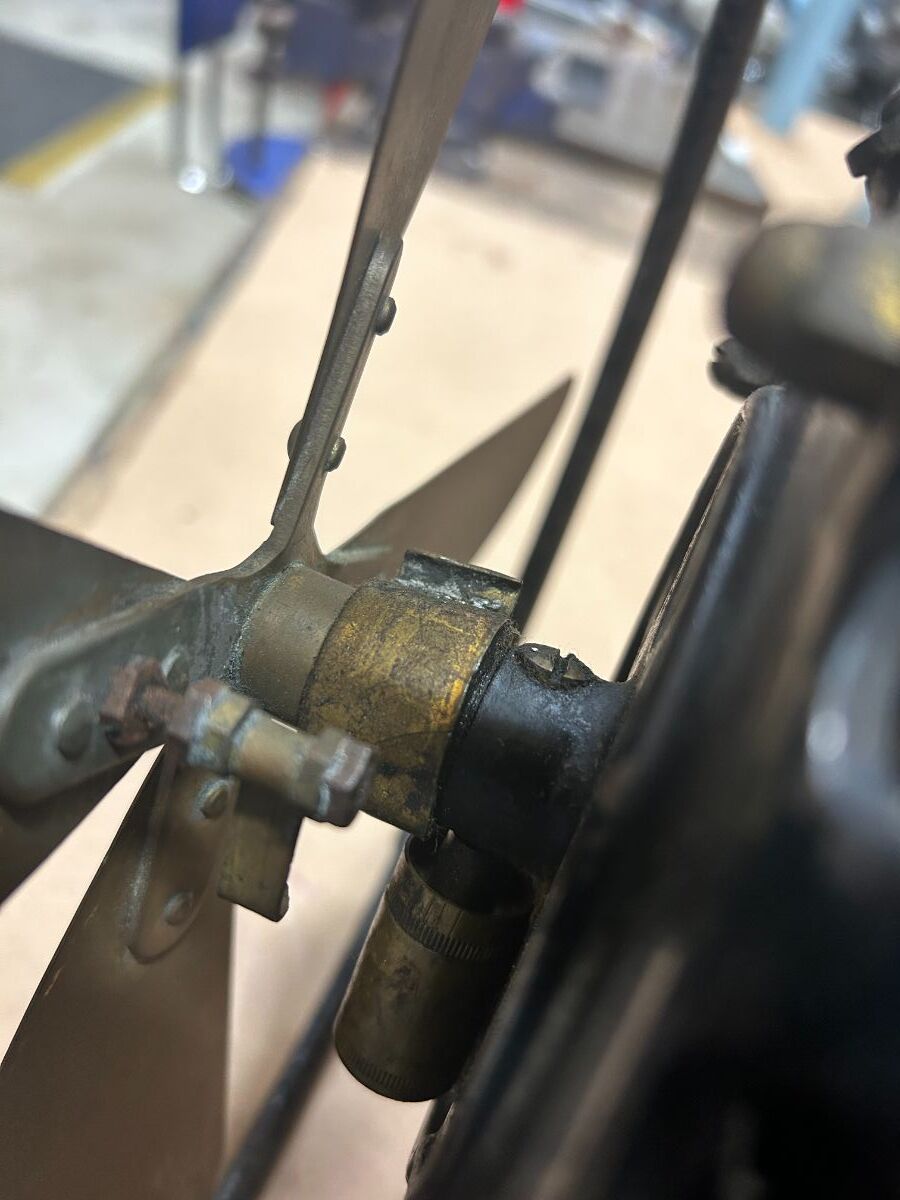
Had a visit yesterday from Brad Chaney and wife Jane E of Washington State. They are on a three week roadtrip , checking things out and paid us a visit at the Museum. While they couldn't stay for the meet, we had a nice visit and Brad gave me a 1904 GE type AG form D 12 inch exhaust fan. It is very unusual in that it's original owner fabricated an anti-reversal mechanism on the blade. As soon as I can build a stand for it, the fan will be on display in the Museum. Thank you Brad and Jane. Hope you have a great rest of your trip. Be safe and Thank you.
1 point
-
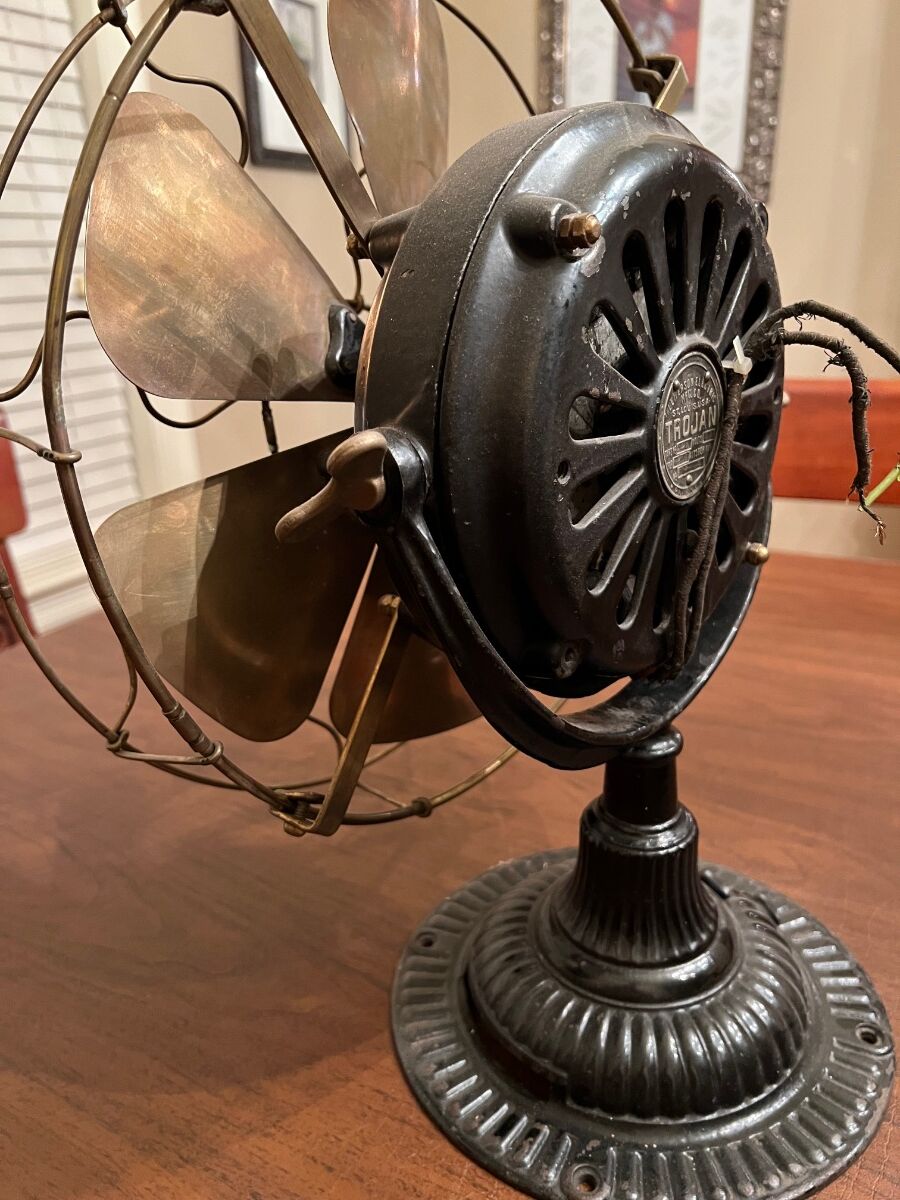
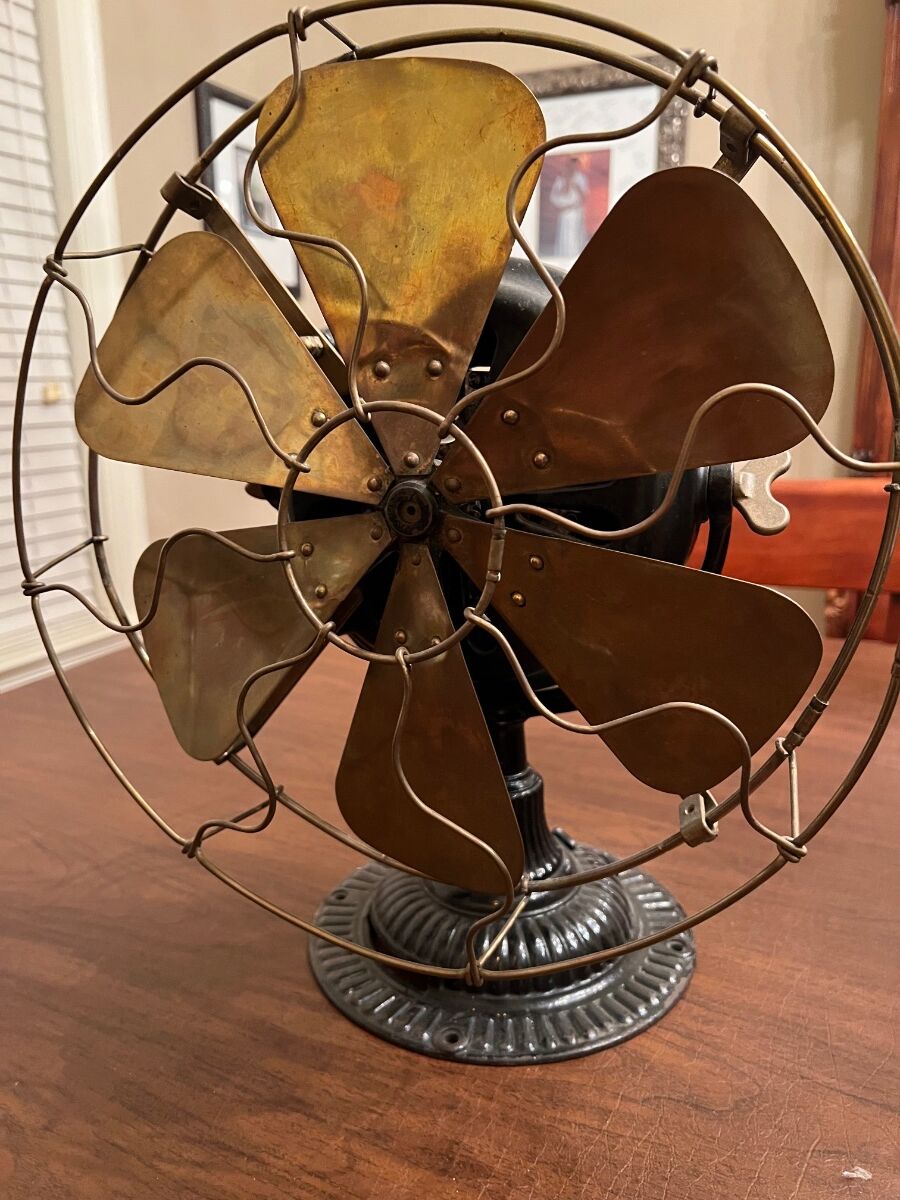
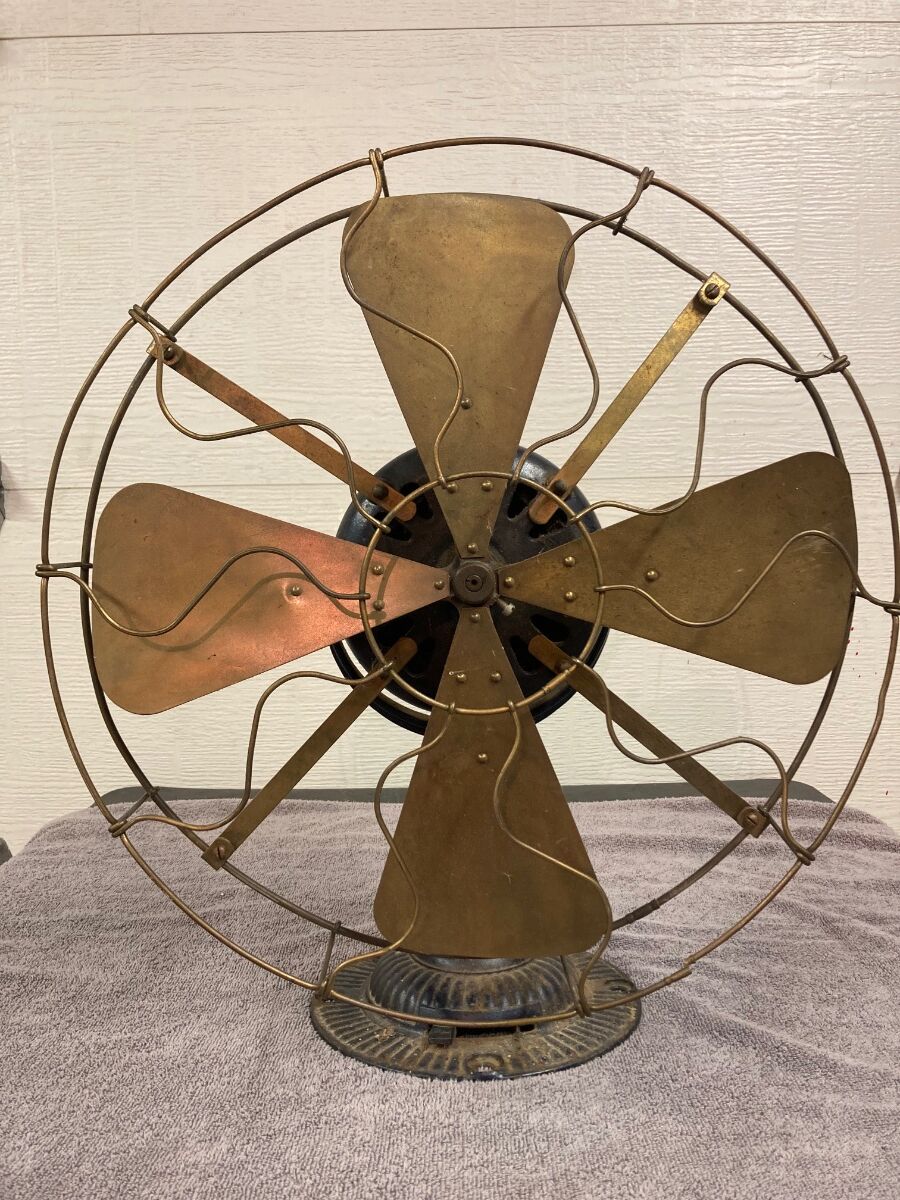
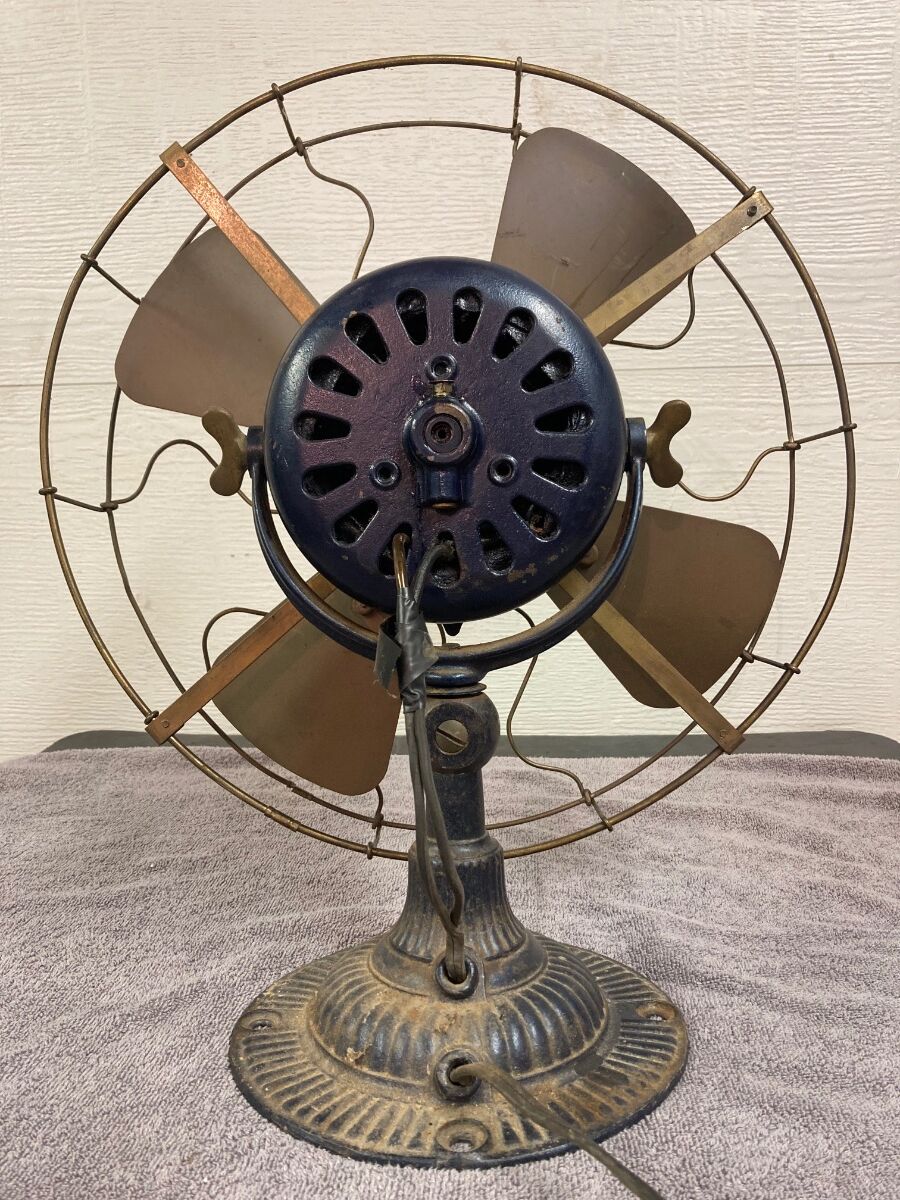
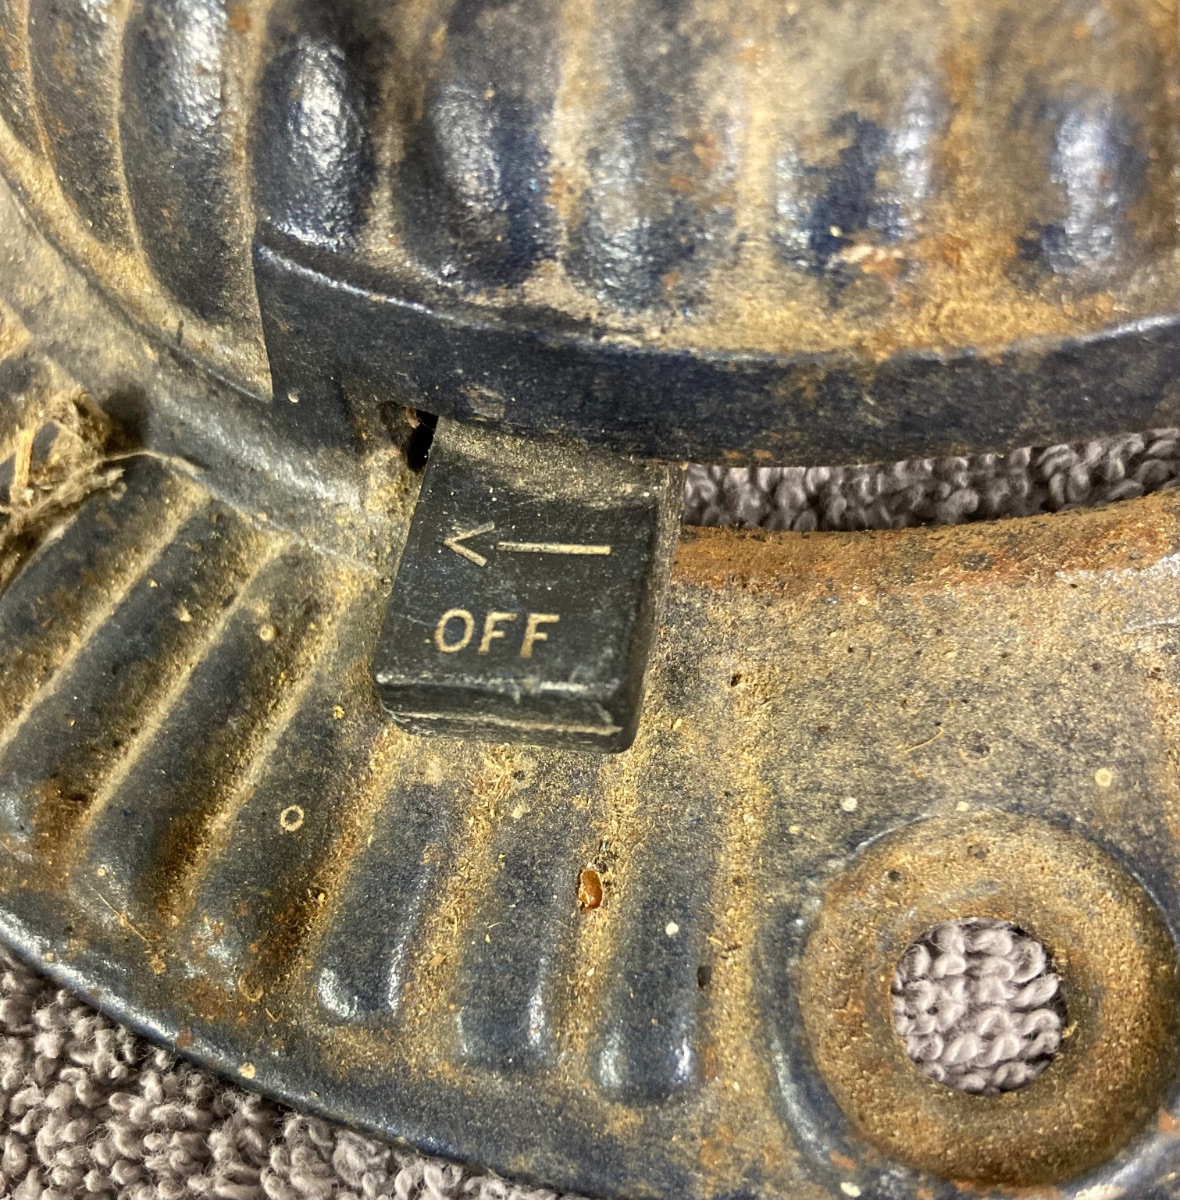
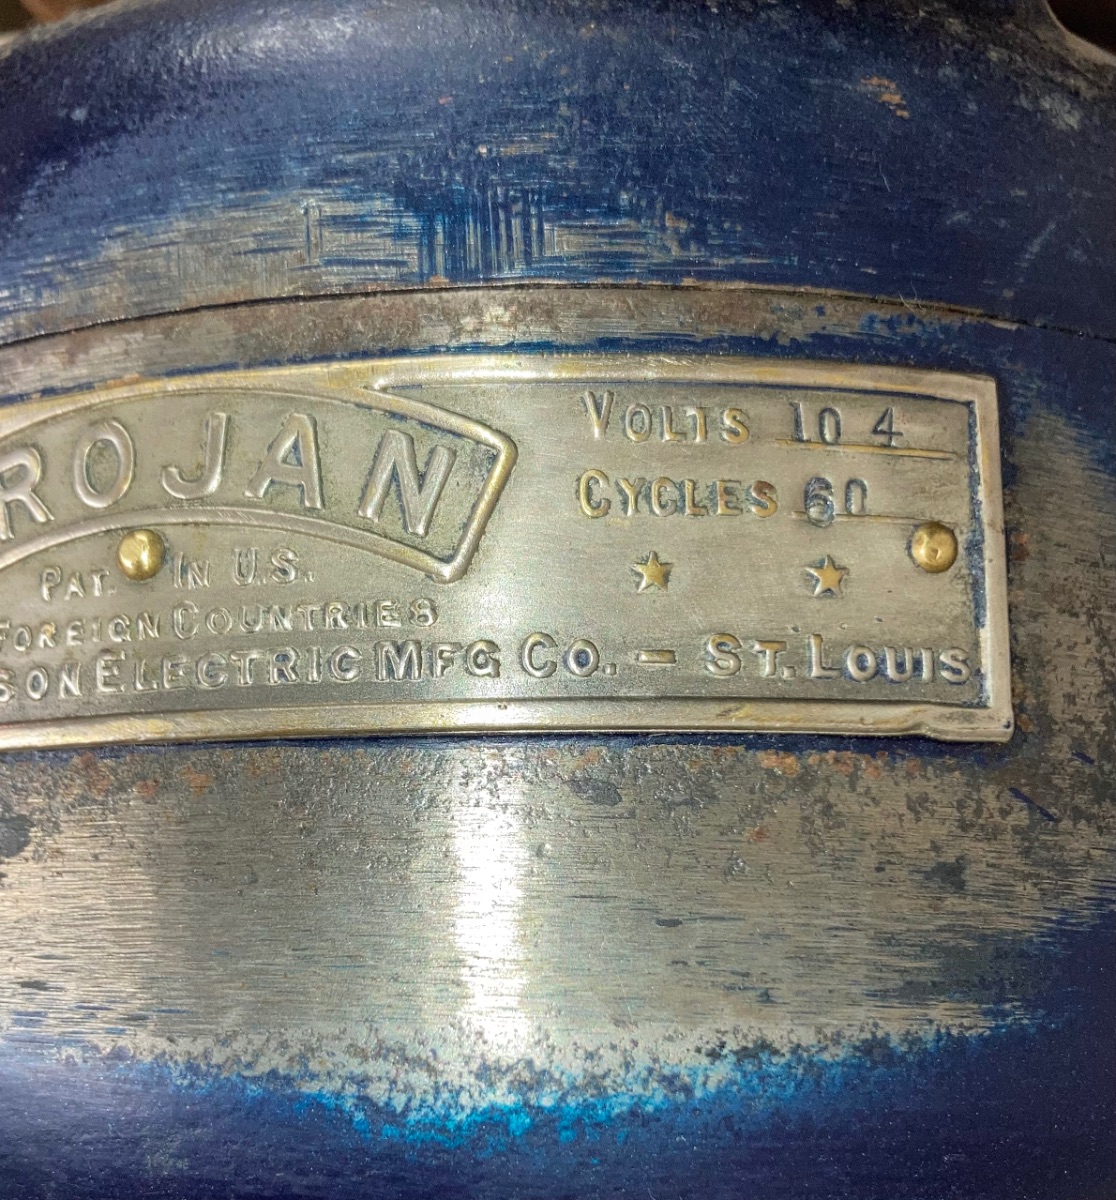
I took a handful of fans to the meet and was very fortunate to sell more than I expected. Thank you everyone who purchased one. That gave me the green light to nab this Trojan 5320. It’s wired direct and painted blue. Fortunately the switch is there and the motor fired right up. It has a braille tag. I couldn’t find any other examples pictured with that tag. Not very many in the survey. Donna was ready to kill me for bringing another 16” in the house. I explained it was a “good” one. Here’s some pictures.
1 point
-
I've gotten worst....this is still doable. I will get some crazy glue do some measurements.. Pot metal is not terribly bad; however, combine with thin wall is very bad.
1 point
-
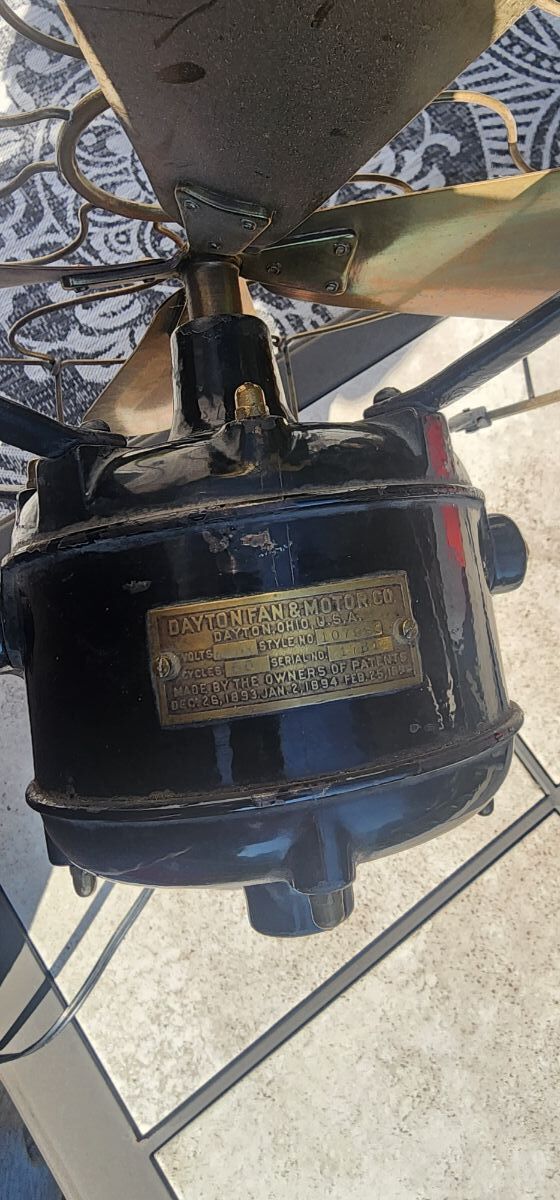
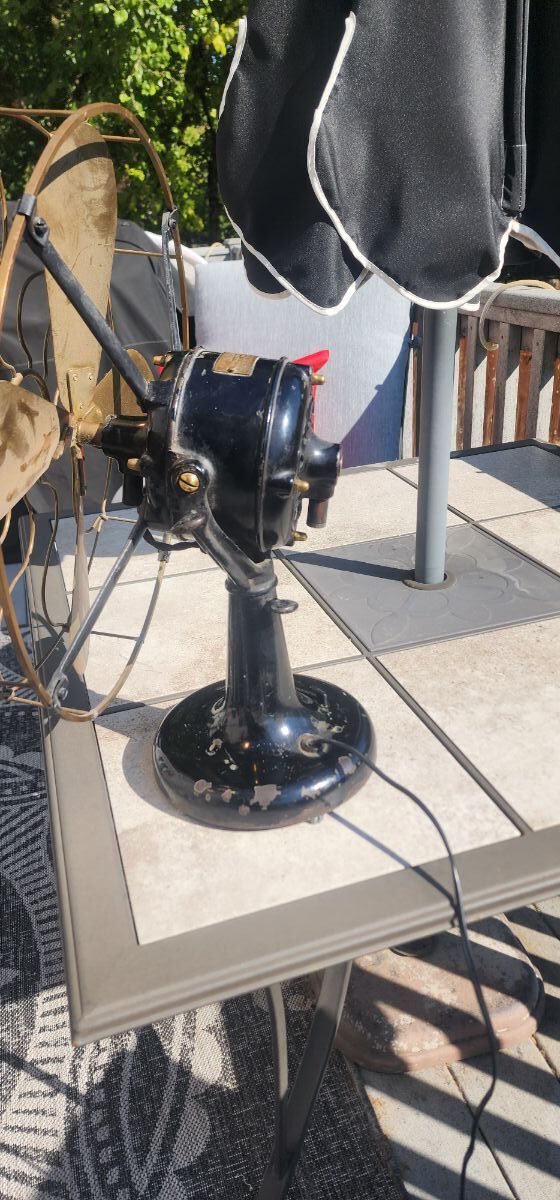
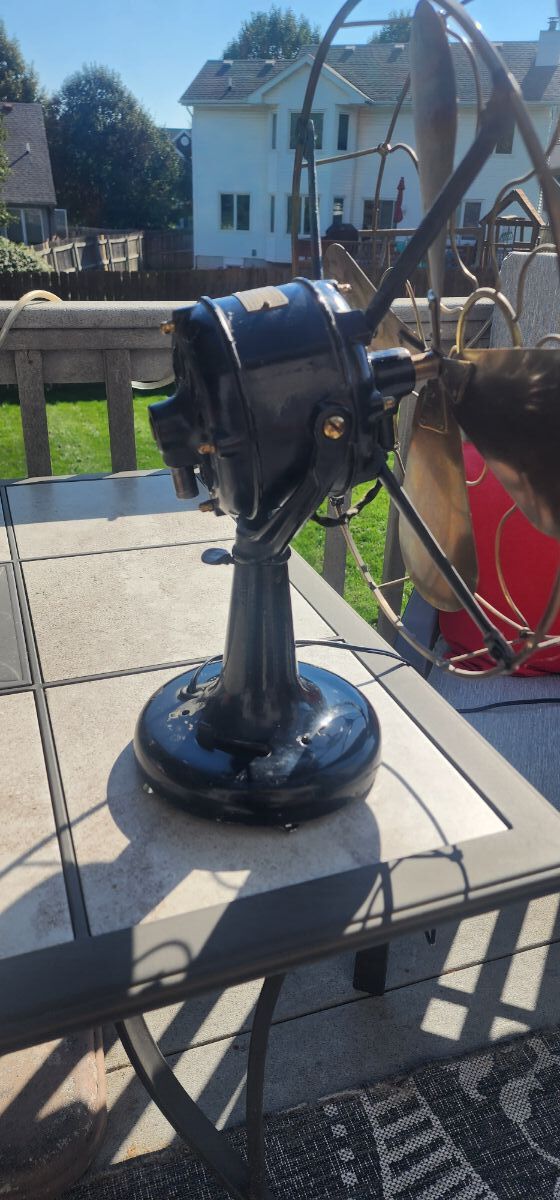
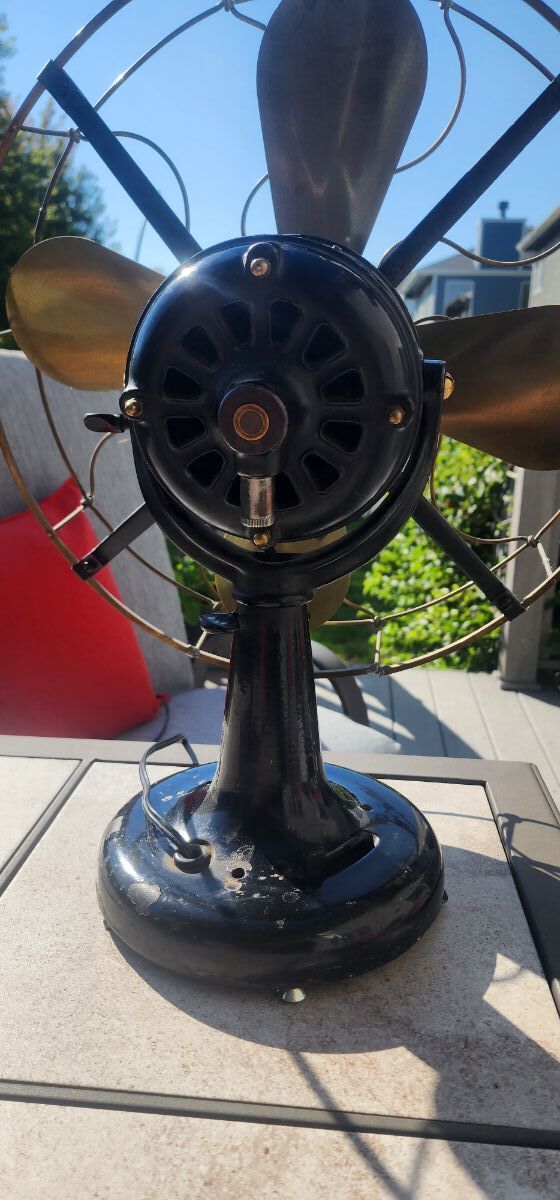
Won this Dayton from a nearby auction. Anyone know a year for this? I've never seen a 16" Dayton version before. It is all intact except base feet I will clean it up, maintenance and new cord. Paint is about 95% intact on the housing and 85% on the base so leaving it as is.
1 point
-
1 point
-
https://rucore.libraries.rutgers.edu/rutgers-lib/43800/ Older used type K cells...
1 point
-
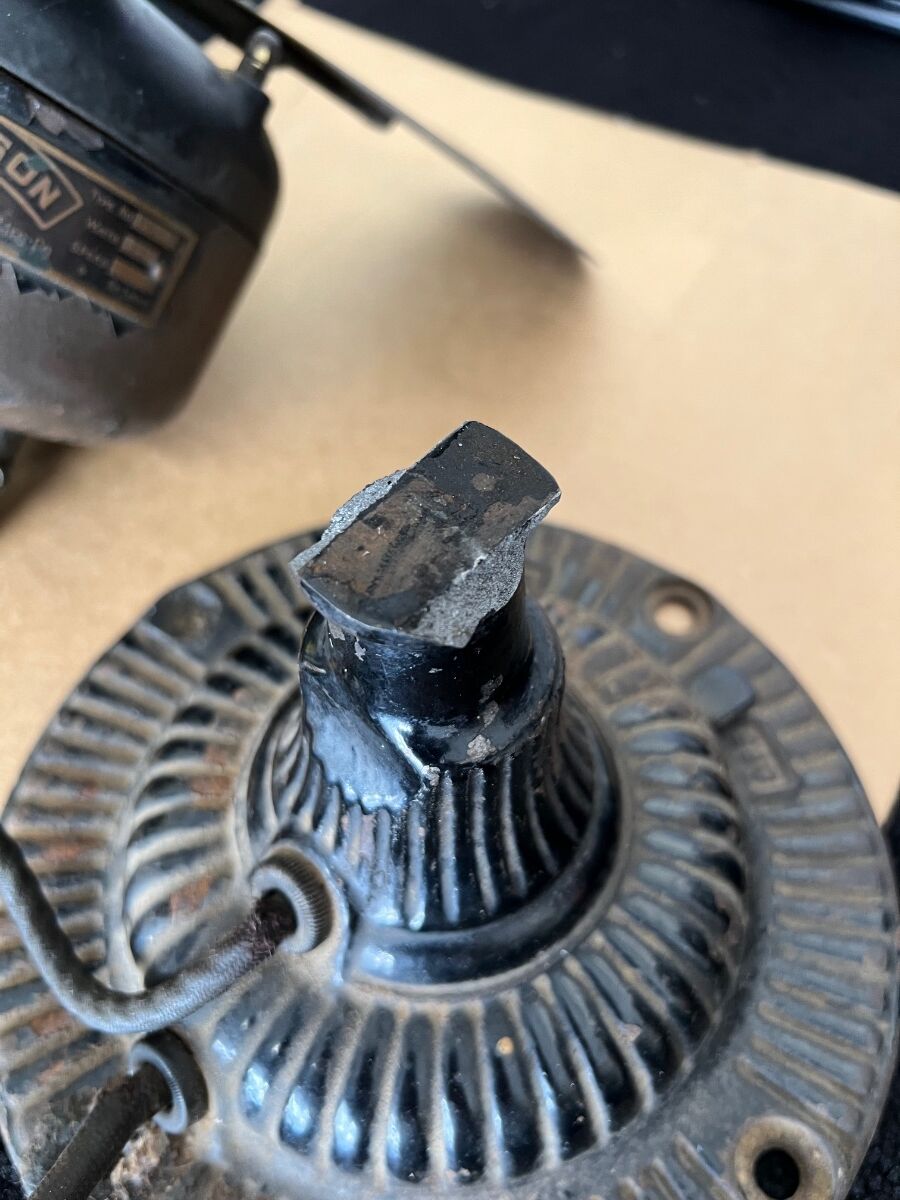
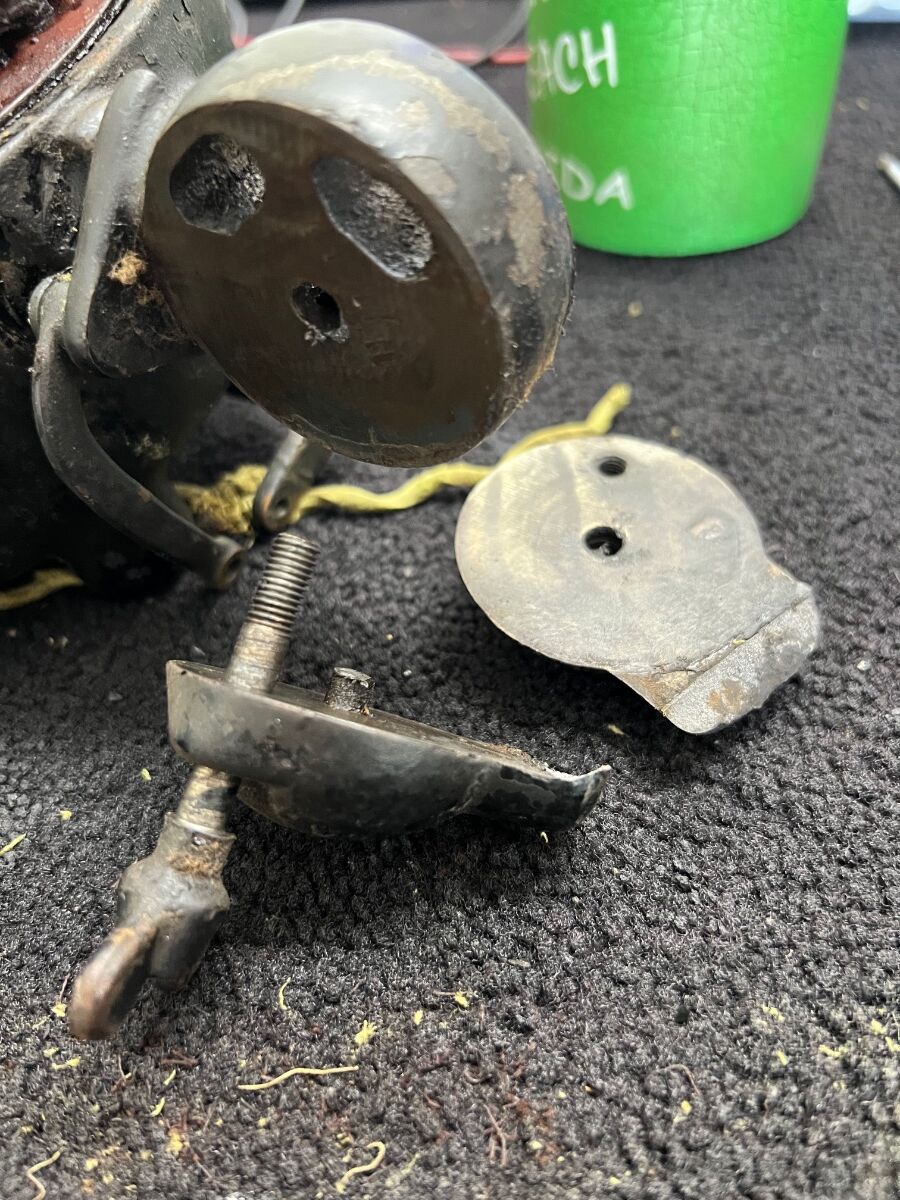
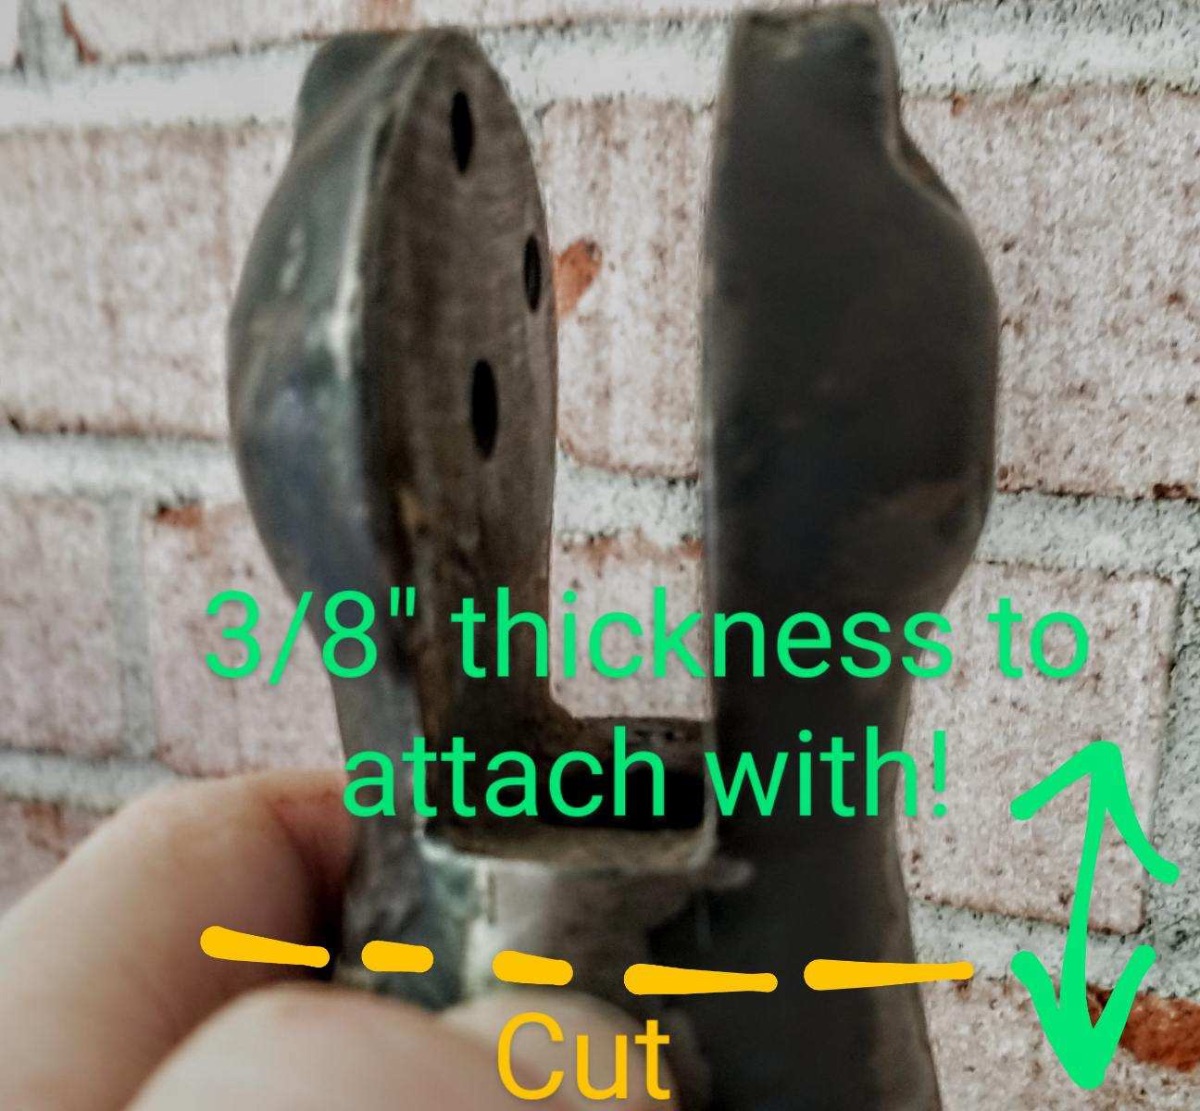
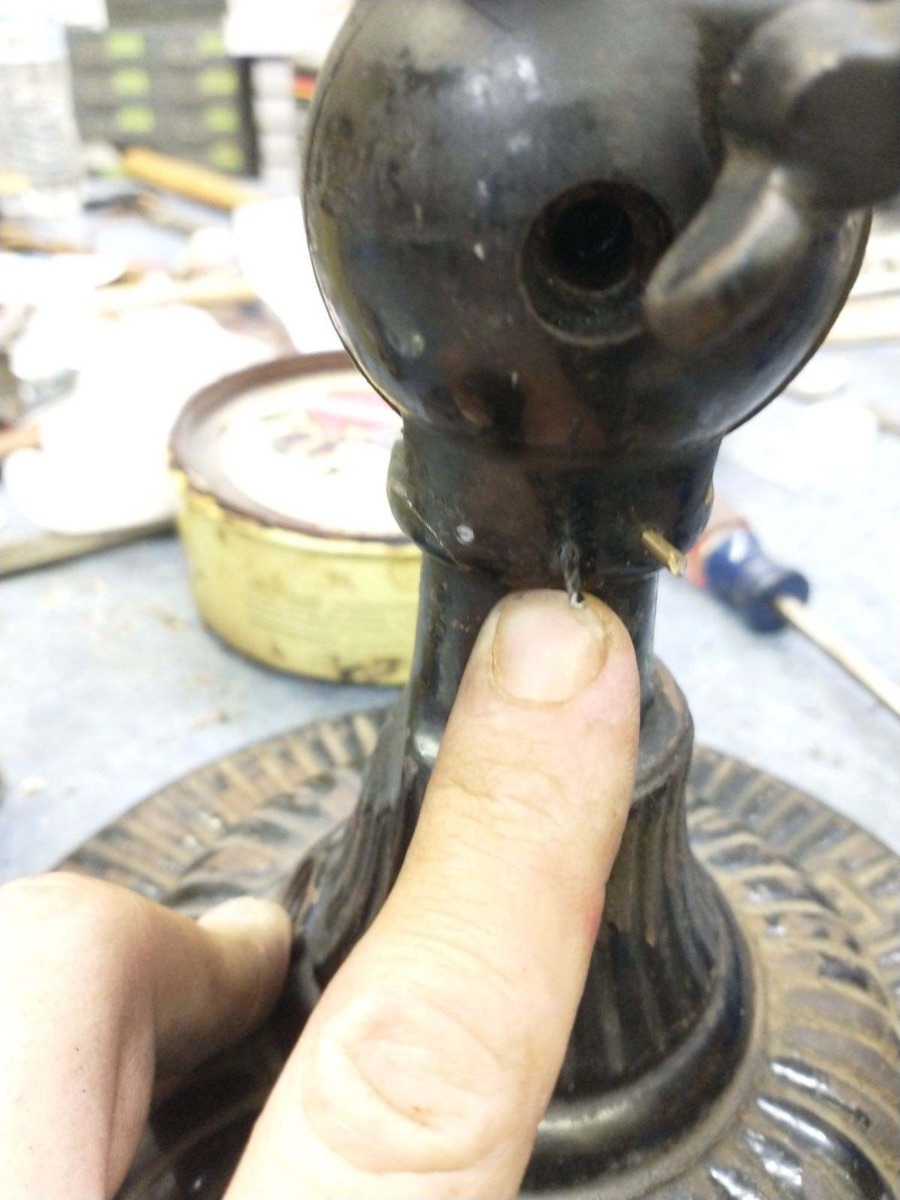
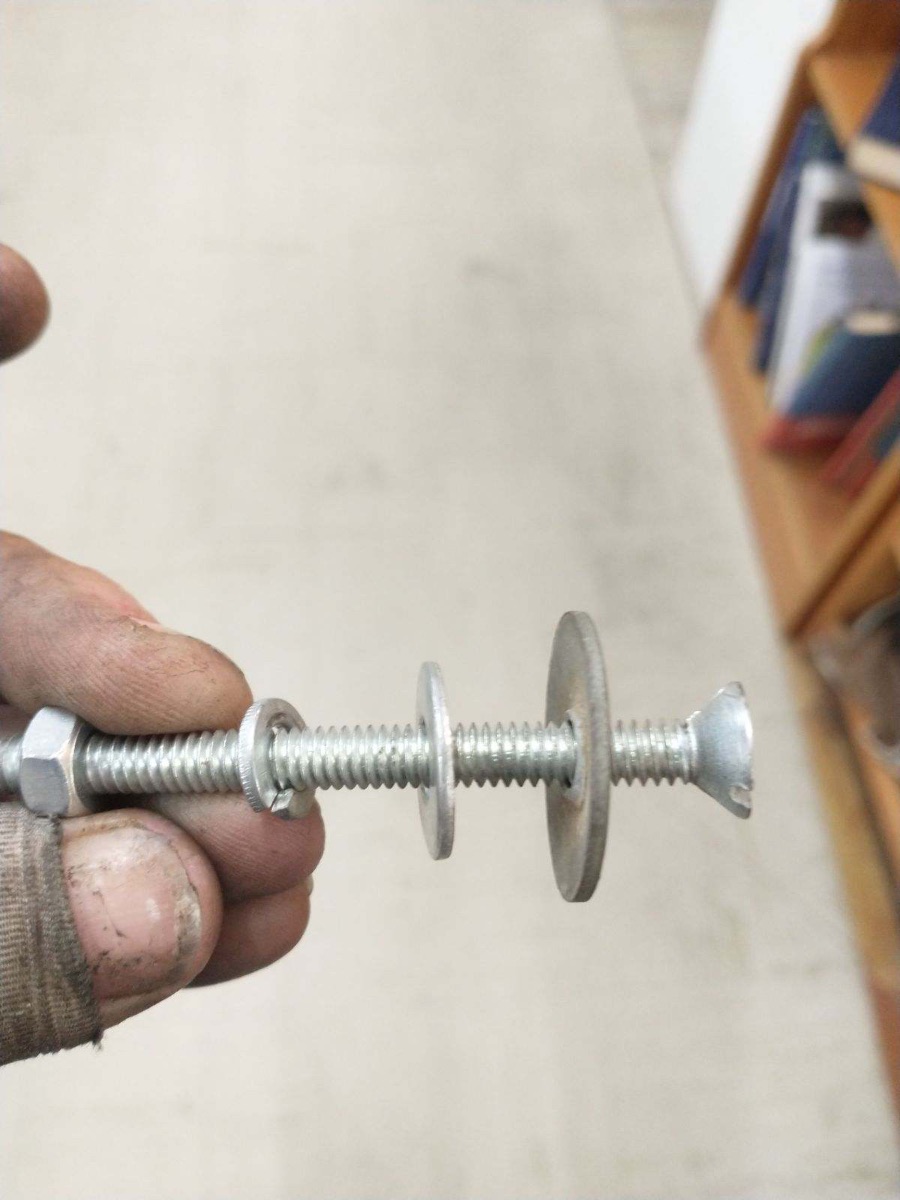
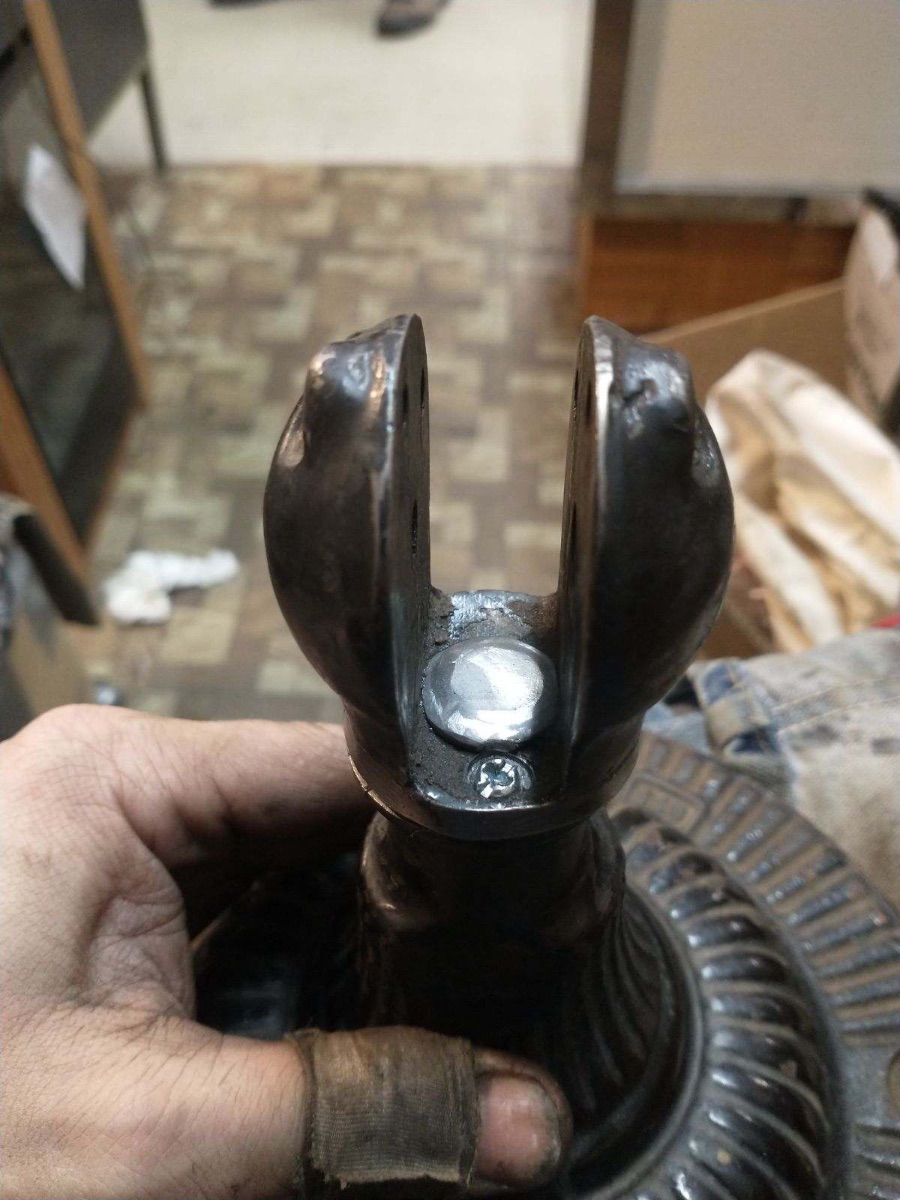
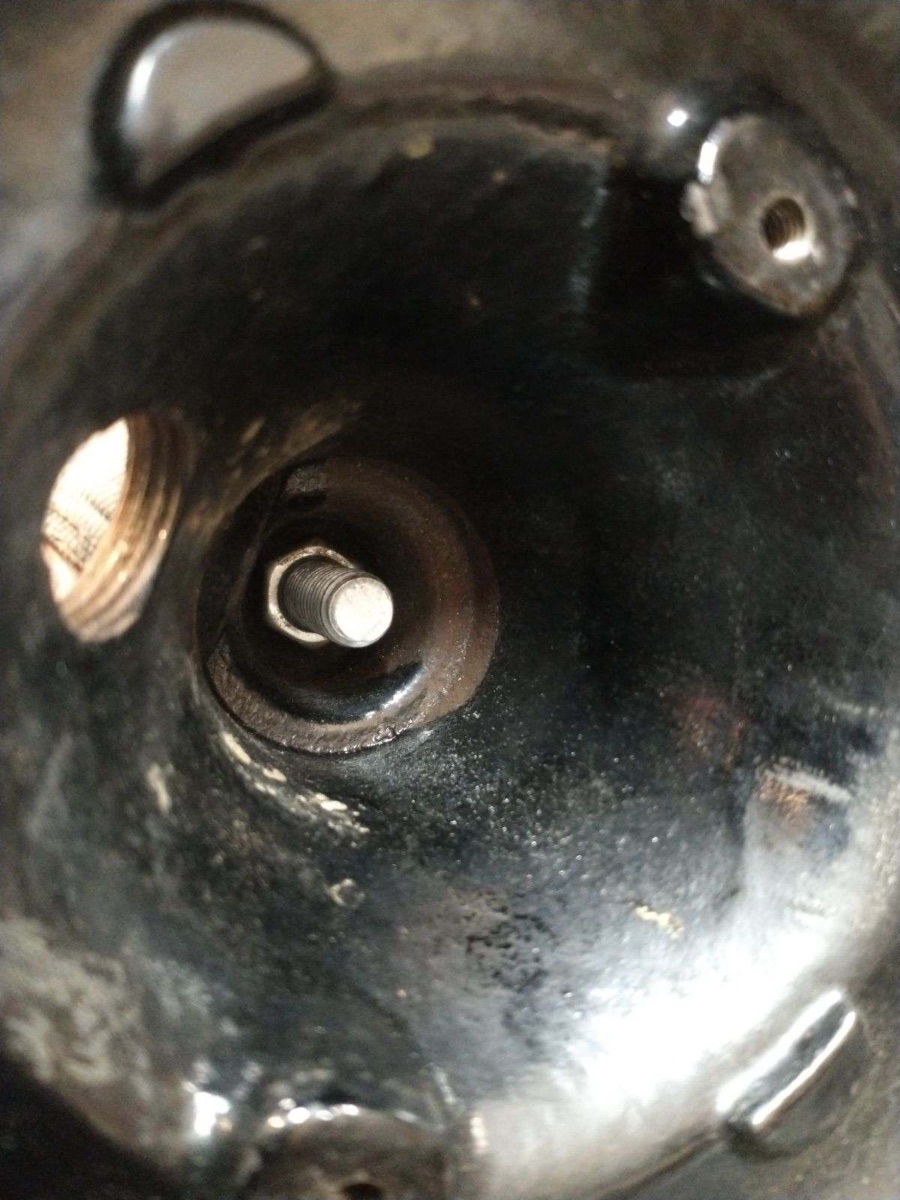
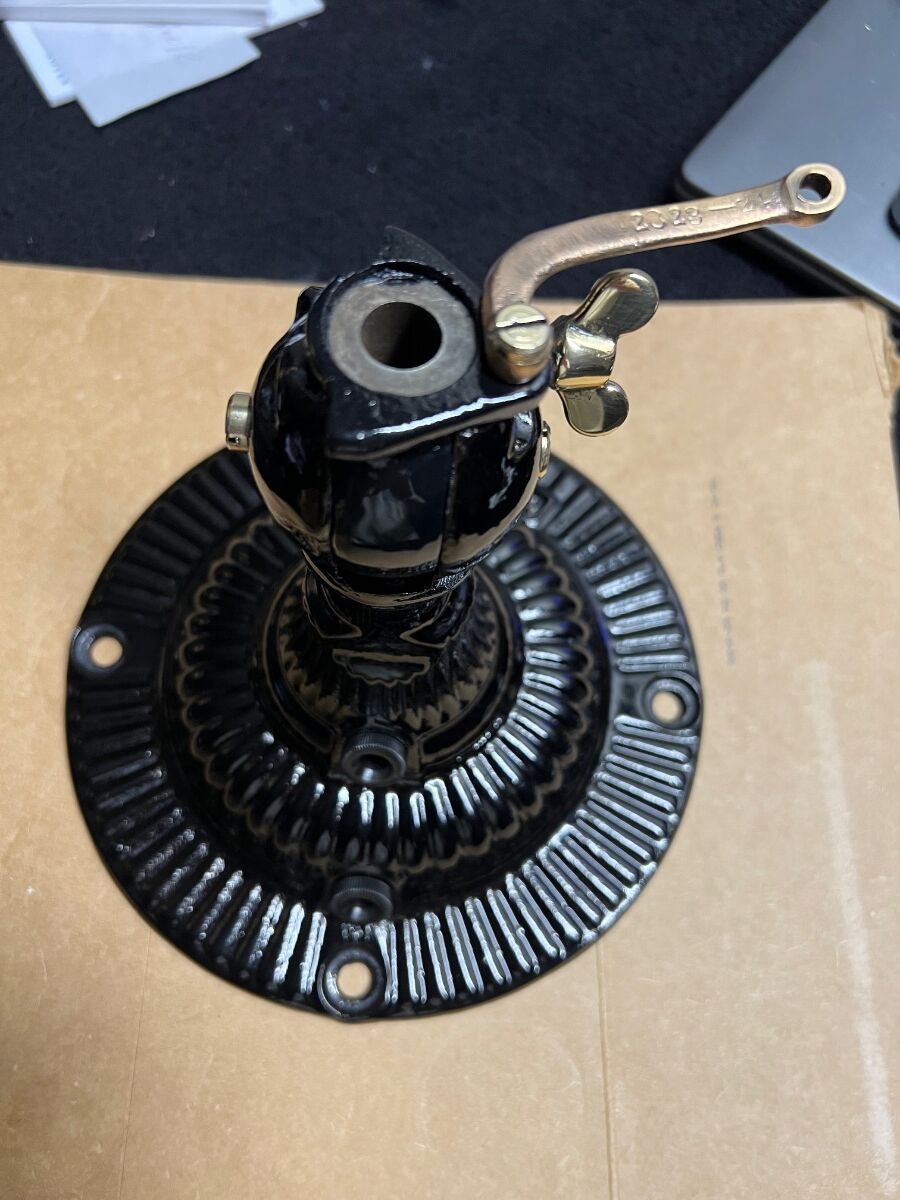
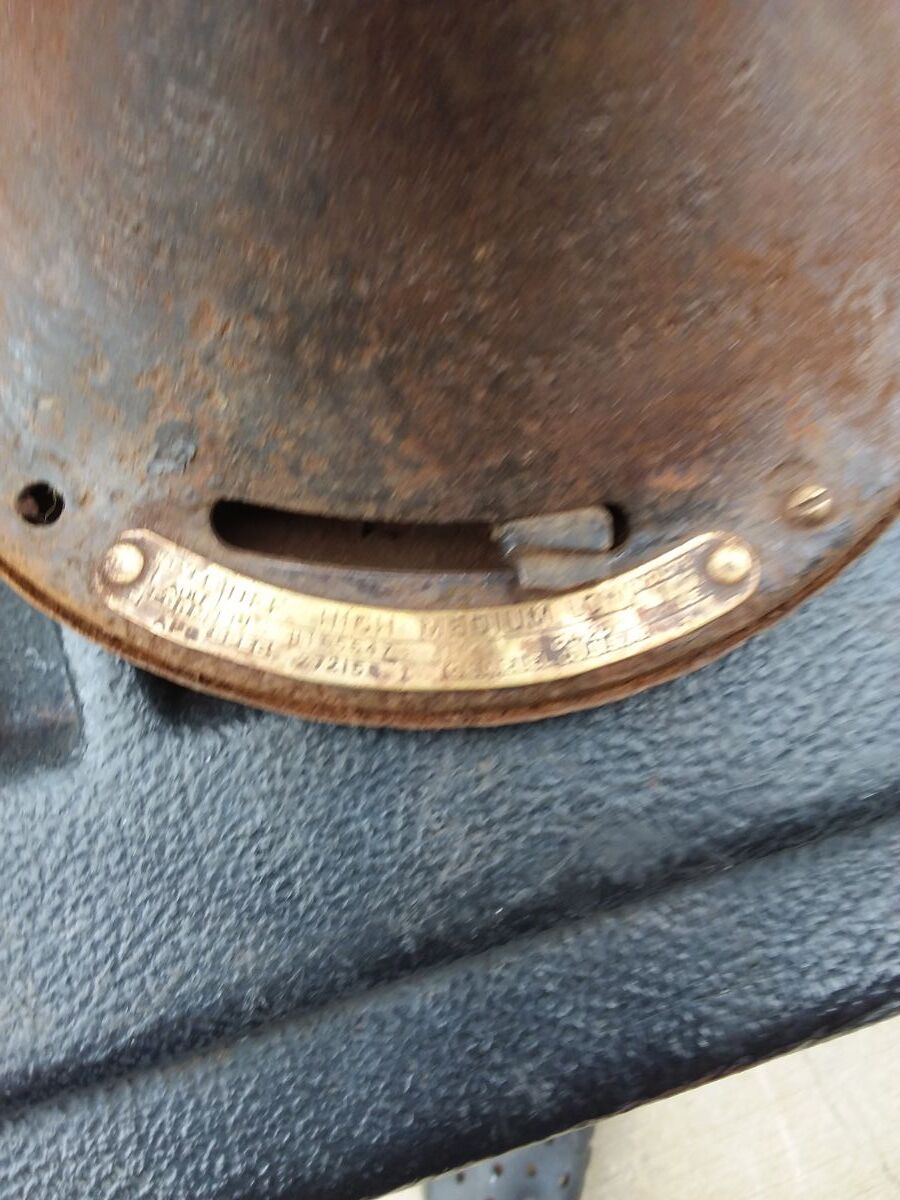
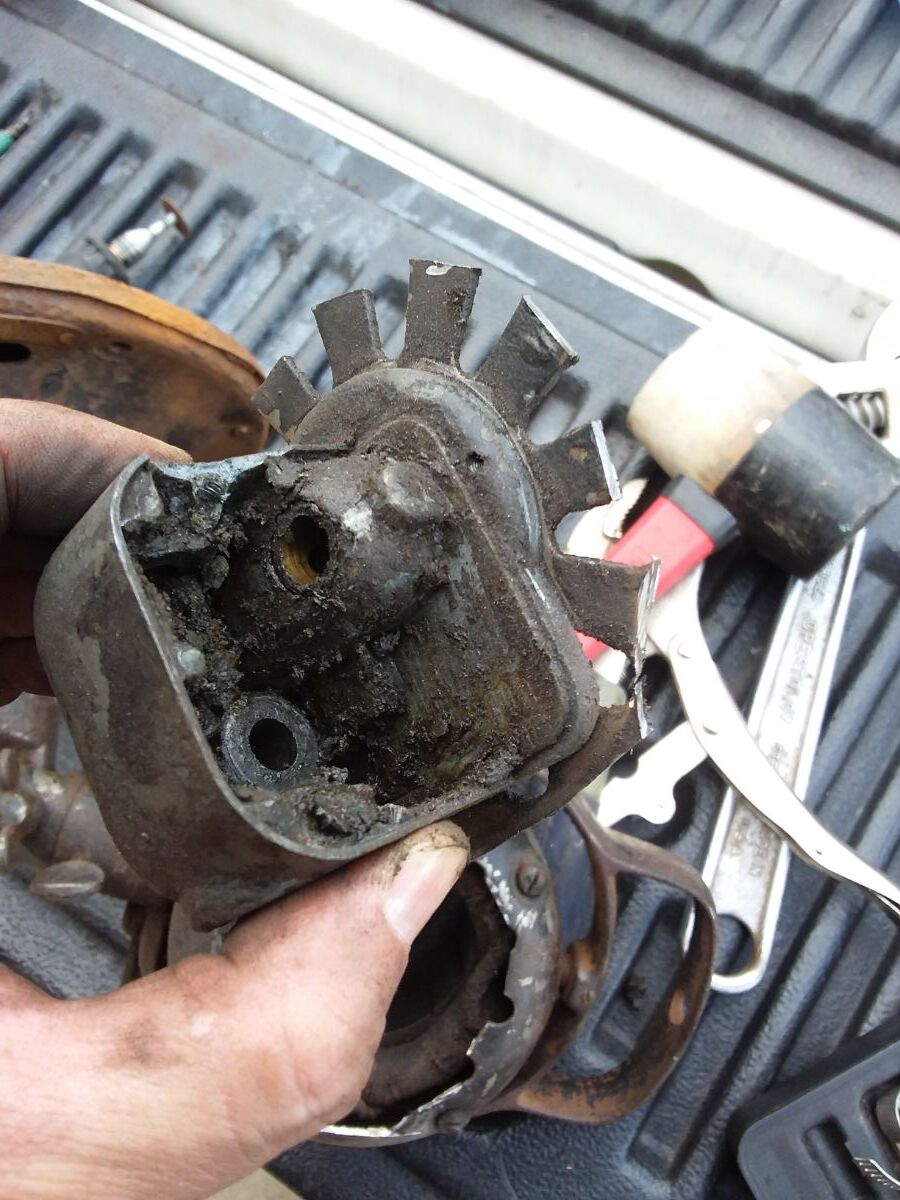
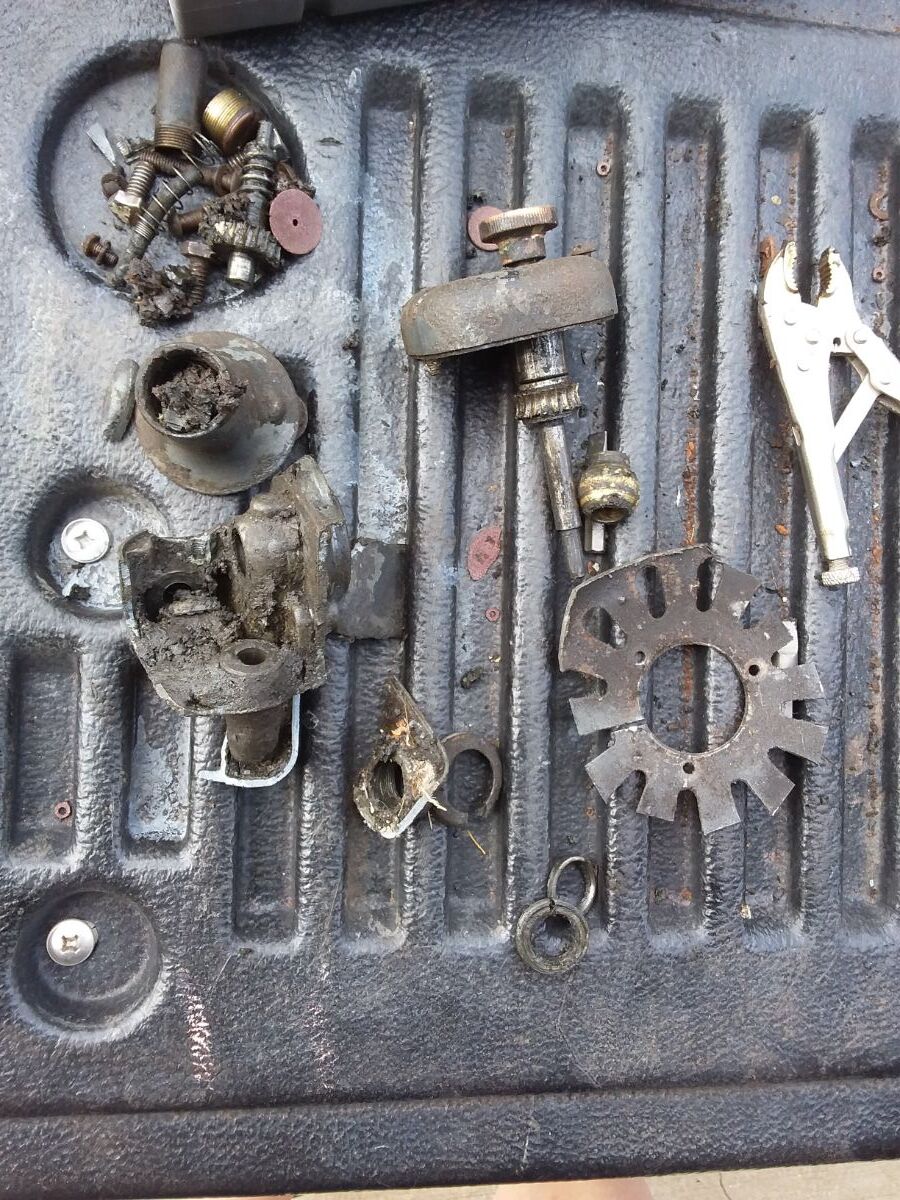
I had a similar event happen to an Emerson 12648 from eBay. I did get a refund from the seller and got to keep the heap of broken pieces. My friend, Alex Rushing had an idea for a non weld repair using the head of a 29646 and bolting it together. There are more details to the repair than just that but I have a fully restored model 12648 now😃 Here are some photos.
1 point
-
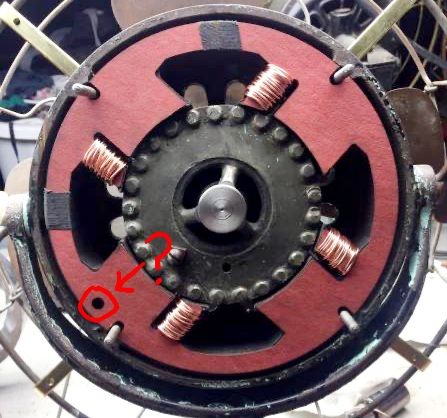
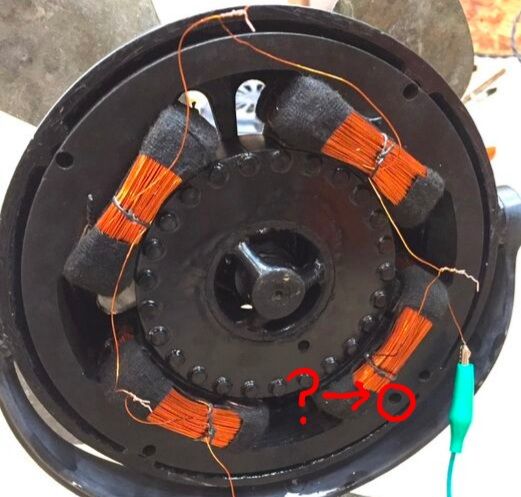
Holey stator core, Batman! What's the purpose?
1 point
-
Maybe someday this will get a switch. 5210 with thinner housing
1 point
-
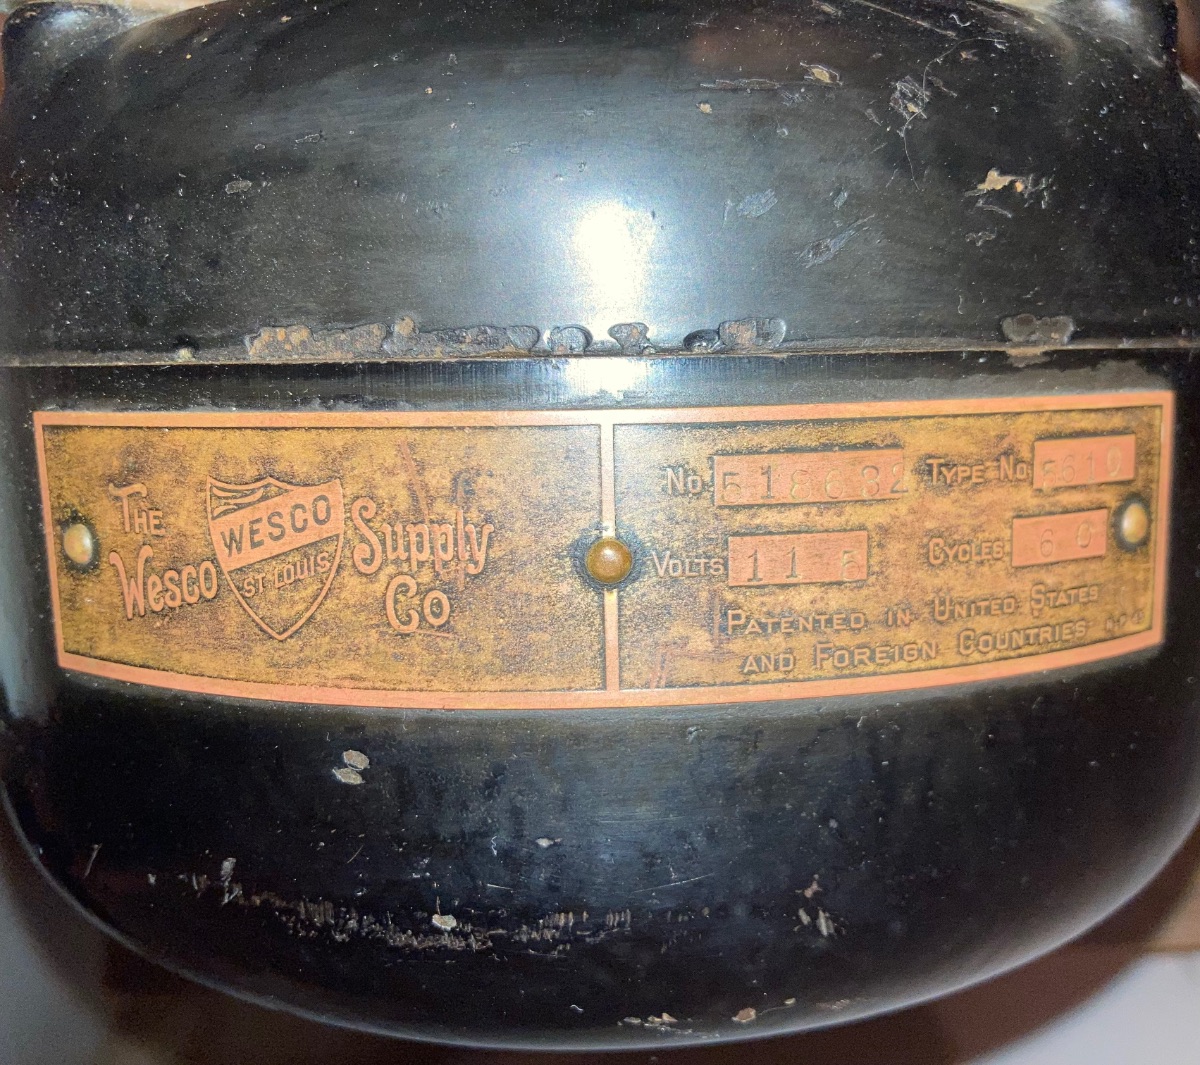
I can’t resist showing one of my favorite fans. My little grandson actually got his hand smacked for touching this one! Wesco 5610. Even though his middle name is Emerson, a guy has to draw the line somewhere.
1 point
-
Video of me laser cutting the vulcanized fiber insulators. Also information on winding choke coil below.
1 point
-
I always referred to it as "trading up." Congrats1 point
-
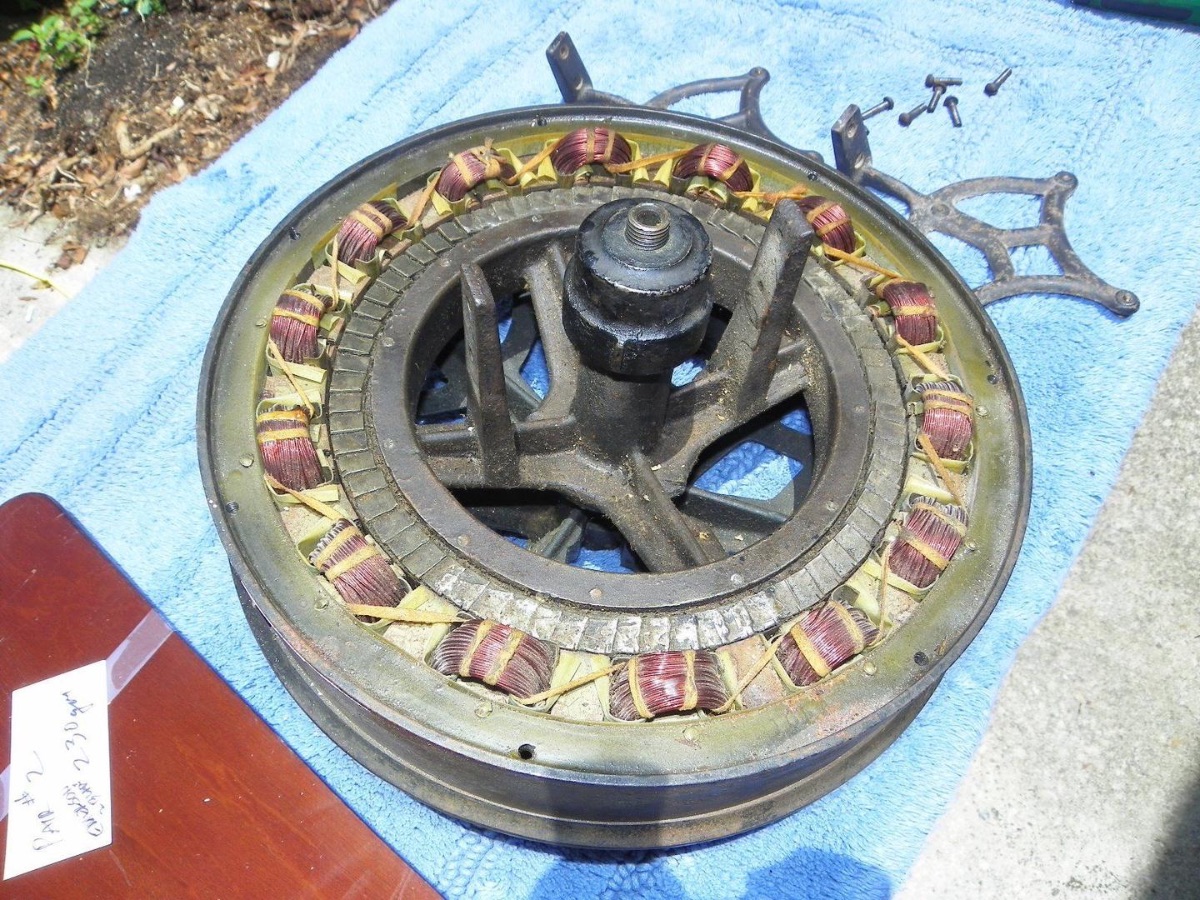
Note the folded-over rotor bars:
1 point
-
The “Womp-Womp” noise is usually due to the rotor’s squirrel cage bars becoming unsoldered from the copper end plates. The CF-series fans don’t use end plates and round bars, but instead have flat bars whose ends are bent over 90-degrees and soldered to the top of the adjacent bar. When these solder connections fail, a gap opens up and electrical connection is lost. To repair, I beadblast the rotor to get the copper clean and shiny, especially in any gaps. Then, apply flux to the joint, heat with a propane torch, and flow new solder Into the gap. When done, use a motorcycle wheel balance rig and more solder to balance the rotor.1 point


.v1(1).jpg.42c9b217d2d62c41ea081fc3f3432271.jpg)
.jpg.6ab47178900a6ac12b36ec9f7d9ad9cf.jpg)
.v1(14).jpg.716514472a0ce13c062e00458bd7936a.jpg)